7
You can save your MIDI Controller mode setup
in the JUNO-Gi’s memory at any time so your
settings are instantly available when you
enter the mode. To save your setup, press the
JUNO-Gi’s WRITE button, as noted at the top-
right of the MIDI Controller mode screen.
MIDI Channel
The JUNO-Gi can transmit MIDI messages on any of the 16 MIDI channels to
your DAW. By default, it uses MIDI Channel 1, though you can change it to
any MIDI channel you like. Just make sure that the DAW is set to
• receive data on the same MIDI channel, or
• receive MIDI data on any and all channels.
Local Switch
The Local Switch setting—shown onscreen as “Local Sw”—sets whether
the JUNO-Gi keyboard plays its own sounds in MIDI Controller mode or not.
When your DAW’s using JUNO-Gi sounds, leave this set to Off, since you’ll
play its sounds through the DAW. If you turn Local Sw on when using the
JUNO-Gi as both the DAW’s master controller and sound module, you’ll hear
each JUNO-Gi note twice, once from the DAW and once from the JUNO-Gi.
Important JUNO-Gi MIDI Stuff
One MIDI device communicates with another MIDI device using a series of
MIDI messages, as explained in the InFocus booklet An Introduction to MIDI.
The JUNO-Gi uses these messages when you’re using it as a
• a DAW’s master MIDI controller—In this role, the JUNO-Gi sends your
computer note-event messages as you play the JUNO-Gi keyboard.
In addition, many of its front-panel controls can send Control Change
messages to your DAW that let you manipulate sounds in realtime. It
can also send sound-selection messages that you can sequence in a
DAW MIDI track—when the track is played back, it can send out these
messages to external devices like the JUNO-Gi, or other connected MIDI
sound modules.
• multitimbral sound module—As a multitimbral sound module, the
JUNO-Gi responds to note-event messages and Control Change
messages. Your DAW can also select the JUNO-Gi sounds you want by
sending the JUNO-Gi Bank Select and Program Change messages. We’ll
discuss these more later.
Using the JUNO-Gi as a Master MIDI Controller
Life In MIDI Controller Mode
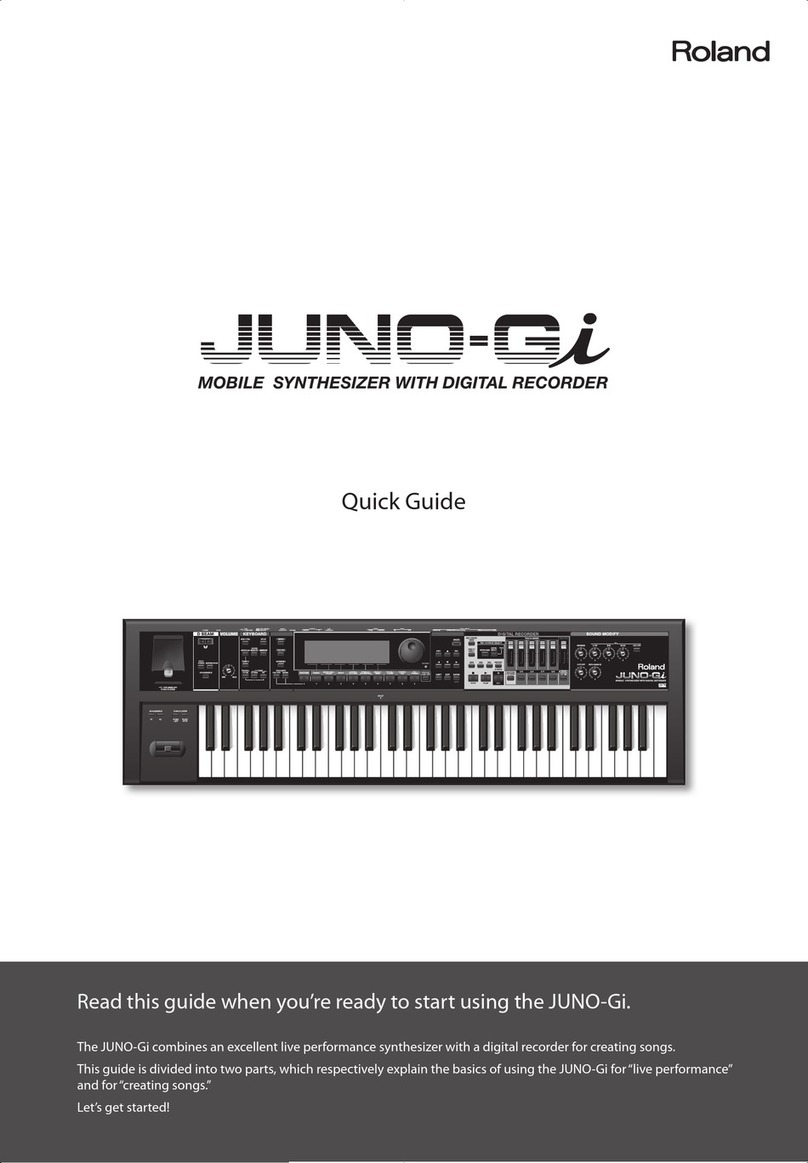
Once you’ve installed its drivers, connected to your computer via USB, and
your computer and JUNO-Gi are powered up, switch the JUNO-Gi into MIDI
Controller mode to use it as your DAW’s master MIDI controller. (You also use
MIDI Controller mode when you’re playing JUNO-Gi tones from your DAW.)
Press the MIDI CTRL (for “CONTROL”)
button on the JUNO-Gi to display the MIDI
Controller mode screen.
This screen determines the behavior of
the JUNO-Gi in MIDI Controller mode, with
some important settings and features.


