manuals.online logo
Brands
  1. Home
  2. •
  3. Brands
  4. •
  5. Gotharman
  6. •
  7. Synthesizer
  8. •
  9. Gotharman Gotharman's anAmoNo-box User manual

Gotharman Gotharman's anAmoNo-box User manual

Gotharman’s
anAmoNo-box
anAmoNo output stage for Little deFormer and future products
User Manual
Contents Of This Manual
Introduction 3
Connecting 4
Connections 6
Parameters 7
Introduction
Thank you very much for purchasing/consider to purchase a Gotharman’s anAmoNo-box.
When connecting anAmoNo-box to your ittle deFormer 1 or 2, it will get an extra output with a
twin parallel connected analogue filter, one multimode ( PF, BPF and HPF) and one that is always
in BPF mode, analogue distortion and a G-ray feedback circuit. This extra output can be assigned to
any of ittle deFormers 4 audio busses.
The G-ray feedback circuit are a unique feature that I engineered for my anAmoNo synthesizer. It is
partly analogue and partly digital, and it can create some really unique feedback sounds.
Connecting anAmoNo-bo and Little deFormer
For connecting anAmoNo-box to your ittle deFormer, you will need the 180 cm long cable, that
was supplied together with your anAmoNo-box.
If you should need a longer cable, or if your cable one day gets lost, you can use a 1:1, 9-pin SUB-
D cable. If you have a ittle deFormer 1, just notice, that like on the picture, pin 5 of the male
connector must be cutted. This is because, on some ittle deFormers, pin 5 on the expansion
connector are connected to its audio path, and if this pin on the cable are connected, it will create a
lot of noise on the audio. If you have a ittle deFormer 2, you can just use the SUB-D cable as it is.
Connecting
-Make sure that your ittle deFormer is updated with at least update 533. If it can’t register the
anAmoNo-box, it will probably need to get updated.
-Turn off your ittle deFormer.
-Connect the cable male connector to the expansion connector on ittle deFormer.
-Connect the cable female connector to the expansion connector on anAmoNo-box.
-Turn on your ittle deFormer.
-It should now automaticly have detected the anAmoNo-box. You can check this by pushing the
”Edit” button one time, to enter the edit group select screen, and then push and hold the ”Inc”
button, to scroll through the edit groups. The last selectable edit group should now say: ”anAmoNo-
BOX”.
Push the ”Edit” button one more time, to enter the parameters for it.
Connections
Audio Out:
The 1/4 inch jack connector is the audio output. Connect this to a mixer or an amplifier, or connect
it to one of ittle deFormers audio inputs, if you would like to re-sample or further process the
sound from anAmoNo-box. The sound is not internally routed back to ittle deFormer.
Parameters
When anAmoNo-box are connected to your ittle deFormer, a new edit group: ”anAmoNo BOX”
will appear. Under this group, you will find the following parameters. All parameter values are
stored within each preset.
Bus - Values: 1 to 4. This parameter selects which of the 4 audio busses, anAmoNo-box are
assigned to. Any samplings, synthsounds and audio inputs, assigned to the same bus, will be
outputted through anAmoNo-box.
The bus selected for anAmoNo-box, will not be present on ittle deFormer's main outputs. Signals
are sent to anAmoNo-box before any of ittle deFormer's effects. When you trigger a
sampling/synth, that are assigned to the same bus as anAmoNo-box, its trigger ED will flash.
Cut1- Value 0 to 255. Adjusts the cutoff frequency of the analogue multimode filter.
Cut2- Value 0 to 255. Adjusts the cutoff frequency of the analogue bandpass (BPF) filter.
Reso - Value 0 to 255. Adjusts the resonance for both of the analogue filters.
Levl - Value 0 to 255. Adjusts the output level of anAmoNo-box.
Driv – Value 0 to 255. Adjust the drive of the analogue distortion circuit.
Feed – Value 0 to 255. Adjust how much of the 2 analogue filters output, that will run through the
G-ray circuit, and be fed back into the filters inputs. This will sound different, depending on which
of the 4 G-ray values has been selected with the g-RAY parameter.
Folr - Values Off / On. When on, an envelope follower, that follows the signals sent to anAmoNo-
box, are controlling the output level. This is usefull to avoid constant screaming at higher resonance
settings.
LPF – Values Off/On. When this is on, the lowpass output of the analogue multimode filter is
active.
BPF – Values Off/On. When this is on, the bandpass output of the analogue multimode filter is
active.
HPF – Values Off/On. When this is on, the highpass output of the analogue multimode filter is
active.
Lim – Values Off/On. When on, the G-ray signal is limited to stay inside the analogue range. When
off, it is not, and are able to create digital “flip-over” effects.
gRAY – Value 1 to 4. Adjusts the amount of G-ray intermodulation.
Mod1 – Selects whether CutMod 1 should affect:
1: Only the analogue multimode filter.
2: Only the analogue bandpass filter.
1+2: Both the multimode and the bandpass filter.
Or:
1-2: Both the multimode and the bandpass filter, but the modulation of the bandpass filter is
reversed to the modulation of the multimode filter.
Mod2 – Selects whether CutMod 2 should affect:
1: Only the analogue multimode filter.
2: Only the analogue bandpass filter.
1+2: Both the multimode and the bandpass filter.
Or:
1-2: Both the multimode and the bandpass filter, but the modulation of the bandpass filter is
reversed to the modulation of the multimode filter.
Mod3 – Selects whether Modulation 3 should affect:
Reso: Resonance.
Driv: Distortion drive.
Or:
Feed: The G-ray feedback.
Cutmod 1 - Values: Source: Any ittle deFormer modulation source. Amount: 0 to 255.
Modulation of the analogue filter(s) selected by the Mod1 parameter.
Cutmod 2 - Values: Source: Any ittle deFormer modulation source. Amount: 0 to 255.
Modulation of the analogue filter(s) selected by the Mod2 parameter.
Resomod/Drivmod/Feedmod - Values: Source: Any ittle deFormer modulation source. Amount:
0 to 255.
Modulation of the parameter selected by Mod3.
Vcamod - Values: Source: Any ittle deFormer modulation source. Amount: 0 to 255.
Modulation of the VCA output level.
Written by
Flemming Christensen
”Gotharman”
2013
www.gotharman.dk

Other Gotharman Synthesizer manuals

Gotharman Gotharman's SpazeDrum Technical manual

Gotharman

Gotharman Gotharman's SpazeDrum Technical manual

Gotharman deMOON User manual

Gotharman

Gotharman deMOON User manual

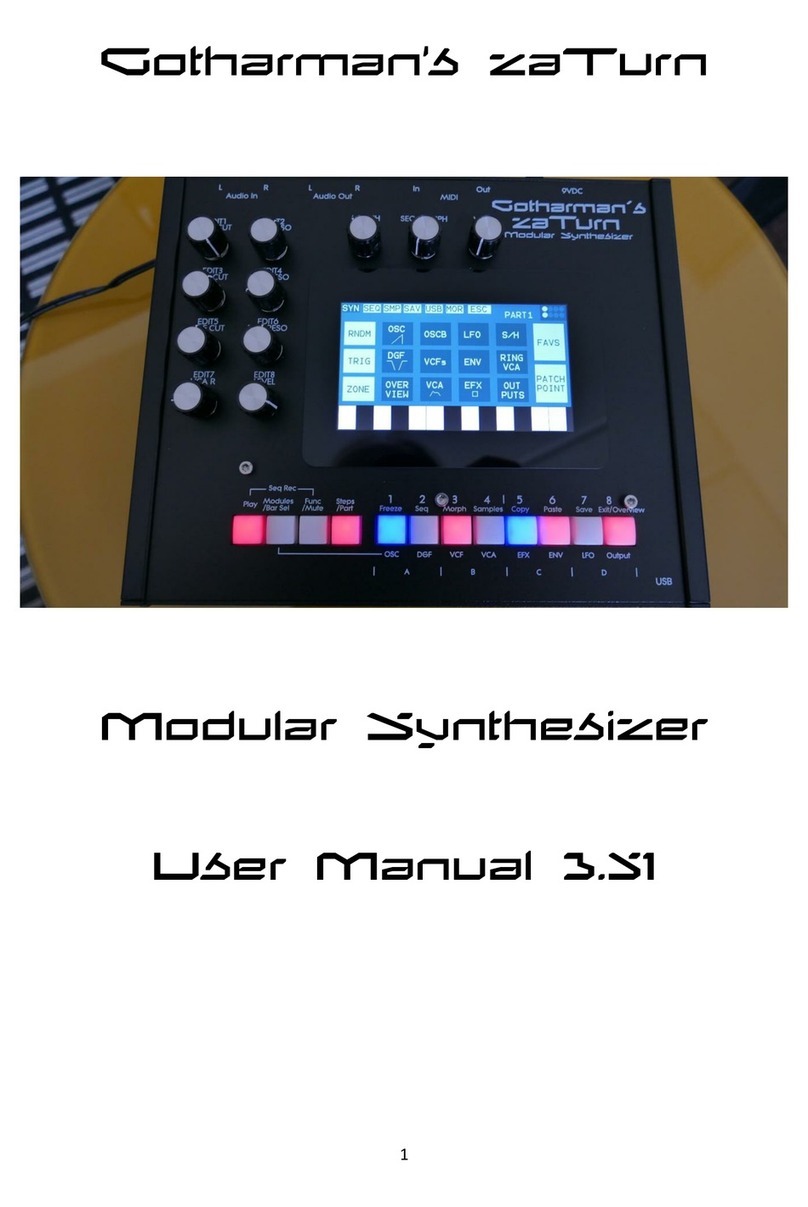
Gotharman zaTurn User manual

Gotharman

Gotharman zaTurn User manual

Gotharman SpazeDrum Black Technical manual

Gotharman

Gotharman SpazeDrum Black Technical manual

Gotharman zaTurn User manual

Gotharman

Gotharman zaTurn User manual

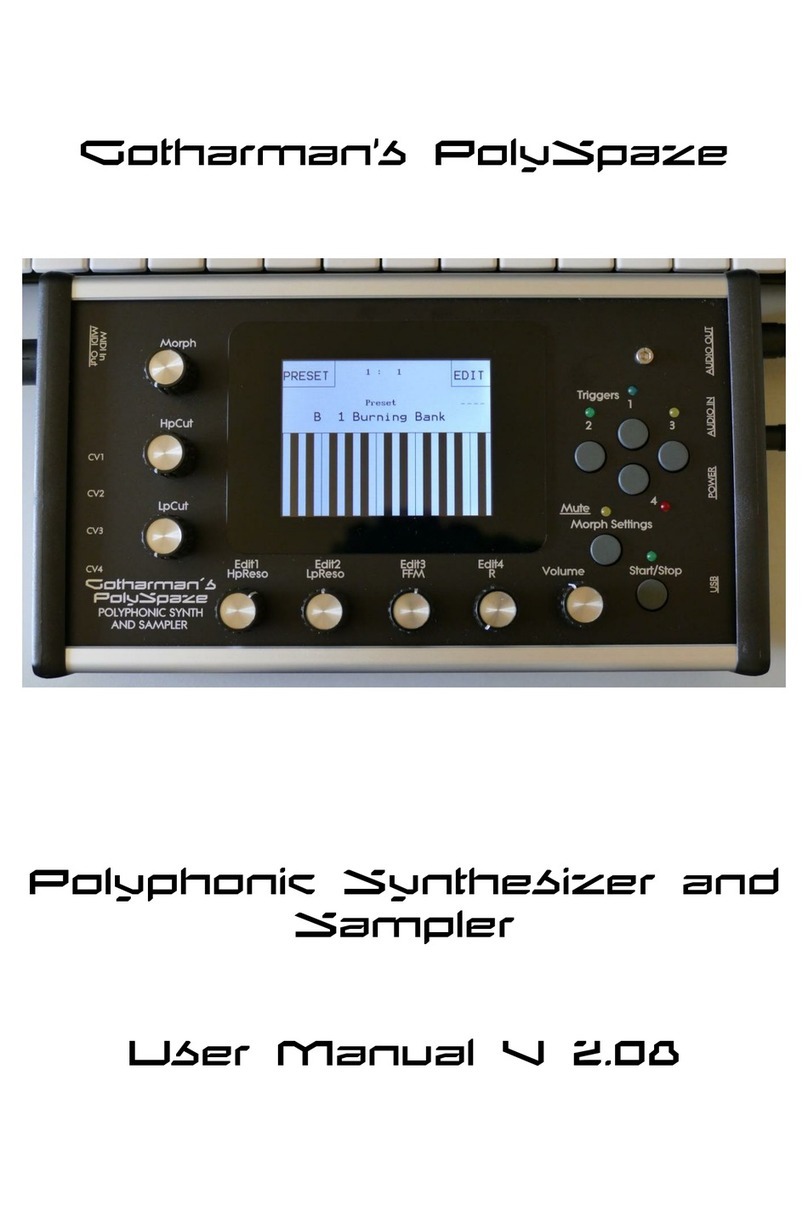
Gotharman PolySpaze User manual

Gotharman

Gotharman PolySpaze User manual

Gotharman PolySpaze User manual

Gotharman

Gotharman PolySpaze User manual

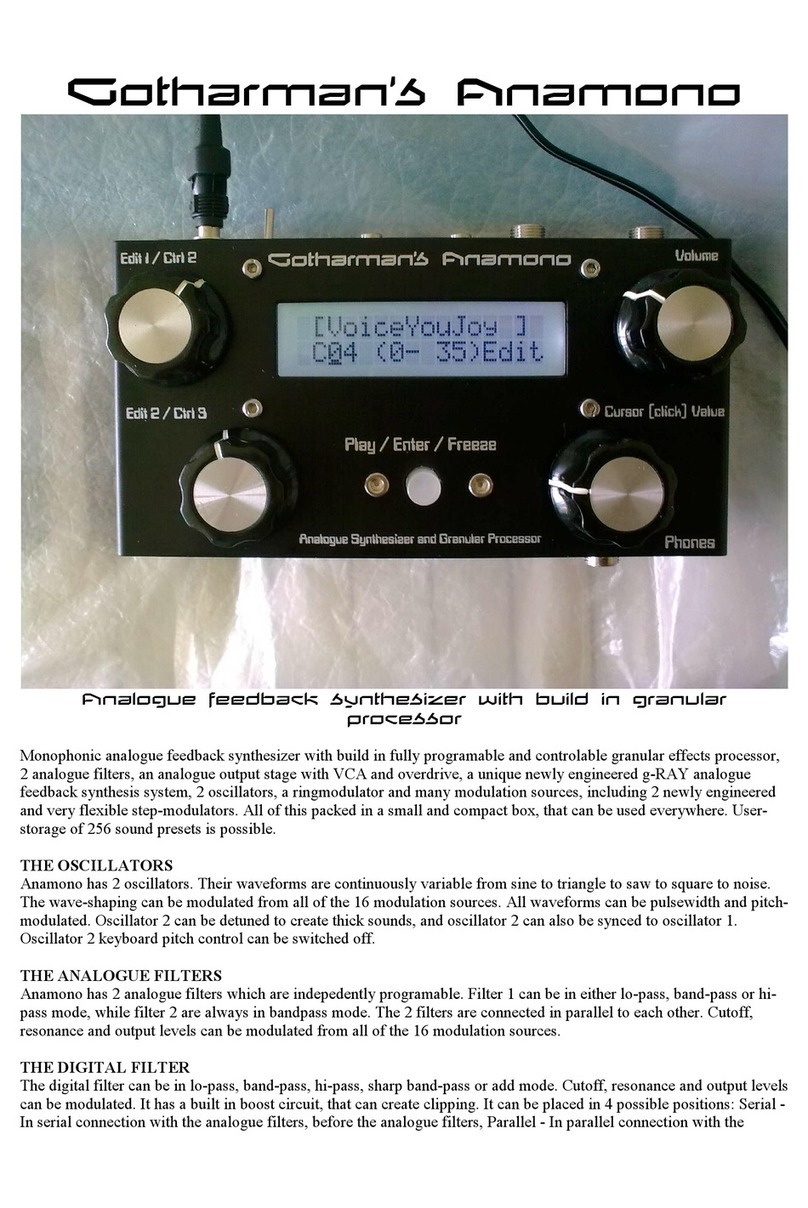
Gotharman Gotharman’s Anamono User manual

Gotharman

Gotharman Gotharman’s Anamono User manual

Gotharman Anamono Xmini User manual

Gotharman

Gotharman Anamono Xmini User manual

Gotharman SpazeDrum Blue User manual

Gotharman

Gotharman SpazeDrum Blue User manual

Gotharman deFormer User manual

Gotharman

Gotharman deFormer User manual

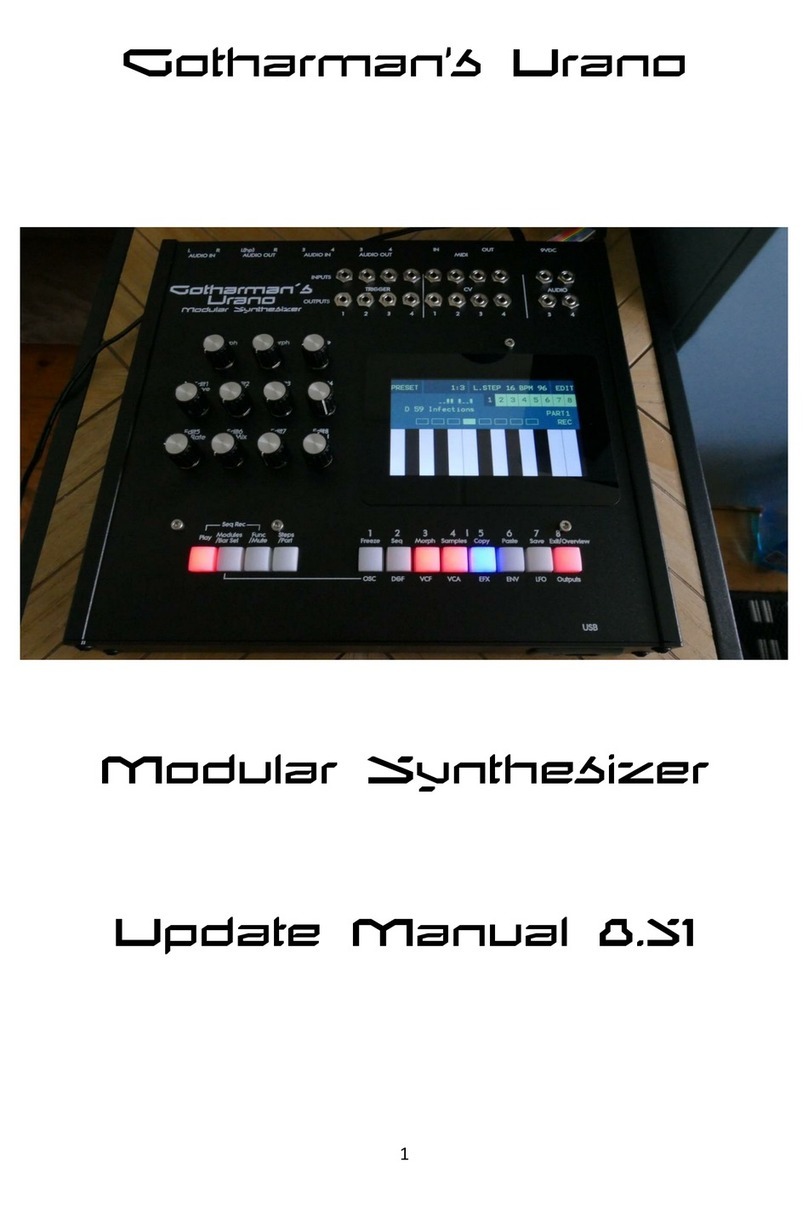
Gotharman Urano User manual

Gotharman

Gotharman Urano User manual

Gotharman SpazeDrum Black Technical manual

Gotharman

Gotharman SpazeDrum Black Technical manual

Gotharman Urano Technical manual

Gotharman

Gotharman Urano Technical manual

Gotharman Anamono User manual

Gotharman

Gotharman Anamono User manual

Gotharman zaTurn User manual

Gotharman

Gotharman zaTurn User manual

Gotharman Urano Installation guide

Gotharman

Gotharman Urano Installation guide

Popular Synthesizer manuals by other brands

Korg MR-16 owner's manual

Korg

Korg MR-16 owner's manual

Kiwi Technics KIWI-106 manual

Kiwi Technics

Kiwi Technics KIWI-106 manual

Behringer MS-1-BK Bulletin

Behringer

Behringer MS-1-BK Bulletin

Wurlitzer 120 Service manual

Wurlitzer

Wurlitzer 120 Service manual

Blonder tongue Clearview NTSC16 quick guide

Blonder tongue

Blonder tongue Clearview NTSC16 quick guide

Roland Jupiter-Xm Supplementary manual

Roland

Roland Jupiter-Xm Supplementary manual

Yamaha DX100 owner's manual

Yamaha

Yamaha DX100 owner's manual

Alesis qs6.1 Reference manual

Alesis

Alesis qs6.1 Reference manual

Korg modwave native manual

Korg

Korg modwave native manual

Roland BK-5OR Brochure & specs

Roland

Roland BK-5OR Brochure & specs

Casio Privia PX-120 user guide

Casio

Casio Privia PX-120 user guide

Roland Jupiter-Xm Reference manual

Roland

Roland Jupiter-Xm Reference manual

Yamaha CS15D owner's manual

Yamaha

Yamaha CS15D owner's manual

Yamaha CS01 owner's manual

Yamaha

Yamaha CS01 owner's manual

Roland GW-7 Midi implementation

Roland

Roland GW-7 Midi implementation

Yamaha CP35 owner's manual

Yamaha

Yamaha CP35 owner's manual

Roland MKS-70 owner's manual

Roland

Roland MKS-70 owner's manual

Philips PM 5193 Service manual

Philips

Philips PM 5193 Service manual

manuals.online logo
manuals.online logoBrands
  • About & Mission
  • Contact us
  • Privacy Policy
  • Terms and Conditions

Copyright 2025 Manuals.Online. All Rights Reserved.