Rompa Relaxer Bubble Tube User manual

1. Product Name
Relaxer Bubble Tube by ROMPA®
2. Product Code
23272
3. Colour
Cream base
4. Brief Description
For passive, non-interactive use only.
5. Contents
Tube with base complete with base cover (cream plastic cover)
Bubble Tube Cap
Power Supply (black box)
6. Snoezelen® Stimulations
Sight
Sound

7. Best Use
For best effect, use in a darkened room.
8. Compatible ROMPA® Products
Cushioned Platform e.g. 14896 … Please see www.rompa.com for
our extensive range of cushioned platforms
Acrylic Mirror Panels e.g. 14892 … Please see www.rompa.com for
our extensive range of mirrors
20601 - Rapid water change pump (not Pump 20908)
20698 - BCB Fluid
9. Starting Up
Place on a flat, stable floor that is capable of holding the weight of this product.
Fill with clean water carefully up to approximately 5cm (2”) from the top of the tube.
Put bubble tube cap on top of the bubble tube.
Plug in the power lead and switch on.
10. Detailed Description
For passive, non-interactive use only. As this tube is not intended to be handled, a
collar is not required. Ideal for those who wish to enjoy the bubble tube without switch
interaction.
11. Safety
Do not attempt to move the Bubble Tube while filled with water.
Take extreme care when filling/emptying the Bubble Tube to ensure the electronics
remain dry.
Always disconnect the power cables when filling/emptying the Bubble Tube.
Only use the power supply provided with this product.
Always supervise the use of this product.
12. Technical Specification
Pump: Schego
Power Supply: Input: 100-240V (47-63Hz) Output: 12V DC at 1.1A
Optimal Rating: 5W 12V AC
Dimensions: 130cmH x 10.5cm tube diameter; base 36cm diameter x 12cmH

Power supply and the adaptors for different countries:
13. Installation
1. Place on a flat, stable floor that is capable of holding the weight of this product.
2. Plug the power lead into A.
3. Fill with clean water carefully until the required level is achieved. This should be
approximately 5cm (2 inches) from the top of the tube. The water level will rise when
switched on. Make sure that the jug or bucket you are using to fill the tube is also clean.
Put bubble tube cap (lid) on top of the bubble tube.
4. Once the power lead is plugged in at the wall, the green ON indicator light Bwill be
illuminated.
5. Adjust the intensity of the bubbles using the INTENSITY potentiometer knob C, located
to the left of the base controls. There are limits how far this can be turned. Please note
that as the intensity of the bubbles increases (the further clockwise it is turned), so will
the background noise from the integral pump.
C
B
A

14. Care and Maintenance
Regularly change the water and use a suitable water cleansing agent (e.g. BCB Fluid)
The environment the Bubble Tube is in will affect how often the water needs to be
changed. Bubble tubes in dark, damp environments with minimal ventilation will need
changing at a different frequency to those in bright, well-ventilated rooms. Changing the
water monthly is a good starting guideline. Plan for holidays. For example, if the bubble
tube will be switched off for long periods, empty the water out. You do not want to return
from a long holiday to find the water is green and unpleasant!
If the tube is used in an area where lime-scale in water is a problem, it may be advisable
to use an appropriate water softener
Failure to cleanse your bubble tube water and/or use an appropriate water softener can
block the valves of the bubble tube and so encourage product failure.
Do not add bleach, coloured dyes or salt to the water
Once this product is eventually exhausted, please dispose of it appropriately and responsibly.
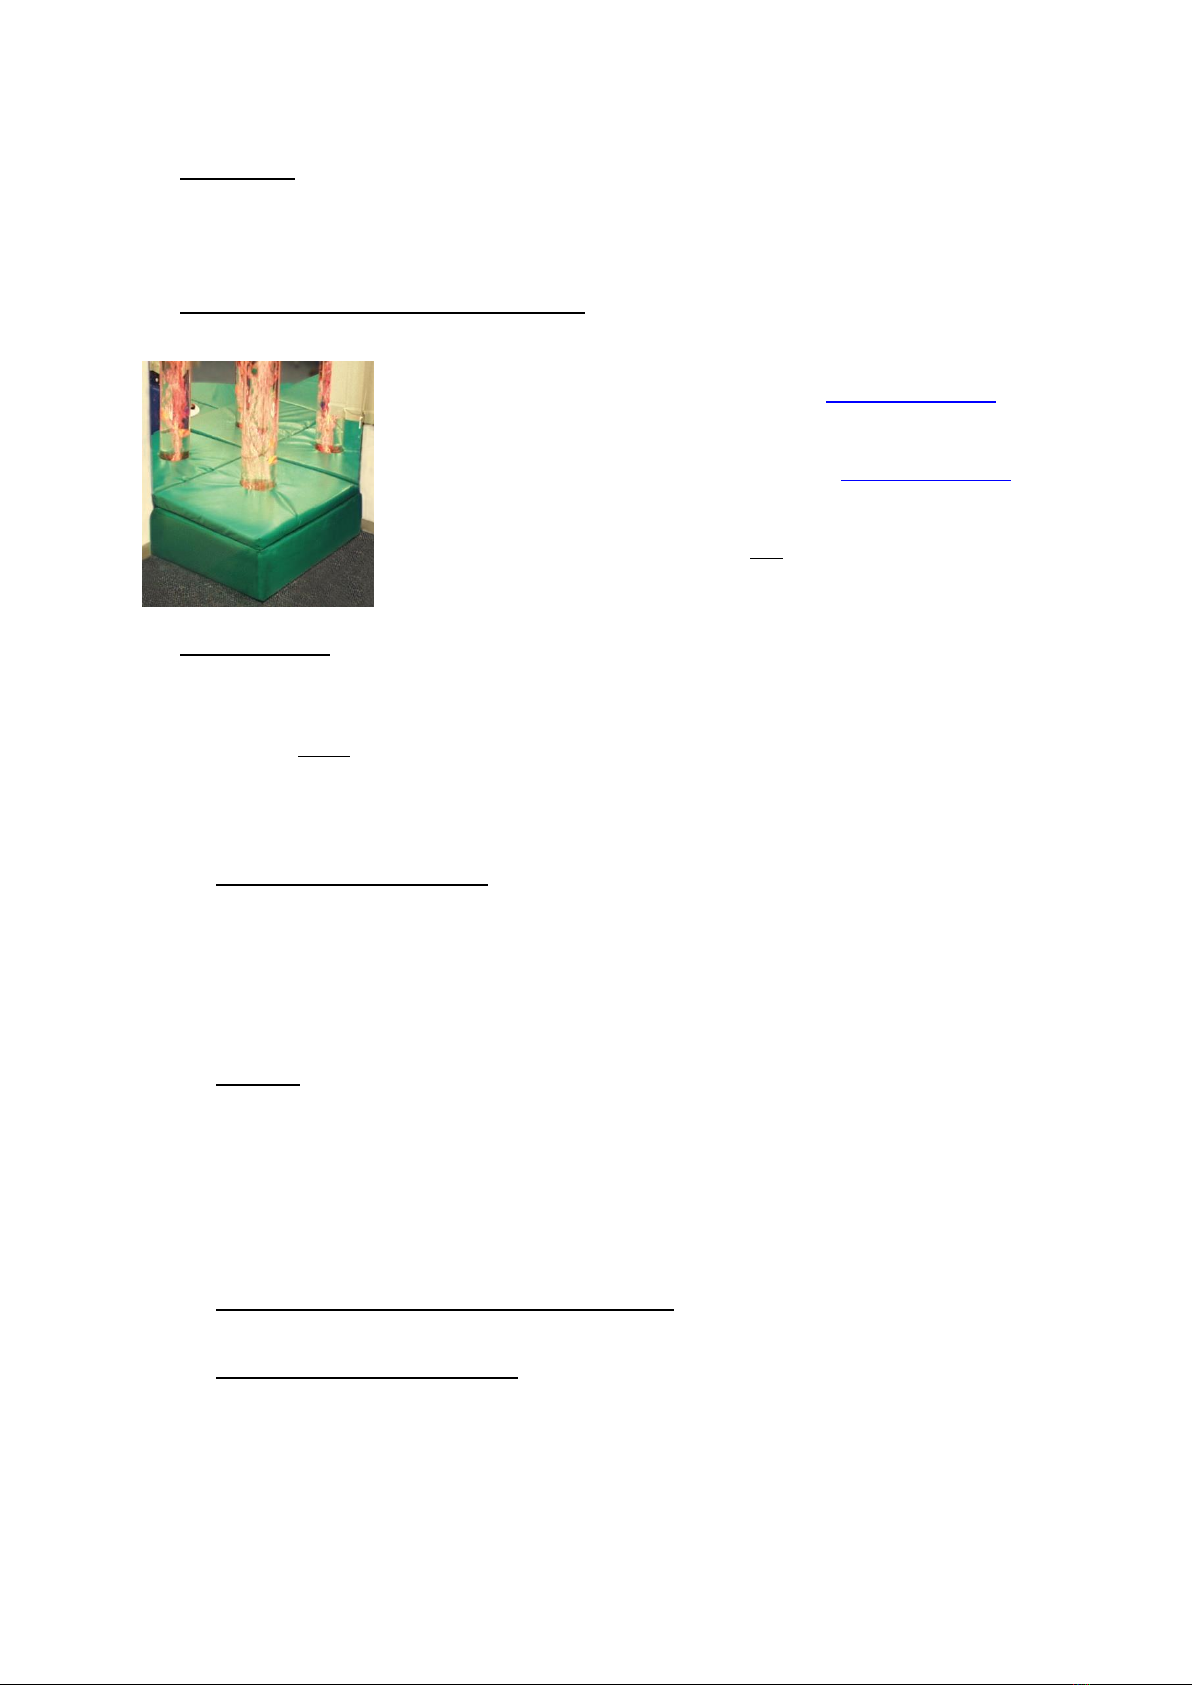
Do not turn the bubble tube upside down as this could dislodge the air stone. If the
bubble tube is noisy, it is probable that the air stone has become dislodged.
TO EMPTY THE RELAXER BUBBLE TUBE
Use an appropriate pump. Remove the cap (round lid at the top of the tube) and remove
the water from the top of the tube using your pump. A pump is available separately from
ROMPA®: code 20601. Alternatively, very carefully lift the tube up and pour the water away
into an appropriate place, making sure that the tube is not turned upside down.
Bubble Tube Filling Pump 20908 is not compatible with the Relaxer Bubble Tube.
GENERAL CARE
Wash the exterior of the Bubble Tube with a slightly soapy cloth. Wipe excess soap
away with a damp cloth. NOTE: Never use solvent based cleaning products, methylated
spirits, alcohol wipes or liquid detergents to clean the Bubble Tube.
15. Troubleshooting
In the unlikely event of product failure, please check the following:
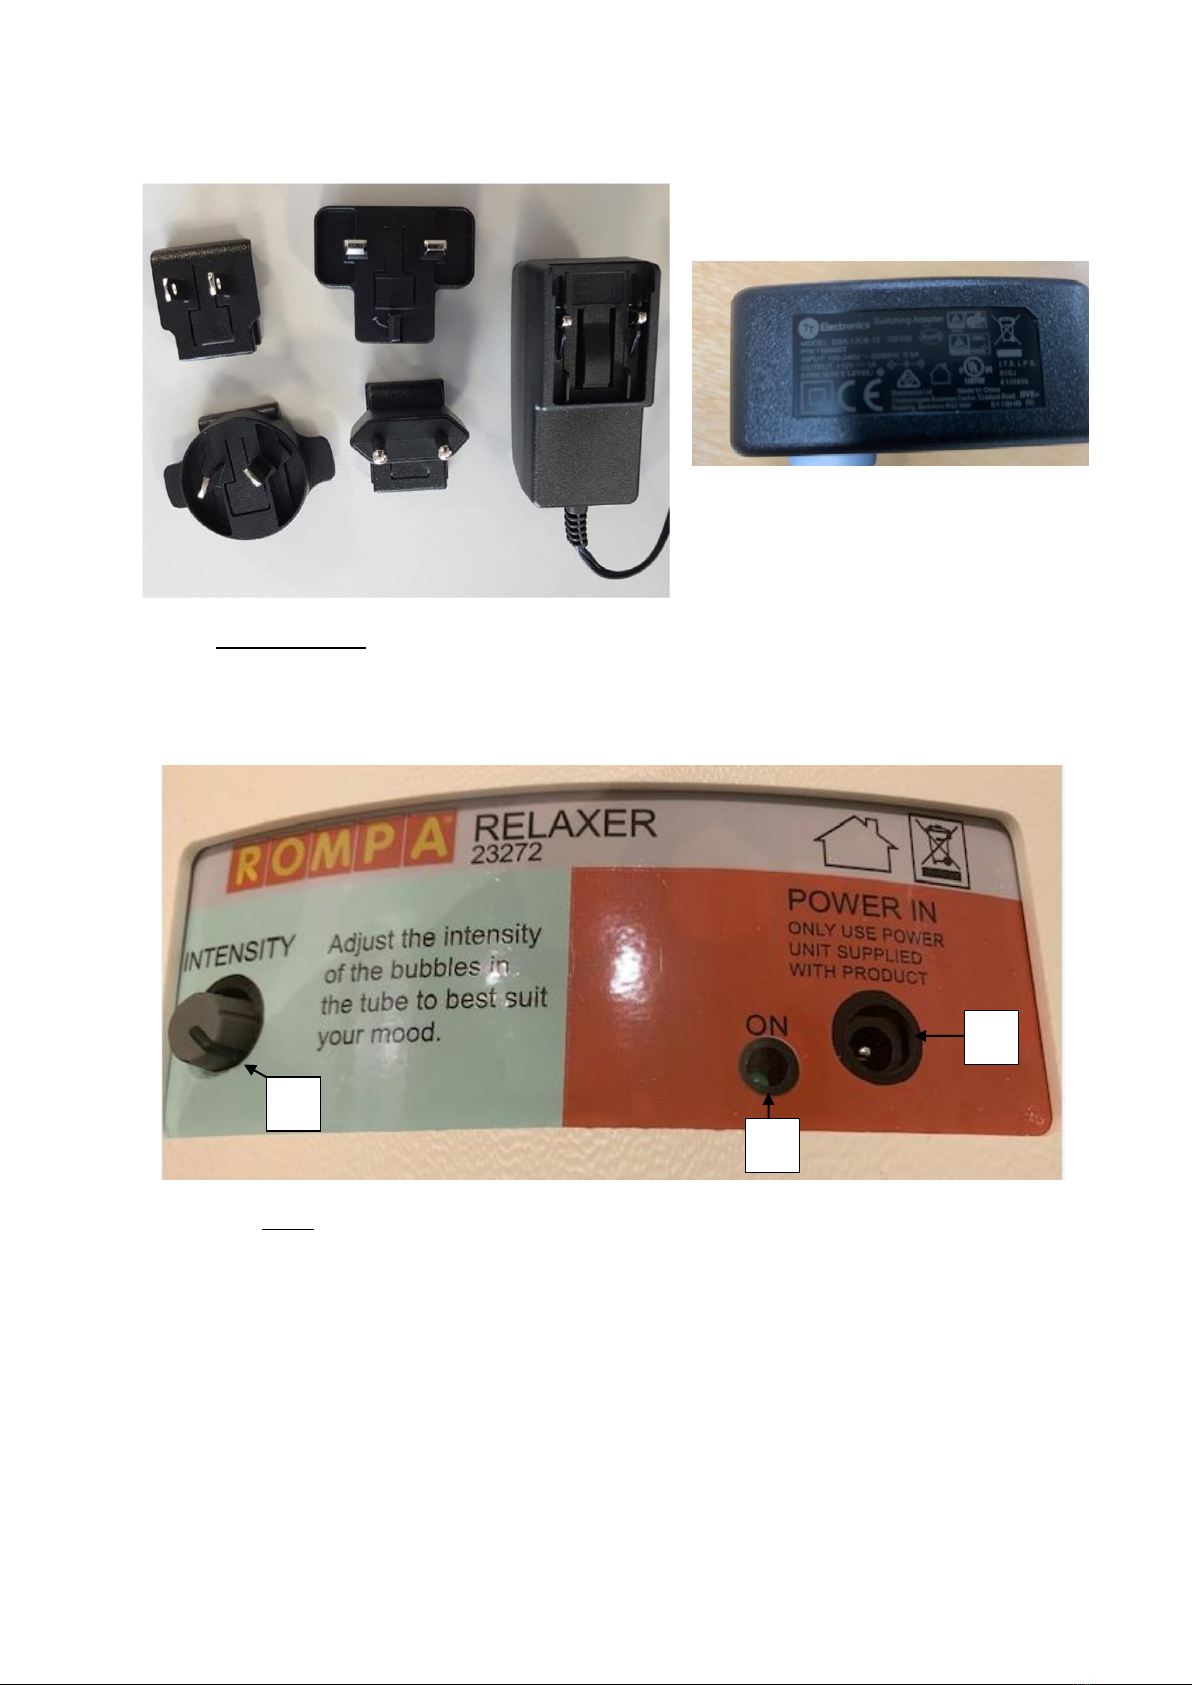
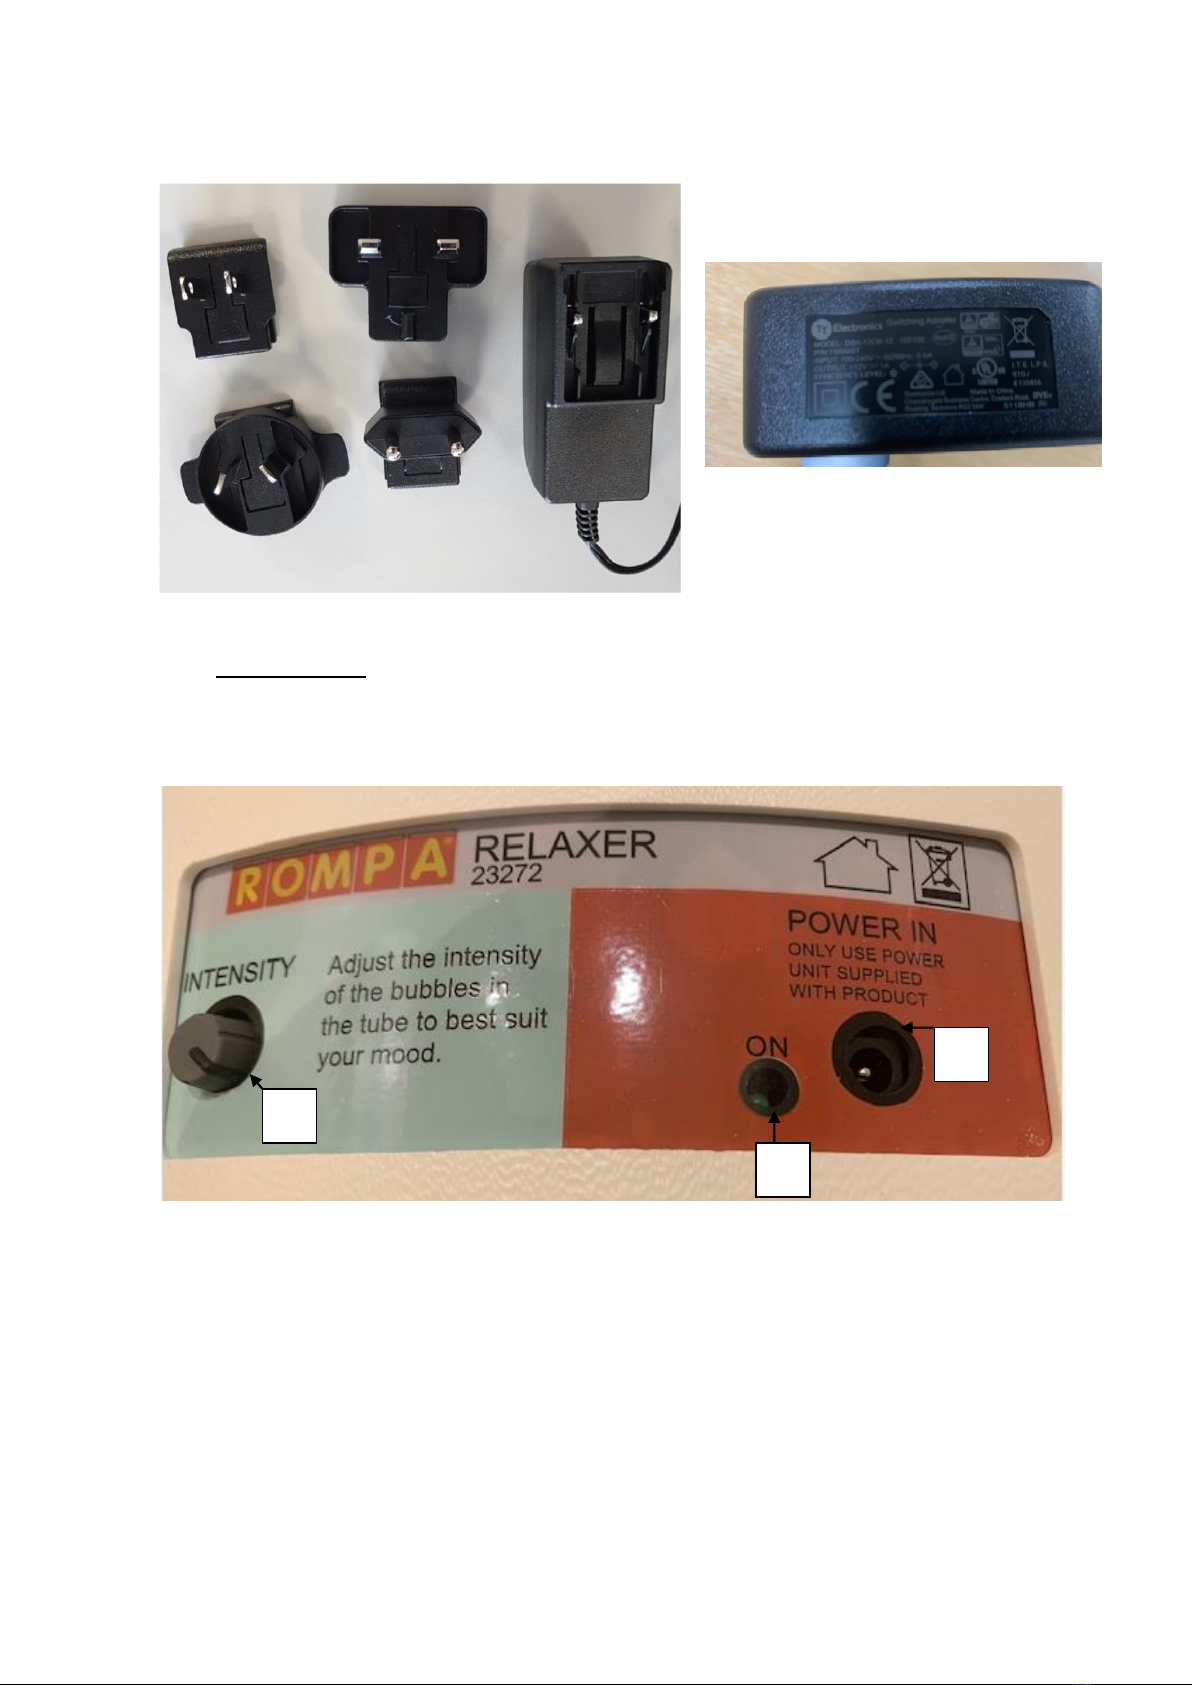
Problem: No lights, no bubbles
• Check that the bubble tube is plugged in at the wall
• Check that the green ON light is illuminted
Further copies of these instructions can be downloaded at www.rompa.com
We hope you find our instructions invaluable. If you have any suggestions for improving
them further your comments will be greatly received –please contact us at
RELAXER BUBBLE TUBE 19120, September 2019
Copyright ROMPA® Ltd

1. Produit
Colonne à bulles Relaxer ROMPA®
2. Code
23272
3. Couleur
Crème
4. Brève Description
Une colonne à bulles attirante pour les utilisateurs passifs.
5. Contenu
Colonne avec base qui comprend un couvercle de base (couvercle couleur crème)
Bouchon de colonne
Boîte de tension (boîte noire)
6. Stimulations Snoezelen®
Vue
Ouïe

7. Usage
Pour l’usage dans l’obscurité.
8. Produits Compatibles de ROMPA®
Plateforme rembourrée pour encastrer la base de la colonne à
bulles ex. 14896 … voir www.rompa.com
Panneaux miroirs en plexiglas ex. 14892 … voir www.rompa.com
20601 - Pompe (Pompe 20908 n’est pas compatible)
20698 - Purificateur de l’eau BCB
9. Fonctionnement
Mettez la colonne sur une surface plate et stable pouvant soutenir son poids.
Connectez le câble de tension et branchez.
Remplissez la colonne d’eau à moins de 5-10cm du haut.
Mettez le couvercle en position et puis allumez.
10. Description
Une colonne à bulles attirante pour les utilisateurs passifs. Idéal pour les salles
d'attente. Il n'est pas nécessaire d'utiliser le collier d'arrimage au mur puisque ce n'est
pas le but de toucher cette colonne à bulles.
11. Sécurité
Ne pas déplacer la colonne quand elle est remplie d’eau.
Faire attention en remplissant/vidant la colonne –ne pas mouiller les parties
électroniques.
Débranchez avant de remplir/vider la colonne
Il faut toujours surveiller l’usage de ce produit
12. Caractéristiques Techniques
Pompe: Schego
Boîte de tension: Alimentation: 100-240V (47-63Hz) Sortie: 12V DC à 1.1A
Puissance: 5W 12V AC
Dimensions: 130 cm de hauteur x 10.5 cm de diamètre; base 34 x 34 x 12 cm

Boîte de Tension et adaptateurs pour plusieurs pays :
13. Installation
1. Mettez la colonne sur une surface plate et stable qui pouvant soutenir son poids.
2. Connectez le câble de tension et branchez A.
3. Procédez au remplissage. Remplissez la colonne de l’eau à moins de 5-10cm du haut. Le
niveau de l’eau se lèvera dès qu’on allume. Vérifiez que votre récipient de remplissage
soit propre. Mettez le bouchon en position.
4. Une fois branché, la lumière verte B s’allumera pour indiquer alimentation.
5. Réglez l’intensité des bulles en vous servant du cadran C.Tournez le cadran dans le sens
des aiguilles d’une montre pour accroître l’intensité. En réglant l’intensité des bulles, on
règle aussi l’intensité du bruit de la pompe interne.
B
A
C

14. Soin et Entretien
Rajoutez de l’eau et ajoutez un stérilisateur d’eau convenable (ex. BCB)
La position de la colonne influencera la fréquence de vidange. Il faut vider plus
souvent les colonnes placées dans les salles obscures et humides avec peu de
ventilation plutôt que celles placées dans les salles claires et bien ventilées. Une
vidange chaque mois est recommandée. Pendant les vacances, si la colonne reste
débranchée pendant longtemps, il est préférable de la vider.
Remplir votre colonne avec de l’eau déminéralisée.
Si vous ne respectez pas ces consignes (vidange, utilisation de BCB et d’adoucisseur
etc.) risque l’obstruction des tuyaux et donc la panne de la colonne.
Ne pas verser d’eau de Javel, de teintures ou de sel dans l’eau.
Ne pas renverser la colonne (pour ne pas déboiter les éléments du mécanisme,
pompe etc…). Si votre colonne est bruyante, il est probable que certains éléments
soient détachés.
POUR VIDER LA COLONNE RELAXER
Servez-vous d’une pompe (ex. 20601). Enlevez le bouchon et pompez l’eau du
dessus de la colonne. Autrement, levez la colonne avec grand soin et videz l’eau
dans un récipient. Ne pas renverser la colonne.
La pompe 20908 n’est pas compatible avec cette colonne.
SOIN
Nettoyez l’extérieur de la colonne avec un chiffon légèrement savonneux et puis
essuyez avec un chiffon propre. N.B. Ne jamais utiliser de solvants, de détergents,
ou d’alcool à brûler.
15. En cas de problèmes
Problème: Il n’y a pas de lumières ou de bulles
• Vérifiez que la colonne soit branchée
• Vérifiez que la lumière verte soit allumé
COLONNE À BULLES RELAXER 19120, septembre 2019
Copyright ROMPA®Ltd
This manual suits for next models
1
Table of contents
Languages:
Other Rompa Home Lighting Accessories manuals
Popular Home Lighting Accessories manuals by other brands

Easymax
Easymax L119 instructions

MIRABELLA
MIRABELLA ANKO 1.4M RGB Pixel Corner Light user manual

Conrad
Conrad 36 18 06 operating instructions

Tekky
Tekky HOME ACCENTS Holiday 22TK60412 Installation and operating instructions

Playlearn
Playlearn BW120 user manual

Home Accents Holiday
Home Accents Holiday BOWOTHD180B instruction manual