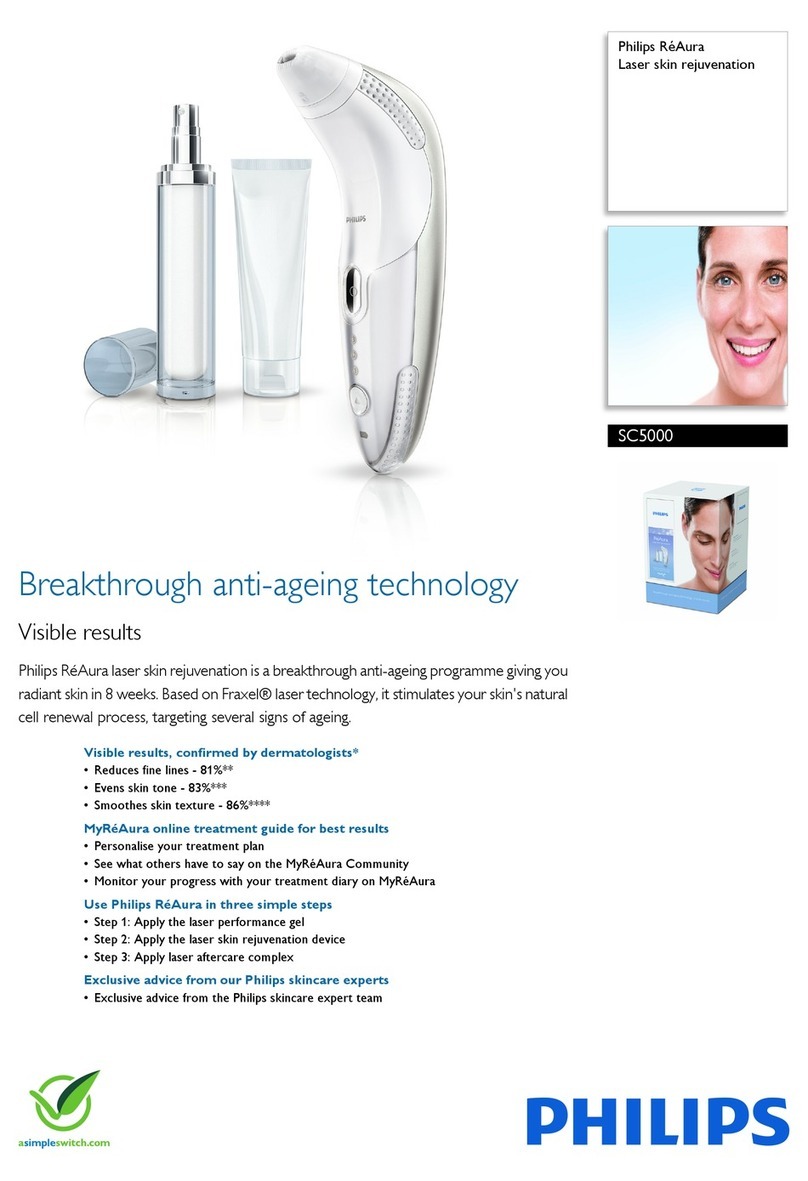
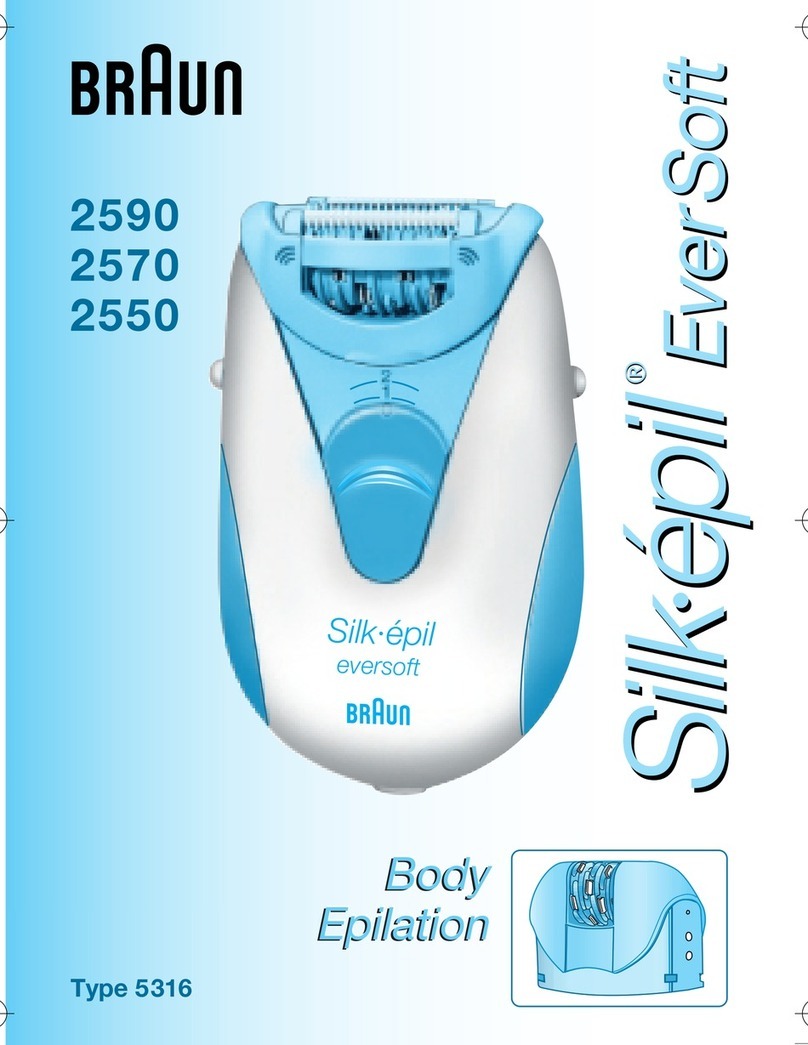
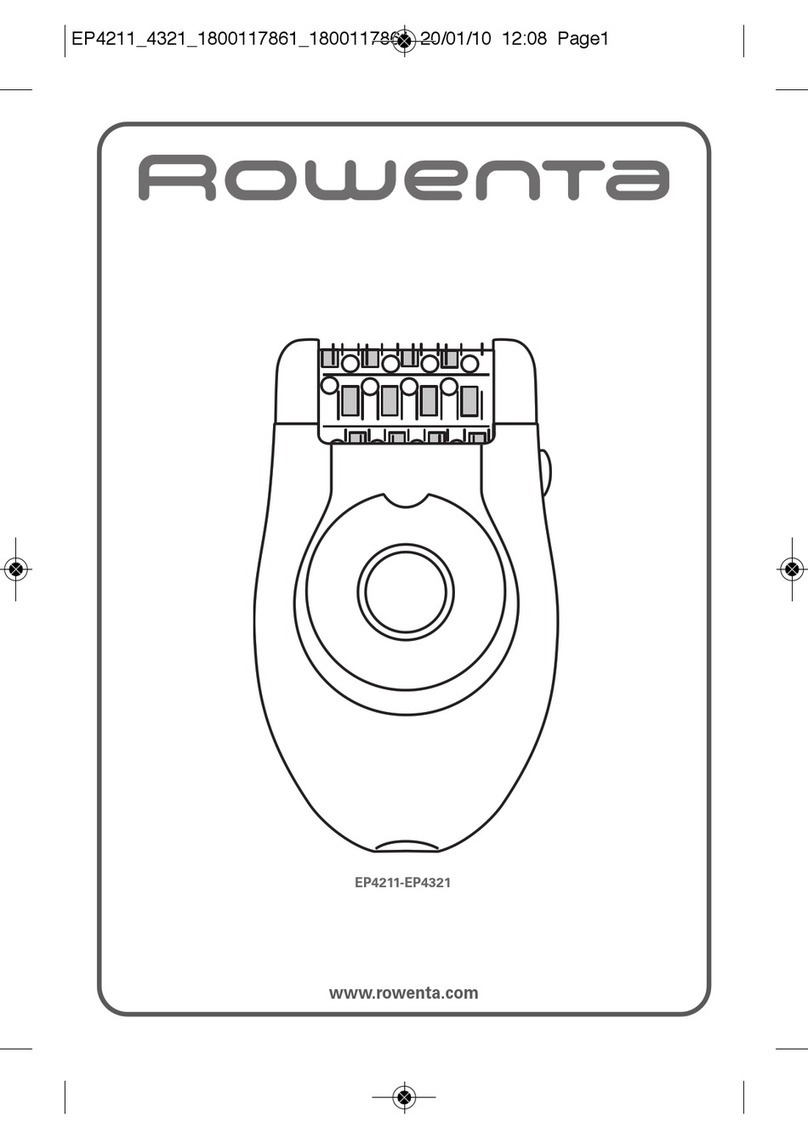
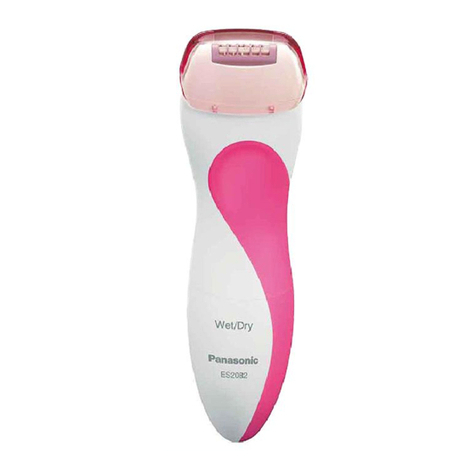
manuals.online logo
Brands
  1. Home
  2. •
  3. Brands
  4. •
  5. Rowenta
  6. •
  7. Epilator
  8. •
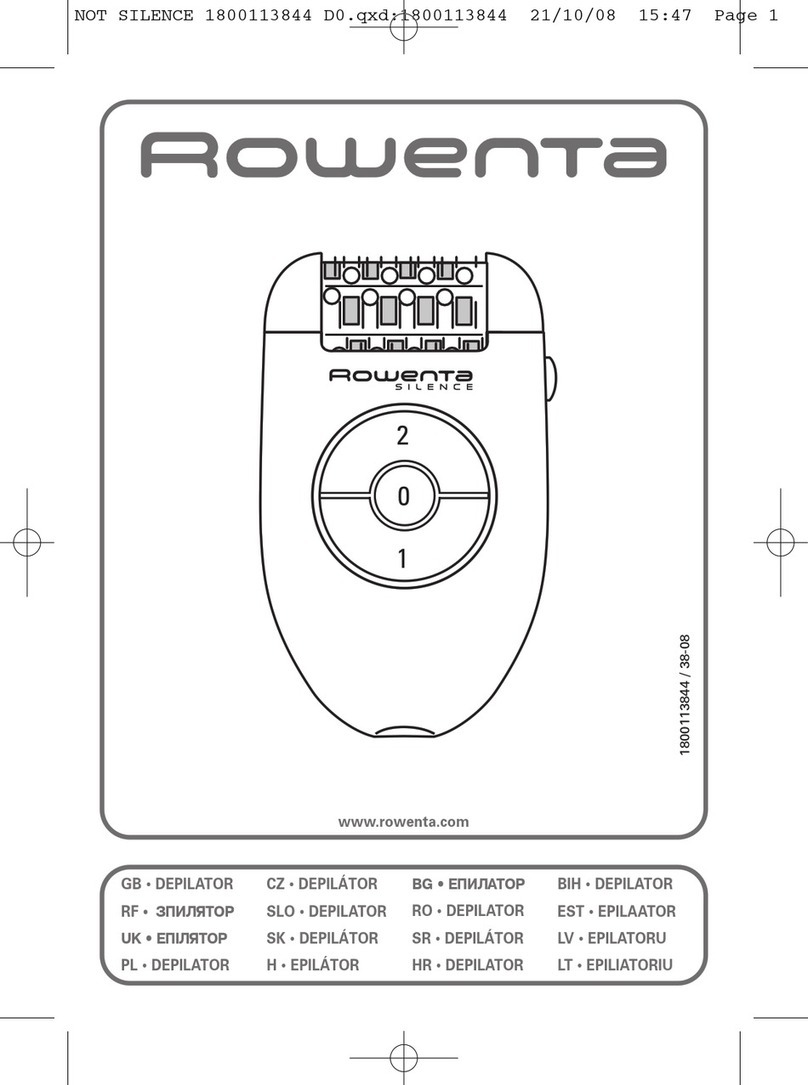
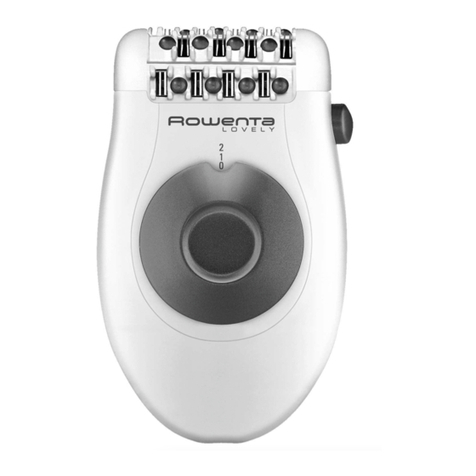
  9. Rowenta Lovely EP4211 User manual

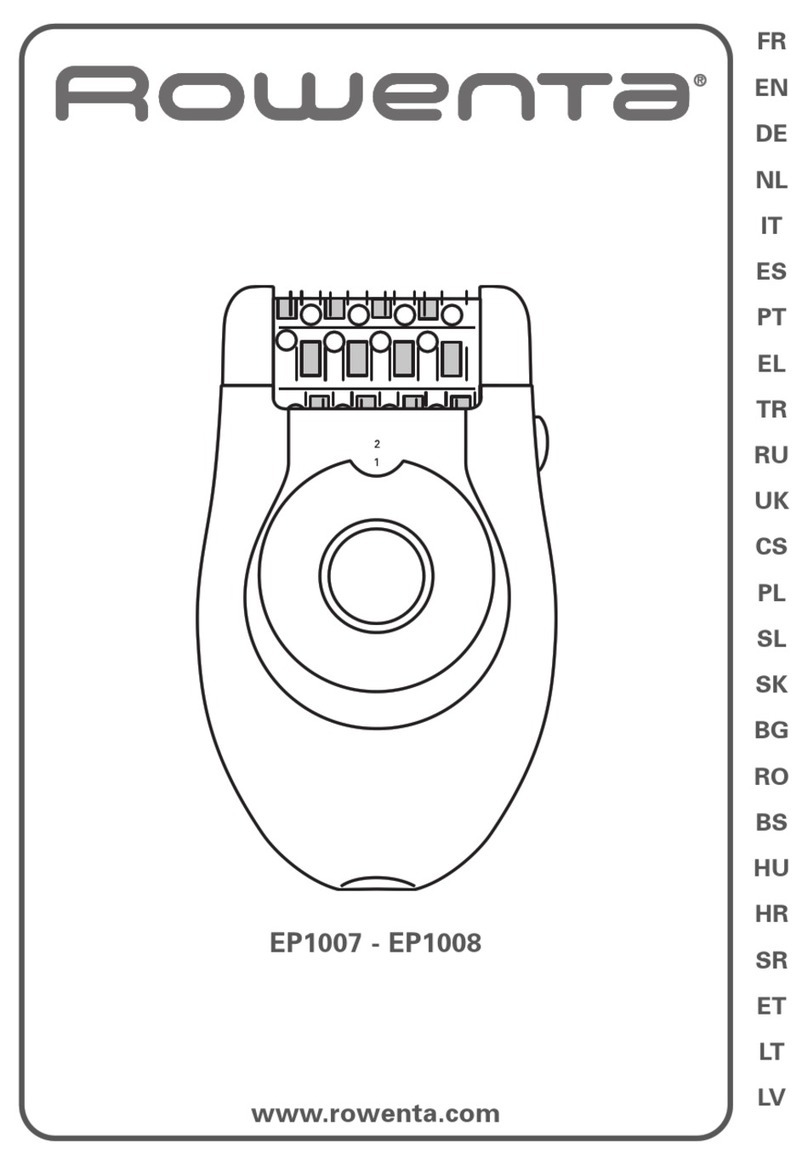
Rowenta Lovely EP4211 User manual

www.rowenta.com
EP4211-EP4321
EN • DEPILATOR
RU • ЗПИЛЯТОР
UK • ЕПІЛЯТОР
PL • DEPILATOR
CS • DEPILÁTOR
SL • DEPILATOR
S • DEPILÁTOR
HU • EPILÁTOR
BG • ЕПИЛAТОР
RO • DEPILATOR
SR • DEPILÁTOR
HR • DEPILATOR
BS • DEPILATOR
ET • EPILAATOR
LV • EPILATORU
LT • EPILIATORIU

12
15
16
14
17
15
13
7
6
8
1
9
10
11
45
18
23

1
Please read carefully before use
1-DESCRIPTION OF YOUR APPLIANCE
2-SAFETY
This appliance complies with the technical rules and standards for safety cur-
rently in force (Electromagnetic Compatibility, Low Voltage, Environnement).
Voltage : Ensure that this voltage corresponds to that of your mains supply. Incorrect
connection may cause irreparable damage which is not covered by the guarantee.
This appliance is intended for personal domestic use only. It must only be used with the
enclosed adapto.
Never use if the appliance (depilator or adaptor) is damaged or in the event of any
damage caused by dropping the appliance (invisible damage may be dangerous).
This appliance can only be repaired using special tools. In the event of any after sales
problem, please consult an approved service agent (see enclosed leaflet).
We decline any responsibility for damage arising from incorrect use of the appliance or
use of the appliance in any way other than that specified in these instructions.
When the depilator is in use, it must not come into contact with eyelashes, hair, clothes
or any other objects, in order to avoid any danger of injury or blockage.
Keep a careful eye on the appliance if used on, or in the presence of children or invalids.
Do not use the depilator:
- on your face
- on broken, burnt or sore skin
- on sensitive areas (varicose veins, moles, birthmarks, warts…)
- if you suffer from skin complaints, (eczema, inflam-mations, acne…).
If using on the bikini line, only use this appliance for the external area. Do not use it for
more intimate zones (pubic lips).
For hygiene reasons, it is advised that you do not allow anyone else to use your appliance.
When in use, the wall socket must be readily accessible.
Remove adapter from the wall outlet to disconnect from the supply.
For use indoor only.
Close supervision is necessary when the appliance is used on or in the presence of
children or severely disabled people.
Never leave the appliance within the reach of unsupervised children.
Do not use an extension lead.
Never use the appliance with damp hands.
Do not leave the appliance in direct sunlight.
Do not use the appliance at cold temperatures.
Do not immerse or put under running water.
EN
1-Depilator head
2-Tweezers
3-Massaging beads
4-Exfoliator head (EP4211)
5-2 exfoliating bands (depending on model)
6-Release button for removable head
7-Cap
8-2 speed and stop switch
9-Cleaning brush
10-Adaptor
11-Pouch
12-Shaving head (EP4321)
13-Micro grid
14-Clipper
15-Grip zones
16-Blade unit
17-Protective hood
18-Armpit accessory (EP4211-4321)

Do not use aggressive products or solvents for cleaning.
Do not use at temperatures of less than 0°C or more than 35°C
GUARANTEE
Your appliance is designed for use in the home only. It should not be used for
professional purposes. Any commercial use, inappropriate use or failure to com-
ply with the instructions, the manufacturer accepts no responsibility and the
guarantee will not apply.
The guarantee becomes null and void in the case of improper usage.
3-PREPARATION OF THE SKIN
Your skin must be clean and dry.
Do not apply either cream or hydrating milk before depilation.
If you previously used a razor for depilation:
- the first few times you use the depilator, your skin may feel more sensitive, as shaving
has made your hair thicker and stronger. This sensation will lessen the more you use your
depilator : the hair will grow back less quickly and become thinner.
Your depilator will be much more effective and easier to use if you use it regularly.
We advise you to use your depilator as soon as your hair starts to grow back.
4-SWITCH ON 5-SWITCH OFF
6-PEELING
Peeling will enable you to limits growth of subcutaneous hair if practised
regularly.
We strongly recommend that you use the Exfoliator Head 2 days before using your epila-
tor to avoid irritating your skin.
And not to use a peeling gel or cream at the same time.
Never carry out peeling on sensitive areas (armpits / bikini line / face).
After peeling, we advise you to wipe over the area with a moist flannel to
remove any dead skin. Dry the skin thoroughly afterwards.
• Method :
- Press the release button to remove the epilator head.
- Clip the Exfoliator Head to the epilator.
- Set the switch to “1”.
- Start exfoliating with a slow, gentle up and down movement.
1
2
1
2
2

When using the Micro-Peeling function for the first time or if your skin is
very delicate, we recommend:
1. skin is wet before peeling, use cotton wool or a flannel to do this
2. making slow and gentle rotating movements when using the appliance3.
not to use the appliance more than twice on the same area.
• Replacing the exfoliating band
- Press the release button to remove the Exfoliator Head from the epilator.
- Using the plastic end of the cleaning brush unclip the band as follows:
1. Turn the Exfoliator Head over and hold it in place by gripping the edges between your
thumb and forefinger.
2. Turn the band so that its groove comes round to the central position.
3. Insert the end of the cleaning brush in the groove and push to eject the band.
4. Insert the new band by slotting the fins (b) of the exfoliator unit in the groove of the
band and pushing until it clicks!
7-LEG HAIR REMOVAL
For optimum epilation, we recommend that you tilt the epilator
slightly towards your skin in the direction of epilation, as shown in
the diagram.
- Move the switch to the on position “2“.
- The switch must always remain visi-
ble during use.
- Shave against the lie of the hair,
slowly and without pressing, with
the shaver perpendicular to your
skin.
a
b
3

8- HAIR REMOVAL FROM SENSITIVE AREAS
For optimum epilation, we recommend that you tilt the epilator
slightly towards your skin in the direction of epilation, as shown in
the diagram.
• Preparing the area where you want to
remove hair:
- If the hairs are long trim to approximately 1cm.
- Dry the area thoroughly to ensure any trace of
deodorant or perspiration are removed.
A- With the epilator
- Fit the armpit accessory (18) onto the epilator
head and push in until you hear a click.
- Set the switch to position 1.
Shave against the lie of the hair, slowly and without pres-
sing, with the shaver perpendicular to your skin.
First from bottom to top ...
... Then from top to bottom.
Important :
a) Keep your arm raised and stretched throughout the
hair removal process.
b) Stretch the skin to make it easier.
Important:
Make sure the skin is stretched properly.
B-With the shaver head (EP4321):
• Operating instructions:
- Remove the epilator head by pressing the ejection button.
- Fit the shaver head (12)
onto the appliance
- Set the switch to position 2.
- After use, stop the
appliance.
- Remove the shaver head by
pressing the ejection button.
Shave against the lie of the hair, slowly and without pressing, with the shaver
perpendicular to your skin.
4
clic!

5
9- CLEANING THE APPLIANCE
• Cleaning the epilator head:
1. Unplug the epilator.
2. Press the release button on the head and remove the epilator head.
3. Rinse the epilator head under cold running water by turning it for 5 to 10 seconds.
4. Shake the epilator head vigorously
and dry it with a towel before fitting it
to the epilator again.
You can also use the small cleaning brush
supplied.
• Cleaning the shaving head
- Stop and unplug the device.
- Remove the protective hood (17).
To do so: hold the appliance firmly and place your fingers on the grip
zone (15) on the shaving head and then pull upwards.
You will remove the protective hood (17) from the blade unit (16).
- Carefully remove the hairs by blowing on
and around the micro grid (13)
Never use the small brush for cleaning the micro grid (13).
You can also run the protective hood (17) and the blade block (16)
under running cold water to remove all the hair. Shake the parts well
and then dry them using a towel without pressing down on the
micro grid before reassembling them.
- Put the protective hood (17) back on the blade unit (16).
You will hear a click.
DO NOT PRESS ON THE MICRO GRID WHEN PUTTING IT BAC INTO PLACE.
Do not apply alcohol to the body of the appliance in order to avoid damaging
its colours. Do not use a metal or sharp tool.
1
2

(в
• Cleaning sensitive area accessory.
• Cleaning the Exfoliator Head.
We recommend that you change the exfoliating band after three
sessions of exfoliation or when it is worn out.
Do not clean the band under running water.
10- SKIN CARE
Small red spots may appear. They will disappear quickly.
For this reason it is preferable to use your depilator in the evening.
If necessary, apply calming cream after depilation.
11- ENVIRONMENT PROTECTION FIRST!
Your appliance contains valuable materials which can be recovered or recycled.
Leave it a local civic waste collection point.
6
!

7
(EP4211-4321)
(EP4321)
(EP4211)
(в зависимости от модели)
RU

ПОДКЛЮЧЕНИЕ ПРИБОРА ОТКЛЮЧЕНИЕ ПРИБОРА
1
2
1
2
8

9
a
b

10
clic!
A- Эпилятором
- Установите насадку для подмышек (14) на
головку эпилятора до щелчка.
- Переведите перекл чатель на 1.

B-Режуще rоловко (EP4321):
Порядок выполнения:
- Снимите rоловку эпилятора, нажав на кнопку выброса
- Установите режущу rоловку (12) на прибор
- переведите перекл чатель на
2.
- после использования
выкл чите прибор.
- Чтобы снять режущу rоловку:
поставьте пальцы по сторонам
r оловки и тяните её вверх.
11
1
2

10.
!
12
Чистка насадок для чувствительных зон

13
УВАЖНО ПРОЧИТАЙТЕ ПЕРЕД ВИКОРИСТАННЯМ
1-ОПИС
2 – ПОРАДИ З БЕЗПЕКИ
• Безпека цьоrо приладу вiдповiдає чинним технiчним правилам i стандартам (з електромаrнiтної
сумiсностi, низьковольтноrо обладнання, захисту навколишньоrо середовища).
• Напруrа: Перевiрте, щоб напруrа, вказана на вашому приладi, вiдповiдала напрузi
електромережi. Будь-яке неправильне пiдкл чення до електромережi може спричинити
непоправнi пошкодження, на якi не пошир ється rарантiя.
• Епiлятор повинен використовуватись тiльки з блоком живлення з комплекту приладу.
• Нiколи не використовуйте блок живлення з iншими приладами крiм епiлятора.
• Нiколи не використовуйте прилад (епiлятор або блок живлення), якщо вiн пошкоджений,
несправно прац є або пiсля падiння на пiдлоrу (невидимi пошкодження приладу можуть бути
для вас небезпечними).
• Вiдкл чайте прилад вiд електромережi перед виконанням операцiй доrляду i пiсля кожноrо
використання.
• Нiколи не використовуйте прилад (епiлятор або блок живлення), якщо вiн пошкоджений,
несправно прац є або пiсля падiння на пiдлоrу (невидимi пошкодження приладу можуть бути
для вас небезпечними).
• Коли прилад увiмкнений, не можна ним торкатися вiй, волосся, одяrу або будь-яких iнших
предметiв, щоб уникнути травмування або блокування приладу.
• Цей прилад можна ремонтувати лише за допомоrо спецiальних iнструментiв.
• Для вирiшення усiх проблем, що виникли пiсля придбання приладу звертайтесь до
маrазину, де ви звичайно купуєте побутовi прилади, або до уповноваженоrо сервiс-центру.
• Виробник знiмає з себе будь-яку вiдповiдальнiсть за можливi збитки, спричиненi неправильним
використанням приладу або йоrо використанням для цiлей, не передбачених у цiй iнструкцiї.
• Не використовуйте прилад:
- на обличчi
- на пошкоджених дiлянках шкiрi
- на частинах тiла, де епiляцiя може бути небезпечно (варикознi розширення вен, родимки,
родимi плями)
- якщо у вас є шкiрнi захвор вання (екзема, запалення, вуrри).
У разi використання в зонi бiкiнi цей прилад застосовується викл чно для зовнiшньоrо
контуру. Не використовуйте йоrо в найiнтимнiших зонах (лобковi rуби).
• З оrляду на вимоrи ririєни не радимо вам позичати прилад iншим л дям, навiть з вашоrо
найближчоrо оточення.
• Епiляцiя шкiри дiтей або осiб з обмеженими можливостями чи в їх присутностi вимаrає
посиленої уваrи.
1-Епiляцiйна rоловка
2-Щипчики
3-Масажнi кульки
4-Головка для пiлiнrу(EP4321)
5-2 очищувальнi валики
(в залежності від
моделі)
6-Кнопка вiдокремлення знiмної rоловки
7-ковпачок
8-2-швидкiсний перемикач i вимикач
9-щiточка для очищення
10-адаптер
11-Футляр
12-бри ча rоловка (EP4321)
13-мiкросiтка
14-rоловка для пiдстриrання волосся
15-дiлянки тримання
16-блок ножiв
17-захисний чохол
18- Аксесуар для чутливих дiлянок
(EP4211-4321)
UK

14
• Нiколи не залишайте прилад дiтям без наrляду.
• Не користуйтесь подовжувачами.
• Не користуйтесь приладом, якщо у вас волоri руки.
• Не допускайте потрапляння на прилад сонячних променiв.
• Не користуйтесь приладом при низькiй температурi.
• Не занур йте прилад у воду i не пiдставляйте пiд струмiнь води.
• Не використовуйте для очищення приладiв хiмiчно активнi речовини i розчинники.
• Не використовуйте прилад при температурах нижче 0 °C i вище 35 °C
ГАРАНТІЯ Ваш прилад призначений тiльки для особистоrо використання в домашнiх умовах.
Йоrо не можна використовувати у професiйнiй дiяльностi. У випадку неправильноrо
використання rарантiя анул ється.
3- ПІДГОТОВКА ШКІРИ
Ваша шкiра повинна бути чисто i сухо .
• Перед епiляцiє не накладайте на шкiру крем або зволожувальне молочко.
• Якщо ви ранiше для епiляцiї використовували бритву:
- пiд час кiлькох перших використань шкiра може виявляти пiдвищену чутливiсть, тому
що вiд rолiння волосся стало товщим i жорсткiшим.
Чим довше ви використовуватимете епiлятор, тим слабкiшим ставатиме це вiдчуття,
тому що волосся вiдростатиме повiльнiше i ставатиме тоншим.
• Якщо ви використовуватимете ваш епiлятор реrулярно, епiляцiя буде бiльш леrко i ефективно .
Рекомендуємо вам використовувати епiлятор тодi, коли волосся почне вiдростати.
4-ПІДКЛЮЧЕННЯ 5-ВІДКЛЮЧЕНН
ДО НАПРУГИ ВІД НАПРУГИ
6. ПІЛІНГ
Пiлiнr дає вам можливiсть Обмежити рiст пiдшкiрноrо волосся за умови оrо
реrулярноrо здi снення.
Ми настiйно рекомендуємо вам використовувати rоловку для пiлiнrу за 2
днi до епiляцiї, щоб уникнути подразнення шкiри.
• І не радимо також одночасно користуватись rелем або кремом для
пiлiнrу.
• Не робiть пiлiнr на чутливих дiлянках шкiри (пiд пахвами / на лiнiї бiкiнi /
на обличчi).
• Пiсля пiлiнrу рекомендуємо протерти шкiру волоrо фланелл для видалення
вiдмерлих клiтин шкiри. Пiсля цьоrо насухо витрiть шкiру.
1
2
1
2

• Спосiб використання:
- Натиснiть кнопку вiдокремлення епiляцiйної rоловки.
- Приєднайте rоловку для пiлiнrу до епiлятора.
- Встановiть вимикач у положення “1”.
- Почнiть процедуру пiлiнrу, повiльно i плавно руха чи прилад вrору i вниз.
Якщо у вас дуже делiкатна шкiра, то при першому використаннi функцiї мiкропiлiнrу
рекомендуємо:
1. зволожити шкiру перед пiлiнrом, використову чи для цьоrо бавовняну вату або
фланель
2. робити приладом повiльнi i плавнi круrовi рухи
3. використову чи прилад, не обробляти одну й ту саму дiлянку шкiри бiльше двох разiв.
• Замiна очищувальноrо валика
- Натиснiть кнопку вiдокремлення rоловки i знiмiть rоловку для пiлiнrу з епiлятора.
- Користу чись пластиковим кiнцем щiточки для очищення, замiнiть валик, дi чи
наступним чином:
1. Перевернiть rоловку для пiлiнrу i тримайте її нерухомо за краї мiж великим та
вказiвним пальцями.
2. Повернiть валик настiльки, щоб йоrо виїмка стала посерединi.
3. Вставте кiнець щiточки для очищення у виїмку i натиснiть, щоб виштовхнути валик.
4. При встановленнi новоrо валика потрiбно, щоб виступи блоку пiлiнrу увiйшли у виїмку
валика, пiсля чоrо натиснути йоrо до клацання.
7. ВИДАЛЕННЯ ВОЛОССЯ З НІГ
Для отримання оптимальних результатiв епiляцiї радимо вам злеrка
нахиляти епiлятор до шкiри в напрямку епiляцiї, як показано на
рисунку.
a
b
15

16
- Встановiть вимикач у положення
ввiмкнення “2 “.
- Пiд час використання вимикач весь
час повинен залишатися на виду.
- Видаляйте волосся у напрямку,
протилежному напрямку, в якому
лежать волосини, ставлячи епiлятор
перпендикулярно до шкiри.
8. ВИДАЛЕННЯ ВОЛОССЯ З ЧУТЛИВИХ ДІЛЯНОК ШКІРИ
Для отримання оптимальних результатiв епiляцiї радимо вам злегка
нахиляти епiлятор до шкiри в напрямку епiляцiї, як показано на
рисунку.
• Пiдготовка дiлянки шкiри, на якi
видалятиметься волосся:
- Якщо волосся довге, вкоротiть його до довжини
приблизно 1 см.
- Ретельно висушiть шкiру, щоб видалити залишки
дезодоранту або поту.
A- З використанням епiляцi ної головки
- Приєднайте приладдя для пахв (18) до епiляцiйної головки i натиснiть до клацання.
- Встановiть вимикач у положення 1.
Видаляйте волосся у напрямку, протилежному напрямку, в якому лежать волосини,
ставлячи епiлятор перпендикулярно до шкiри.
Спочатку видаляйте волосся в напрямку знизу
вгору... а потiм згори вниз.
Важлива примiтка:
а) Пiд час видалення волосся тримайте руку пiднято
догори.
б) Щоб полегшити видалення волосся, натягуйте шкiру.
Потрiбно як слiд натягувати шкiру.
clic!

17
B- З використанням бриючої rоловки (EP4321):
• Інструкцiї з використання:
- Знiмiть епiляцiйну rоловку, натиснувши кнопку вiдокремлення rоловки.
- Встановiть на прилад бри чу rоловку (12).
- Встановiть вимикач у
положення 2.
- По закiнченнi використання
вимкнiть прилад.
- Щоб зняти бри чу rоловку,
вiзьмiть її з бокiв пальцями i
потяrнiть уrору.
Видаля те волосся у напрямку, протилежному напрямку, в якому лежать
волосини, ставлячи епiлятор перпендикулярно до шкiри.
9. ОЧИЩЕННЯ ПРИЛАДУ
• Очищення епiляцi ної rоловки:
1. Вiдкл чiть епiлятор вiд електромережi.
2. Натиснiть кнопку вiдокремлення rоловки i знiмiть епiляцiйну rоловку.
3. Пiдставте епiляцiйну rоловку пiд струмiнь холодної води i промийте її, поверта чи пiд
струменем протяrом 5-10 секунд.
4. Енерri но потрусiть епiляцi ну
rоловку i витрiть її рушником перш нiж
знову встановлювати на прилад.
Для очищення можна використовувати
також щiточку з комплекту приладу.
• Очищення бриючої rоловки
- Зупинiть i вимкнiть прилад.
- Знiмiть захисний ковпачок (17).
Для цьоrо: мiцно тримайте епiлятор пальцями за робочi зони (15)
бри чої rоловки i потiм потяrнiть доrори. Таким чином ви знiмете
захисний ковпачок (17) з блоку з лезами (16).
- Ретельно видалiть усi волосинки, продува чи мiкросiточку зrори та
знизу (13).
Нiколи не користу теся щiточкою для очищення мiкросiточки (13).
1
2

18
- Ви також можете пiдставити захисний ковпачок (17) та блок з
лезами (16) пiд струмiнь холодної води для повноrо видалення
волосинок. Енерriйно потрусiть деталi, а потiм просушiть їх за
допомоrо рушника, не натиска чи на мiкросiточку, перед тим як
знову їх скласти.
- Встановiть захисний ковпачок (17) на блок з лезами (16). Ви
почуєте клацання.
УВАГА! НЕ НАТИСКАЙТЕ НА МІКРОСІТОЧКУ ПІД ЧАС ЇЇ ВСТАНОВЛЕННЯ НА МІСЦЕ.
Не протира те спиртом корпус приладу, щоб не пошкодити оrо колiр. Не
використову те металеви чи рiжучи iнструмент.
• Очищення aксесуар для чутливих дiлянок
• Очищення rоловки для пiлiнrу
Рекомендуємо вам замiнити очищувальний валик пiсля трьох
сеансiв пiлiнrу або коли вiн зноситься.
Не мийте валик пiд струменем води.
10. ДОГЛЯД ЗА ШКІРОЮ
На шкiрi можуть з’явитися червонi цятки. Вони швидко зникнуть.
Бажано використовувати ваш епiлятор увечерi. Якщо необхiдно, накладiть
пiсля епiляцiї заспокi ливи крем.
11. ДБАЙМО ПРО ЗАХИСТ ДОВКІЛЛЯ!
Ваш прилад містить багато матеріалів, які можуть бути перероблені або повторно використані.
Після закінчення терміну служби приладу здайте його до пункту приймання побутових приладів, а за
відсутності такого – до уповноваженого сервіс-центру для його подальшої обробки.
!


Other manuals for Lovely EP4211

2

This manual suits for next models

1

Other Rowenta Epilator manuals

Rowenta ACCESSIM EP8810D0 User manual

Rowenta

Rowenta ACCESSIM EP8810D0 User manual

Rowenta SILENCE EP5244A0 User manual

Rowenta

Rowenta SILENCE EP5244A0 User manual

Rowenta LOVELY BODY & CARE EP4630F0 User manual

Rowenta

Rowenta LOVELY BODY & CARE EP4630F0 User manual

Rowenta EP1030 User manual

Rowenta

Rowenta EP1030 User manual

Rowenta EP9870E0 User manual

Rowenta

Rowenta EP9870E0 User manual

Rowenta ACCESS FRESH AIR PLATINIUM EP8992F0 User manual

Rowenta

Rowenta ACCESS FRESH AIR PLATINIUM EP8992F0 User manual

Rowenta Accessim Vision EP8650A0 User manual

Rowenta

Rowenta Accessim Vision EP8650A0 User manual

Rowenta DERMA PERFECT Pro Precision User manual

Rowenta

Rowenta DERMA PERFECT Pro Precision User manual

Rowenta EP7980 User manual

Rowenta

Rowenta EP7980 User manual

Rowenta DERMA PERFECT EP9840 User manual

Rowenta

Rowenta DERMA PERFECT EP9840 User manual

Rowenta Lovely EP4211 User manual

Rowenta

Rowenta Lovely EP4211 User manual

Rowenta WET&DRY EP9330 User manual

Rowenta

Rowenta WET&DRY EP9330 User manual

Rowenta AQUA PERFECT User manual

Rowenta

Rowenta AQUA PERFECT User manual

Rowenta Lovely EP1011E0 User manual

Rowenta

Rowenta Lovely EP1011E0 User manual

Rowenta EP1022F0 User manual

Rowenta

Rowenta EP1022F0 User manual

Rowenta EP8451EO User manual

Rowenta

Rowenta EP8451EO User manual

Rowenta EP4690 User manual

Rowenta

Rowenta EP4690 User manual

Rowenta Accessim EP5820D0 User manual

Rowenta

Rowenta Accessim EP5820D0 User manual

Rowenta EP3000C0 User manual

Rowenta

Rowenta EP3000C0 User manual

Rowenta Instant Soft Compact Body User manual

Rowenta

Rowenta Instant Soft Compact Body User manual

Rowenta AQUAPERFECT SWAROVSKI EP9134E0 User manual

Rowenta

Rowenta AQUAPERFECT SWAROVSKI EP9134E0 User manual

Rowenta Lovely EP4630 User manual

Rowenta

Rowenta Lovely EP4630 User manual

Rowenta Lovely EP1005F0 User manual

Rowenta

Rowenta Lovely EP1005F0 User manual

Rowenta Fashion User manual

Rowenta

Rowenta Fashion User manual

Popular Epilator manuals by other brands

Philips 8000 Series manual

Philips

Philips 8000 Series manual

Philips HP6459 Satin ICE Optima user manual

Philips

Philips HP6459 Satin ICE Optima user manual

Braun Silk-epil LS 5360 manual

Braun

Braun Silk-epil LS 5360 manual

Philips HP6553 user manual

Philips

Philips HP6553 user manual

Silvercrest SE 32 A1 Operation and safety notes

Silvercrest

Silvercrest SE 32 A1 Operation and safety notes

Silvercrest SED 3.7 C2 operating instructions

Silvercrest

Silvercrest SED 3.7 C2 operating instructions

Silk'n Infinity H3101 user manual

Silk'n

Silk'n Infinity H3101 user manual

Silk'n Reveal H4201 Instructions for use

Silk'n

Silk'n Reveal H4201 Instructions for use

Concept2 PERFECT SKIN IL3020 manual

Concept2

Concept2 PERFECT SKIN IL3020 manual

Philips BRE710/00 manual

Philips

Philips BRE710/00 manual

ILUMINAGE iluminage TOUCH user manual

ILUMINAGE

ILUMINAGE iluminage TOUCH user manual

Braun Silk-epil X'elle 5180 user manual

Braun

Braun Silk-epil X'elle 5180 user manual

Syneron Beauty me user guide

Syneron Beauty

Syneron Beauty me user guide

Braun 7 manual

Braun

Braun 7 manual

Vivadia H113 Instructions for use

Vivadia

Vivadia H113 Instructions for use

Braun 7280 Silk-epil Xpressive user guide

Braun

Braun 7280 Silk-epil Xpressive user guide

Philips HP6463/00 user manual

Philips

Philips HP6463/00 user manual

Panasonic ES2082 operating instructions

Panasonic

Panasonic ES2082 operating instructions

manuals.online logo
manuals.online logoBrands
  • About & Mission
  • Contact us
  • Privacy Policy
  • Terms and Conditions

Copyright 2025 Manuals.Online. All Rights Reserved.