and glue the servos in the openings using 5-min epoxy. Connect the pushrods to the control
horns. Attach the servo covers using a double-sided self adhesive tape.
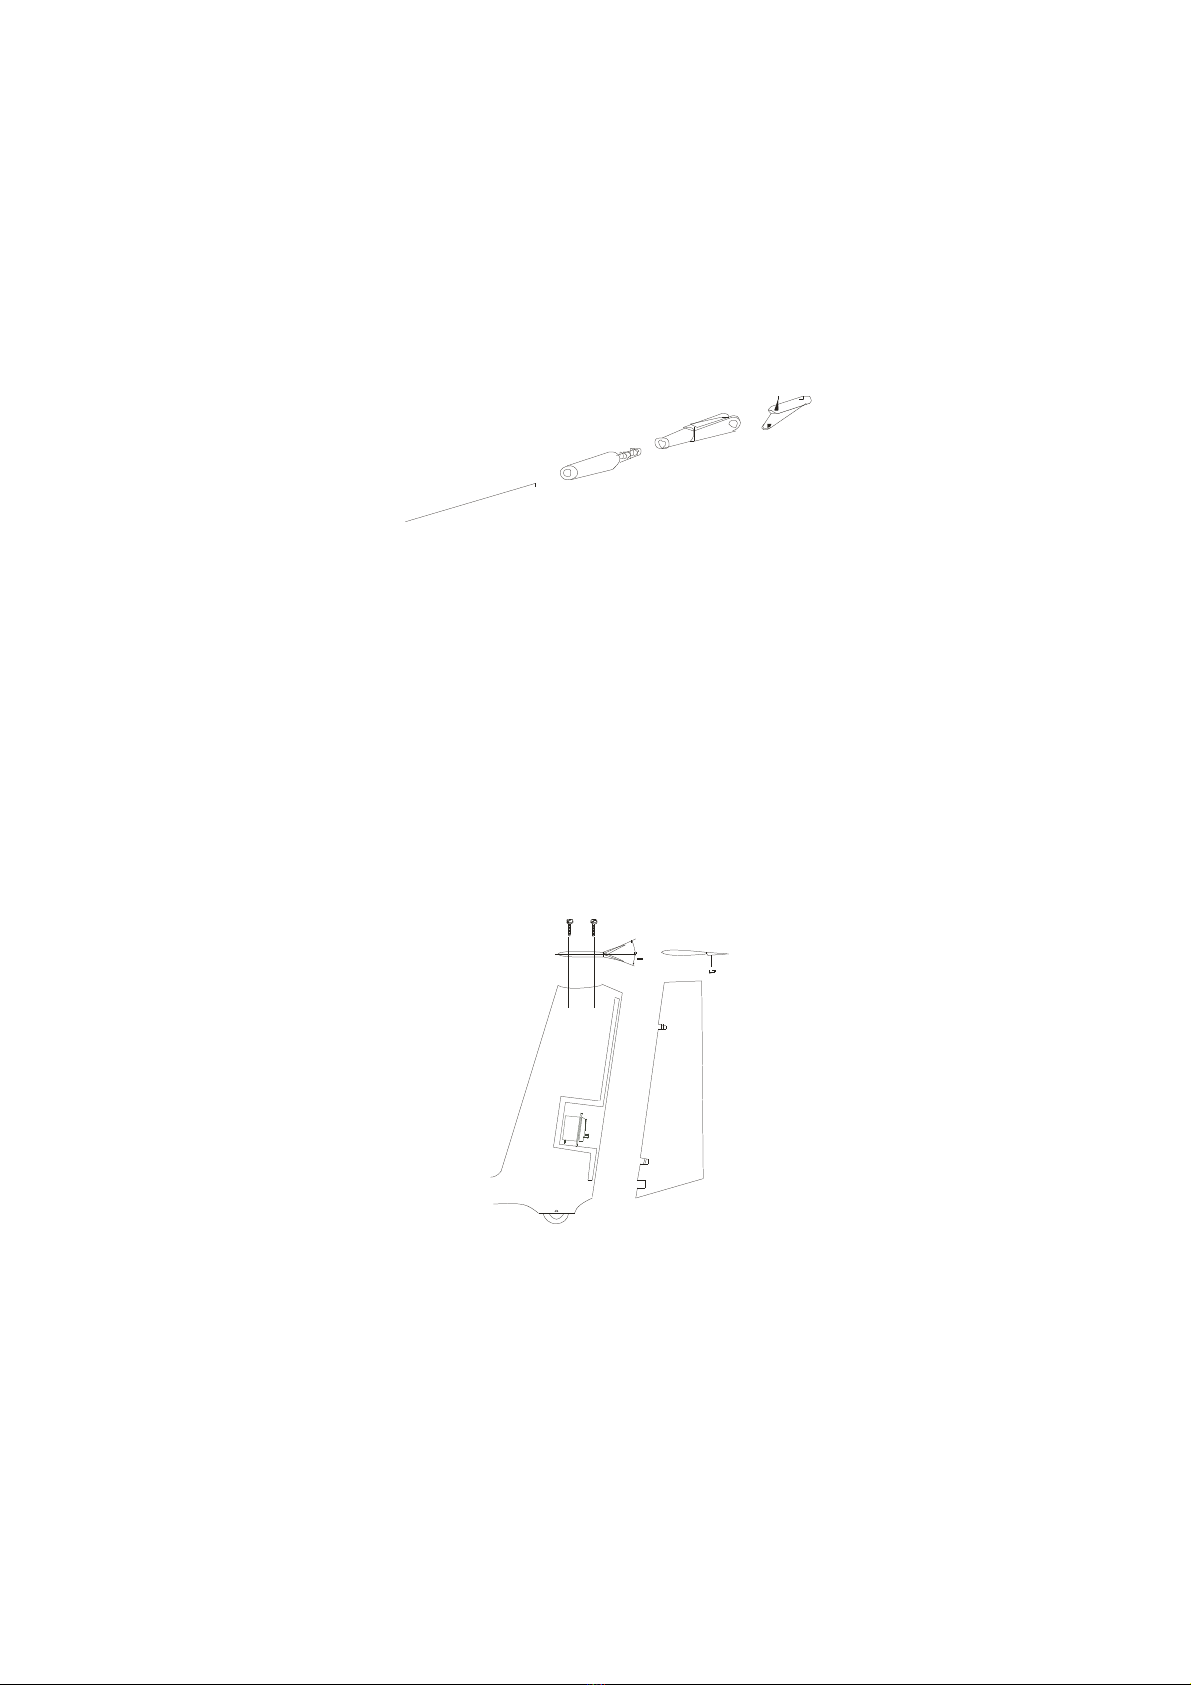
3. How to install the servos to the brakes
Attach the servos with two-sided Scotch tape to the channel and join them with the dive flap
using a draw rod. You will need extension cables and a Y-cable.
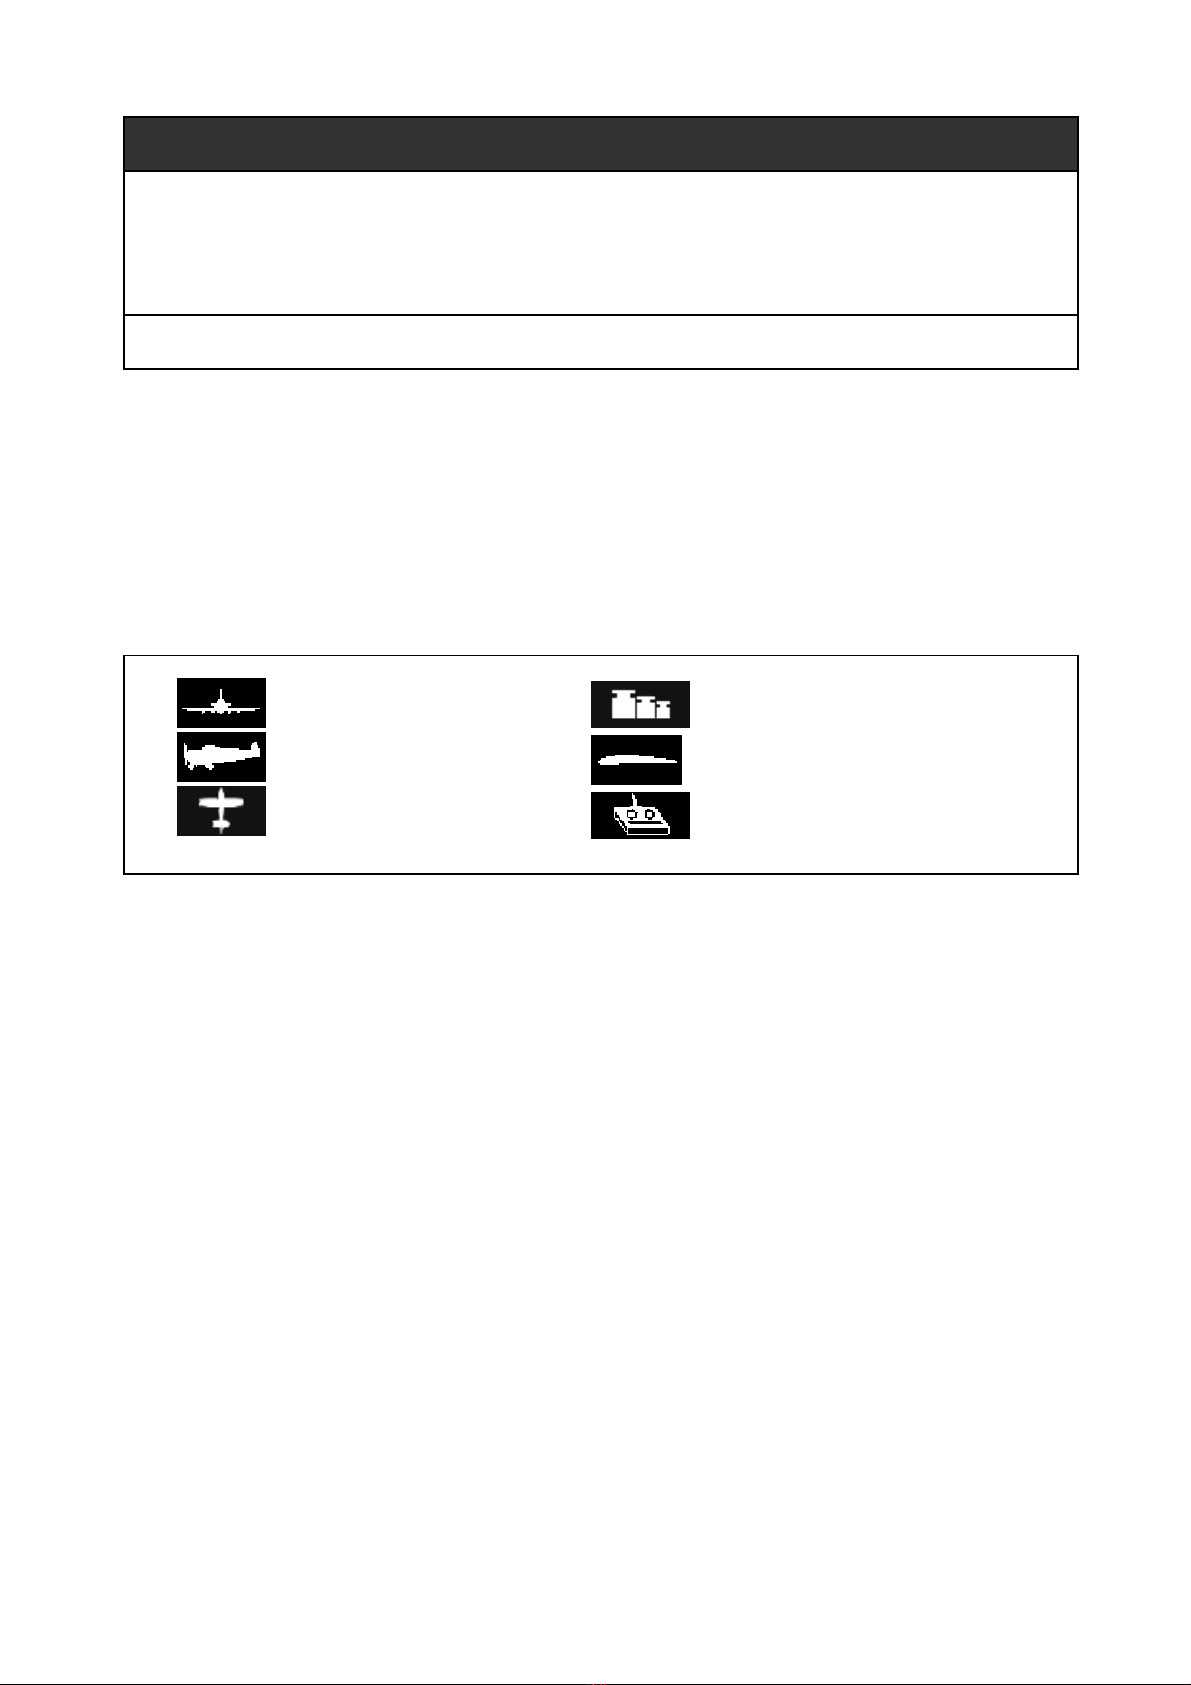
Shade your spoiler by pushing slightly with a small flat screwdriver on the arms of the bar (black
parts). Pull the Z of the manoeuvring on the gilded part and insert it into the interlocking hole
connecetd with the bottom of the servo. Shade again your spoiler and screw down your clevis at
the end of the manoeuvring. Demonstrate your servo heeding that the manoeuvring arm of the
servo is in the position of closed spoilers of your radion manoeuvring. (Example full gas on the
way of the engine manoeuvring of your radio) Adjust your manoeuvring and glue your servo
after having checked that both spoilers servos are moving in the right direction. Cover the servos
with the sheet.
4. How to install the radio and batteries
Insert the batteries, power switch and receiver in the fuselage .Connect all the servos in the
fuselage with the radio. Use a Y-cable to connect the aileron servos to one channel only or use
two channels, if available, for ailerons. Use a Y-cable to flaps servos and brakes servos.
Use foam to protect them from vibrations and impacts. Connect all components as necessary.
5. Fitting the cockpit
Cut out the canopy transparent section using the mark line, glue it onto the epoxy frame, trim it
then and grind a bit off to a desirable shape.
The canopy is held in place with a pin and canopy lock. Bore then the matching holes in the
fuselage and in the canopy frame. Glue the pin in the front canopy frame. Glue the canopy lock
in the fuselage.
6. Assembling and finishing the model
The wing halves can be secured in the right position either by self-adhesive tape or using a
rubber ring. In this case make 1.8 mm holes in the first wing ribs and screw in the hooks for the
fixing rubber ring. Drill the holes in the proper position in the fuselage for the rubber ring.
Applying the decorative stickers is the last step to finish your model.
FLYING
Check the centre of gravity position (40 mm), add some lead if necessary, don`t forget to
check the symmetry of the whole model. Once on the field, first check the function of your RC
set and check the range, too. Calm wheather is the best for the first flights. Try hand launching,
trim if required for optimal gliding. Provided that everything is in order, you can go for the
maiden flight, with a charged battery of course.
Besides the slope soaring it is possible to install a tow hook and use a set for high-altitude
launches for thermal soaring.
Have a lot of fun and many happy landings with your ASH-26