RS PRO 791-8264 User manual

Halogen lamp 120W with motion sensor (791-
8264)
Halogen lamp 400W with motion sensor (791-
8273)
ENGLISH
RS, Professionally Approved Products, gives you professional quality parts across all products categories. Our range has
been testified by engineers as giving comparable quality to that of the leading brands without paying a premium price.
Datasheet

Attention: Please read the following instructions carefully to ensure that mounting operation will be
carried out in the right way .These instructions should be properly preserved for future reference.
Main Construction Data:
Type
Rated
Power
Glass
Weight
Maximu
m
projecte
d area
Dimensions
Remark
7918264
Max.120W
133x92x4mm
0.61Kg
0.01M2
220*140*108mm
Electric shock protection class:Ⅰ
External light protection class: IP44
Lamp socket size:R7s
Rated voltage: 220-240V~ 50Hz
Max height: <3M
Cable:H05RN-F3G1.0mm2
Universal for operating position
7918273
Max.400W
177x140x5mm
1.07Kg
0.02M2
265*185*125mm
Electric shock protection class:Ⅰ
External light protection class: IP44
Lamp socket size:R7s
Rated voltage: 220-240V~ 50Hz
Max height:<3M
Cable:H05RN-F3G1.0mm2
Universal for operating position
IMPORTANT:
This product has been designed and manufactured to automatically control light of an outdoor area once the
integral infra-red detector has sensed a human presence. This is not intended for any other application or
use.This lamp can not be used on building sites, engineering workshops and similar applications.Do not use
the lamp without shade. If shade is broken stop using the lamp and replace a new shade.
ENGLISH
RS, Professionally Approved Products, gives you professional quality parts across all products categories. Our range has
been testified by engineers as giving comparable quality to that of the leading brands without paying a premium price.

INSTALLATION AND STANDARD WIRING INSTRUCTIONS
1. Do not mount on a surface prone to vibrations.
2. Mounting position: The light should ideally be fixed with the wall
fixing bracket. It is only allowed to be installed according to the
diagram, and not allowed to be installed face up and lateral, air
outlet hole can't face up. (See Fig.1)
3. The distance between the item and the objects must be more
than 1M.Mark the hole positions for fixing bracket onto the wall.
Drill and plug the wall at the marked positions. Screw the fixing
bracket to the wall with suitable screw (not supplied). (See Fig.2)
4. Unscrew the junction box cover and remove diffuser and rubber
seal.
5. Put your mains cable (H05RN-F 3G 1.0mm2, not included) into
the junction box through the plastic stud and rubber gasket.
Ensure that the plastic stud is sufficiently tight.
6. Connect the mains wires. (See Fig.3)
7. Replace the junction cover. Take care not to lose the rubber
gasket on the cover.
8. Mount the unit to the wall fixing bracket by replacing the two
bolts. Adjust the light to desired position and tighten the two bolts.
9. The light projection position must be vertical or upwards.
Downwards mounted is forbidden.
10. Undo Screw on the front glass cover and hinge open. Insert
bulb into spring loaded holders. Do not touch the bulb with bare
hand. Close glass cover and tighten. Ensure that all seals and
grommets are secure. (See Fig.4)
ENGLISH
RS, Professionally Approved Products, gives you professional quality parts across all products categories. Our range has
been testified by engineers as giving comparable quality to that of the leading brands without paying a premium price.

ADJUSTING THE DURATION TIME:
The length of time that remains switched on after activation can be
adjusted from (10±5) seconds to (4±1) minutes. Rotating the TIME
knob from (+) to (-) will reduce the duration time.
Note: Once the light has
been triggered by the PIR
sensor any subsequent
detection will start the timed
period again from the
beginning.
ENGLISH
RS, Professionally Approved Products, gives you professional quality parts across all products categories. Our range has
been testified by engineers as giving comparable quality to that of the leading brands without paying a premium price.

Warning:
The maintaining should be done only by a qualified electrician.
Correct Disposal of this product
This marking indicates that this product should not be disposed with other
household wastes throughout the EU. To prevent possible harm to the
environment or human health from uncontrolled waste disposal, recycle it
responsibly to promote the sustainable reuse of material resources. To return
your used device, please use the return and collection systems or contact
the retailer where the product was purchased. They can take this product for
environmental safe recycling.
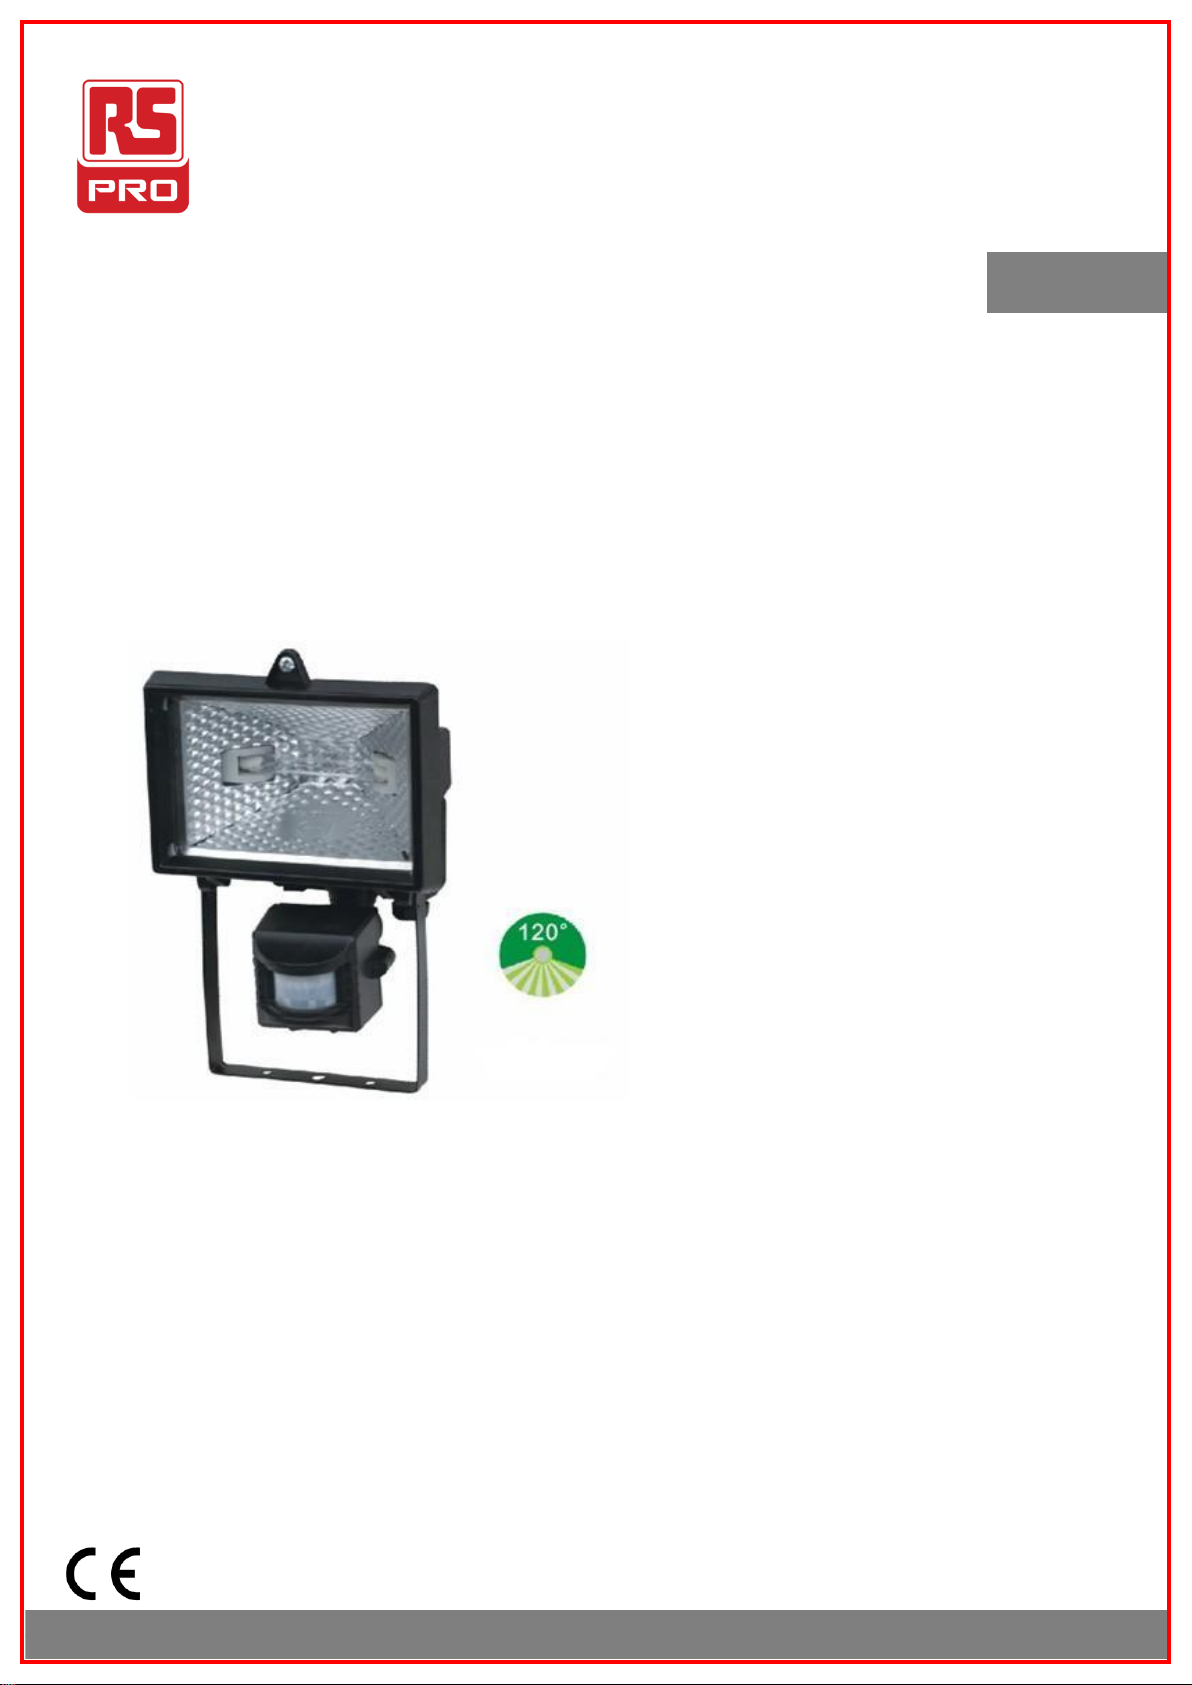
ADJUSTING THE DAYLIGHT CONTROL LEVEL:
The DAYLIGHT control module has a built-in sensing device (photocell) that detects daylight and darkness.
Rotating the DAYLIGHT knob clockwise is from light
() to dark (). The () position denotes that the
Floodlights can work at day and night, and the () position only work at night. You can set to operate the unit
at the desired level by adjusting the DAYLIGHT knob.
SETTING THE CONTROLS
1. Put the DAYLIGHT control knob to light () position, turn the wall switch on and wait half a minute for the
control circuit to stabilize. At this stage ensure that the TIME control knob is set at minimum duration time (-)
position (Rotating the TIME knob clockwise to stop-position). The floodlight will now switch on and remain on
for about 30 seconds (within 60 seconds).
2. Direct the sensor toward the desired area to be scanned by adjusting the swivel joint on the sensor arm.
Important: loosen the lock nuts and screws on sensor and floodlight before making any adjustments.
3. Have another person move across the centre of the area to be scanned and slowly adjust the angle of the
sensor arm until the unit sensors the presence of the moving person, causing the floodlight to switch on.
4. Adjust time control to required setting.
5. To set the light level at which the floodlight will automatically switch “on” at night, turn the DAYLIGHT
control knob from daylight
() to night (). If the floodlight is required to switch on earlier, e.g. Dusk, wait for the desired light level, then
slowly turn the DAYLIGHT control knob towards daylight while someone walks across the centre of the area
to be detected. When the floodlights switch on, release the DAYLIGHT control knob. You may need to make
further adjustments to achieve your ideal light level setti
ENGLISH
RS, Professionally Approved Products, gives you professional quality parts across all products categories. Our range has
been testified by engineers as giving comparable quality to that of the leading brands without paying a premium price.
This manual suits for next models
1
Table of contents
Other RS PRO Floodlight manuals
Popular Floodlight manuals by other brands

OXO
OXO SunFlood 500 instruction manual

Century
Century SIRIO SOLAR SRSOL-509040 quick start guide

German Light Products
German Light Products Junior Scan 2 instruction manual

Pro-Elec
Pro-Elec PELL0283 quick start guide

LumX
LumX LM 36120 instruction manual

excite
excite MINIFLOOD Installation and maintenance sheet