RS Toura Quick start guide

Rigging Manual

1. Components ....................................................................................................... 1
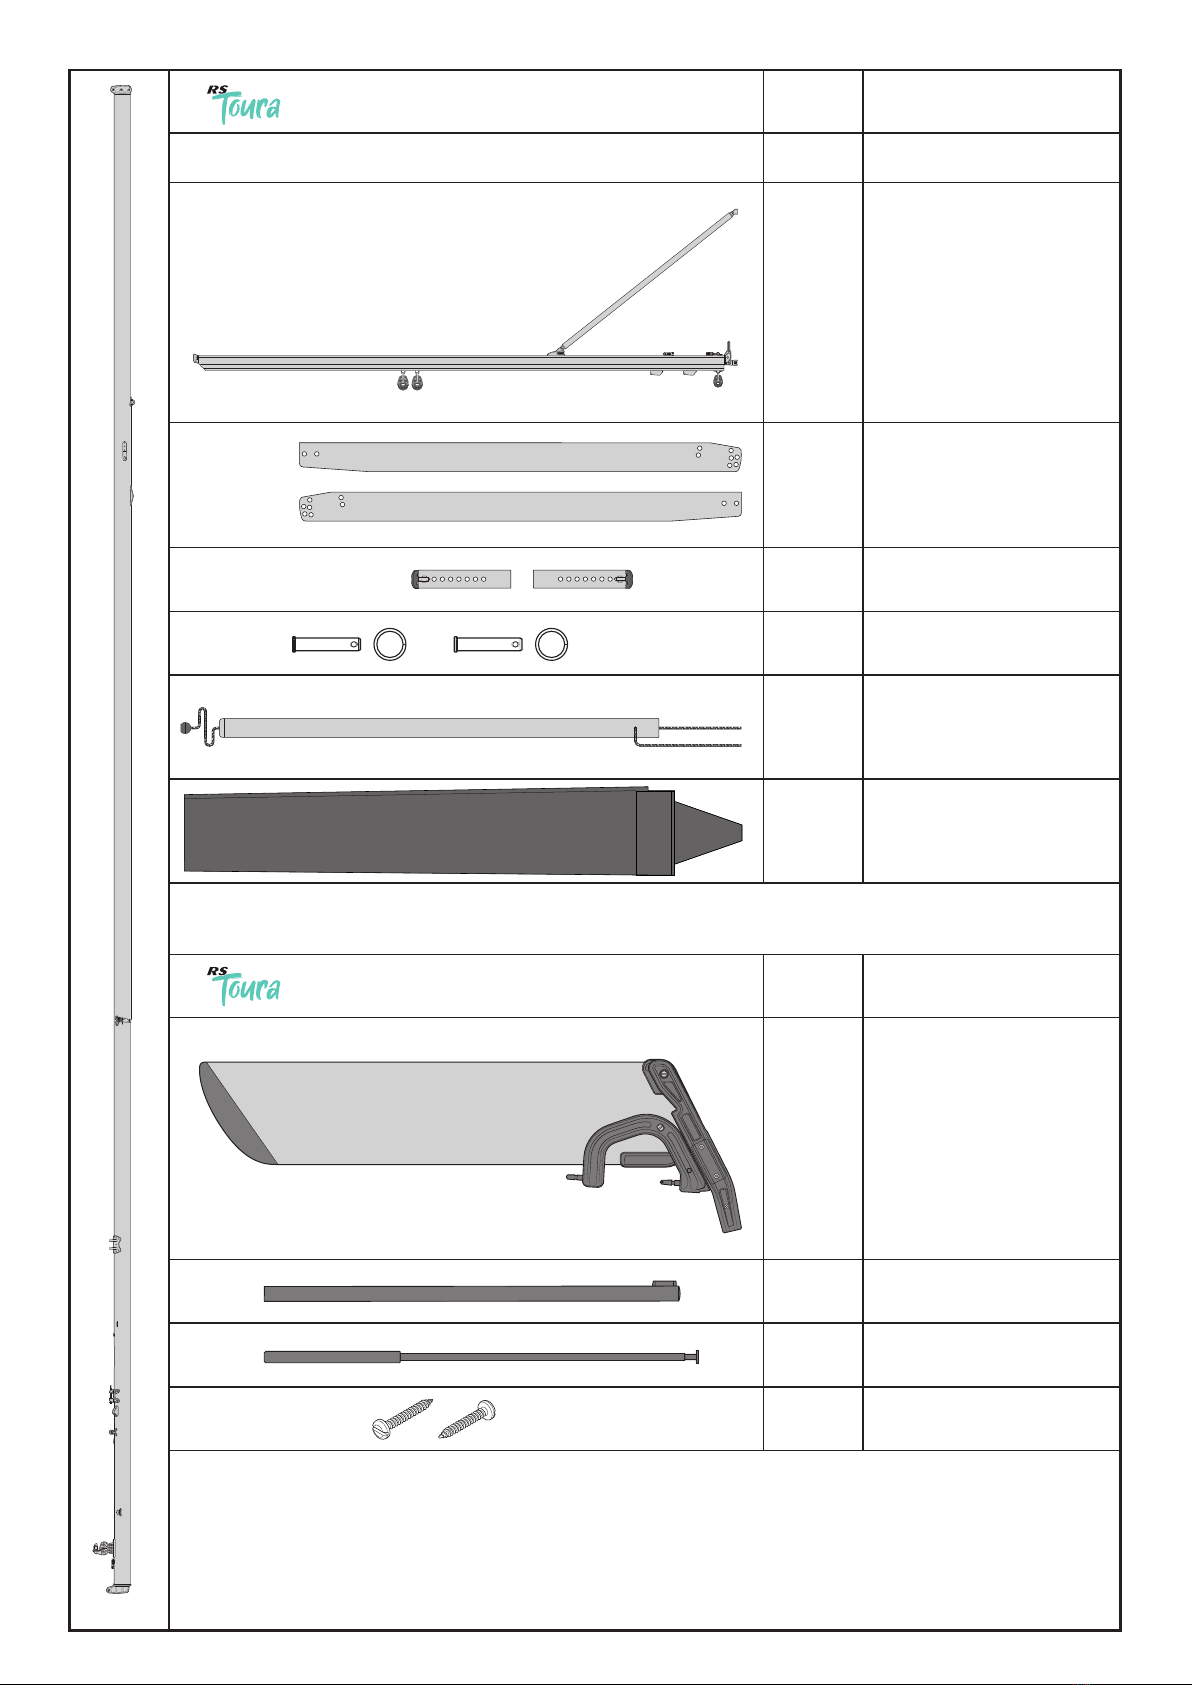
1.1 - Spars ..........................................................................................................................1
1.2 - Rudder pack ...............................................................................................................1
1.3 - Customer pack ...........................................................................................................2
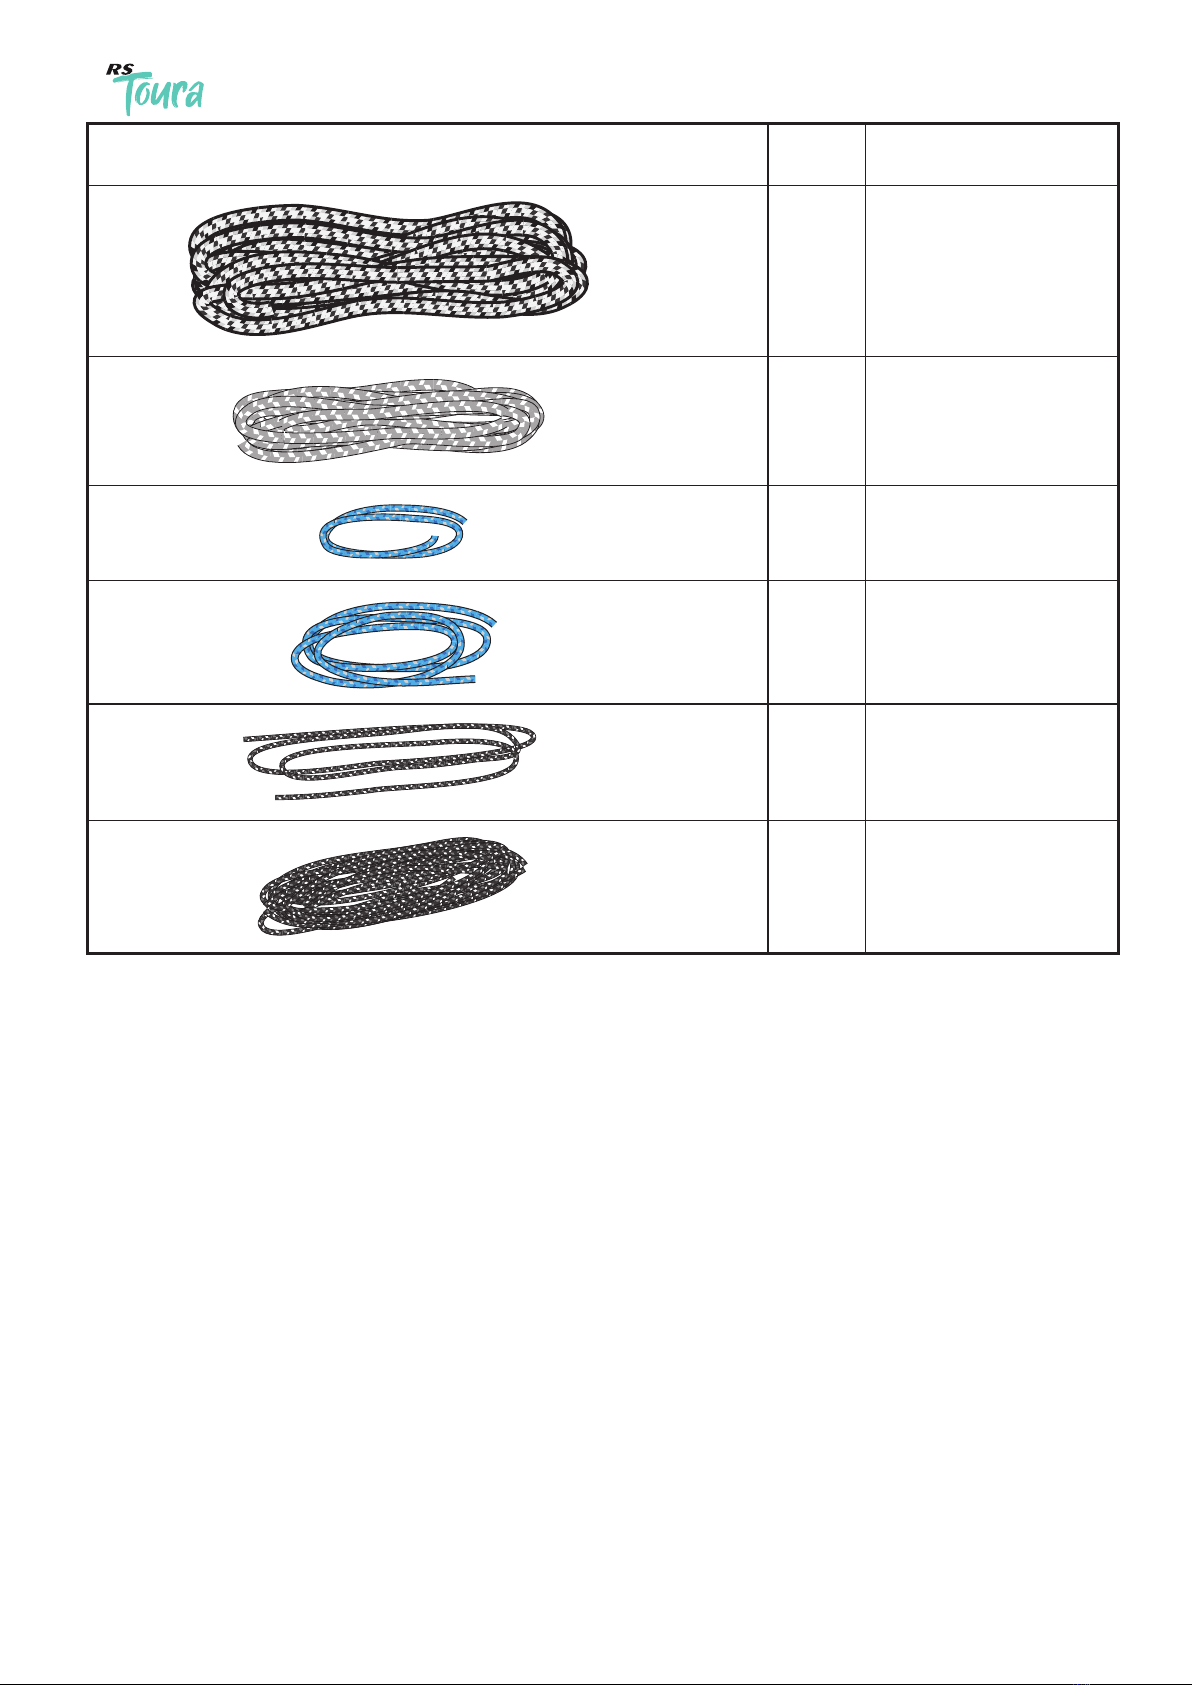
1.4 - Rope pack .................................................................................................................3
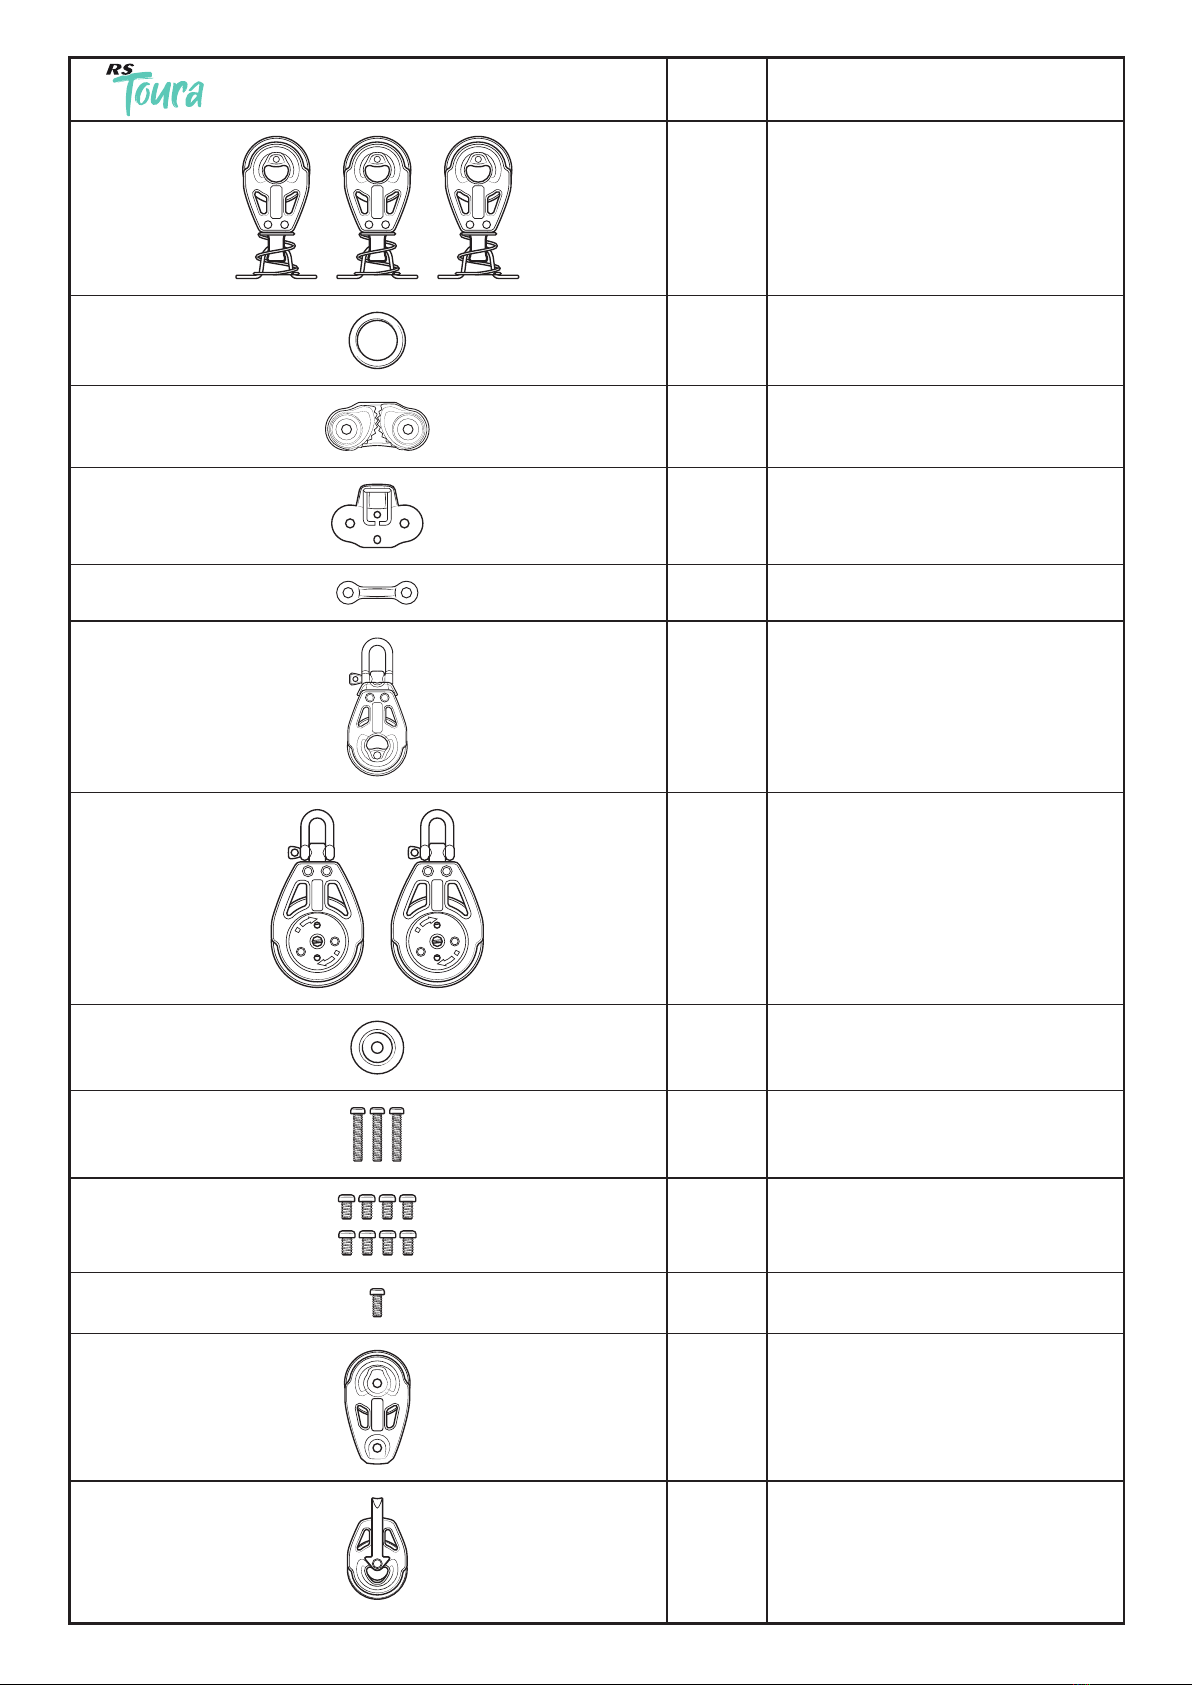
1.5 - Asymmetrical spinnaker pack.....................................................................................4
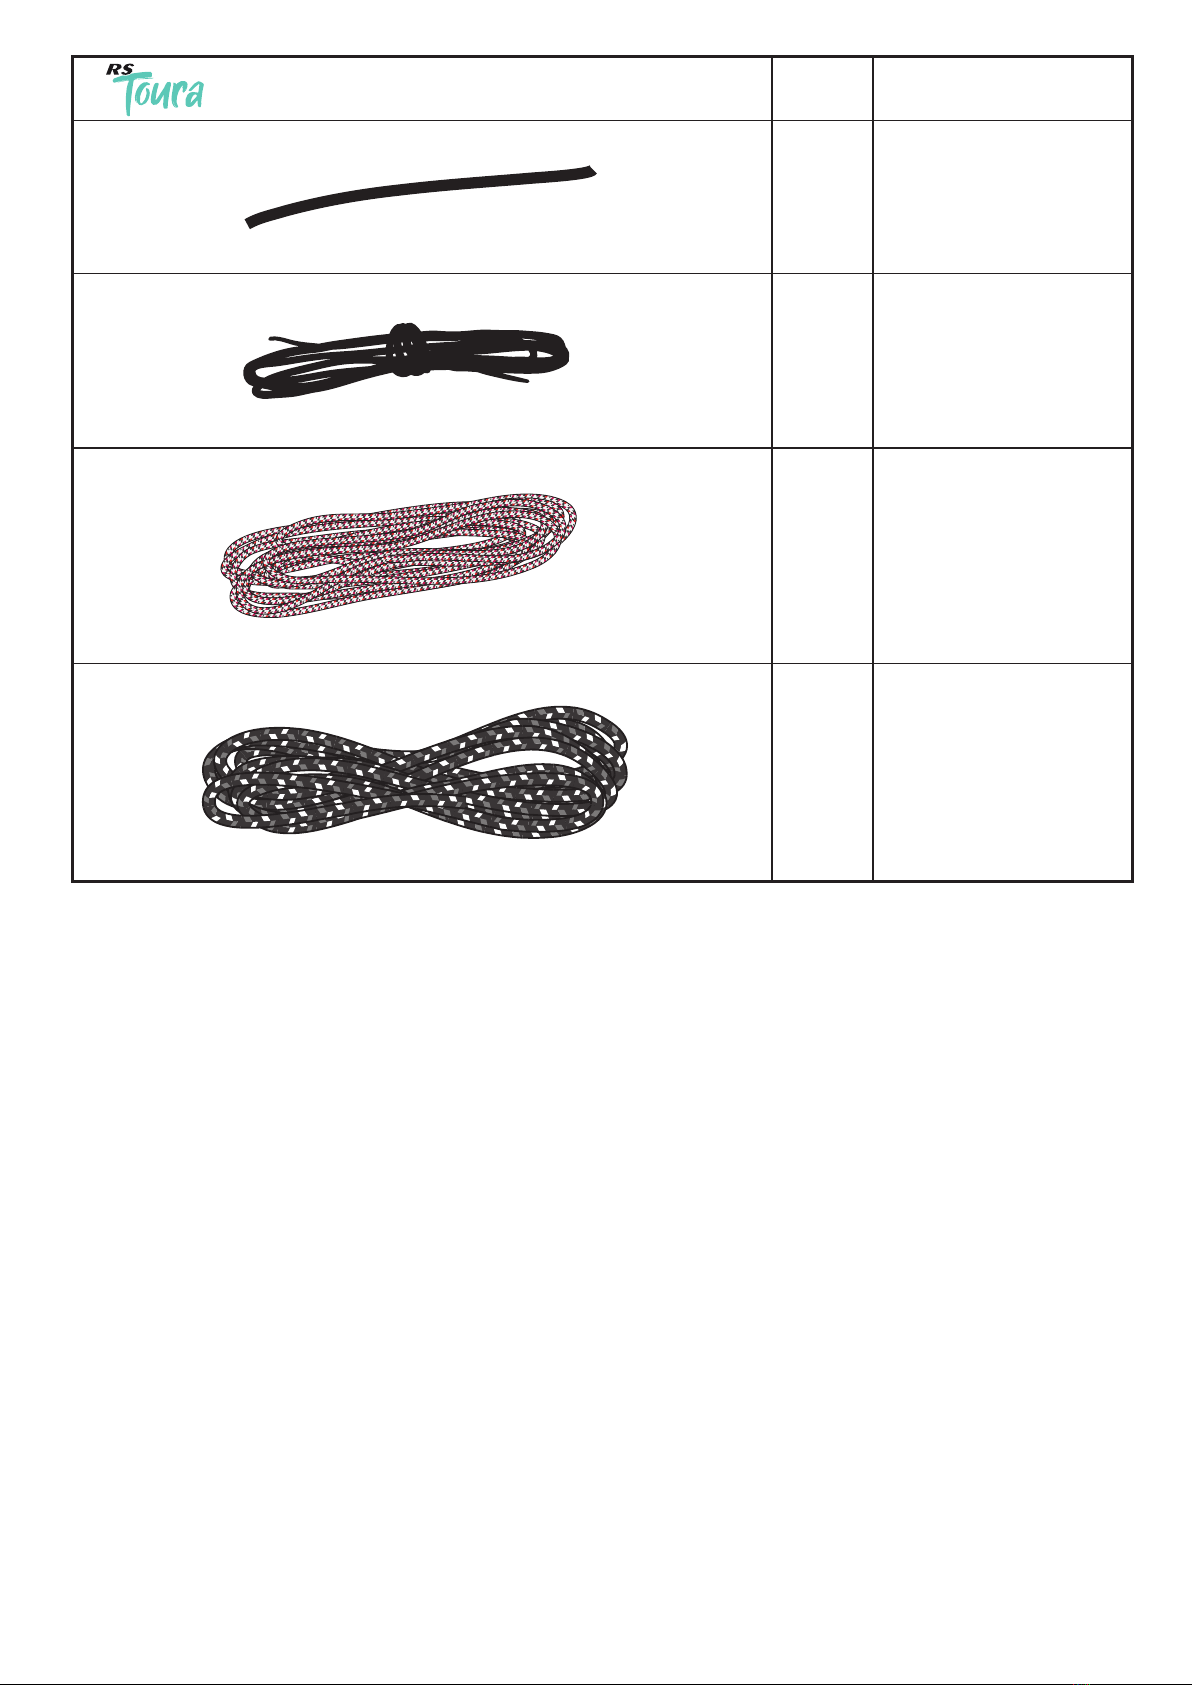
1.7 - Asymmetrical spinnaker rope pack.............................................................................5
2. Introduction ........................................................................................................ 6
3. Preparation ......................................................................................................... 7
4. Hull....................................................................................................................... 8
4.1 - Toestraps ....................................................................................................................9
4.2 - Shroud eye bolts.........................................................................................................10
4.3-Asymmetricalspinnakerttings .................................................................................11
4.5 - Adding the spinnaker sock..........................................................................................16
5. Mast ..................................................................................................................... 18
5.2 - Fitting the spreaders to the mast................................................................................19
5.3 - Attaching the shrouds ................................................................................................20
5.4 - Spreader ends............................................................................................................20
5.5 - Main halyard ..............................................................................................................21
5.6 - Jib halyard ..................................................................................................................21
5.7 - Forestay .....................................................................................................................22
5.8 - Spinnaker halyard takeup elastic ...............................................................................22
5.9 - Spinnaker halyard mast turning blocks.......................................................................23
5.10-Mastheadoat..........................................................................................................24
5.11 - Shrouds ...................................................................................................................25
5.12 - Stepping the mast.....................................................................................................27
5.13 - Forestay....................................................................................................................28
6. Boom ................................................................................................................... 29
6.1 - Fitting the boom..........................................................................................................30
6.2 - Gnav control line.........................................................................................................31
6.3 - Mainsheet ..................................................................................................................32
7. Sails - Mainsail and Jib ...................................................................................... 34
7.1 - Preparing the sails......................................................................................................35
7.2 - Battens ......................................................................................................................36
7.3 - Sail care......................................................................................................................36
7.4 - Hoisting the jib............................................................................................................37
7.5 - Outhaul ......................................................................................................................41
7.6 - Hoisting the mainsail .................................................................................................42
7.7 - Downhaul ...................................................................................................................44
8. Spinnaker ............................................................................................................ 45
8.1 - Rigging the asymmetric spinnaker ............................................................................46
9. Foils ..................................................................................................................... 49
9.1 - Rudder .......................................................................................................................50
9.2 - Centreboard ...............................................................................................................52
10. Reeng ................................................................................................................ 53
10.1-Riggingthereengline.............................................................................................54
10.2-Reengthemainsail.................................................................................................54
11. Trapeze Kit .......................................................................................................... 56
12. Outboard bracket .............................................................................................. 60
13. Sailing Hints........................................................................................................ 63
Contents

Quantity
1.2 - Rudder Pack
1.1 - Spars
1
2
Description
Quantity Description
1 Tiller
1Rudder Assembly
1 Tiller Extension
Mast
1 Boom
Spreaders
2 Spreader Ends
2 Clevis Pin & Split Ring
(OPTIONAL)
1Bowsprit
(OPTIONAL)
1Spinnaker Sock
2 Screws

2
Quantity1.3 - Customer Pack
2
Description
Shroud eye bolts
2 Shroud recess bars
1Plastic bobble
(Main halyard)
2Shroud adjuster plates
with nut and bolts
140mm block with
becket (mainsheet)
2 Shroud VernierCovers
120mm block
(Downhaul)
1 Rig Pack

3
Quantity1.4 - Customer Rope Pack
1
Description
Mainsheet
1 Jib Sheet
1 Downhaul 1
1 Downhaul 2
1 Mainsheet Strop
1 Main Halyard

4
Quantity1.5 - Asymmetric Spinnaker Pack Description
3 Block, BBB30 Single, Stand-Up
1 Ring Ø28/20/Ø4mm ST
1 Camcleat 27
1 Lineguide 27
1 2-P Eye
1 Block, BBB30 Single, Swivel
2 Block, ARB45 Single
1 Stopper Knob 6mm
3 Screw Pozi Pan M4 X 25
8 M/Screw, M5 X 8,Pozi Pan
1 Screw Pozi Pan M4 X 12
1 Block, BBB30 Cheek
1 Block, BBB30 Single, Strap

5
Quantity1.7 - Asymmetric Rope Pack
1
Description
Spinnaker Sock Tie
1Halyard Take Up
1 Spinnaker Halyard
1 Spinnaker Sheet

6
2 - Introduction
Congratulations on the purchase of your new RS Toura, and thank you for choosing an
RSproduct.Wearecondentthatyouwillhavemanyhoursofgreatsailingandracing
inthistrulyexcellentdesign.TheRSTouraisanexcitingboattosailandoersfantastic
sailability and performance. This manual has been compiled to help you to gain the
maximum enjoyment from your RS Toura, in a safe manner. It contains details of the
craft,theequipmentsuppliedortted,itssystems,andinformationonitssafeoperation
and maintenance. Please read this manual carefully and be sure that you understand its
contents before using your RS Toura.
Thismanualwillnotinstructyouinboatingsafetyorseamanship.Ifthisisyourrst
boat, or if you are changing to a type of craft that you are not familiar with, for your own
safety and comfort, please ensure that you have adequate experience before assuming
command of the craft. If you are unsure, RS, your RS Dealer, or your national sailing
federation – for example, the Royal Yachting Association – will be able to advise you of a
local sailing school, or a competent instructor.
RS Sailing highly recommends using RS supplied equipment for usage and storing
of your craft. Deviation from using RS supplied equipment, such as sails and storage
solutions,willrequireconsultationwithRSSailing.FailuretodosomayaectWarranty
claims and Goodwill outcomes
For further information, spares, and accessories, please contact:
RS Sailing
Premier Way
Abbey Park
Romsey
Hampshire SO51 9DQ
Tel: +44 (0)1794 526760
Email: [email protected]
For details of your local RS Dealer, please visit www.RSsailing.com

7
3 - Preparation
Your RS Toura comes complete with all the components necessary to take the boat
sailing. In order to commission it, you will need the following tools:
• Pliers or a shackle key
• Small,at-bladedscrewdriver
• PVC electrician’s tape
• Pozi-drive screwdriver
• Adjustable spanner (small)
Including adding a spinnaker system please allow three hours to fully prepare
your RS Toura.
Whilst your RS Toura has been carefully prepared, it is important that new
owners should check that shackles and knots are tight. This is especially
important when the boat is new, as traveling can loosen seemingly tight ttings
and knots. It is also important to check such items prior to sailing regularly.
To simplify the commissioning process, please take care when unpacking
the items from the boat as cross contamination of pack contents can cause
confusion. A calm and orderly environment will assist the process.

Rigging Guide
4 - Hull
PLEASE FOLLOW RIGGING GUIDE IN CORRECT ORDER

9
4.1 - Toestraps
Start by attaching the toestraps to the thwart across the
middle of the cockpit.
To do this you will need a pozidrive screwdriver.
Make sure you attach the toestraps the right way round.
The ends with the webbing loop attach to the thwart. The
ends with the buckle DO NOT attach to the thwart.
The forward toestraps are separate and the aft toestraps
are joined together in a V shape.
Remove ONE of the screws from the toestrap
retainer on the thwart.
Rotate the toestrap retainer outwards
to allow you to slide the webbing loop
on the toestrap over it.
Rotate the toestrap retainer back into
position and replace the screw.
Repeat for all four toestrap retainers on
the thwart.
Webbing side up
a)
b)
c)

10
You can now attach the two forward toestrap
ends and one aft toestrap end to the toestrap
retainers using the buckle.
There are two elastics emerging from the track on the mast support
beam. Using a knot on knot, tie one of these elastics to each of the
front toestraps through the webbing loop behind the buckle.
Find the two shroud eye bolts and recess bars
in the customer kit.
Hold the recess bar beneath the gunwhale and
make sure the holes are aligned
Screw the shroud eye bolt through. Tighten by
hand and then give one further turn using a
screwdriver through the shroud eye bolt.
Repeat on the other side of the boat.
4.2 - Shroud eye bolts
Add the shroud adjuster plates through the shroud eye
bolts on either side of the boat. Secure through the bottom
hole using the M5 nut and bolts supplied. Temporarily
attach the clevis pin and split ring in hole 3.
d)
e)
a)
b)
Start at
hole 3
4.1 - Toestraps

11
4.3 - Asymmetric spinnaker ttings.
If you have purchased the asymmetric spinnaker pack (which is available as an option),
thereareanumberofttingsthatmustbeaddedbeforeyoucanrigtheboat.
To complete this section you will need:
• Asymmetric spinnaker kit
• Pozidrive screwdriver
Remove the black
plastic plugs from the
holes just to the port side
of the centreboard.
NOTE: You may have to slightly adjust the metal strap
to align the holes. Use a pair of pliers or similar.
Screw a 30mm stand-up block from the
asymmetric spinnaker kit into these holes
using the two M5 x 8mm bolts provided.
M5 x 8mm bolts
Scale 1:1
a) Spinnaker Rear Halyard Block
c) Spinnaker Halyard Cleat
b)
Remove the next set of
black plastic plugs from
the holes just forward of
the centreboard.

12
Make sure cleat opens towards the stern of the boat.
If overtightened the jaws may not close properly.
Attach the spinnaker halyard
cleat using the M4 x 25mm
bolts provided.
Remove the plastic plugs
from the next set of holes.
Screw a 30mm block from the asymmetric
spinnaker kit into these holes using the
two M5 x 8mm bolts provided.
e) Spinnaker Halyard Block Front.
d)
f)
4.3 - Asymmetric spinnaker ttings.
M5 x 25mm bolts
Scale 1:1
M5 x 8mm bolts
Scale 1:1
NOTE: You may have to slightly adjust the metal strap
to align the holes. Use a pair of pliers or similar.

13
Remove the two black plastic plugs which are just to the
port side of the front end of the spinnaker pole channel.
Remove the two black plastic plugs from
the holes on the port side of the cockpit.
Screw a 30mm block
from the asymmetric
spinnaker kit into these
holes using the two M5
x 8mm bolts provided.
i) Spinnaker pole outhaul block
h) Spinnaker Retrieval Block
g)
4.3 - Asymmetric spinnaker ttings.
M5 x 8mm bolts
Scale 1:1
NOTE: You may have to slightly adjust the metal strap
to align the holes. Use a pair of pliers or similar.

14
Add the turning block using the screws provided.
The inboard end of the bowsprit has two ropes emerging from it. The outboard end has one
rope with a plastic stopper on it. In order to insert the inboard end into the boat you will have
to remove the launch line (the rope coming out of the side). Insert the bowsprit, inboard end
rst,intotheholeinthebowoftheboat.
Once inserted you should reattach the launch line to the bowsprit.
Remove the two black
plastic plugs from the holes
in the channel that runs
forwards from in front of the
centreboard case.
Add the metal eyelet from the
asymmetric spinnaker kit using the
two M5 x 8mm screws provided.
M4 x 25mm Pozi head
M4 x 25mm
M4 x 12mm Pozi head
M4 x 12mm
k) Tack Line Eyelet
m) Adding the Spinnaker Pole
j)
l)
launch line
4.3 - Asymmetric spinnaker ttings.
Scale 1:1
M5 x 8mm bolts
Scale 1:1

15
Make sure that the bowsprit is fully extended.
30mm
Tack line
Block A
Keeping the bowsprit fully extended, pull the tack line
(that emerges from the inboard end of the bowsprit)
tight and tie to the eyelet in the bottom of the bowsprit
channel with a bowline.
Tack line
Take the rope that emerges from the side of the inboard end
of the bowsprit and feed it through block A at the bow (from
starboard to port). Block A
Tie a 30mm block from the asymmetric spinnaker
pack onto the end of this rope using a bowline.
Adjust the stopper knot at the other end of this rope so that
the bowsprit can retract fully into the boat without the 30mm
block hitting block A.
Make sure the 30mm block does not meet up with the
halyard block when the pole is extended.
n) Rigging the Tack Line
p) Rigging the Launch Line
o)
q)
4.3 - Asymmetric spinnaker ttings.

16
Remove the two screws
and washers from inside the
spinnaker chute.
Add the screws through the tongue of the spinnaker
sock back into the holes that they came from.
4.5 - Adding the Spinnaker Sock
a)
b)

17
Make sure the port side is fully inserted into the
track and then insert the starboard side into the
track opening. This can be a little tricky as you
will need to bend it back on itself to get to the
opening, but as long as the starboard side is fully
insertedrstitshouldn’tbetoohard.
In the spinnaker pack there should
be some elastic for the rear of the
spinnaker chute.
Use this elastic to tie the aft end of the
spinnaker chute to the eyelet (with the
30mm block on it) on the port side of
the cockpit.
d)
e)
4.5 - Adding the Spinnaker Sock
Slide the port side of the front edge of the
spinnaker sock into the opening of the track
on the tack bar.
c)

Rigging Guide
5 - Mast
PLEASE FOLLOW RIGGING GUIDE IN CORRECT ORDER
To complete this section you will need:
• The mast and rigging packs
• Aat-bladedscrewdriver
• PVC electrical tape
• 8mm (or small adjustable) spanner
Table of contents