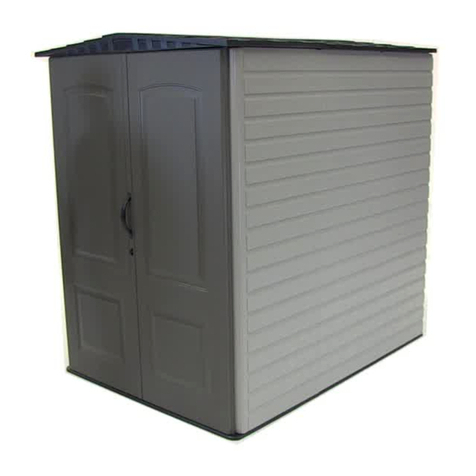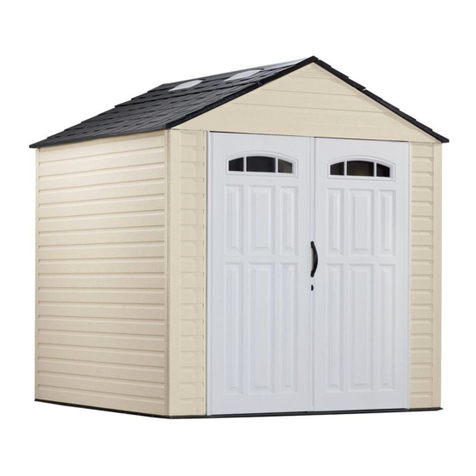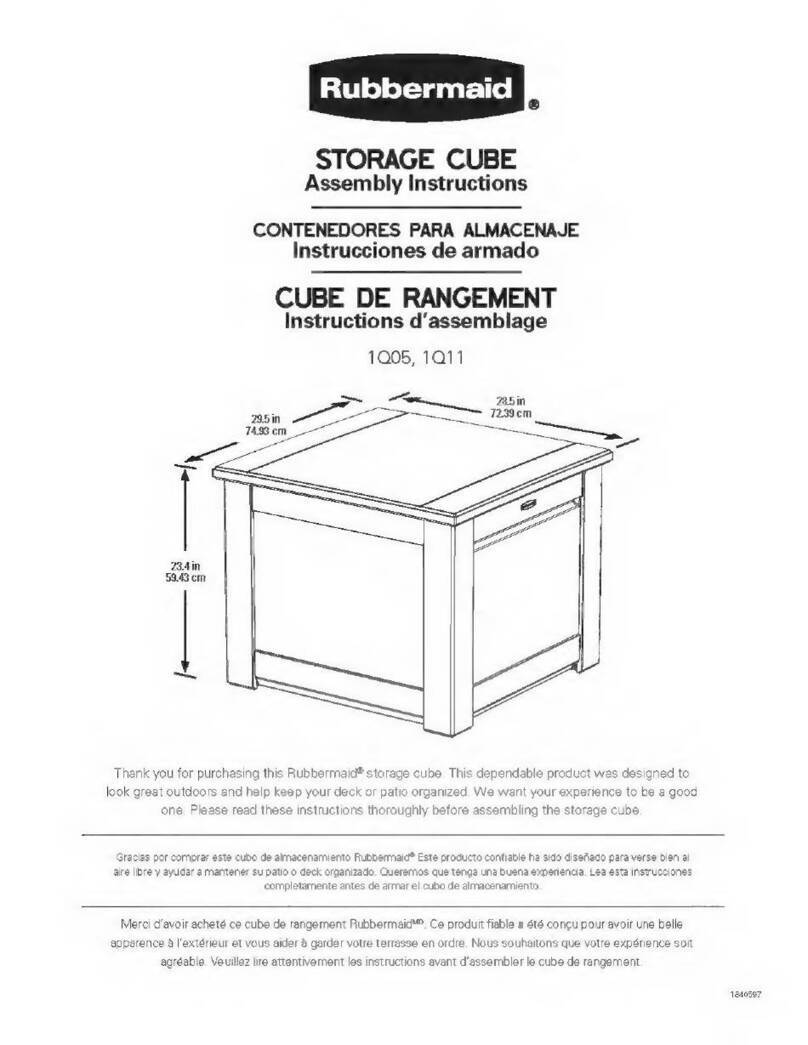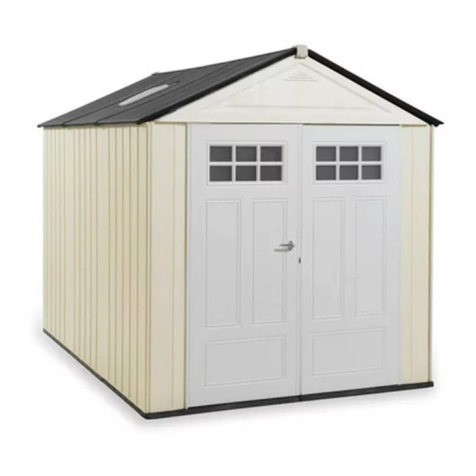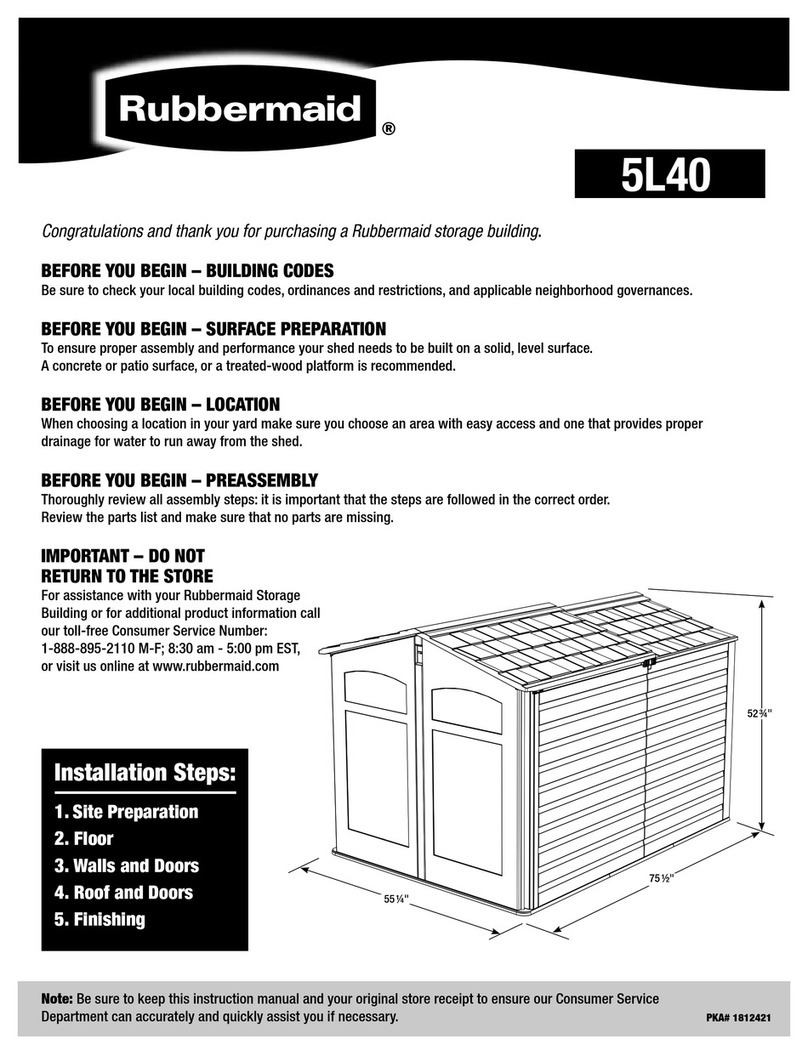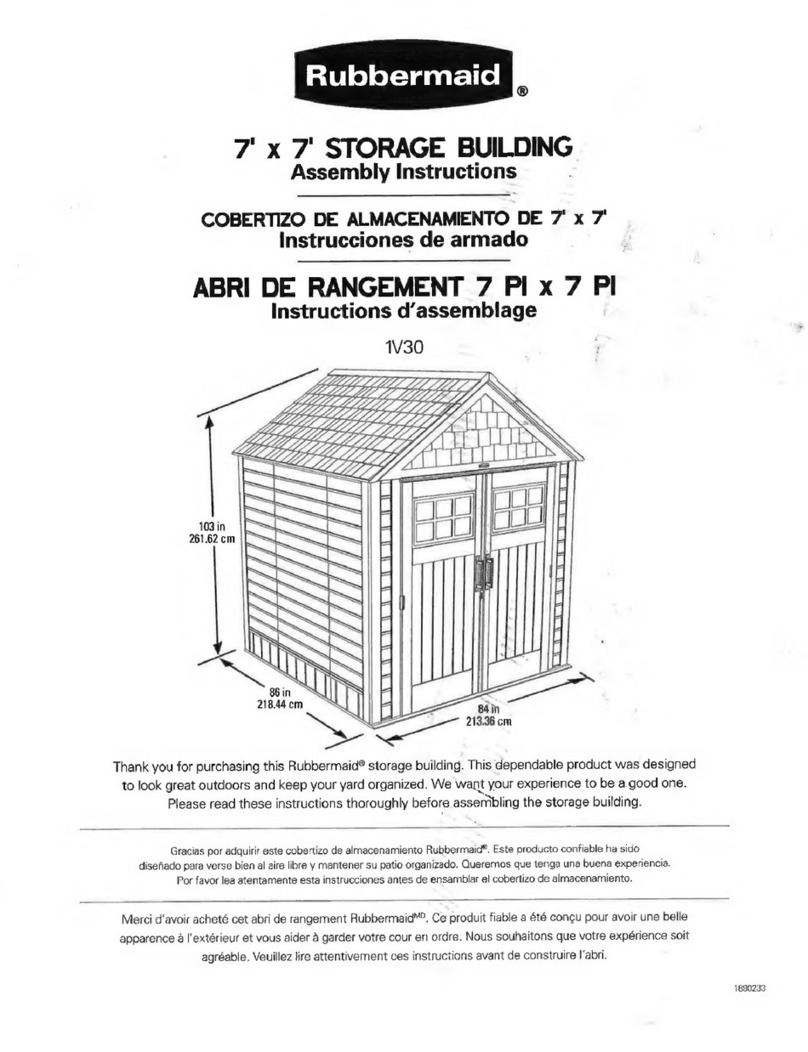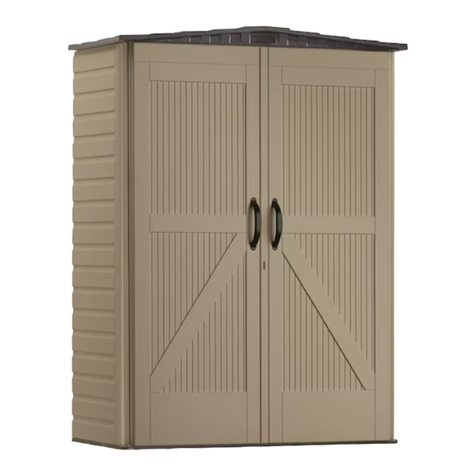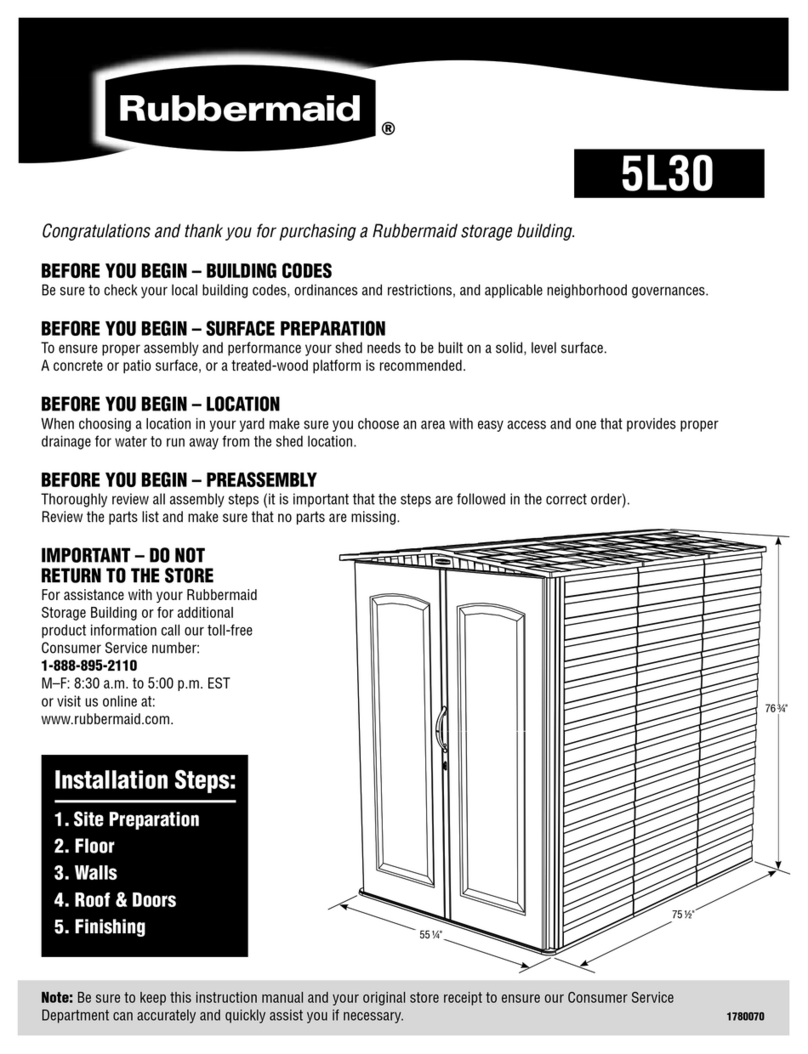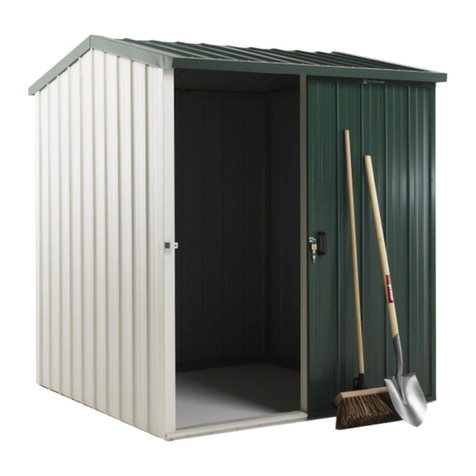
Storage Sheds Remise Cobertizo de Almacenaje
No. 3746
52 cu. ft/1.47 m3
51.8” x 31.8” x 77”
131.6 x 80.8 x 195.6 cm
No. 3747
32 cu. ft/0.91 m3
60” x 31.9” x 47”
152.4 x 81 x 119.4 cm
No. 3748
18 cu. ft/0.51 m3
55” x 27.8” x 34.3”
139.7 x 70.6 x 87.1 cm
No. 3749
17 cu. ft/0.48 m3
32” x 25.8” x 72”
81.3 x 65.5 x 182.9 cm
50 1/2 "/127.6cm
43 1/2 "/110.5cm
1 19/20 "
4.95cm
60o
3 3/8 "
8.57cm
7 1/4 "
18.4cm
1. Periodically inspect shed to assure proper assembly is
maintained and site remains level.
2. Clean shed using garden hose or wash with a mild
detergent and water. Do not clean with a stiff or abrasive
cleaner.
3. Shed can be secured to any immovable object by drilling
through four molded-in recessed areas in back panel. Shed
can also be secured by drilling through four floor locations
and inserting stakes into ground. Wear safety glasses and
follow manufacturer's instructions when using power tools.
WARNING: DO NOT STORE HOT YARD EQUIPMENT, GRILLS
OR OTHER HOT MATERIALS IN SHED.
Shelf & Perfboard Additions
A shelf can be easily added, if desired, by using standard
3/4" (1.9cm) thick lumber cut to be fit into the molded-in
shelf brackets. Clipped corners of shelf should be facing the
back. Insert the left end of the shelf first; then push the rest
of the shelf into place. See diagram for shelf dimensions.
For best results, use weather resistant materials.
Care & Use
1. Vérifier périodiquement la remise pour s'assurer qu'elle
est toujours bien assemblée et que le terrain est toujours
de niveau.
2. Nettoyer la remise avec un tuyau d'arrosage ou la laver
avec un détergent doux et de l'eau. Ne pas nettoyer avec
une brosse rigide ou un produit abrasif.
3. On peut fixer la remise sur n'importe quel objet fixe en
perçant les quatre renfoncements moulés dans le panneau
arrière. On peut également fixer la remise en perçant
quatre endroits dans le plancher pour y enfoncer des
piquets dans le sol. Porter des lunettes de sécurité et
respecter les directives du fabricant pour l'utilisation des
outils électriques.
MISE EN GARDE: NE PAS RANGER L'ÉQUIPEMENT DE
JARDINAGE CHAUD, LES GRILS OU AUTRE MATÉRIEL
CHAUD, DANS LE REMISE.
Ajout de tablette ou de panneaux perforés
On peut facilement ajouter une tablette en utilisant des
planches de bois standard de 3/4po (1,9cm) d'épaisseur
qui s'inséreront dans les supports de tablette moulés.
Les coins coupés de la tablette doivent faire face à l'arrière.
Insérer le bout gauche de la tablette en premier, puis
pousser le rest de la tablette en place. Voir le diagramme
pour les dimensions de la tablette. Pour obtenir de
meilleurs résultats, utiliser des matériaux résistant aux
intempéries.
Entretien et utilisation
1. Inspeccione periódicamente el cobertizo para asegurar
que se mantiene bien ensamblado y que el terreno
permanece a nivel.
2. Limpie el cobertizo usando suave y agua. No lo limpie
con un cepillo de cerdas duras o con un producto limpiador
abrasivo.
3. El cobertizo puede ser asegurado a algún objeto inamovible
perforando a través de 4 áreas moldeadas en receso en el
panel posterior. El cobertizo también puede ser asegurado
perforando en 4 puntos e insertando estacas en el suelo.
Use gafas de seguridad y siga las instrucciones del fabricante
cuando emplee herramientas eléctricas.
ADVERTENCIA: NO ALMACENE EN EL COBERTIZO EQUIPO
PARA JARDIN O PARRILLAS CALIENTES NI NINGUN OTRO
MATERIAL CALIENTE.
Adiciones de estantes y tableros perforados
Se puede afiadir fácilmente un estante, si se desea, usando
una tabla esténdar de madera de 3/4" (1.9cm) de espesor
cortada para encajar en los soportes moldeados para estantes.
Las esquinas recortadas del estante deben mirar hacia atrás.
Insertar primero el extremo izquierdo del estante y luego
empujar el resto del estante en su lugar. Ver en el diagrama
las dimensiones del estante. Para obtener mejores resultados
use material resistente a la intemperie.
Cuidado y uso
Printed in U.S.A.
Imprimé aux Ètats-Unis.
Impreso en los EE.UU.
© 2009 Rubbermaid Incorporated,
Huntersville, NC U.S.A. 28078-1801
Customer Service
Toll Free: 1-888-895-2110
M–F 8:30AM to 5:30PM EST
or visit us at www.rubbermaid.com
L8-3748-P2
