3
Read the instructions, keep them safe, pass them on if you pass the appliance on.
Remove all packaging before use.
A IMPORTANT SAFEGUARDS
Follow basic safety precautions, including:
1 This appliance can be used by children aged from 8 years and
above and persons with reduced physical, sensory or mental
capabilities or lack of experience and knowledge if they have
been supervised/instructed and understand the hazards involved.
Children shall not play with the appliance. Cleaning and user
maintenance shall not be done by children unless they are older
than 8 and supervised. Keep the appliance and cable out of reach
of children under 8 years.
`Don’t immerse the appliance in liquid.
¬The surfaces of the appliance will get hot.
2 Don’t connect the appliance via a timer or remote control system.
3 Don’t use the appliance near or below combustible materials (e.g.
curtains).
4 If the cable is damaged, it must be replaced by the manufacturer,
its service agent, or someone similarly qualied, to avoid hazard.
5 Don’t use the appliance for any purpose other than those
described in these instructions.
6 Don’t operate the appliance if it’s damaged or malfunctions.
household use only
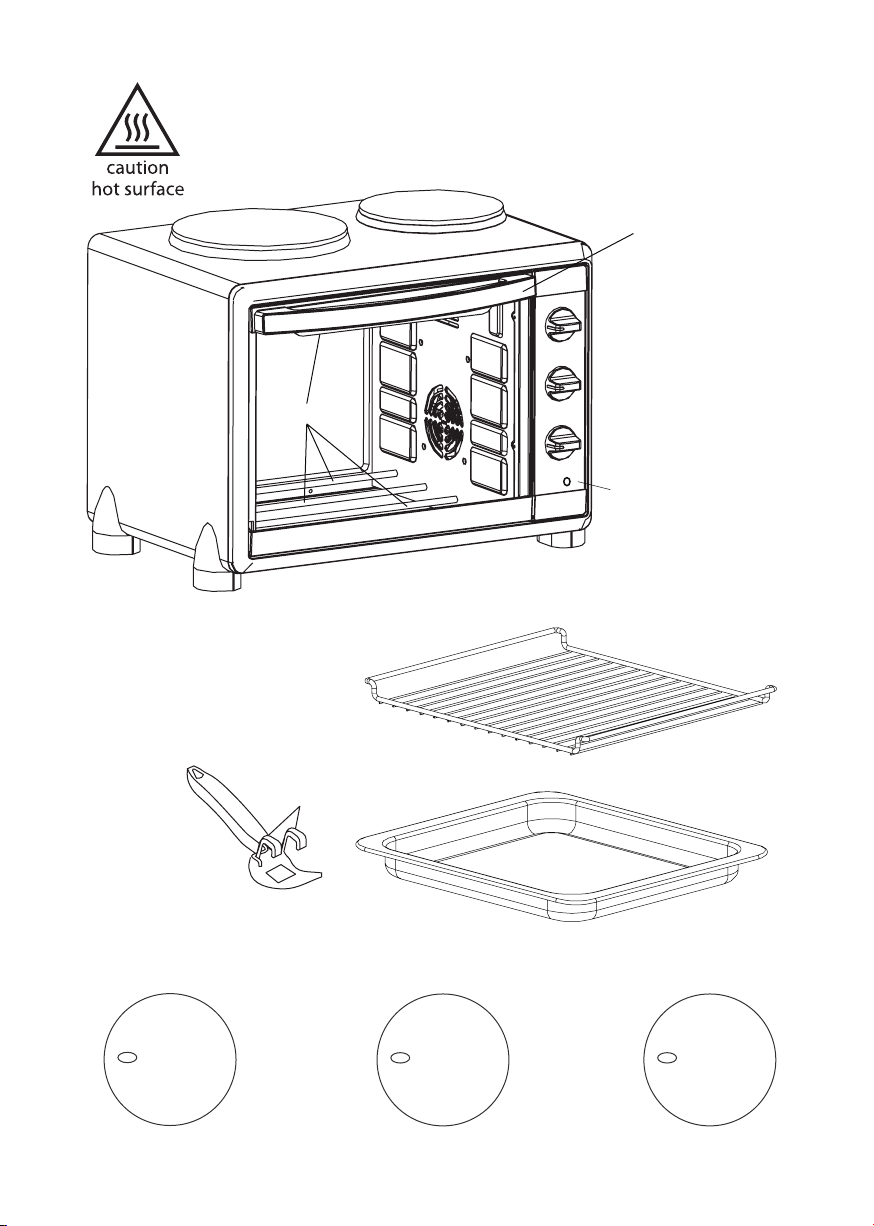
C PREPARATION
Sit the appliance on a stable, level, heat-resistant surface.
UBEFORE USING FOR THE FIRST TIME – CURE THE ELEMENTS
This generates fumes to cure the elements open a window for ventilation.
1 Check that there’s no packaging left inside the oven, or wedged round the elements.
2 Open the kitchen windows, and make sure the room is adequately ventilated.
3 Close the mini oven door.
4 Plug the mini oven into a power socket (switch the socket on, if it’s switchable).
5 To turn the hotplates on, turn the control knob to n,turn the timer to 20, after the
timer returns to 0, and the bell sounds, leave the hobs to cool down.
6 Turn the control knob to 1, Turn the oven temperature control cto 230,and turn
the timer to 20, after the timer returns to 0, and the bell sounds, leave the oven to
cool down.
7 When it’s cool, it’s ready for use.