Model A-LC2
Local Source Input
for A-BUS®System
Instruction Manual
INSTRUCTIONS FOR CONNECTING AND USING RUSSOUND®MODEL A-LC2. REFER TO THE DIAGRAMS INSIDE. A-LC2 OVERVIEW
The A-LC2 is an in-wall, A-BUS®Module that automatically selects
between an independent local source (e.g., a CD player in the room)
and the main source of an A-BUS®system. The A-LC2 connects
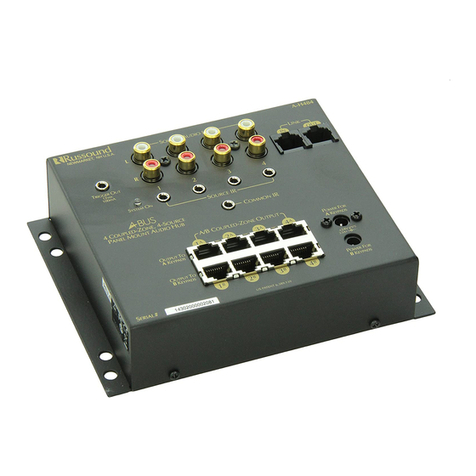
between the A-BUS®audio Hub (or A-BUS®Ready receiver) and an
A-BUS®Amplified Control Module using CAT-5 wiring.
IMPORTANT – Before installation, review the manuals included
with each component in your system. If you are unsure of any of
the installation procedures described herein or elsewhere, consult a
professional electronics installer.
A-LC2 FEATURES
1) Stereo audio input
2) Automatic switching between local and main source
3) Switching sensitivity adjustment
4) Switching delay adjustment
5) Decora®faceplate
When the A-LC2 senses an audio signal at its local input, the main
audio is switched out locally, the local audio is switched in, and the
status light on the connected Amplified Control Module turns on (if
not already on). When local audio is no longer sensed, the
A-LC2 will switch back to the main audio. If the main audio is not
running, the Amplified Control Module will automatically turn off (A-
KP2) or mute (A-VC), only if “Status” is enabled on the hub and there
is a switched outlet on the main audio source.
Locate the A-LC2 near the local source. Check all connections and test
the system’s operation before installing the A-LC2 into the wall. Using
the included hardware, install the A-LC2 into a standard UL/CSA
approved electrical J-Box as shown.
The time it takes for the A-LC2 to switch back to the main source
from the local source can be adjusted from 10 seconds to 90 seconds
(fully clockwise position). Use a Philips-head screwdriver.
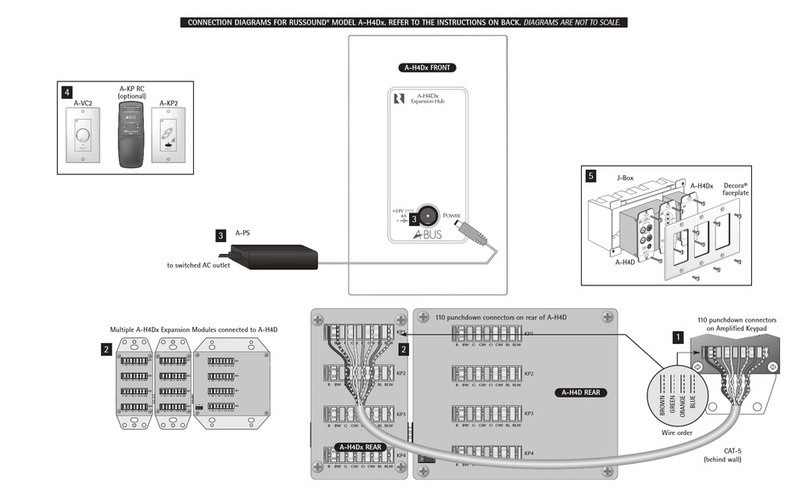
A CAT-5 cable is used to connect the A-LC2 to a keypad output on
an A-BUS®Hub or A-BUS® Ready receiver, and to an A-BUS®
Amplified Contol Module. For clean installations, use RJ-45 CAT-5
patch cables (use T568A RJ-45 wire configuration) to connect from
the Hub to an RJ-45 Wall Plate (optional), and then wire from the
Wall Plate to the A-LC2 (see diagram). The A-LC2 and the Amplified
Control Module have 110 punchdown connectors for the 8 individ-
ual conductors of the CAT-5 cable (use a punchdown tool with a
110 blade to insert conductors).
NOTE: When wiring directly to the A-LC2 (i.e., not using an RJ-45
Wall Plate) crimp on a male RJ-45 connector using the T568A RJ-
45 wire configuration for connection to the hub.
1CAT-5 CONNECTIONS
Connect the audio output of the local source to the audio input on
the A-LC2.
2SOURCE CONNECTION
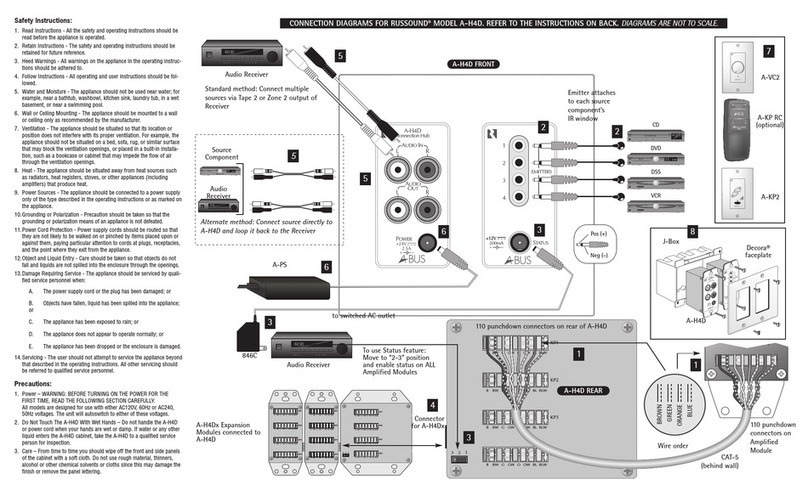
•Using the A-LC2 requires that the status feature be disabled
on the A-BUS®Hub as well as on ALL A-BUS®Amplified
Control Modules in the system unless it is being used.
•Before connecting the A-LC2:
- Make sure that the A-PS power supply is not connected to the
A-BUS®Hub or, if you are using an A-BUS® Ready receiver, that
the receiver is off.
- Make sure that the STATUS input on the A-BUS®Hub is not
connected.
•The recommended maximum length for use with standard
CAT-5 cable is 250 feet.
•Once all of the connections have been made, the A-PS power
supply can be connected to the A-BUS®Hub or, if you are using
an A-BUS® Ready receiver, the receiver may be turned on.
INSTALLATION NOTES
•The A-LC2 allows guests, for example, to play a CD of their
choice in a CD player located in their room. The audio is ampli-
fied by the room’s A-BUS®Amplified Control Module and
played through the speakers in that room. The rest of the sys-
tem continues to operate independently.
•The A-LC2 can also be used to connect the audio output of a
television so TV sound can be heard through a room’s speakers.
APPLICATIONS
4DELAY ADJUSTMENT
The sensitivity adjustment determines the level of signal needed
before the A-LC2 will switch from the main source to the local source.
Try the lowest level first (fully counter-clockwise) and gradually raise
the level until the switching occurs. Use a Philips-head screwdriver.
3SENSITIVITY ADJUSTMENT
6OPERATION
5MOUNTING
A-BUS®SYSTEM OVERVIEW
The product you have just purchased is an integral part of the Russound®
A-BUS®Multi-Room Audio System. It is a component which, when combined
with other essential components and your source equipment (receiver, CD play-
er, etc.), creates a versatile whole-house audio system that will fill your rooms
with high-quality sound for years to come.
A-BUS®technology is a new, innovative method of providing high quality audio
to remote locations with a single 8-conductor cable such as CAT-5.
A-BUS®technology provides many advantages over other methods of audio
distribution, including: simple, single CAT-5 wiring scheme; infrared control of
system components; infrared control of the optional A-KP2 amplified control
module; and system power status.
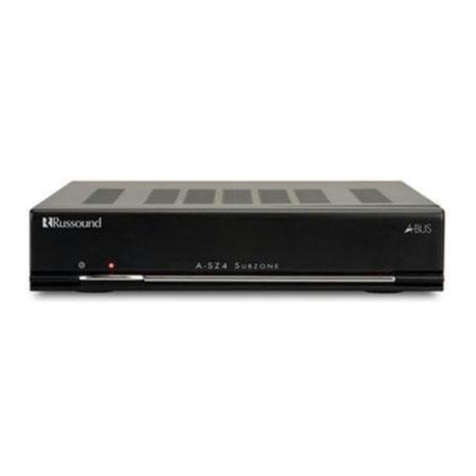
Every A-BUS®System is comprised of components from each of the following
three areas.
1. A-BUS®Amplified Control Modules: The Module contains both the
amplifier for the room’s speakers as well as the control for those speakers.
One Module should be used for each room you choose to control.
The Russound®A-KP2 Amplified Keypad (with built-in IR receiver) and A-VC
Amplified Volume Control are examples of A-BUS®Amplified Modules.
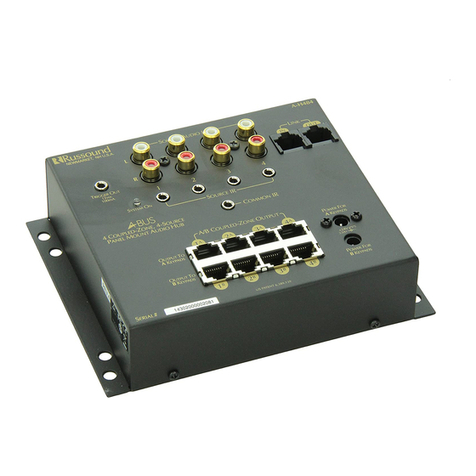
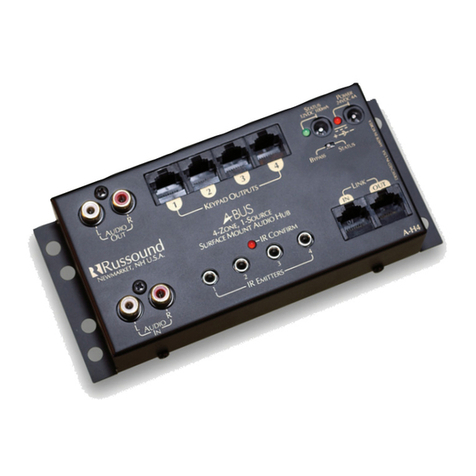
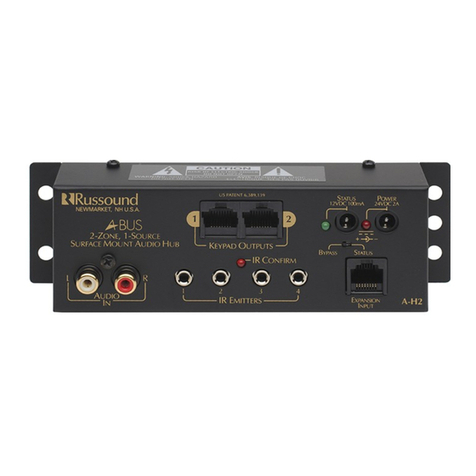
2. A-BUS®Hubs: All components of the A-BUS®system must be wired cen-
trally to a Hub located near your source equipment. The Hub provides the
connection for source equipment, volume controls, infrared emitters and
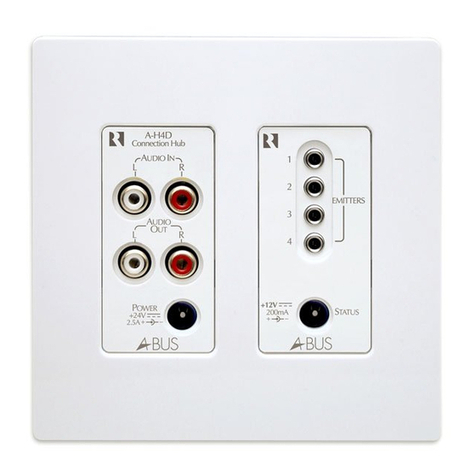
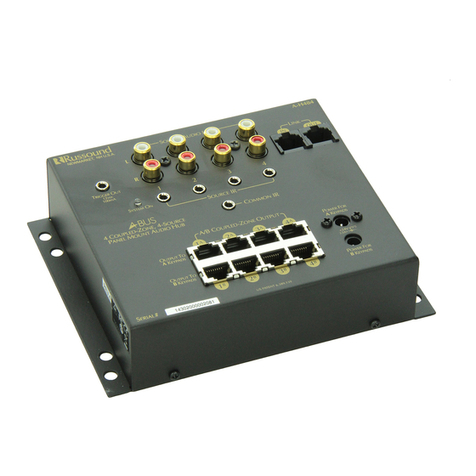
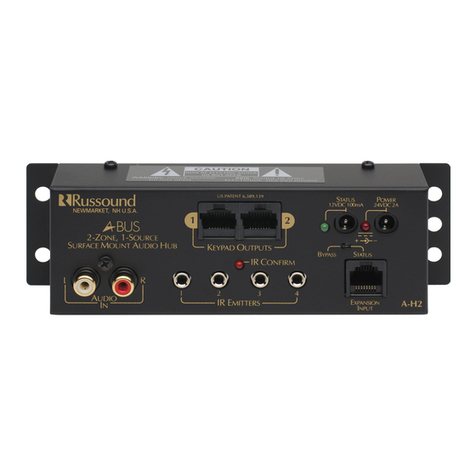
power supply. The A-H484, A-H4, A-H4D, and A-H2 are examples of
A-BUS®Hubs. The A-H484, A-H4, and A-H2 are surface-mount units.
The A-H4D is an in-wall Decora® style unit.
3. Power Supply: The power supply plugs into the Hub. The Russound®A-PS
24VDC/2.5A unit is an example.
A-LC2 SPECIFICATIONS
Power Requirements: 24VDC, 24mA
Input Sensitivity: 35mV to 280mV
Switching Delay: 10 sec. to 90 sec.
CAT-5 Connection: 110 Punchdown
Dimensions (in-wall): 1.75"W x 2.875"H x 1.75"D (45x73x45mm)
Weight: 6 oz. (170g)
5 Forbes Rd. Newmarket, NH 03857, USA
☎ 603.659.5170 • Fax 603.659.5388
Come visit us at:
English
A-BUS®is a registered trademark of LeisureTech Electronics Pty Ltd Australia
Decora®is a trademark of Leviton Corporation
Rev. 1 28-1137
LIMITED WARRANTY
The Russound®A-LC2 is fully guaranteed for Two (2) years from the date of purchase against
all defects in materials and workmanship. During this period Russound®will replace any
defective parts and correct any defect in workmanship without charge for either parts or
labor. For this warranty to apply, the unit must be installed and used according to its writ-
ten instructions. If service is necessary, it must be performed by Russound®. The unit must
be returned to Russound®at the owner’s expense and with prior written permission.
Accidental damage and shipping damage are not considered defects under the terms of the
warranty. Russound®assumes no responsibility for defects resulting from abuse or servicing
performed by an agency or person not specifically authorized in writing by Russound®.
Damage to or destruction of components due to improper use voids the warranty. In these
cases the repair will be made at the owner’s expense. To return for repairs, the unit must be
shipped to Russound®at the owner’s expense, along with a note explaining the nature of the
service required. Be sure to pack in a corrugated container with at least 3 inches of resilient
material to protect the unit from damage in transit. Russound sells products only through
authorized Dealers and Distributors to ensure that customers obtain proper support and serv-
ice. Any Russound product purchased from an unauthorized dealer or other source, includ-
ing retailers, mail order sellers and online sellers will not be honored or serviced under exist-
ing Russound warranty policy. Any sale of products by an unauthorized source or other
manner not authorized by Russound shall void the warranty on the applicable product.
