manuals.online logo
Brands
  1. Home
  2. •
  3. Brands
  4. •
  5. RYNO WORX
  6. •
  7. Burner
  8. •
  9. RYNO WORX RY30MK-PRO-V2 User manual

RYNO WORX RY30MK-PRO-V2 User manual

Operator's Manual
Model: RY30MK-PRO-V2
MPN: RA-MLT-0008
30 Gallon Direct Fire Melter Kettle
Dual Burner Model with Independently Controlled Flame-Out Valves
U.S. Patent No. 9,739,021
Facebook Messenger
support@rynoworx.com
WhatsApp Messaging
519-404-9775
Website Chat
rynoworx.com/support
Email
support@rynoworx.com
Phone
855-382-9611
Warning
⚠A flame out valve bypass (RC-CAP-0008) has been provided with this product (shown below).
⚠This cap can be used to temporarily bypass the flameout valve and keep the burner running in the event of a
thermocouple failure. It is designed for emergency use only and should be removed immediately upon work
completion.
⚠***USE OF THIS BYPASS IS AT YOUR OWN RISK***
⚠***DO NOT LEAVE THE EQUIPMENT UNATTENDED WHILE BYPASS INSTALLED***
⚠Read all instructions and warnings in this manual before attempting to operate this equipment.
⚠This equipment is designed for outdoor use only.
⚠Be sure to always wear personal protective equipment when operating this equipment.
⚠Improper assembly may be dangerous. Please follow the assembly instructions in this manual. Make sure all parts are
assembled and hardware is fully tightened before using. Make sure that there are no leaks in the liquid propane cylinder
connection or lines.
⚠Do not operate the equipment if a gas leak is present. (check for leaks and connections with every use)
⚠Do not attempt to disconnect the gas regulator from the tank or any gas fitting while the equipment is in use.
⚠A dented or rusty liquid propane tank may be hazardous and should be checked by your liquid propane supplier. Do
not use a liquid propane tank with a damaged valve.
⚠Ensure that your propane cylinder is within its expiry date for your local jurisdiction. If the tank has expired it must be
properly requalified to continue using.
⚠Ensure that your propane cylinder is within its expiry date for your local jurisdiction. The manufacturing date is
stamped on the collar of the tank. If the tank has expired it must be properly requalified.
⚠Do not store spare liquid propane cylinders within 10 feet (3m) of this equipment.
⚠Do not store or use gasoline or other flammable liquids or vapors within 25 feet (8m) of this equipment.
⚠Before servicing, make sure the unit is fully cooled and the liquid propane cylinder is disconnected.
⚠Only genuine RynoWorx replacement parts should be used for any replacements or repairs. Do not attempt to modify
or alter this product in any way.
⚠Do not attempt to make any repairs to gas carrying, gas burning, igniter components or structural components. Your
actions, if you fail to follow this warning, may cause a fire, an explosion, or structural failure resulting in serious personal
injury or death as well as damage to property.
⚠This equipment should only be used with "Direct Fire" hot melt crack sealant.
⚠Failure to follow these instructions could result in fire or explosion which could cause property damage, personal
injury or death.
No P/N
Qty
Description
1 RA-VLV-0003 12" NPT Molasses Valve Assembly
2 RC-FAB-0103 430MK Removable Body Handle
3 RC-PIN-0011 4Hairpin Cotter Pin - 30MK Kettle Body Handles
4 RC-GCM-0067 1Thermometer - 16.5" Probe - Shock Proof Liquid Filled
5 RC-FAB-0010 1Thermometer Guard Bracket
6 RC-FAB-0101 1Melter Lid Support Slider
7 RC-FAB-0086 1Agitation Sweep Bar - RY30MK-PRO-V1
8 RC-GCM-0049 1Propane Tank Y Splitter / Adaptor
9 RA-BRN-0010 2Burner Tray Complete Assembly - 5 psi Kettle Burner
10 RC-PIN-0008 23/8" x 1-3/8" Lock Pin with Retainer
11 RC-GSK-0026 2SBR Rubber Push-In Grommet for 1/2" ID and 3/32"
P/N: Model Rev:
RA-MLT-0008 RY30MK-Pro-V2 1
Description:
RY30MK-Pro Crack Fill Melter Kettle - Version 2
10
9
8
7
6
5
4
3
2
1
11
No
P/N
Qty
Description
1
RA-BRN-0005
1
Cast Iron Burner Assembly - 11.5
2
RC-FIT-0080
1
Brass Fitting - 1 mm Orifice - 1/4 NPT M-F
3
RC-FIT-0081
1
Brass Fitting - 90
°
1/4 NPT M-M - 42.75 mm
4
RC-FIT-0083
1
Brass Fitting - 90
°
1/4 NPT F-F
P/N:
Rev:
RA-BRN-0007
1
Description:
Cast Iron Burner - 11.5 with Fittings (1/4 NPT)
4
3
2
1
No
P/N
Qty
Description
1
RC-FAB-0165
1
Burner Tray MK- P - Tray
2
RC-FAB-0166
1
Burner Tray MK- P - Door
3
RK-FAS-0085
1
Fastener Kit - Burner Tray Door - Kettle
4
RA-BRN-0007
1
Cast Iron Burner - 11.5" with Fittings (1/4" NPT)
5
RC-TPL-0002
1
Thermocouple - Pro - 54 cm wires
6
RA-BAS-0075
1
Igniter Sub-Assembly - Kettle (37 cm wire)
7
RC- DW-0042
4
Pan ead Phillips - M5x0.8 mm x 20 mm Long
8
RA-VLV-0019
1
Flame Out Valve Assembly - CSA - 30 psi w Flare Fittings
9
RC-REG-0003
1
5 Psi Adjustable Regulator - 200 cm ose with 3/8" Flare Fitting
10
RC-FAB-0141
1
Igniter Bracket - MA-V4
11
RA-GCM-0005
1
Electronic Igniter Switch Assembly
12
RC- DW-0036
2
M5 x 0.8 mm Thread, 10 mm - ZP
13
RC-GSK-0026
1
SBR Rubber Push-In Grommet for 1/2" ID and 3/32"
14
RC-PIN-0008
1
3/8" x 1-3/8" Lock Pin with Retainer
P/N:
Rev:
RA-BRN-0010
1
Description:
Burner Tray Complete Assembly - 5 psi Kettle Burner
12
11
10
9
8
7
6
5
4
3
2
1
14
13
No
P/N
Qty
Description
1
RC-FAB-0167
1
Burner Tray MK- P - Igniter Mount
2
RC-IGN-0002
1
Igniter Electrode Probe with Wires - Pro (37 cm)
3
RC- DW-0036
2
M5 x 0.8 mm Thread, 10 mm - ZP
P/N:
Rev:
RA-BAS-0075
1
Description:
Igniter Sub-Assembly - Kettle (37 cm wire)
3
2
1
3
6
•Introduction
Forward
Thank you very much for purchasing Ryno Worx crack maintenance equipment. We pride ourselves in being different from
other equipment manufacturers with a relentless focus on innovation, simplicity, and quality.
This melter was designed to be used with ‘Direct Fire’ crack sealants only. Please be sure to purchase the correct material
to ensure safe and effective operation.
Within this document are complete instructions for how to assemble, use, and care for your equipment. Please make
sure you read and follow all instructions provided.
Within this document you will find the following resources:
•Assembly Instructions –These instructions will assist you in assembling and preparing your melter for first time
use.
•Operation Guide –This guide will explain the functions and controls of the melter and how to use them.
•Maintenance Guide –This guide will provide you with suggested maintenance tips and techniques to ensure
proper function and optimal performance.
•Troubleshooting Guide –This guide will provide you with the most commonly reported problems, possible causes,
and known solutions.
7
•Assembly Instructions
1) Install Thermometer and Thermometer Guard
2) Thread the Molasses Valve into the Collar
Provided
Fastener
Kit
Use a pipe wrench to
tighten the valve so that
the spout is facing down
Use a wrench to turn
the nut at the base of
the thermometer, do
not turn the
thermometer by the
dial as excessive force
on the thermometer
dial can cause damage
8
3) Install the AA Battery into the Igniter
4) Install the Burner Trays
⚠Make sure the burner trays are secured with the PTO pin at all times, especially during transportation and operation.
Insert the Burner Tray into the
Kettle and Make sure it Seats
Properly in the Tracks. Secure
with provided PTO Pin.
Unscrew the Igniter
Button and Insert a AA
Battery (Positive Side
Facing Out). Then screw
the button back on
9
5) Connect the Regulators to the Propane Splitter and then
Connect the Splitter to the Propane Tank
⚠Make sure to secure the propane hoses so that they are clear of the hot kettle walls during operation.
10
•Operation Guide
Before beginning, please check the following:
1. You have read and understand all warnings on page 2.
2. You are using new and full propane cylinder (use of a used cylinder can lead to reduced performance or
equipment failure).
3. You have inspected your regulator, hose and burner assembly and verified there are no leaks or physical
damage.
4. You are outdoors in a well-ventilated area that is free and clear of any flammable matter.
5. You have completed the assembly of the equipment correctly.
6. You have ‘Direct Fire’ type crack sealant such as GemSeal, SealMaster, Durafill, Craftco or Maxwell.
7. There is absolutely NO water in or around the kettle.
8. You are wearing a protective face shield.
9. You are wearing heat and fire resistant protective gloves.
10. You are wearing heat and fire resistant protective clothing which covers all exposed skin.
Part 1 –How to Load and Light your Melter
1. Ensure your regulator is off by rotating regulator nob fully counter-clockwise (rotate left).
2. Slowly pressurize the regulator by rotating the valve located on the propane cylinder counter-clockwise all the
way (rotate left).
3. Inspect and ensure there are no leaks between any of the connections before proceeding.
4. Load crack sealant into kettle, while ensuring sealant is resting on the bottom of the kettle.
5. Pressurize the propane hose by rotating the regulator knob fully clockwise (rotate right).
6. Press and hold the electric igniter button immediately followed by the burner starter button. Continue holding
both buttons until the burner ignites.
7. Once the burner ignites, release the electric igniter button, however continue to hold the starter button for an
additional 15-20 seconds. This will eventually deactivate the flame-out sensor which is responsible for ensuring
the burner stays lit.
8. Once lit, you can control the temperature by adjusting the regulator.
Igniter
Button
Burner
Start Button
11
•Operation Guide
Part 2 –Agitating and Monitoring Temperature
1. Never leave melter unattended when the burner is lit. If flame goes out, promptly turn off the flow of gas; double
check that the melter is free and clear of any gas odors before attempting to re-ignite the burner.
2. While your melter is ignited you should continuously be monitoring the material temperature. Check with crack
sealant manufacturer for safe melting temperatures and ensure you continually adjust the burner control knob to
maintain the recommended temperature range. If the material becomes too hot, you may need to turn off your
burner periodically.
3. As material begins to melt, it’s important to consistently agitate. Agitation moves the solid crack sealant along the
bottom and prevents ‘hot spots’ from forming which can alter the effectiveness of the sealant after applied.
Agitation also prevents chunks of over-heated material from forming which will eventually
plug or block your flow valve which can slow down material flow.
Part 3 –Dispensing Crack Filler
Once you have effectively liquefied the crack sealant, you may begin to dispense it from the molasses valve into a pour
pot or other application device. Having a hot molasses valve helps facilitate the flow of melted crack fill. We recommend
having an auxiliary heating torch on hand to heat up the molasses valve before dispensing.
Part 4 –Turning Off and Draining
Once you have finished using the melter, make sure it is fully drained and no crack filler remains inside the kettle or the
flow valve. Leaving the flow valve empty after use will prevent the valve from being blocked the next time you use the
melter.
12
•Operation Guide
HOW TO –Thermocouple Bypass (Emergency use only)
***USE OF THIS BYPASS IS AT YOUR OWN RISK***
On occasion, you may run into a situation where your flame out valve is preventing you from completing your job. This
may be due to a damaged thermocouple, or the flame-out valve itself.
The new flame-out bypass (RC-CAP-0008) is designed to allow you to finish your job, while you wait for replacement
parts. The Bypass is designed for temporary, emergency use only, and should be removed immediately upon work
completion.
The cap is designed to screw onto the top of the flame-out valve.
Simply thread the cap with your fingers over the button on the flame-out valve until snug.
***NEVER LEAVE THE EQUIPMENT UNATTENDED WHILE INSTALLED***
13
•Periodic Maintenance
This melter / applicator requires periodic maintenance before each use and at set intervals in order to ensure it is
performing safely and optimally. The list below describes checks and maintenance which are recommended.
-Check Propane Tank fuel level, refill as needed.
-Inspect regulator, hose, gas connections, and burner for physical damage or leaks before every use.
-Periodically inspect thermometer for physical damage or malfunctions.
-Periodically scrape crystallized material from the inside of the kettle.
14
•Troubleshooting Guide
Below we have provided a common problems and solutions table. Be sure to consult this table should you experience
any technical problems.
Description of Problem
Possible Causes
Known Solutions
The burner will not ignite or
the burner will not stay lit
1) The electric igniter may have dead
or low power batteries
2) Burner start button is not being
held long enough for ignition to take
place
3) The fuel level could be too low
4) The propane cylinder valve could
be partially or fully closed, which can
restrict fuel flow
1) Change the batteries located in the
igniter assembly, double check spark.
2) Ensure you hold your burner start
button until the burner ignites,
continue to hold for an additional 15-
20 seconds
3) Check and refill your fuel tank
4) Ensure your fuel valve is fully
open, you can do this by turning the
knob fully counter-clockwise
Crack filler is hot, but will not come
out of the flow valve
1) Crack filler was left inside the
melter from a previous job. This crack
filler has solidified inside the
molasses valve and although the
material in the kettle is melted, the
material in the molasses valve may
not be.
1) Allow the burner more time to
heat up the valve until the crack filler
inside begins to melt. Alternatively,
you may heat up the valve using a
propane torch assembly.
Burner will not stay lit
1) The fuel level may be too low
2) Loose connection between the
thermocouple and flame-out valve
1) Refill your fuel tank
2) Tighten the thermocouple
connection to the flame-out valve
Crack filler is melting really slowly
1) Incorrect crack sealant being used
2) Burner is not providing enough
heat to melt the crack sealant
3) The temperature outside is cooler
than normal slowing down the
melting process
1) Double check that you are using an
approved crack sealant for use in
direct-fire melters
2) Increase the fuel to your burner
3) No solutions, melting takes longer
on cooler days

This manual suits for next models

1

Other RYNO WORX Burner manuals

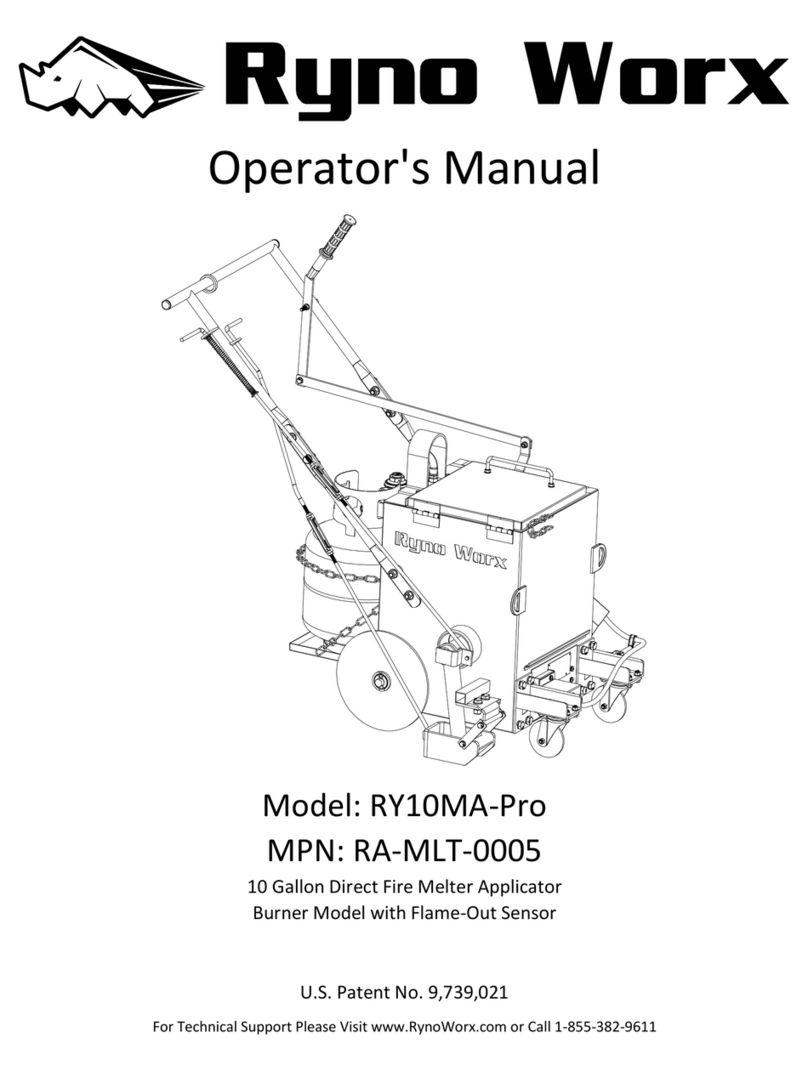
RYNO WORX RY10MA-Pro User manual

RYNO WORX

RYNO WORX RY10MA-Pro User manual

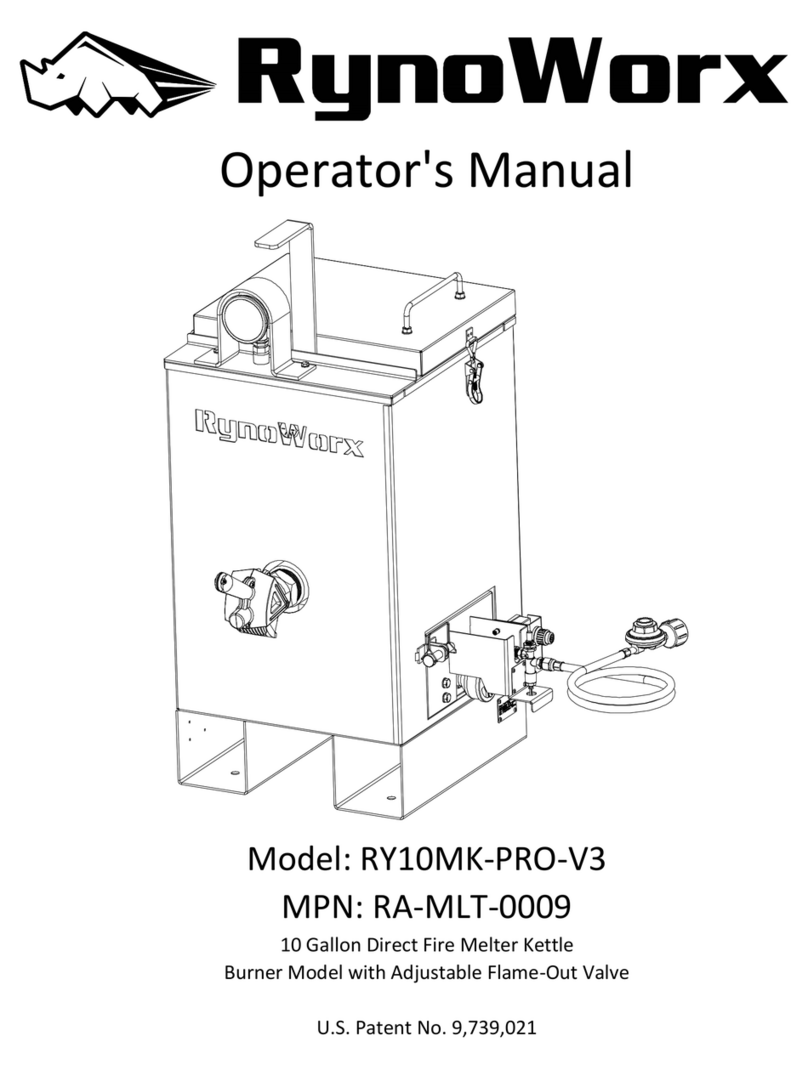
RYNO WORX RY10MK-PRO-V3 User manual

RYNO WORX

RYNO WORX RY10MK-PRO-V3 User manual

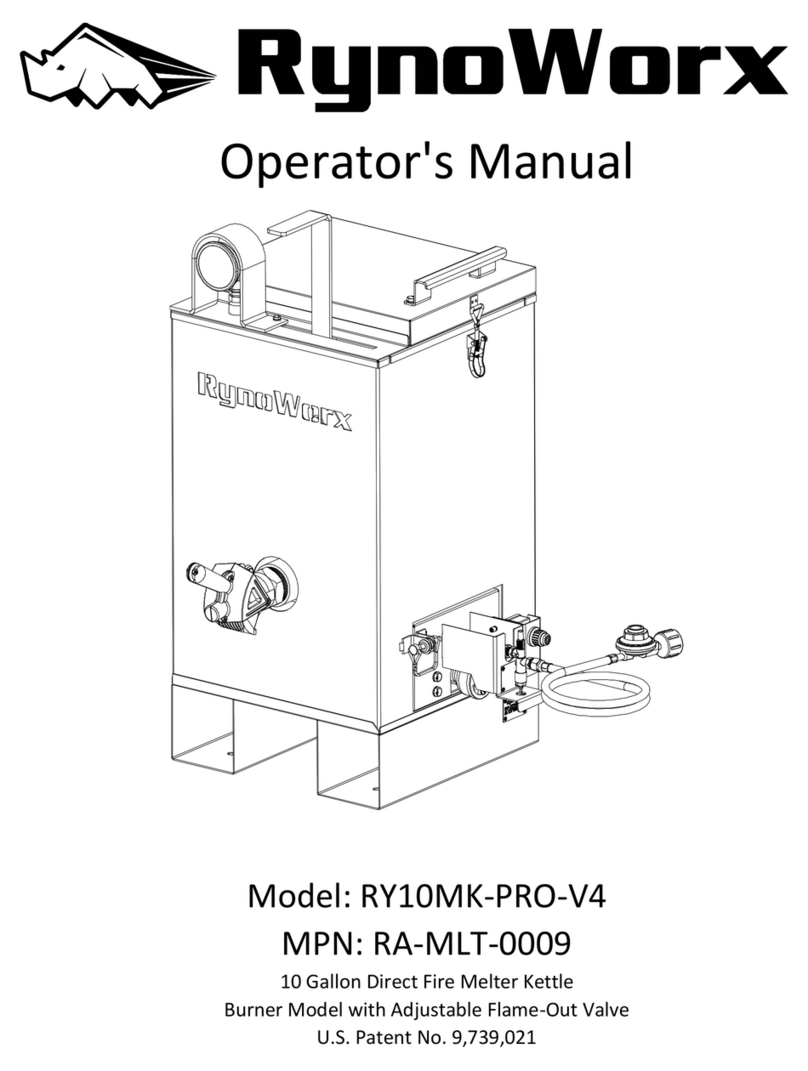
RYNO WORX RY10MK-PRO-V4 User manual

RYNO WORX

RYNO WORX RY10MK-PRO-V4 User manual

Popular Burner manuals by other brands

Riello Burners RS 45/M BLU Installation, use and maintenance instructions

Riello Burners

Riello Burners RS 45/M BLU Installation, use and maintenance instructions

Planika Pure Flame installation manual

Planika

Planika Pure Flame installation manual

Town & Country Fireplaces TCWS54 SERIES D instruction manual

Town & Country Fireplaces

Town & Country Fireplaces TCWS54 SERIES D instruction manual

Riello Gulliver RG1RK Installation, use and maintenance instructions

Riello

Riello Gulliver RG1RK Installation, use and maintenance instructions

Omcan 37525 instruction manual

Omcan

Omcan 37525 instruction manual

Real Fyre G52-18 Installation & owner's manual

Real Fyre

Real Fyre G52-18 Installation & owner's manual

Real Fyre G-31 Assembly instructions

Real Fyre

Real Fyre G-31 Assembly instructions

Air Burners S-Series operating manual

Air Burners

Air Burners S-Series operating manual

Air Burners T-300 operating manual

Air Burners

Air Burners T-300 operating manual

Beef Eater Discovery 1100 Series Assembly and operating instructions

Beef Eater

Beef Eater Discovery 1100 Series Assembly and operating instructions

Viessmann Riello Installation and operating instruction manual

Viessmann

Viessmann Riello Installation and operating instruction manual

Midco Economite E20B Installation and service instructions

Midco

Midco Economite E20B Installation and service instructions

Bull 60010 Assembly & operating instructions

Bull

Bull 60010 Assembly & operating instructions

Riello MB 405/1 Installation, use and maintenance instructions / Spare parts list

Riello

Riello MB 405/1 Installation, use and maintenance instructions / Spare parts list

Riello G3R Installation, use and maintenance instructions

Riello

Riello G3R Installation, use and maintenance instructions

Bentone BG 800i M Installation and maintenance  instruction

Bentone

Bentone BG 800i M Installation and maintenance instruction

Lamborghini Caloreclima EM 12-E Installation and maintenance manual

Lamborghini Caloreclima

Lamborghini Caloreclima EM 12-E Installation and maintenance manual

Unigas TLX83 Manual of installation - use - maintenance

Unigas

Unigas TLX83 Manual of installation - use - maintenance

manuals.online logo
manuals.online logoBrands
  • About & Mission
  • Contact us
  • Privacy Policy
  • Terms and Conditions

Copyright 2025 Manuals.Online. All Rights Reserved.