TELLO User Manual
8
©2018 Ryze Tech. All Rights Reserved.
f. Flying in an area where the lighting changes frequently or drastically.
g. Flying over extremely dark (< 10 lux) or bright (> 100,000 lux) surfaces or towards
bright sources of light (e.g. towards sunlight).
h. Flying over surfaces without clear patterns or texture.
i. Flying over surfaces with identical repeating patterns or textures (e.g. tiling).
j. Flying over small and ne objects (e.g. tree branches or power lines).
k. Flying at speeds of over 11 mph (18 kph) at 3.5 ft (1 m) or lower.
• The Vision Positioning System may not be able to recognize patterns on the ground in
very dark (< 100 lux) environments. DO NOT take off if there is a warning prompt in the
Tello app telling you that the environment is too dark.
• Keep the cameras and sensors clean at all times. Dirt or other debris may adversely
affect their effectiveness.
Intelligent Flight Modes
The Tello features Bounce mode, 8D Flips, Throw & Go, Up & Away, and EZ Shots. To use an
intelligent ight mode, ensure that the aircraft’s battery level is at least 50%, tap in the Tello app,
then select a mode.
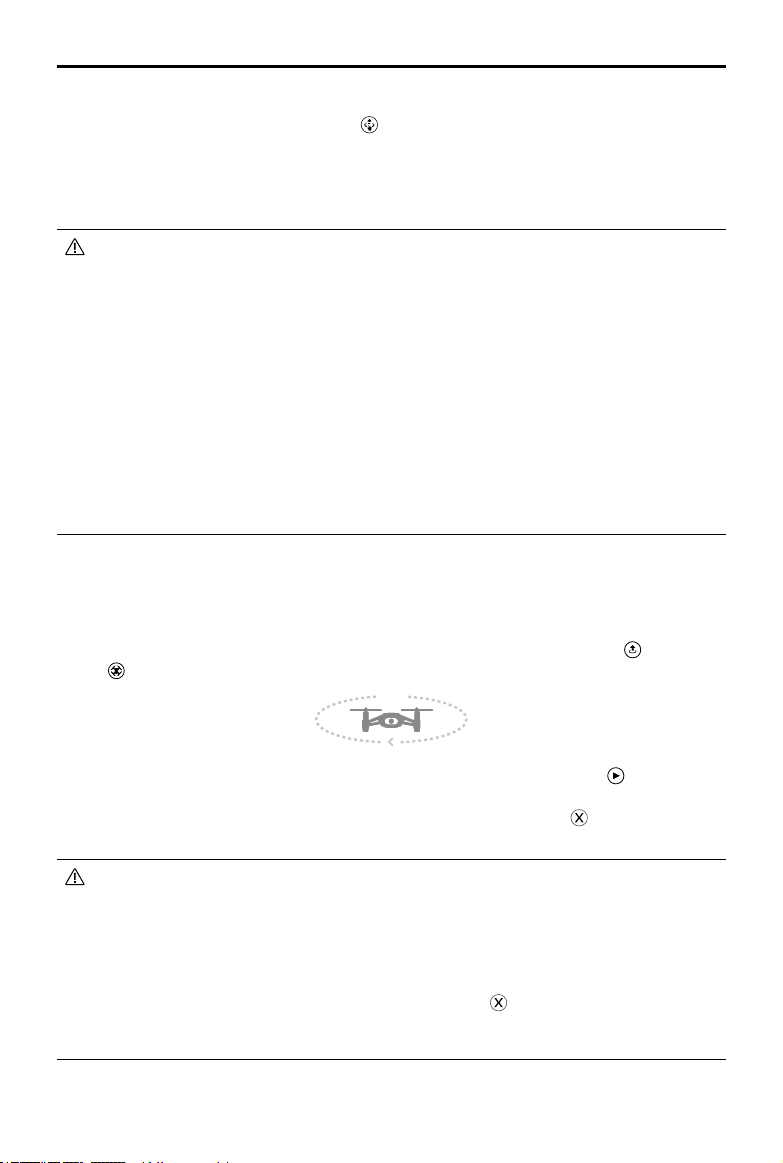
Bounce Mode
In Bounce mode the aircraft automatically ies up and down between 1.6 and 3.9 ft (0.5 and 1.2
m) above a at surface. If the aircraft detects an object below it (such as your hand) it increases its
altitude then continues ying up and down.
Using Bounce Mode
1. Press the power button once to turn the aircraft on. Launch the Tello app and
tap to take off.
2. Tap and then select Bounce mode. Read the information prompt and then
select Start. The aircraft will start ying up and down.
3. Extend your arm and place your palm 1 ft (30 cm) or more below the aircraft,
keeping your palm open. The aircraft will increase its altitude then continue ying
up and down.
4. Tap in the Tello app any time to exit Bounce mode.
• Ensure there is sufcient space when using Bounce mode. Allow a radius of at least 7 ft (2 m)
horizontally around the aircraft and allow at least 10 ft (3 m) above the aircraft.
• Before using Bounce mode ensure that the Aircraft Status Indicator is periodically blinking
green twice, indicating that the Vision Positioning System is available.
• In Bounce mode, ensure your arm is extended and your palm is at. DO NOT try to
catch the aircraft. The distance between your palm and the aircraft should be at least 1
ft (30 cm).
• Watch out for potential obstacles in your surrounding area (especially on the rear, left, and
right sides of the aircraft) and stay clear of them to avoid accidents.
• Be prepared to take control of the aircraft by tapping in the Tello app to exit Bounce
mode in case of an emergency.
• Be extra cautious when ying in dark (< 300 lux) or bright (> 10,000 lux) environments.