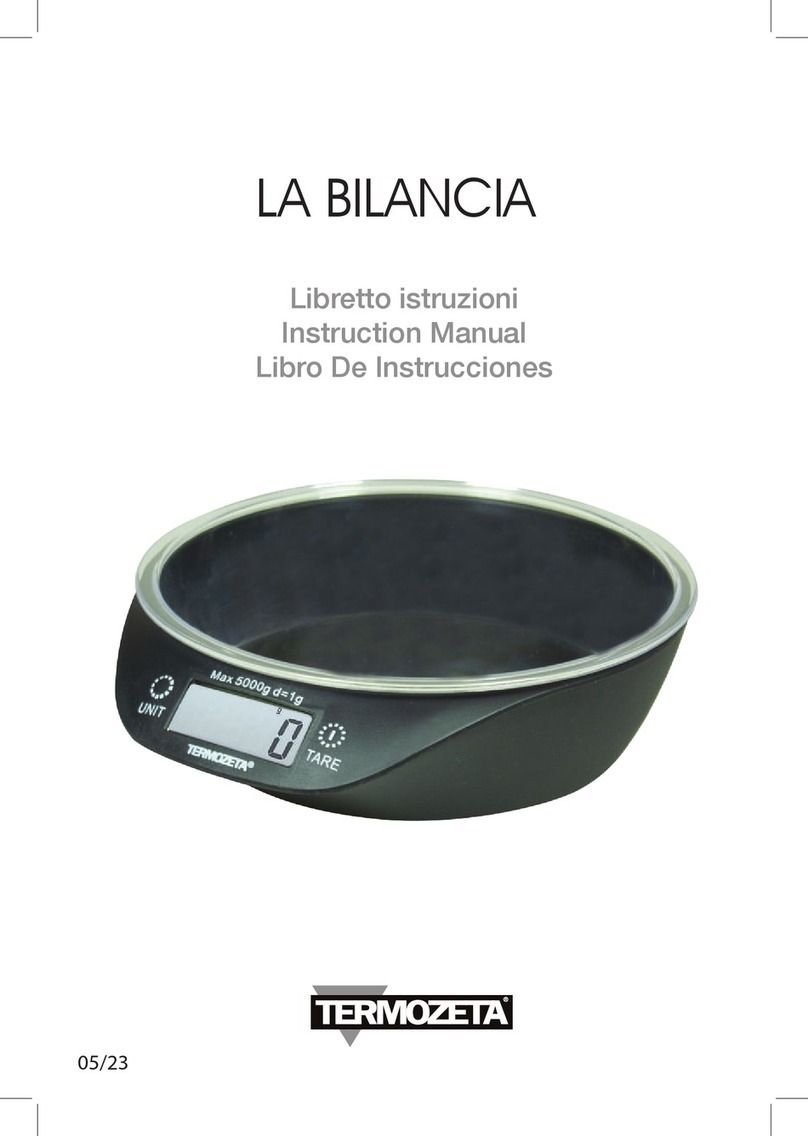
S.K.R.-a-u-a BN-V8U Series User manual

National Hotline: 400-9911-000
BN-V8U series balance instruction manual
Xiamen Uniweight Precision Co., Ltd.
Xiamen Uniweight Precision Co., Ltd.
No.1678, Jixian Road, Tongan District, Xiamen
City,Fujian Province,China
Fujian Manufacturing No.00000276 Website: www.uniweight.com
Implementation standard GB/T 26497-2011 Tel: 0592-5716119

Contents
I. Precautions for use.............................................1
II. Preparation before use.....................................1
III. Key function description................................2
IV. Indicator symbol description.........................2
V. Function operation...........................................4
VI. Function parameter setting............................8
VII. Simple external correction...........................14
VIII. Ranges etting and internal correction
operation…………………………………………12
I. Precautions before use
Please read this instruction manual carefully
before you use this scale.
1. Rain or washing with water is strictly prohibited.
2. Electronic scales are strictly forbidden to be placed
in hot or humid places.
3. Do not allow cockroaches and small creatures to
enter the machine and cause damage.
4. Do not hit or press (do not exceed its maximum
weight capacity).
5. Remove the battery when it is not in use for a long
time.
6. When it is found that it can’t be used for a long time
after charging for more than 10 hours, it means that
the battery has aged. Please contact the factory for
replacement.
II. Preparation before use
1. Please use the electronic scale on a stable, flat table;
do not place it on a rocking or vibrating gantry. Use
four adjustment feet to keep the machine steady, and
note that the bubble of the level needs to be in the
center of the circle.
2. Avoid using the electronic scale in places where the
temperature changes too much or the air flow is severe,
such as direct sunlight and the air outlet of the air
conditioner.
3. Please use a separate power outlet to avoid

interference from other appliances.
4. Do not put anything on the scale when you turn on
the power.
5. It is best to heat the machine for 15-20 minutes
before using the electronic scale to ensure
accuracy.
6. The use environmental temperature of electronic
scale: 0 ℃ ~ 40 ℃
III. Key function description
: Print,other function。
: remove the tare weight, that’s the weight of
the package。
: zero the weight when emptying the scale
: Internal correction, set the upper limit
: Unit change, down limit setting。
IV. Indicator symbol
: battery low voltage state
:Warning when the weight is high than max
range (Hi)
:Warning when the weight is low than min
range (Lo)
:Warning when the weight is between max and
min range(In)
:Warning when the weight is high than max
range or low than min range (Out)
: Cumulative
●State : stable state
●: net weight state
●: zero point state
●oz : ounce unit
●lb : pound unit
●g : gram unit

●kg : kilogram unit
V. Function operation
1. Boot
Remove the object on the scale plate, move it to the power
switch, the electronic balance (scale) will display
self-inspection, and then return to zero and enter the weighing
state
2. Shutdown
Turn the power switch again to shut down.
3. Zero
If there is no object on the scale, but it shows weight on the
display when using the scale,press to make it zero.
The weight value of the item is within the range of zero. If the
weight value exceeds the range of return to zero (±10%·FS)
and in the condition of peeling, press does not work.
4. Function operation
1:Cumulative operation
Cumulative: scale to zero, put the object on, and
wait for the data to stabilize, press once,shows
“Add xx”. After 2s, the scale returns back to weight,
if continue to cumulative, then must remove the object,
waiting for weight, put the object on again, waiting for
the data to stabilize, press again, and so on.
2. Cumulative indications: in the state of weighing
zero, long press the key, the single window
displays the accumulated number of bills, the weight
window displays the total weight accumulated, and the
quantity window displays the accumulated quantity.
Press the key to return to the weighing state.
3:Upper and lower limit setting
Lower limit value setting: in the state of returning
to zero, press the key longer than 3s, enter the
lower limit value set, the weight window shows "dn"
and " 0.0" flickering back and forth, press and
to enter the lower limit value you want to set,
press the key to determine.

Upper limit value setting: in the state of returning
to zero,press the key more than 3s, enter the
lower limit value setting,display "UP" and "0.0" back
and forth, press and to enter the lower
limit value you want to set, press the key to
determine.
Quickly set limits:Put items on scale and
long press or more than 3s,
It sets the upper and lower limits for the
number you weigh.
1>If the lower limit is 0 and the upper limit is not
0, it represents: when the weighing data is greater than
the upper limit value, an alarm is issued.
2>If only the lower limit value is not 0, the upper
limit value is 0, which means: When the weighing
data is less than the lower limit value, it will alarm.
3>If only the lower limit value is not 0, the upper
limit value is not 0, and the lower limit value is less
than the upper limit value, which means: when the
weighing data is less than the lower limit value, or
greater than the upper limit value, the alarm is issued.
4>If only the lower limit value is not 0, the upper
limit value is not 0, and the lower limit value is greater
than the upper limit value, which means: when the
weighing data is greater than the lower limit value, or
less than the upper limit value, the alarm is issued.
4. Counting operation
If you need do testing for the members of sample,when it
shows zero,press more than 3s, it
shows PC 20, means sample have 20 pcs,press
to choose sample quantity, 20,40,60,80,100,
Put same members of goods on the scale,press
confirm. Press again to back to counting state.
5.Tare
If packaging is required to weigh the item, follow these
steps: pack the object placed on the scale, press to
deduct the weight of the package. The weight value is displayed
as zero,The display shows“ ”。,then put the goods on

the scale that you want to weight,that’s the net weight。It will
shows negative number when you take the goods away。The
tare Model will be shows again when you press again.
6. Charging instructions
When the battery power is low, please charge for 12 hours
before using. When charging, the charging indicator
shows “red” and when full it shows “green”. Continue charging
for 3-4 hours to ensure sufficient battery power.
VI、Function parameter setting
Hold down the key and turn on again:
“P01 xx”
Press the key, or key, to switch back and
forth as follows:
“P01 xx” is back light,or lighter setting
00 :Represents automatic backlight, or
automatically adjusts brightness
01:Represents the backlight always bright, or
the brightness is high
02:Means that the backlight is always off, or
that the brightness is low
“P02 xx” filter setup
00, 01, 02....09 the greater the number, the
more stable the data
“P03 xx” anti-vibration coefficient setting
00, 01, 02....09 the greater the value, the more
stable the data
"P04xx" boot unit setup
00: represents kg
01: represents g
02 represents ib
03: represents oz
“P05 xx” zero point tracking setting
"P05 xx" zero point tracking setting
00:0d
01:1d
02:2d
03:3d
04:4d

05:5d
06:6d
07:7d
08:8d
09:9d
“ P06 xx ” Three color light alarm mode
selection
00 Represents the internal buzzer
instability alarm,
01 Represents the alarm after the
internal buzzer data stability,
02 It means that the external buzzer
will alarm if the data is not stable.
03 Represents the alarm when the
external buzzer data is stable.
“P07 xx” serial communication switch
00: serial communication switch off
01: serial communication switch on
“P08 xx” baud rate setting
00: the baud rate is 1200
01: the baud rate is 2400
02: the baud rate is 4800
03: the baud rate is 9600
04: the baud rate is 19200
“P09 xx” serial communication transmission mode
00: represents continuous transmission
01: Stable transmission mode 1, must be
zeroed after the data is stable and sent, zero is not sent
02: stable transmission mode 2, the data is
stable and sent
03: represents keystroke sending, press the
"keystroke send" key to send
“P10 xx” serial communication data format(0-7
Weighing,12-15 Counting)
00: Giant forest format

01: Cody format
02: Xiangping format
03: Excel format
04: Yaohua A7 format
05: Yaohua A1+format
06: Yaohua A27 format
07: Jadever weighting format
“P11 xx” animal weighing function
00: represents animal weighting function
switch off
01: represents animal weighting function
switch on
“P12 xx” weight, or quantity alarm settings
00: represents weight alarm
01: represents quantity alarm
“P13 xx” weight, or quantity cumulative setting
00: represents weight cumulation
01: represents quantity cumulative
“P14 XX”directly displays "XXXXXX", the value
of the inner code.
“P15 XX”automatic average function setting
00: automatic average closing
01: automatic average opening
“P16 XX” weight memory function setting
00: Weight memory function shut down
01: Weight memory function turned on
“P17XX” AB selects the three-color lamp display
mode and selects the value of the initial alarm.
A represents: three-color lamp display mode
0 represents that three color lamp doesn’t
alarm
1 represents the lower limit alarm mode
2 represents the upper limit alarm mode
3 represents interval alarm mode
B represents: initial alarm data
0 represents 0d starts alarm
1 represents 5d starts alarm
2 represents 10d starts alarm
3 represents 15d starts alarm
4 represents 20d starts alarm
5 represents 25d starts alarm

6 represents 30d starts alarm
7 represents 35d starts alarm
8 represents 40d starts alarm
9 represents 45d starts alarm
“P18” display switch settings
00: weighing liquid crystal
01: weighting scarlet letter
02: counting liquid crystal
“P19” single memory function setting
00: single memory function shut down
01: Single memory function turned on
VII. Range setting and internal correction operation
Long press the key, then boot:
Display “CAL X”, press the key to switch the
correction mode.
1: represents one point correction
3: represents three points correction
Press key to switch the next
Display "SP X";Press key to switch the unit
0: represents that the measuring unit
is kg
1: represents that the measurement
unit is g
Press the key to switch the next
Display “FXXXXXX”, Press and key to
switch it
XXXXXX: represents the value of the range (for
example, 00015).
Press the key to switch the next
Display “div X”Press the key to change
1:div 1 means digital is 1
2:div 2 means digital is 2
5:div 5 means digital is 5
Press the key to switch the next
Display “X.XXXX” Press the key to switch

the next
0:The representation is in range as unit and the data
has zero decimal points
0.0:The representation is in range as unit and the data
has a decimal point
0.00:The representation is in range as unit and the
data has two decimal points
0.000:The representation is in range as unit and the
data has three decimal point
0.0000:The representation is in range as unit and the
data has four decimal points
0.00000:The representation is in range as unit and the
data has five decimal points
Press the key to switch the next
Display "5-4-3-2-1-0" change before entering
the correction value.
If it is a point correction, you can press and
keys to set the value to be corrected. After
changing the value, put it on the corresponding to the
value of the weight, wait for the steady light to be
on , press it is said to start automatic
correction. When the correction is completed, the
electronic scale will return to the weighing state and
the one point correction is completed.
2>If it is a three-point correction,
it will jump to the value of the one third range and
put the weight of the corresponding value,
wait for the steady light to illuminate and press the
button to automatically,press correct this value
Then jump to the value of the two-thirds range, put
the weight of the corresponding value
wait for the steady light to light up,press then
the electronic scale will automatically correct this
value.

Then jump to the full range value, put the weight of
the corresponding value, wait for the steady light to
light up,,press then the electronic scale will
automatically correct this value.
Table of contents
