www.safehome.dk 5
2. Hardware installation and configuration
Prepare the camera
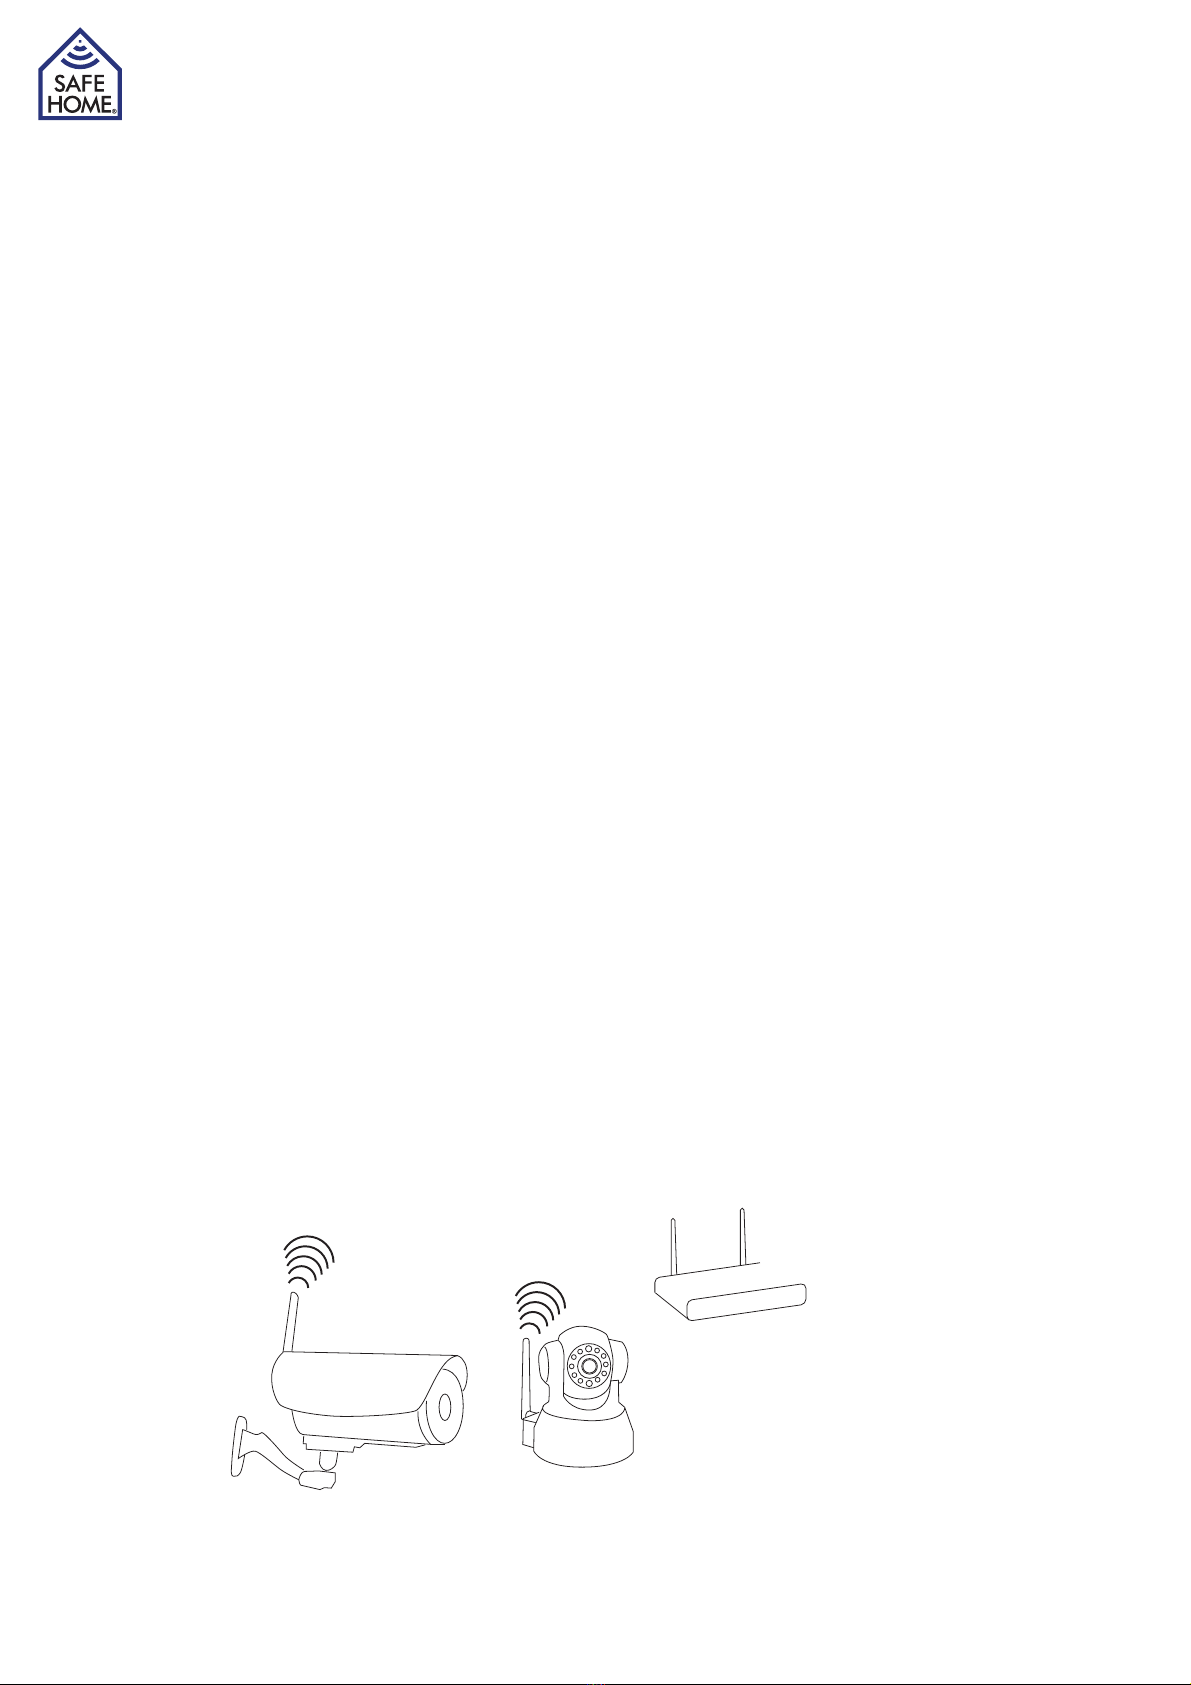
1. Connect the router / switch and camera with a RJ-45 network cable.
2. Connect the power adapter to the camera and then to a power outlet (only use the sup-
plied power adapter. Others can damage the camera)
3. The camera uses about 30 seconds to start before it can be seen by the software you
must install on your computer.
{°ÊÊ/iÊV>iÀ>Êi>`ÊÜÊÀÌ>ÌiÊÊ«>ÉÌÌÊ`iî]Ê>`ÊÃÌ«ÊÊ«ÃÌ°ÊÊ}ÌÃÊvÀÊÌiÊ
network will glow steadily if the cable is connected correctly.
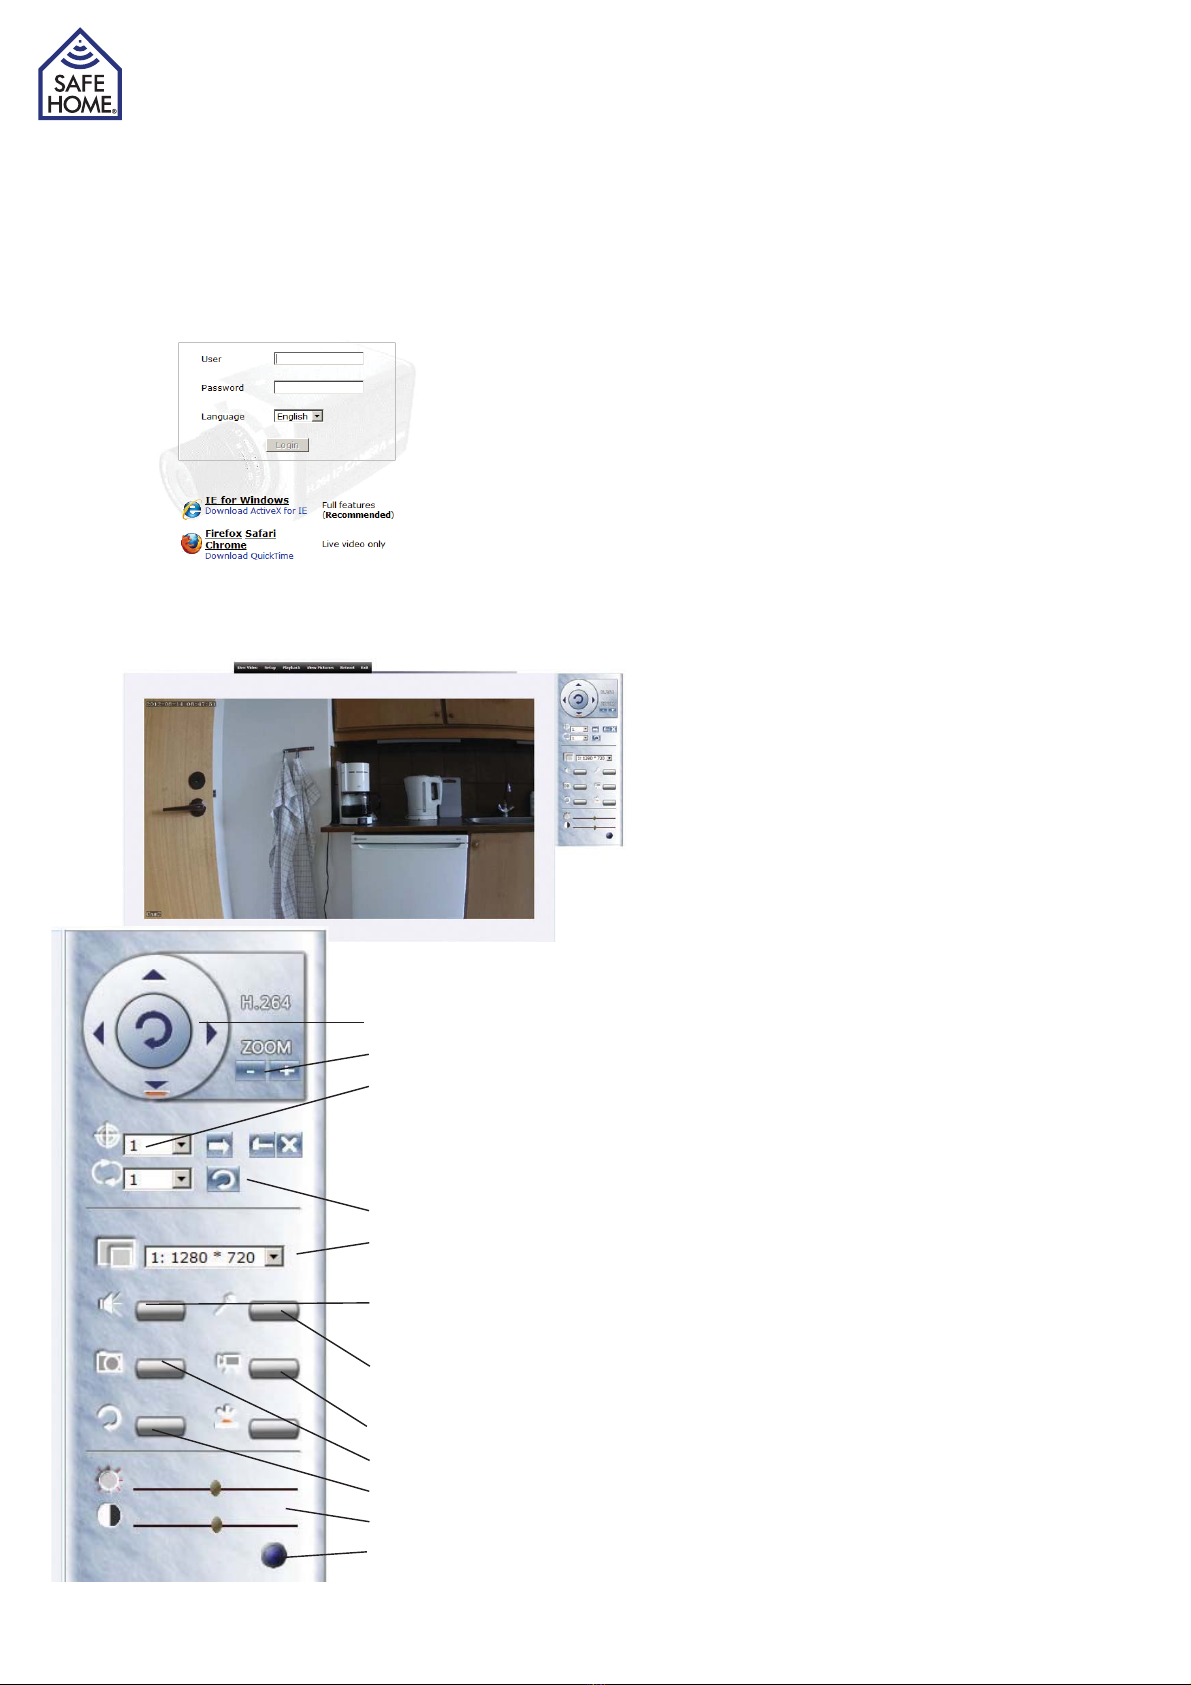
3. Installing Network Software
The supplied software must be installed on a computer in the network before the camera
can be set up.
£°ÊÃiÀÌÊÌiÊÊÌÊÌiÊ,"Ê`ÀÛi
Ó°ÊÊvÊÌiÊÃÌ>iÀÊ`iÃÊÌÊÃÌ>ÀÌ]Ê«iÊÌiÊÊ`ÀÛiÊÊÝ«ÀiÀÊ>`Ê`ÕLiÊVVÊÊ
*>-iÌÕ«°iÝi°Ê
vÊÌiÊÊÃÊÕÀi>`>Li]ÊÞÕÊV>Ê`Ü>`ÊÌiÊÃvÌÜ>ÀiÊvÀÊÜÜÜ°Ã>vii°`
3. The program starts automatically or install on
ÞÕÀÊV«ÕÌiÀ°Ê-Ì>ÀÌÃÊÌiÊ«À}À>]ÊÌiÊVVÊÊ
º*,LÌÎÊ-i>ÀV»°ÊÃÌ>ÃÊÌiÊ«À}À>ÊÊÞÕÀÊ
V«ÕÌiÀ]ÊÜÊÌiÀiÊ>vÌiÀÊÀiÃÌ>ÀÌÊLiiÊ>ÊVÊÊ
ÌiÊ`iÃÌ«ÊvÀʺ*,LÌÎÃi>ÀV»ÊVÊÊÌiÊ
V°ÊvÌiÀÜ>À`ÃÊVVÊ>`ÊÃÌ>ʺ 68»°
{°ÊÊvÊÌiÊ«À}À>Ê>ÃÃÊÌÊÃÌ>ÊVÌÛiÊ8]ÊÃ>`ÊÞiÃÊ
ÌÊÌ°ÊvÊVÌÛi8ÊÃÊÌÊÃÌ>i`Ê«À«iÀÞ]ÊVVÊÌiÊ
7`ÜÃÊ-Ì>ÀÌÊÜiÀiÊÕ`iÀʺÊ*À}À>ûÊÃÊ>Ê
v`iÀÊV>i`Ê*,LÌÎʺ°Ê/ÃÊv`iÀÊVÌ>ÃÊ>Ê
«À}À>ÊV>i`ʺ 68»ÊÊVVÊÌÃÊÌÊÃÌ>ÊVÌÛiÊ
8°Ê/iÊVVÊÊÌiÊ«À}À>Ê*,LÌÎÊÊÌiÊ
Ã>iÊv`iÀ]Ê>`ÊÌiÊÃvÌÜ>ÀiÊÃÌ>ÀÌð
x°ÊÊ/iÊiÝÌÊÃVÀiiÊÃÜÃÊV>iÀ>ÊÊÌiÊÃÌ]Ê>`Ê
when marked the data for the camera can be
Ãii°ÊvÊÃiiVÌi`]ÊÌ>ÌÊÌiÊ*Ê>``ÀiÃÃÊÃÊÃiÌÊ
manually it must be in the same series as the
V«ÕÌiÀÊÊÌiÊÌ«ÊivÌÊiÀiÊ£Ó°£Èn°£°888®Ê
>`ʺ iÌ>ûÊÕÃÌÊ>ÃÊLiÊÌiÊÃ>iÊ>ÃÊÞÕÀÊ
V«ÕÌiÀ°ÊÌiÀ>ÌÛiÞÊÃiiVÌʺiÌÊ*ÊLÞÊ*»Ê>`ÊiÌÊÌiÊV«ÕÌiÀÊwÊÕÌÊÌiÊvÀ-
mation automatically.
È°ÊÊ/Þ«iÊÌiÊ«>ÃÃÜÀ`ÊÊ>`°ÊÕLiVVÊÌiÊV>iÀ>ÊÊÌiÊÃÌ°