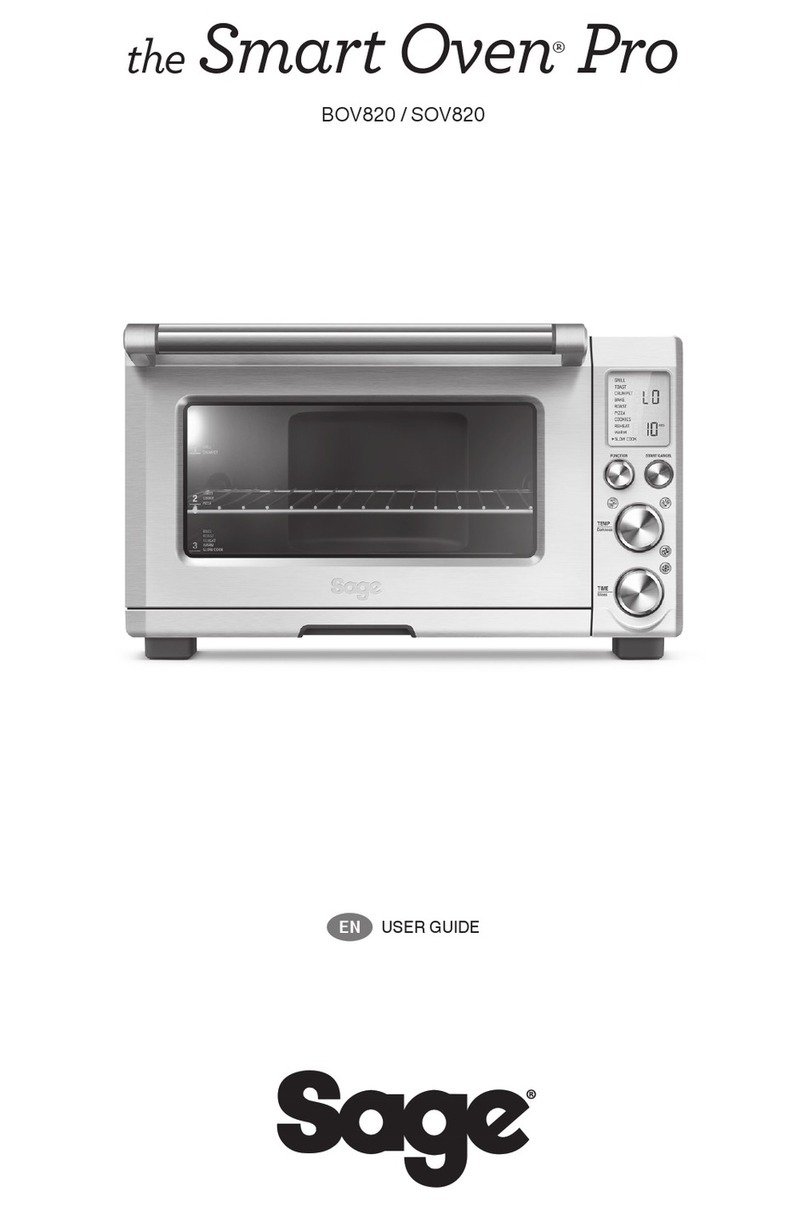
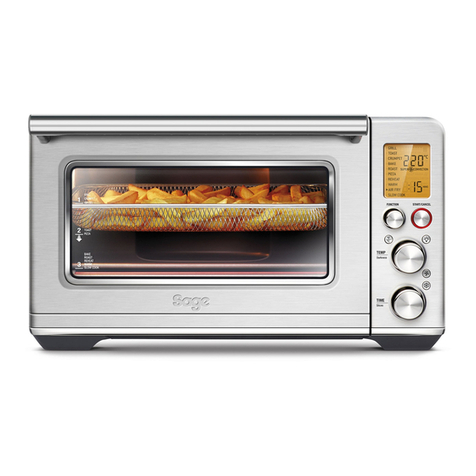
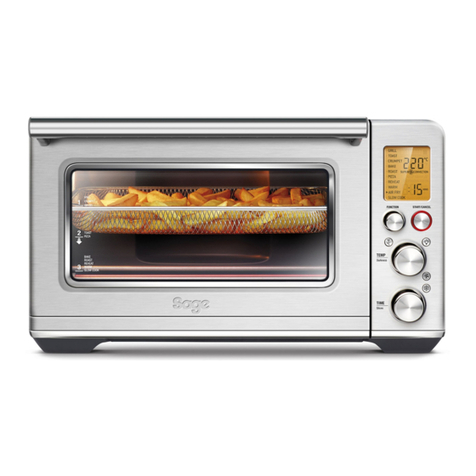
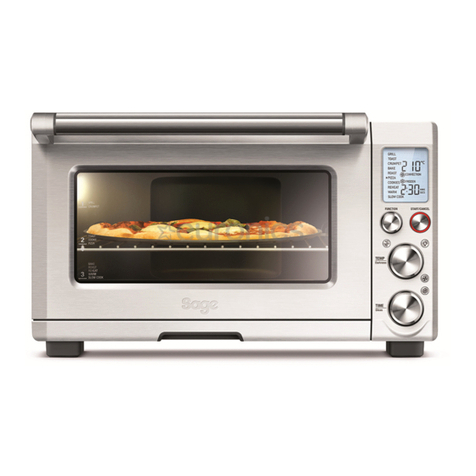
Sage Smart Oven BOV860 User manual

the Smart OvenTM Air Fryer
BOV860 / SOV860
EN QUICK GUIDE

7
EN
A. 30cm non-stick pizza pan
B. Wire rack
C. Grilling rack
D. 28 x 33.5cm enamel roasting pan
E. Air Fry basket
Components
TEMP
Darkness
TIME
Slices
FUNCTION START/CANCEL
F
I
G H
B
A
C
D
E
F. Oven light
G. Door handle
H. Ventilation slots
I. Crumb tray
Rating Information
220–240V ~ 50Hz 2000–2400W

8
K. LCD screen
L. Function Dial
M. Temperature Dial/Toast and Bagel
Darkness Control
N. Time Dial/Toast and Bagel Selection
O. Start/Cancel Button
P. Oven Light Button
Q. Convection Button
R. Frozen Button
S. Temperature Conversion Button
MSHM
R
L
S
K
O
P
Q
M
N

9
EN
Functions
PREPARING THE OVEN
Before rst use, please run the oven empty for
20 minutes to remove protective substances from
the heating elements. Ensure the area is well
ventilated as the oven may emit vapors.These
vapors are safe and are not detrimental to the
performance of the oven.
1. Remove and safely discard any packing
material, promotional labels and tape from
the oven.
2. Remove the crumb tray, wire racks, grilling rack,
roasting pan, air fry basket and pizza pan from
the polyfoam packaging.Wash them with a
soft sponge in warm, soapy water then rinse
and dry thoroughly.
3. Wipe the interior of the oven with a soft,
damp sponge. Dry thoroughly.
4. Place the oven on a at, dry surface. Ensure
there is a minimum distance of 10cm of space
on both sides of the appliance and 15cm above.
5. Insert the crumb tray into the oven.
6. Unwind the power cord completely and insert
the power plug into a grounded power outlet.
7. The oven alert will sound and the LCD screen
will illuminate. Set desired language. Go to page
12 for guide on language selection.
8. Turn the Function dial to the right until the
indicator reaches the PIZZA function.
M
S
H
M
M
S
H
M
9. Press the Start/Cancel button.The button
backlight will illuminate red, the LCD screen will
illuminate orange and the oven alert will sound.
10.The LCD screen will indicate a blinking
‘PREHEATING’. Once the oven has completed
the preheating cycle, an alert will sound.
11.The timer will be displayed and automatically
begin to count down.
12.At the end of the cooking cycle, the oven
alert will sound, the Start/Cancel button
backlight will go out and the LCD screen will
illuminate blue.
13.The oven is now ready to use.
ELEMENT IQTM
The Sage Smart OvenTM Air Fryer features
Element IQTM, a cooking technology that creates
the ideal environment for the food you’re cooking.
It steers power where and when it’s needed and
creates the right kind of heat, whether even
or intense.
Each of the oven’s functions is preset with our
recommended heating element congurations
and temperatures, that are based on recipes and
testing. However, we suggest experimenting with
these depending on the recipe, amount of food and
your personal taste.

10
OVEN FUNCTIONS OVERVIEW
Function SUGGESTED
RACK
POSITION
OPTIONAL
SETTINGS
PRESETS PREHEAT RANGE
Toast Middle Frozen Darkness 4
Slices 4
No Darkness 1-7
Slices 1-6
Bagel Middle Frozen Darkness 4
Slices 4
No Darkness 1-7
Slices 1-6
Pizza Middle Super
Convection
Convection
Temperature
Conversion
Frozen
210°C
Convection
Frozen
20 MINS
Ye s 160°C - 230°C
Up to 2 HRS
Grill To p HI
10 MINS
No HI-MED-LO
Up to 20 MINS
Bake Bottom Super
Convection
Convection
Temperature
Conversion
160°C
Convection
30 MINS
Ye s 120°C and above =
1 MIN up to 2 HRS
120°C and below =
1 MIN up to 10 HRS
Roast Bottom Super
Convection
Convection
Temperature
Conversion
180°C
Convection
1:00 HRS
Ye s 120°C and above =
1 MIN up to 2 HRS
120°C and below =
1 MIN up to 10 HRS
Air Fry To p Super
Convection
Temperature
Conversion
Frozen
220°C
15 MIN
Super Convection
Ye s 160°C-230°C
Up to 1:00 HR
Reheat Bottom Convection
Temperature
Conversion
160°C
Convection
15 MINS
No 70°C - 160°C
Up to 2:00 HRS
Keep Warm Bottom Convection
Temperature
Conversion
70°C
KEEP WARM
1:00 HRS
No 50°C–120°C
Up to 2:00 HRS
Slow Cook Bottom Convection HI
Convection
4:00 HRS
No LO = 4 to 10 HRS
HI = 2 to 8 HRS

11
EN
iQuick Start
Guide
OPERATING YOUR SAGE OVEN
1. Position the wire rack so the spokes face
upward and insert it into the desired rack
position.The rack positions are conveniently
printed on the oven door window.
2. Turn the Function dial until the indicator on
the LCD screen reaches the desired setting.
3. The screen indicates the preset cooking
temperature for the selected setting.
Turn the Temperature dial to the left to
reduce the temperature or to the right to
increase the temperature.
REDUCE
TEMPERATURE
INCREASE
TEMPERATURE
ROTATE
TEMPERATURE
DIAL
4. The screen indicates the preset cooking time
for the selected setting.Turn the Time dial to
the left to reduce the cooking time or to the right
to increase the cooking time.
REDUCE
TIME
INCREASE
TIME
ROTATE
TIME
DIAL
5. For settings without a preheat cycle
(TOAST, BAGEL, GRILL, KEEP WARM, SLOW
COOK), place the food directly on the wire rack
or on the included air fry basket, pizza pan,
grilling rack and/or roasting pan. Ensure the
food is centered in the oven for the most even
cooking.
6. Close the oven door.
7. Press the Start/Cancel button.
The button backlight will illuminate red, the
oven alert will sound, and the LCD screen
will illuminate orange.
8. The timer will be displayed and begin to count
down.The cooking temperature and time can
be adjusted during the cooking cycle.
9. For settings that feature a preheat cycle (BAKE,
ROAST, PIZZA, AIR FRY), press the Start/
Cancel button before placing food in the oven.
The button backlight will illuminate red, the
oven alert will sound and the LCD screen will
indicate a blinking ‘PREHEATING’ while the
oven is heating up.
a) When the oven is ready for use, the blinking
‘PREHEATING’ will go out, the oven alert
will sound and the timer will start counting
down. Place the food directly on the wire
rack, or on the included air fry basket, pizza
pan, grilling rack and/or roasting pan. Ensure
the food is centered in the oven for the most
even cooking.
b) Close the oven door.
c) The timer will continue to count down.
The cooking temperature and time can be
adjusted during the cooking cycle.
10.At the end of the cooking cycle, the oven
alert will sound, the Start/Cancel button
backlight will go out and the LCD screen will
illuminate blue.

12
NOTE
The cooking cycle can be stopped at any time by
pressing the Start/Cancel button.This will
cancel the cycle and the button backlight will
illuminate blue.
NOTE
Press the Convection button to choose
between no convection, convection and super
convection. Convection and super convection
may adjust the temperature to compensate for
the faster air ow. Super convection will deliver
a crispier food result.
MAGNETIC AUTO-EJECT RACK
When the wire rack is inserted into the middle rack
position, it will automatically eject halfway out of the
oven when the door is opened so you can easily
remove your food.
Always open the door slowly when the wire rack
is in this position to prevent the rack from ejecting
too quickly.
LANGUAGE SELECTION
When the oven is being operated for the rst time,
it will allow you to select the desired language.
Turn the Temperature or Time dials
(clockwise or anticlockwise) to select the desired
language, then press the Start/Cancel button
to conrm your selection. If the desired language
is not conrmed within 5 minutes, the oven will
automatically save the default language.
In the event the selected language needs to
be changed, press the Frozen button for
3 seconds.The LCD screen will display the
languages selection.Turn the Temperature or
Time dials (clockwise or anticlockwise) to select
the desired language, then press the
Start/Cancel button to conrm your selection.
If the desired language is not conrmed within 5
minutes, the oven will automatically go back to the
previously saved language.
The check mark icon indicates selected
language.

13
EN
REPLACING THE OVEN LIGHT
WARNING
Always unplug oven and let cool before replacing
bulb. Only use a 25-Watt, 220-240V, G9 type
oven bulb.
1. Remove the wire rack from the oven before
replacing the light.
2. The light is positioned on the lefthand side of
the oven cavity. Position your ngers on the
outside of the light housing and gently pull the
glass cover away from the oven wall to remove
it. If you are unable to pull the cover o, slide a
spoon into the left side of the light housing and
gently lever the glass cover o. Always hold the
glass cover with the other hand to prevent the
cover from falling and breaking.
3. Remove the used bulb by pulling it directly
out of its holder.
4. Use a soft cloth to insert the new bulb.
Do not directly touch the surface of the bulb
with your ngers as oil from your skin can
damage the bulb.
5. To reattach the glass cover, align the metal
hook with the left side of the light housing. Slide
the opposite end of the glass cover into the
metal bracket on the right side of the housing,
then push the metal hook into the left side of the
housing until it snaps securely into position.
NOTE
The top of the oven is very hot during and after
operation. As a result, storing items on top of the
oven is not recommended.
The only exception is the optional Sage Bamboo
Cutting Board and Serving Tray that fits in the
ribbed section on top of the oven.Visit
www.sageappliances.com for more information.

14
Care & Cleaning
Before cleaning, ensure the oven is turned
o by removing the power plug from the power
outlet. Allow the oven and all accessories to cool
completely before disassembling and cleaning.
Cleaning the outer body and door
1. Wipe the outer body with a soft, damp sponge.
A non-abrasive liquid cleanser or mild spray
solution may be used to avoid build-up of
stains. Apply the cleanser to the sponge, not
the oven surface, before cleaning.
2. To clean the glass door, use a glass cleaner or
mild detergent and a soft, damp sponge or soft
plastic scouring pad. Do not use an abrasive
cleanser or metal scouring pad as these will
scratch the oven surface.
3. Wipe the LCD screen with a soft damp cloth.
Apply cleanser to the cloth and not the LCD
surface. Cleaning with dry cloth or abrasive
cleaners may scratch the surface.
4. Let all surfaces dry thoroughly prior to inserting
the power plug into a power outlet and turning
the oven on.
WARNING
Do not immerse the body, power cord or power
plug in water or any other liquid as this may cause
electrocution.
Cleaning the interior
The walls on the inside of the oven feature a
non-stick coating for easy cleaning.To clean any
splattering that may occur while cooking, wipe the
walls with a soft, damp sponge. A non-abrasive
liquid cleanser or mild spray solution may be used
to avoid build-up of stains. Apply the cleanser to
the sponge, not the oven surface, before cleaning.
Avoid touching the quartz heating elements.
WARNING
Use extreme caution when cleaning the quartz
heating elements. Allow the oven to cool
completely, then gently rub a soft, damp sponge
or cloth along the length of the heating element.
Do not use any type of cleanser or cleaning agent.
Let all surfaces dry thoroughly prior to inserting
the power plug into a power outlet and turning the
oven on.
Cleaning the crumb tray
1. After each use, slide out the crumb tray and
discard crumbs.Wipe the tray with a soft, damp
sponge. A non-abrasive liquid cleanser may
be used to avoid build-up of stains. Apply the
cleanser to the sponge, not the tray, before
cleaning. Dry thoroughly.
2. To remove baked-on grease, soak the tray
in warm soapy water then wash with a soft
sponge or soft plastic scouring pad. Rinse and
dry thoroughly.
3. Always reinsert the crumb tray into the oven
with the oven door closed after cleaning and
prior to inserting the power plug into a power
outlet and turning the oven on.
Cleaning the wire rack, grilling rack,
roasting pan and pizza pan
1. Wash all accessories in warm soapy water
with a soft sponge or soft plastic scouring pad.
Rinse and dry thoroughly. Do not use abrasive
cleansers, metal scouring pads or metal
utensils to clean any of the accessories as they
may damage the surfaces.
2. To extend the life of your accessories,
we do not recommend that these be placed
in the dishwasher.
Storage
1. Ensure the oven is turned o by removing the
power plug from the power outlet.
2. Allow the oven and all accessories to cool
completely before disassembling and cleaning.
3. Ensure the oven and all accessories are clean
and dry.
4. Ensure the crumb tray is inserted into the oven;
the broiling rack is inserted into the roasting pan
and resting on the wire rack in the middle rack
height position.
5. Ensure the door is closed.
6. Store the appliance in an upright position
standing level on its support legs. Do not store
anything on top. The only exception is the
optional Sage Bamboo Cutting Board and
Serving Tray.

15
EN
POSSIBLE PROBLEM EASY SOLUTION
Oven will not switch "ON" • Check that the power plug is securely inserted into the outlet.
• Insert the power plug into an independent outlet.
• Insert the power plug into a dierent outlet.
• Reset the circuit breaker if necessary.
The LCD display light has
gone out
• The oven goes into standby mode if not used for 10 minutes. When
in standby mode, the LCD screen will cease to illuminate, however
all function options will still be visible.
• To re-activate the oven out of standby mode, press the
Start/Cancel button on the control panel, or turn any dial.
The LCD screen will re-illuminate.
The pizza does not cook
evenly
• Some large pizzas may brown unevenly in compact ovens. Open the
oven door half way through the cooking time and turn the pizza 180
degrees for more even darkness.
The Magnetic Auto-Rack
Eject comes out too far
when I open the door
• Always open the door slowly and in a controlled manner when the
wire rack is inserted into the middle rack height position to prevent
the wire rack from ejecting too quickly.
I cannot select the
Frozen button • The Frozen button is only selectable for the following functions:
TOAST, BAGEL, BAKE, PIZZA, AIR FRY.When selecting the
Frozen button, this will automatically adjust the cooking time for
an optimised food result.
Steam is coming out from
the oven door
• This is normal.The door is vented to release steam created from
high moisture content foods such as frozen breads. Be mindful that
the steam can be hot.
The heating elements
appear to be pulsing
• Element IQTM accurately controls the heat inside the oven by pulsing
the power and adjusting the power level in the heating elements in
short bursts to give accurate temperature control.This is normal.
Water is dripping onto
counter from under door
• This is normal.The condensation created from high moisture
content foods such as frozen breads will run down the inside of the
door and can drip onto the counter.
The temperature reading
on the LCD screen doesn’t
match the temperature
measured inside the oven
• To ensure the measurements are standardized, the oven
temperatures have been calibrated in the TOAST position (center
of the middle rack with no tray in place). Re-check the temperature
in this position, ensuring not to open the oven door for 30 minutes
as heat will escape each time the door is opened. Note that the
‘preheat’ alert sounds at 75% of the target temperature.
Troubleshooting

16
POSSIBLE PROBLEM EASY SOLUTION
The ‘preheat’ alert sounds
at a lower temperature than
what is displayed on the
LCD screen
• The ‘preheat’ alert sounds at 75% of the target temperature.This
provides the fastest, combined preheating and cooking time.
• This is because when the ‘preheating’ alert sounds, signaling
the user to open the oven door and insert food, there is dramatic
temperature loss inside the oven. If the alert sounded at 100%
of the target temperature, opening the door would mean a lot of
this waiting time is “wasted”.We have calculated that by sounding
the alert at 75% of the target temperature, followed by the oven
door being opened to place food inside the oven, that we still
recover to the target temperature up to 2 minutes faster.This is
why the temperature on the LCD screen does not match the target
temperature at the ‘preheat’ alert. Depending on the set temperature,
it can take the oven approximately 8–10 minutes from start-up,
including opening the oven door when the ‘preheat’ alert sounds, to
reach the target temperature.
The LCD screen displays
‘E01’
• The LCD screen will display ‘E01’ when there is a non-resettable
issue with the appliance. Should this occur, immediately remove the
power cord from the power outlet and call Sage Consumer Support.
The LCD screen displays
‘E02’
• The LCD screen will display ‘E02’ when there is a non-resettable
issue with the appliance. Should this occur, immediately remove the
power cord from the power outlet and call Sage Consumer Support.
The LCD screen displays
‘E03’
• The LCD screen will display ‘E03’ if the oven temperature is above
the set maximum limit. Remove the plug from the power outlet, allow
the oven to cool for 15 minutes, then plug back in.
• Call Sage Consumer Support if the ‘E03’ message continues.
The LCD screen displays
‘E05’
• The LCD screen will display ‘E05’ when there is a non-resettable
issue with the appliance. Should this occur, immediately remove the
power cord from the power outlet and call Sage Consumer Support.
Temperature are changing
when convection button is
pressed
• This is normal.The temperature is calibrated to compensate for the
convection fan increasing cooking rates.
Other manuals for Smart Oven BOV860
1
Table of contents
Other Sage Oven manuals

Sage
Sage SMART OVEN PRO User manual

Sage
Sage the Smart Oven Pizzaiolo BPZ820 User manual

Sage
Sage SOV820BSS4EEU1 User manual

Sage
Sage Smart Oven Pro BOV820 User manual

Sage
Sage Smart Oven Air Fryer SOV860 User manual

Sage
Sage The Smart Oven Pro SOV820 User manual

Sage
Sage SOV820 User manual

Sage
Sage Smart Oven Pro BOV820 User manual

Sage
Sage the Smart Oven Pizzaiolo BPZ820 User manual

Sage
Sage Smart Oven Pro BOV820 User manual