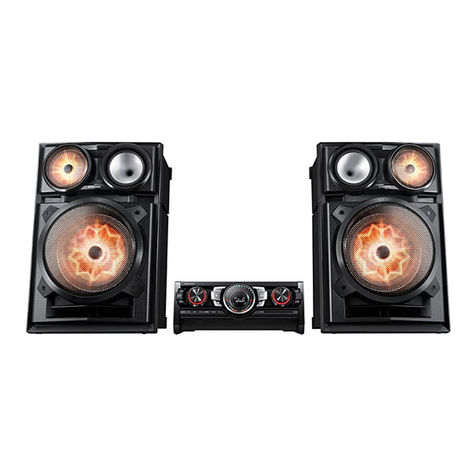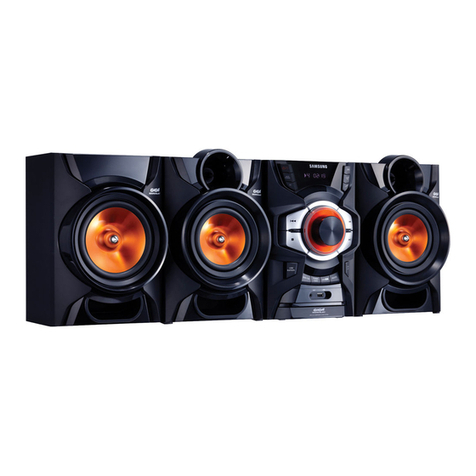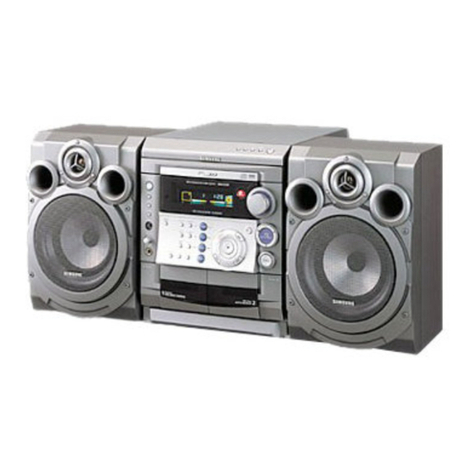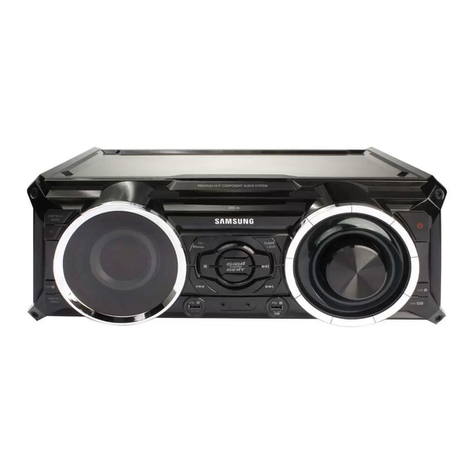
Features
34
PREPARATION
Safety Warnings ............................................................................................................................................................................................1
Precautions....................................................................................................................................................................................................2
Features.........................................................................................................................................................................................................3
Notes on Discs...............................................................................................................................................................................................5
Description.....................................................................................................................................................................................................7
CONNECTIONS
Connecting the Speakers ..............................................................................................................................................................................11
Connecting the Video Out to your TV............................................................................................................................................................13
HDMI Function...............................................................................................................................................................................................14
Connecting External Components.................................................................................................................................................................15
Connecting the FM Antennas ........................................................................................................................................................................16
OPERATION
Setting the Clock............................................................................................................................................................................................17
Checking the Remaining Time.......................................................................................................................................................................17
Disc Playback ................................................................................................................................................................................................18
MP3/WMA-CD Playback................................................................................................................................................................................19
JPEG File Playback.......................................................................................................................................................................................20
DivX Playback................................................................................................................................................................................................21
Playing Media Files using the USB feature ...................................................................................................................................................23
Displaying Disc Information ...........................................................................................................................................................................25
Fast/Slow Playback .......................................................................................................................................................................................26
Skipping Scenes/Songs.................................................................................................................................................................................27
Step Function.................................................................................................................................................................................................27
Angle Function...............................................................................................................................................................................................28
Repeat Playback............................................................................................................................................................................................29
A-B Repeat Playback....................................................................................................................................................................................31
Zoom Function...............................................................................................................................................................................................32
Selecting Audio/Subtitle Language................................................................................................................................................................33
Moving Directly to a Scene/Song...................................................................................................................................................................34
Using Disc Menu............................................................................................................................................................................................35
Using the Title Menu......................................................................................................................................................................................36
SETUP
Setting the Language.....................................................................................................................................................................................37
Language Code List.......................................................................................................................................................................................38
Setting TV Screen type..................................................................................................................................................................................39
Setting Parental Controls (Rating Level) .......................................................................................................................................................41
Setting the Password.....................................................................................................................................................................................42
Setting the Wallpaper ....................................................................................................................................................................................43
Setting the DRC (Dynamic Range Compression) .........................................................................................................................................45
AV SYNC Setup ............................................................................................................................................................................................46
RADIO OPERATION
Listening to Radio..........................................................................................................................................................................................47
Presetting Stations.........................................................................................................................................................................................48
MISCELLANEOUS
Timer Function...............................................................................................................................................................................................49
Canceling the Timer.......................................................................................................................................................................................50
POWER SOUND / POWER BASS / DSP/EQ Function ................................................................................................................................51
CD RIPPING Function ..................................................................................................................................................................................52
Sleep Timer Function / Mute Function...........................................................................................................................................................53
DEMO Function / DIMMER Function............................................................................................................................................................54
Connecting Headphones/Microphone Function.............................................................................................................................................55
Cautions on Handling and Storing Discs .......................................................................................................................................................56
Troubleshooting.............................................................................................................................................................................................57
Specifications.................................................................................................................................................................................................59
USB Host Feature Supported Products.........................................................................................................................................................60
Notes on Terminology....................................................................................................................................................................................61
TV Screen Saver Function
The MAX-DA66/DA67 automatically brightens and darkens the brightness of the TV screen
after 3 minutes in the stop mode.
The MAX-DA66/DA67 automatically switches itself into the power saving mode after 20
minutes in the screen saver mode.
Power Saving Function
The MAX-DA66/DA67 automatically shuts itself off after 20 minutes in the stop mode.
Customized TV Screen Display
The MAX-DA66/DA67 allows you to select your favorite image during JPEG, DVD playback
and set it as your background wallpaper.
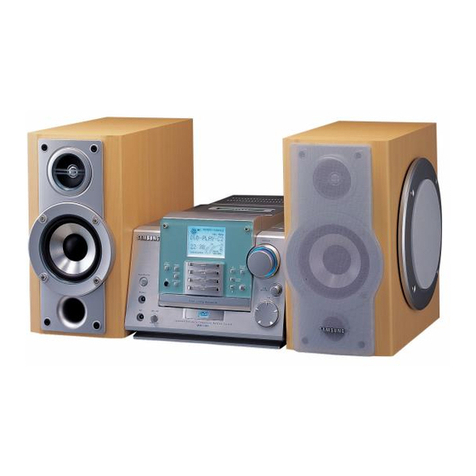
Multi-Disc Playback & FM Tuner, USB HOST.
The MAX-DA66/DA67 combines the convenience of multi-disc playback
capability, including DVD-VEDIO, CD, MP3-CD, CD-R, CD-RW, DivX,JPEG and
DVD-R/RW, with a sophisticated FM tuner, USB HOST all in a single player.
PREPARATION
USB Host support
You can enjoy media files such as pictures, movies and music saved on an MP3 player, digital
camera or USB memory stick by connecting the storage device to the USB port of the Home
Theater.
HDMI
HDMI transmits DVD video and audio signals simultaneously,and provides a clearer picture.
ENG
Contents
Downloaded From DvDPlayer-Manual.com Samsung Manuals
ENG
11 12
CONNECTIONS
Connecting the Speakers
Front Speakers
•
Place these speakers in front of your listening position, facing
inwards (about 45°) toward you.
•
Place the speakers so that their tweeters will be at the same
height as your ear.
•
Align the front face of the front speakers with the front face of
the center speaker or place them slightly in front of the center
speakers.
Center Speaker
•
It is best to install it at the same height as the front speakers.
•
You can also install it directly over the main unit, and you
should better install them directly over or under the TV.
Position of the DVD Player
•
Place it on a stand or cabinet shelf, or under the TV stand.
Selecting the Listening Position
The listening position should be located about 2.5 to 3 times the
distance of the TV's screen size away from the TV.
Example : For 32" TVs 2~2.4m (6~8feet)
For 55" TVs 3.5~4m (11~13feet)
Before moving or installing the product, be sure to turn off the power and disconnect the power cord.
Subwoofer
•
The position of the subwoofer is not so critical.
Place it anywhere you like.
•If you place a speaker near your TV set, screen color may be distorted because of the magnetic field generated
by the speaker. If this occurs, place the speaker away from your TV set.
•Do not let children play with or near the speakers. They could get hurt if a speaker falls.
•Keep the speaker out of reach of children so as to prevent children from inserting their hands or alien substances
into the duct (hole) of the subwoofer speaker.
•Do not hang the subwoofer on the wall through the duct (hole).
FRONT -H FRONT -H
FRONT -L FRONT -L
SUBWOOFER
2.1CH SPEAKERS OUT
IMPEDANCE FRONT:4 SUBWOOFER:3
R L
R L
R L
SW
FRONT -H CENTER FRONT -H
FRONT -L FRONT -L
SUBWOOFER
3.1CH SPEAKERS OUT
IMPEDANCE FRONT:4 SUBWOOFER:3
R L
R L
R L
C
SW
Downloaded From DvDPlayer-Manual.com Samsung Manuals
ENG
16
15
Connecting External Components
Connecting the FM Antennas
FRONT -H FRONT -H
FRONT -L FRONT -L
SUBWOOFER
2.1CH SPEAKERS OUT
ANTENNA
IMPEDANCE
FRONT:4 SUBWOOFER:3
R L
R L
FM (75 )
L
AUX IN
VIDEO OUT
HDMI OUT COMPONENT VIDEO OUT
YP
BPR
R
ANTENNA
FM (75 )
FM Antenna (supplied)
The cooling fan supplies cool air to the unit to prevent overheating.
Please observe the following cautions for your safety.
•
Make sure the unit is well-ventilated. If the unit has poor ventilation, the
temperature inside the unit could rise and may damage it.
•
Do not obstruct the cooling fan or ventilation holes. (If the cooling fan or
ventilation holes are covered with a newspaper or cloth, heat may build up
inside the unit and fire may result.)
Cooling Fan
FM antenna connection
1. Connect the FM antenna supplied to the FM 75 COAXIAL terminal as a temporary measure.
2. Slowly move the antenna wire around until you find a location where reception is good, then
fasten it to a wall or other rigid surface.
•
If reception is poor, connect an outdoor antenna.
Before attaching a 75 coaxial cable (with a standard type connector), disconnect the supplied FM
antenna.
CONNECTIONS
AUX1 : Connecting an External Component/MP3 player
VOLUME
AUXIN 1 MIC1 MIC2 MIC VOL ECHO
TUNERDVD/CD USBAUX
AUX1 : Front Panel
Audio Cable
(not supplied)
Components such as an MP3 Player
1Connect AUX IN 1 (Audio) on the MINI COMPACT
front panel to the Audio Out of the external
component/MP3 player.
2Press the AUX button to select <AUX1> input.
The mode switches as follows : AUX 1 AUX 2.
FRONT -H FRONT -H
FRONT -L FRONT -L
SUBWOOFER
2.1CH SPEAKERS OUT
ANTENNA
IMPEDANCE
FRONT:4 SUBWOOFER:3
R L
R L
FM (75 )
L
AUX IN
VIDEO OUT
HDMI OUT COMPONENT VIDEO OUT
YP
BPR
R
AUX2 : Rear Panel
Audio Cable
(not supplied)
If the external analog
component has only
one Audio Out, connect
either left or right.
1Connect AUX IN 2 (Audio) on the MINI COMPACT
rear panel to the Audio Out of the external analog
component.
Be sure to match connector colors.
2Press the AUX button to select <AUX2> input.
The mode switches as follows : AUX 1 AUX 2.
AUX2 : Connecting an External Analog Component
Analog signal components such as a VCR.
•This unit does not receive AM broadcasts.
Downloaded From DvDPlayer-Manual.com Samsung Manuals
ENG
17 18
Setting the Clock
For each step, you have a few seconds to set the required options.
If you exceed this time, you must start again.
•You can also use button on the panel front
instead of , buttons in step 3,4.
Note
OPERATION
•
You can display the time, even
when you are using another
function, by pressing
TIMER/CLOCK once.
•is displayed.
2
Press TIMER/CLOCK
twice.
1
Switch the system on
by pressing
STANDBY/ON button.
•"" appears in the display.
•The current time is now set.
5
When the correct
time is displayed,
press ENTER.
•Increase the minutes :
•Decrease the minutes :
4
When the correct
hour is displayed,
press ENTER.
The minutes flash.
•Increase the hours :
•Decrease the hours :
3
Press ENTER.
The hour flashes.
Note
Checking the Remaining Time
CHAPTER REMAIN
TITLE REMAIN
CHAPTER ELAPSED
TITLE ELAPSED
TRACK REMAIN
TOTAL ELAPSED
TOTAL REMAIN
TRACK ELAPSED
TRACK REMAIN
TRACK ELAPSED
Each time the REMAIN button is pressed
Press the REMAIN button.
•
For checking the total and remaining time of a title or chapter being played.
DVD CD MP3
Disc Playback
DEMO/DIMMER
POWER
CD RIPPING
CANCEL
STEP
MUTE
VOLUME
MENU
AUDIO
EXIT
SUB
TITLE
SLEEP
INFO
REPEAT
SLOW
MO/ST
P.SOUND
DSP/EQ
TIMER/CLOCK
TUNER
MEMORY
SD/HD
P.BASS
ECHO
ENTER
RETURN
TUNING
PAUSE
STOP PLAY
DVD TUNER AUX USB
ZOOM
LOGO
REMAIN
TIMER
ON/OFF
-
MIC VOL.
+
1
Load a disc.
•
Insert a disc that the disc’s label facing up.
•
Depending on the content of the disc, the initial screen may appear different.
•
Depending on the recording mode, some MP3-CDs cannot be played.
•
Table of contents of a MP3-CD varies depending on the MP3 track format recorded
on the disc.
2
To open/close the disc tray, press
OPEN/CLOSE button.
DVD CD
•
Playback starts automatically.
DivX
MP3 JPEG
•
Playback starts automatically.
•
If the TV is on, a list of MP3s on
the CD will appear on the TV
screen.
Note
•
To resume playback, press PLAY( ) button again.
To temporarily pause playback, press PAUSE button
during playback.
•
If pressed once, the stop position will be stored in memory. If PLAY ( ) button
or ENTER button is pressed, playback resumes from the stop position. (This
function works only with DVDs.)
•
If pressed twice, “STOP”is displayed, and if PLAY ( ) button is pressed,
playback starts from the beginning.
To stop playback, press STOP button during playback.
Downloaded From DvDPlayer-Manual.com Samsung Manuals
ENG
20
19
OPERATION
MP3/WMA-CD Playback
•
Depending on the recording mode, some MP3/WMA-CDs may not play.
•
Table of contents of a MP3-CD varies depending on the MP3/WMA track
format recorded on the disc.
Note
2
In Stop mode, use
to select
the album, and then
press the ENTER
button.
•
The MP3/WMA menu screen will appear
and playback will start.
•
The appearance of the menu depends
on the MP3/WMA disc.
•
WMA-DRM files cannot be played.
•
Use to select the track.
1
Load the MP3/WMA
disc.
4
Press the STOP
button to stop
playback.
•
To select another album and track,
repeat Steps 2 and 3 above.
3
To change the album,
use to
select another album
in Stop mode, and
then press the
ENTER button.
•
Music File Icon
•
Image File Icon
•
Movie File Icon
•
All File Icon
Press the button when it is in
stop status and select a desired icon from
the top part of the menu.
•
To play music files only, select the Icon.
•
To view image files only, select the Icon.
•
To view movie files only, select the Icon.
•
To select all files select the Icon.
To play a file icon in the screen,
DEMO/DIMMER
POWER
CD RIPPING
CANCEL
STEP
MUTE
VOLUME
MENU
AUDIO
EXIT
SUB
TITLE
SLEEP
INFO
REPEAT
SLOW
MO/ST
P.SOUND
DSP/EQ
TIMER/CLOCK
ENTER
RETURN
TUNING
PAUSE
STOP PLAY
DVD TUNER AUX USB
ZOOM
LOGO
TIMER
ON/OFF
-
MIC VOL.
+
Rotate/Flip Function
button: Flip Vertically
button: Flip Horizontally
button: Rotate 90°
Counterclockwise button: Rotate 90°Clockwise
Press Cursor , , , buttons during playback.
Original Image
JPEG File Playback
Images captured with a digital camera or camcorder, or JPEG files on a PC can be
stored on a CD and then played back with this DVD player.
JPEG
Downloaded From DvDPlayer-Manual.com Samsung Manuals
