1918
Downloading/Uploading files
Notes for Downloading or Uploading Files
●
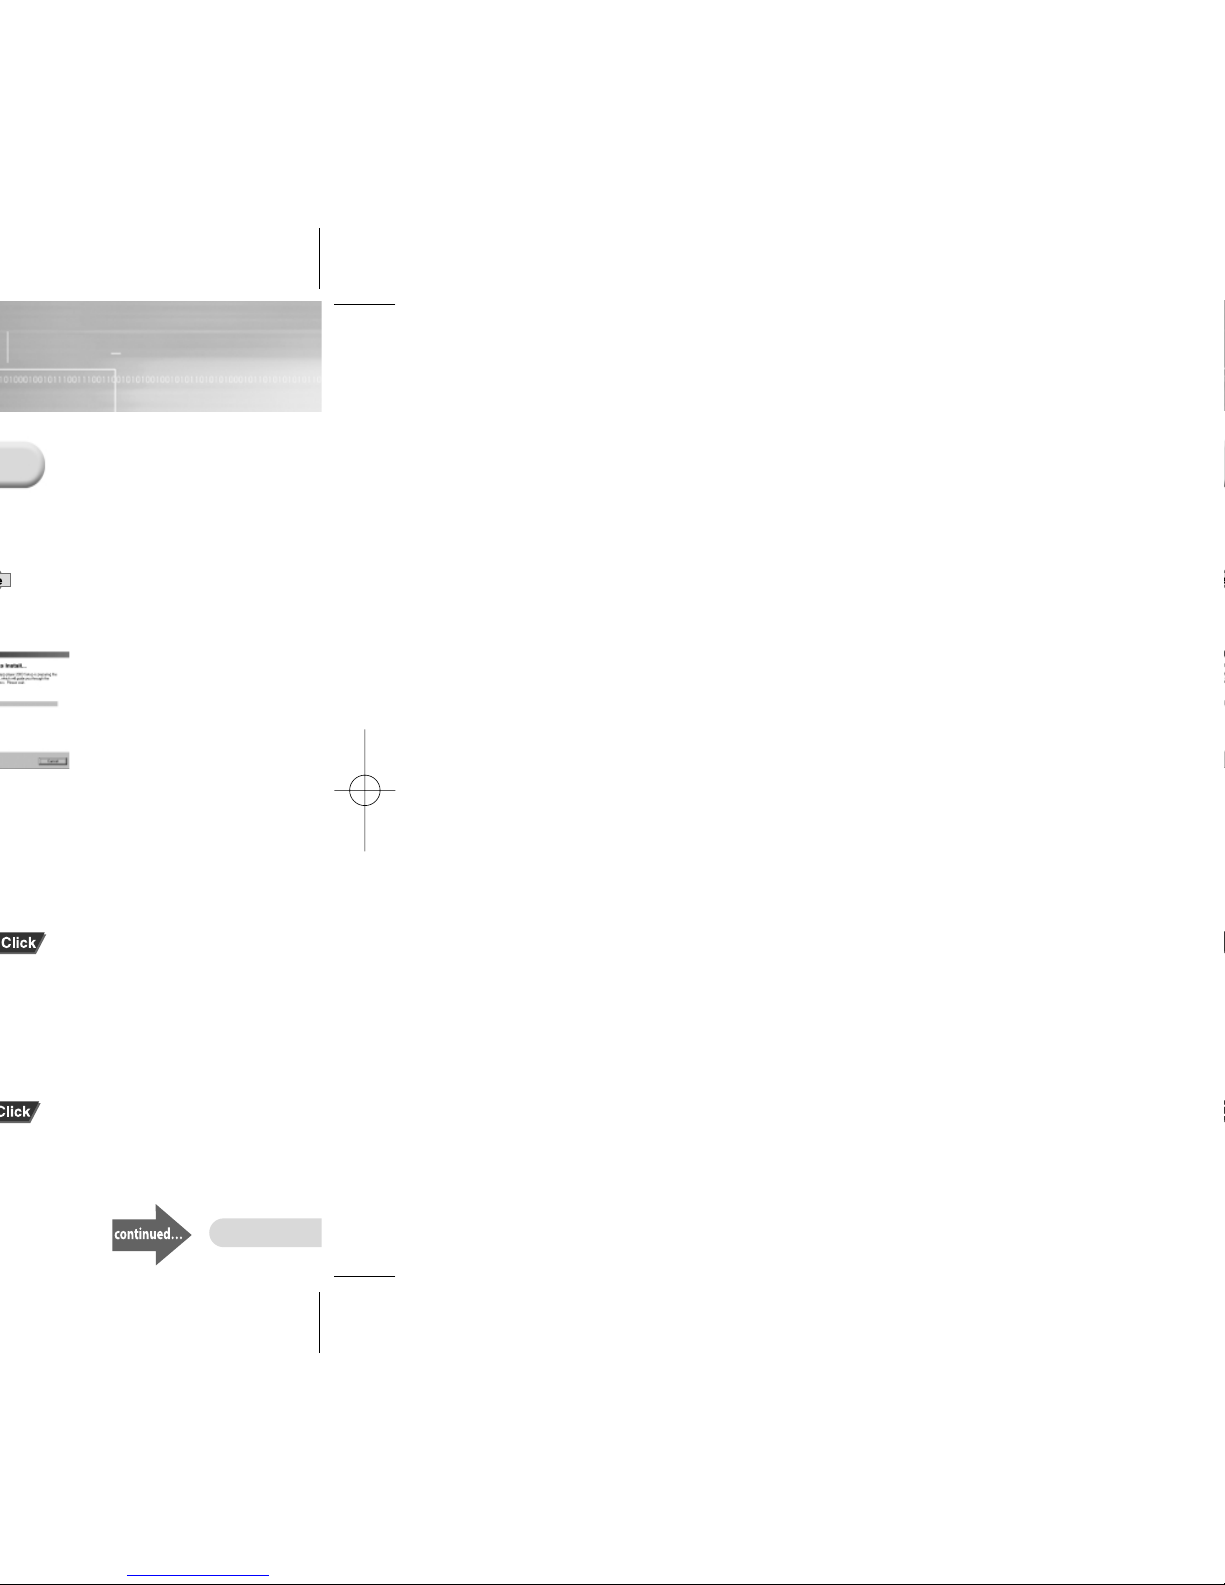
“USB WRITING” is displayed on the main body during uploading or
downloading. When complete, “USB STAND-BY” will be displayed.
Disconnect the USB cable when “USB STAND-BY” is displayed.
●
When your Voice yepp is connected to a PC that runs with Windows
2000 or later, the icon to delete a drive ( ) will appear in the
lower part of the task bar. For Windows 2000 or later versions, run
this program before you disconnect the USB cable.
●
Name files using the format: ‘Voice01’, ‘Voice02’, • • • ‘Voice99’ when
you download a voice file into folders A, B, C, D or E in Voice yepp,
as Voice yepp can only recognize files using this name format.
●
Download only files with the .VY extension in folders A, B, C, D or
E in Voice yepp, and files with the .mp3 extension in the P3 folder.
Voice yepp cannot recognize files with other extensions.
●
Sort files before downloading, if possible, as the downloaded files
are automatically re-sorted and saved when you disconnect the USB
cable from your Voice yepp after downloading .VY files. (e.g. files
named ‘Voice02’, ‘Voice03’, ‘Voice10’ will be automatically saved as
‘Voice01’, ‘Voice02’, and ‘Voice03’ respectively.)
●
It is illegal to upload P3 files. Voice yepp has a built-in P3
encryption function. You will experience poor sound quality from a
P3 file that is uploaded to your PC.
●
The maximum number of P3 files to be recognized for
downloading is 250. Any more than this number can be downloaded
but cannot be played.
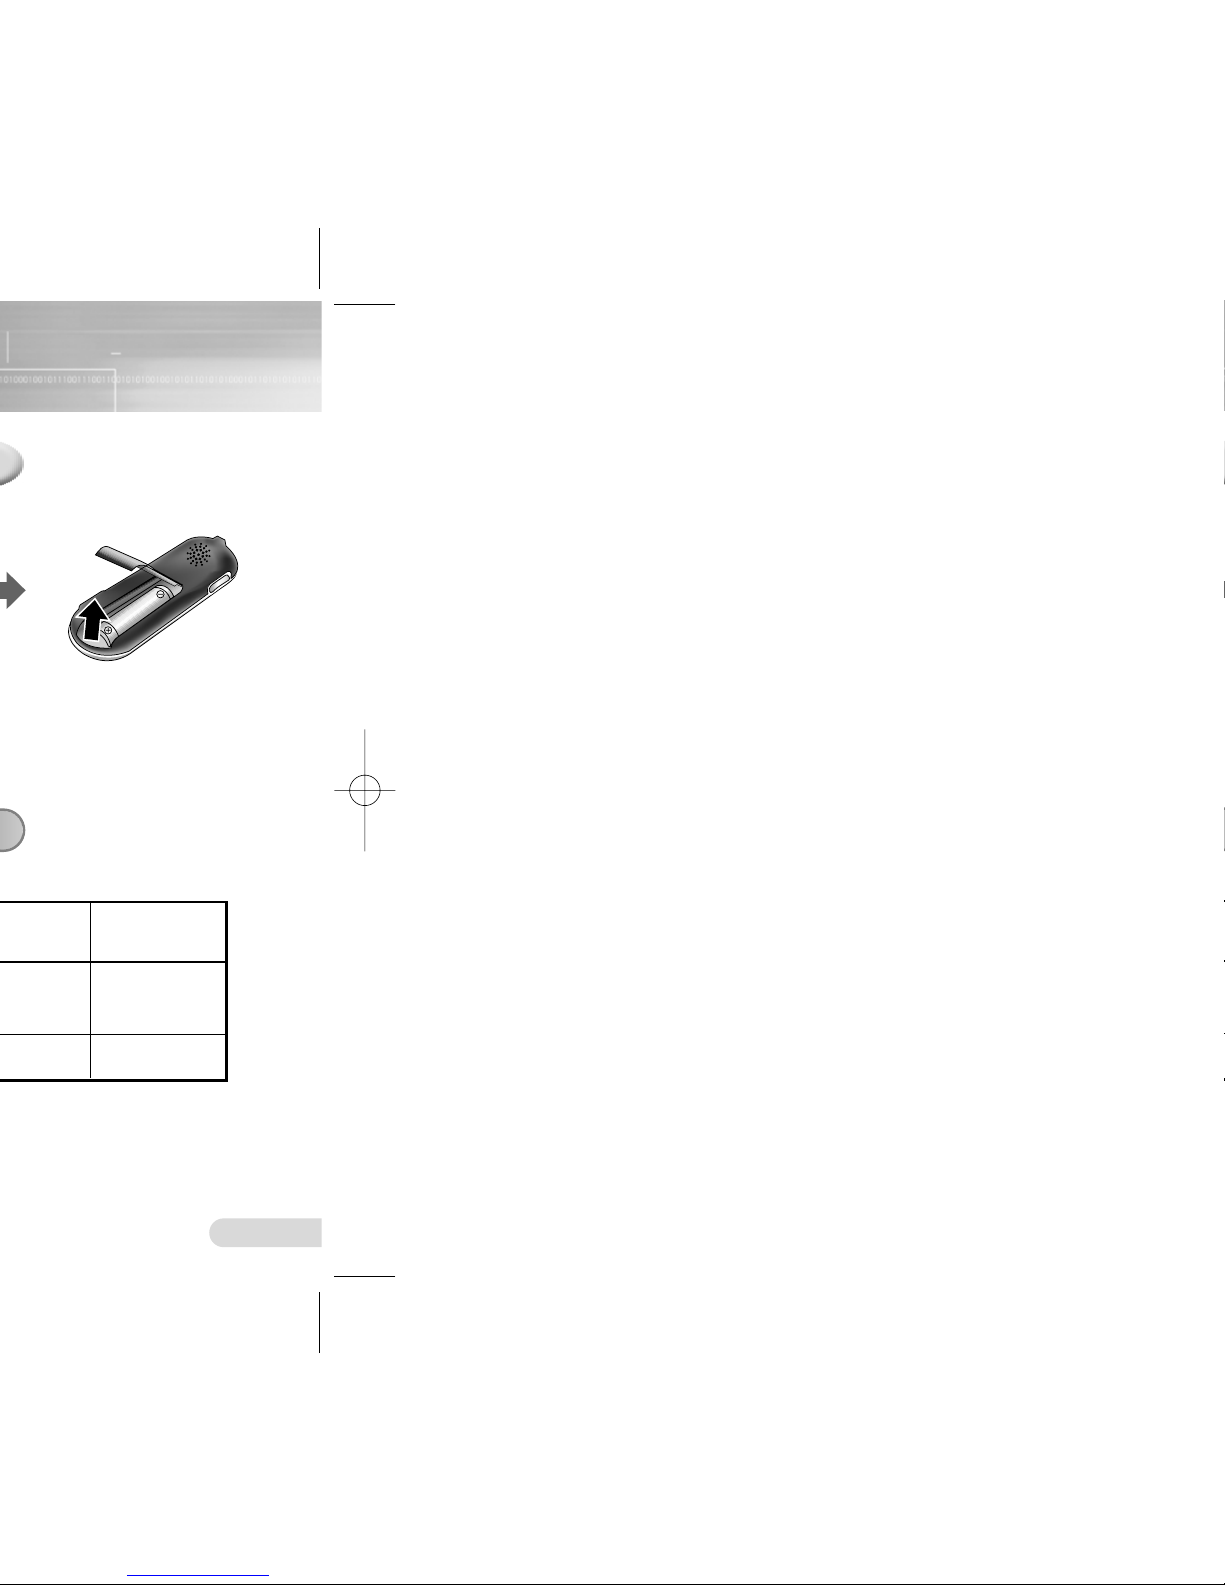
1
Turn on the Voice yepp and
connect it to a PC
2
Open Windows Explorer on
the PC.
3
Select a file to save, then drag
and drop the file in the folder of
your choice.
●
To save in Voice yepp, drag and
drop the file in folder A, B, C, D, E
or P3 inside the ‘removable disk
directory’.
*
*
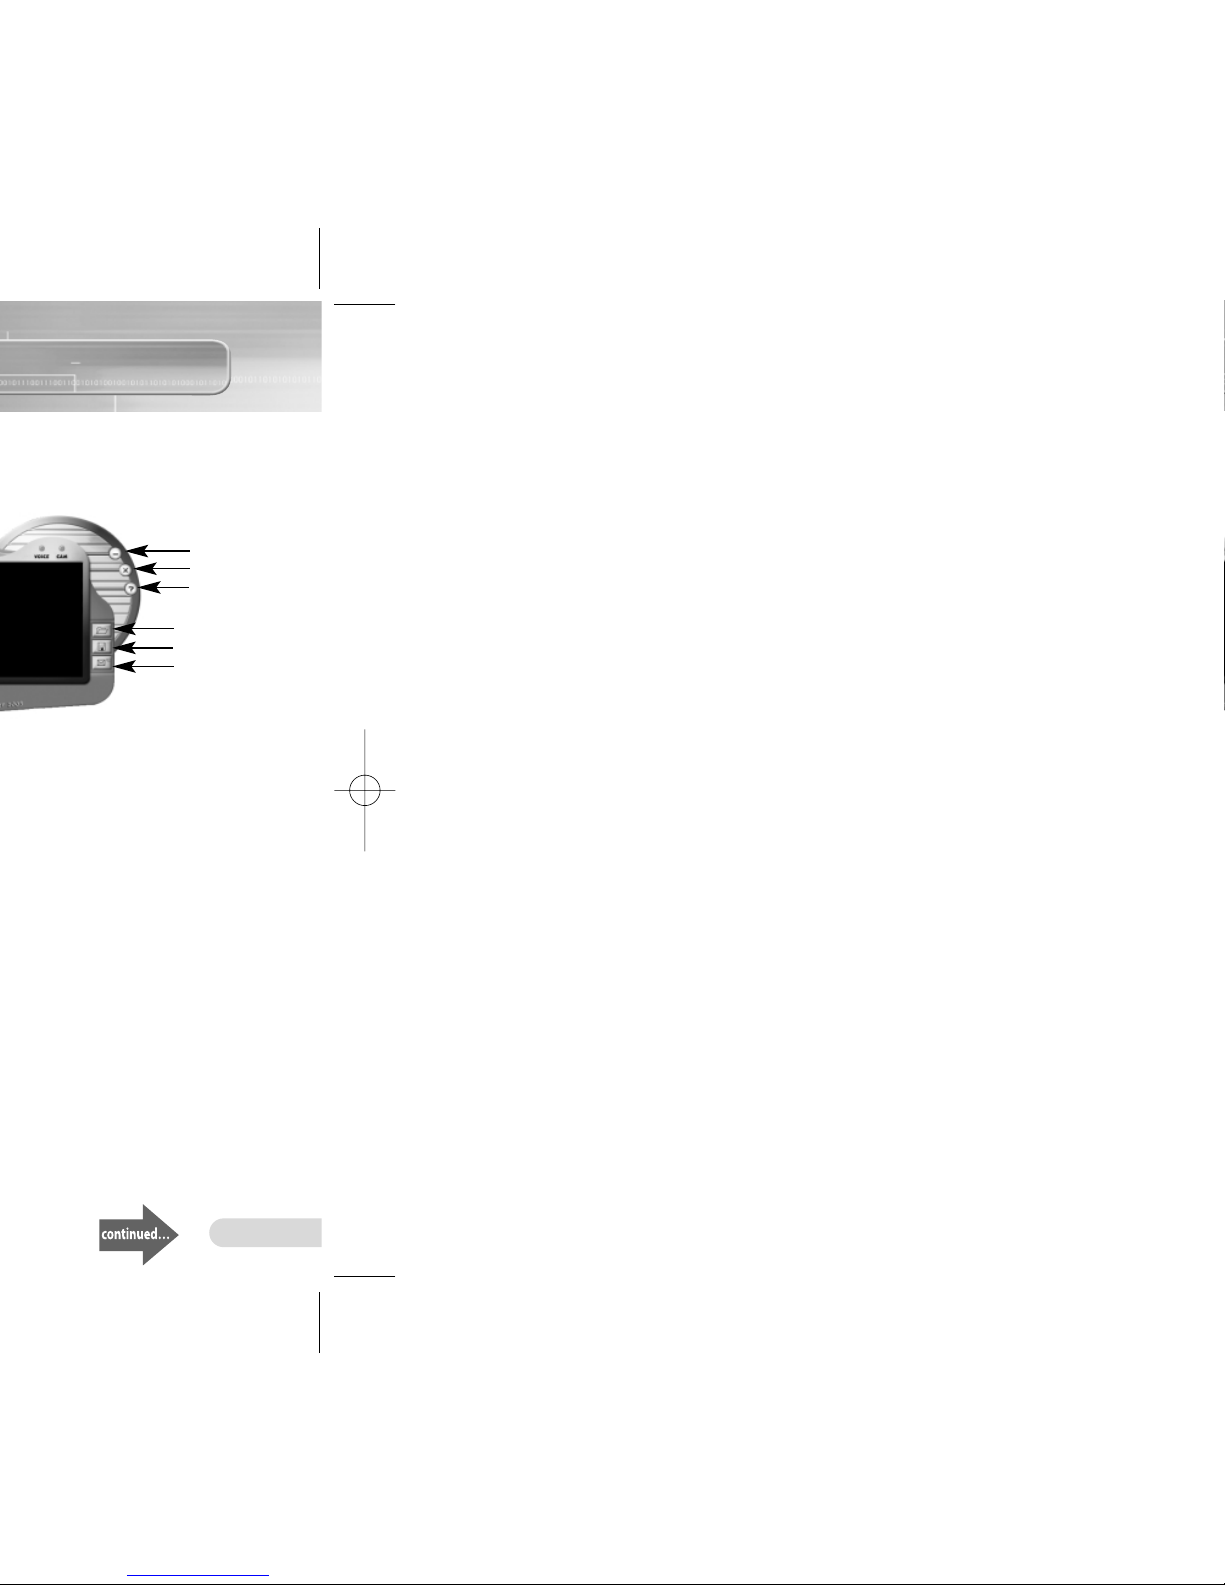
Using the Voice yepp player
Double click the Voice yepp player 2003 icon on the desktop to
open the program.
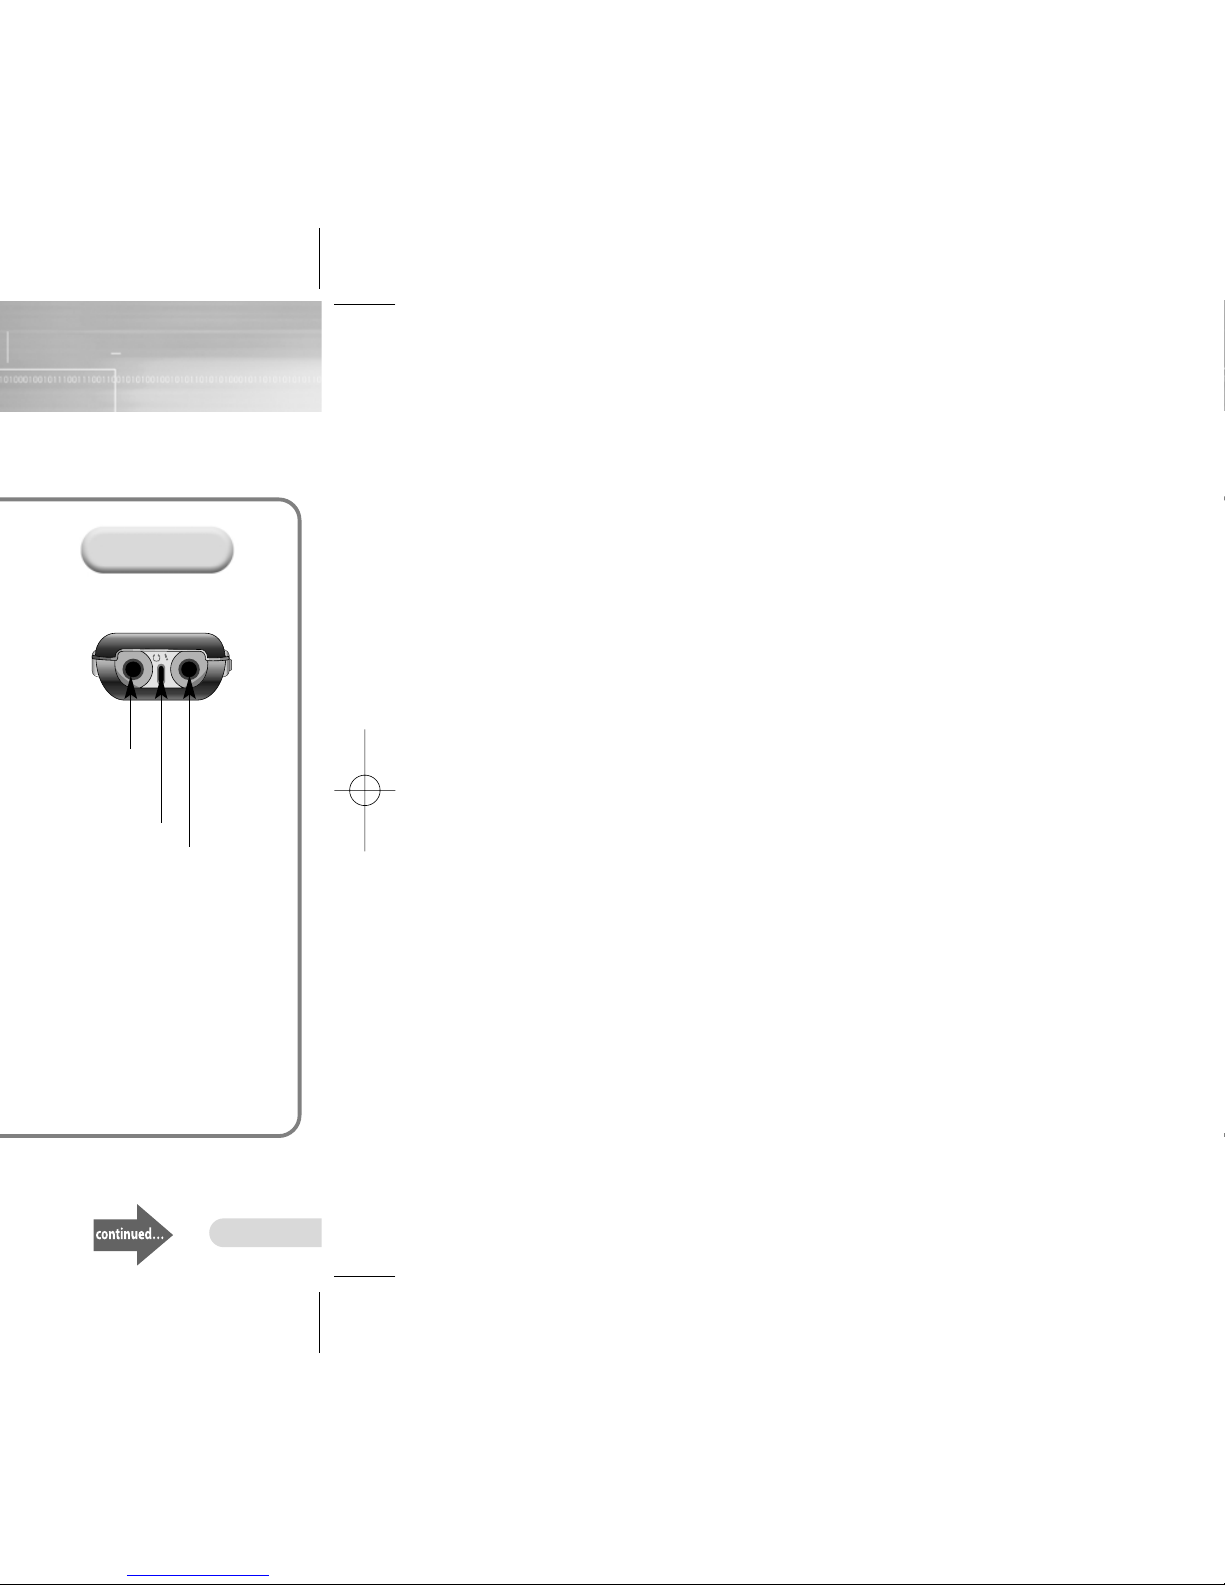
Volume
VOICE ODE
CA ODE
inimize
Open
Save
E-mailing
(Voice yepp player Main indow)
Close
●VOICE MODE: for recording, playing of voice files,
editing and e-mailing
●CAM MODE: for viewing and editing image files
(.bmp or .jpg extension files)
●Volume: for volume control during file play
●Minimize: for downsizing the program window
●Close: for ending the program
●Help: to display the player version and web site address
●Open: to display the list of selected files
●Save: for saving the list of selected files
●E-mailing: for attaching saved voice files to an e-mail
Help