Samyang Sony E mount User manual

LENS MANAGER
- Sony E mount -
USER MANUAL

2
== Table of Contents ==
Chapter 1 Overview .................................................................................. 3
1. Overview ............................................................................................................ 3
2. Recommended System Specifications ................................................................ 4
3. USB Device ....................................................................................................... 4
4. Preparing to use the program ............................................................................. 5
Chapter 2 Using the program .................................................................. 6
1. Lens Connection Setting .................................................................................... 6
2. Firmware Update................................................................................................ 7
3. AF Pünt Setting .................................................................................................. 9
4. Aperture Setting ................................................................................................. 9
5. MF Sensitivity Setting ....................................................................................... 11
6. Lens Station Info. ............................................................................................. 11

3
Chapter 1 Overview
1. Overview
The user can carry out the firmware update, AF pünt setting, aperture setting, and MF sensitivity setting for
Samyang Sony E mount AF lens.
Lens Firmware Update
The newest version of firmware can be downloaded through the Samyang homepage.
AF Pünt Setting
The AF pünt of the lens can be adjusted by ±4.
Aperture Setting
The user can adjust the operation position of the aperture.
MF Sensitivity Setting
Slow, Normal and Fast can be set for the focus movement speed in MF mode.
Caution!
Samyang Lens Station (sold separately) is necessary for using this software.
This is only for Samyang's Sony E Mount AF lens. Other mounts cannot be used.
Notice
The specifications and performance of this product is subject to change without prior notice.
Samyang is not responsible for any direct or indirect damage due to malfunction of software, hardware of
the user’s PC, peripheral devices, or network environments during use of this software.

4
2. Recommended System Specifications
Windows
1) Windows 7 ~ Windows 10
2) 1Gb of RAM or more
3) 1Gb of HDD space or more
4) Screen resolution of 1024 x 768 or higher
5) USB 2.0 port
Mac OS
1) Mac OS X Ver.10.9 ~ 10.12
2) 1Gb of RAM or more
3) 1Gb of HDD or more
4) Screen resolution of 1024 x 768 or higher
5) USB 2.0 port
3. USB Device
If you connect the lens station to MAC and select “Applications > Utilities > System Information”
And select USB item, you can see that it is recognized as below.
A new file (tty.usbmodem1411) is created in the directory(/dev) using the ‘ls’ command.

5
4. Preparing to use the program
1) Mono must be installed to run the program.
•Download ( http://www.mono-project.com/download/ )
•Install Mono (MonoFramework-xxx.pkg)
2) If Mono installation is completed, please visit http://www.samyanglensglobal.com Download the
LensManager_Mac.zip file.
3) Unzip the Downloaded file and double-click the “LensManager.sh.command” file.
(Lens Station must be connected to PC before program execution)

6
Chapter 2 Using the program
Connect the MAC and the Lens Station, then mount the lens.
Double-click the “LensManager.sh.command” file in the program folder to run the program.
1. Lens Connection Setting
Check COM No. of the USB Serial Port from the Device Manager, then select a COM Port and click the
Lens Connection button.
When the connection is made without issue, the screen will move to the firmware Update page and the
information of the connected lens will be displayed.

7
2. Firmware Update
The image of the connected lens is displayed on the left.
Lens Info.
Lens ID: Unique ID No. of the lens
F/W: Current firmware version information of the lens
AF Pint: AF pint correction level of the currently set lens
Aperture: Current aperture setting information
MF Ring: MF sensitivity setting level
Download Link: A link is provided to the homepage of Samyang Optics, where you can download firmware
from DOWNLOAD.
Load Lens F/W File button: Select the newest firmware file downloaded through the homepage.
Firmware Update: Carry out the firmware update after opening the file.

8
Order of Firmware Update
1) Download the firmware of the lens through DOWNLOAD at the homepage of Samyang Optics.
2) Select the downloaded firmware file using the Load Lens F/W File button.
When the file is selected correctly, the finish pop-up window will be displayed. Click the OK button.
3) Click the Firmware Update button.
4) Read the contents of the Cautions pop-up window, then click the OK button.
5) Firmware update will be carried out as shown in the figure below.
6) When firmware update is completed, click the OK button.
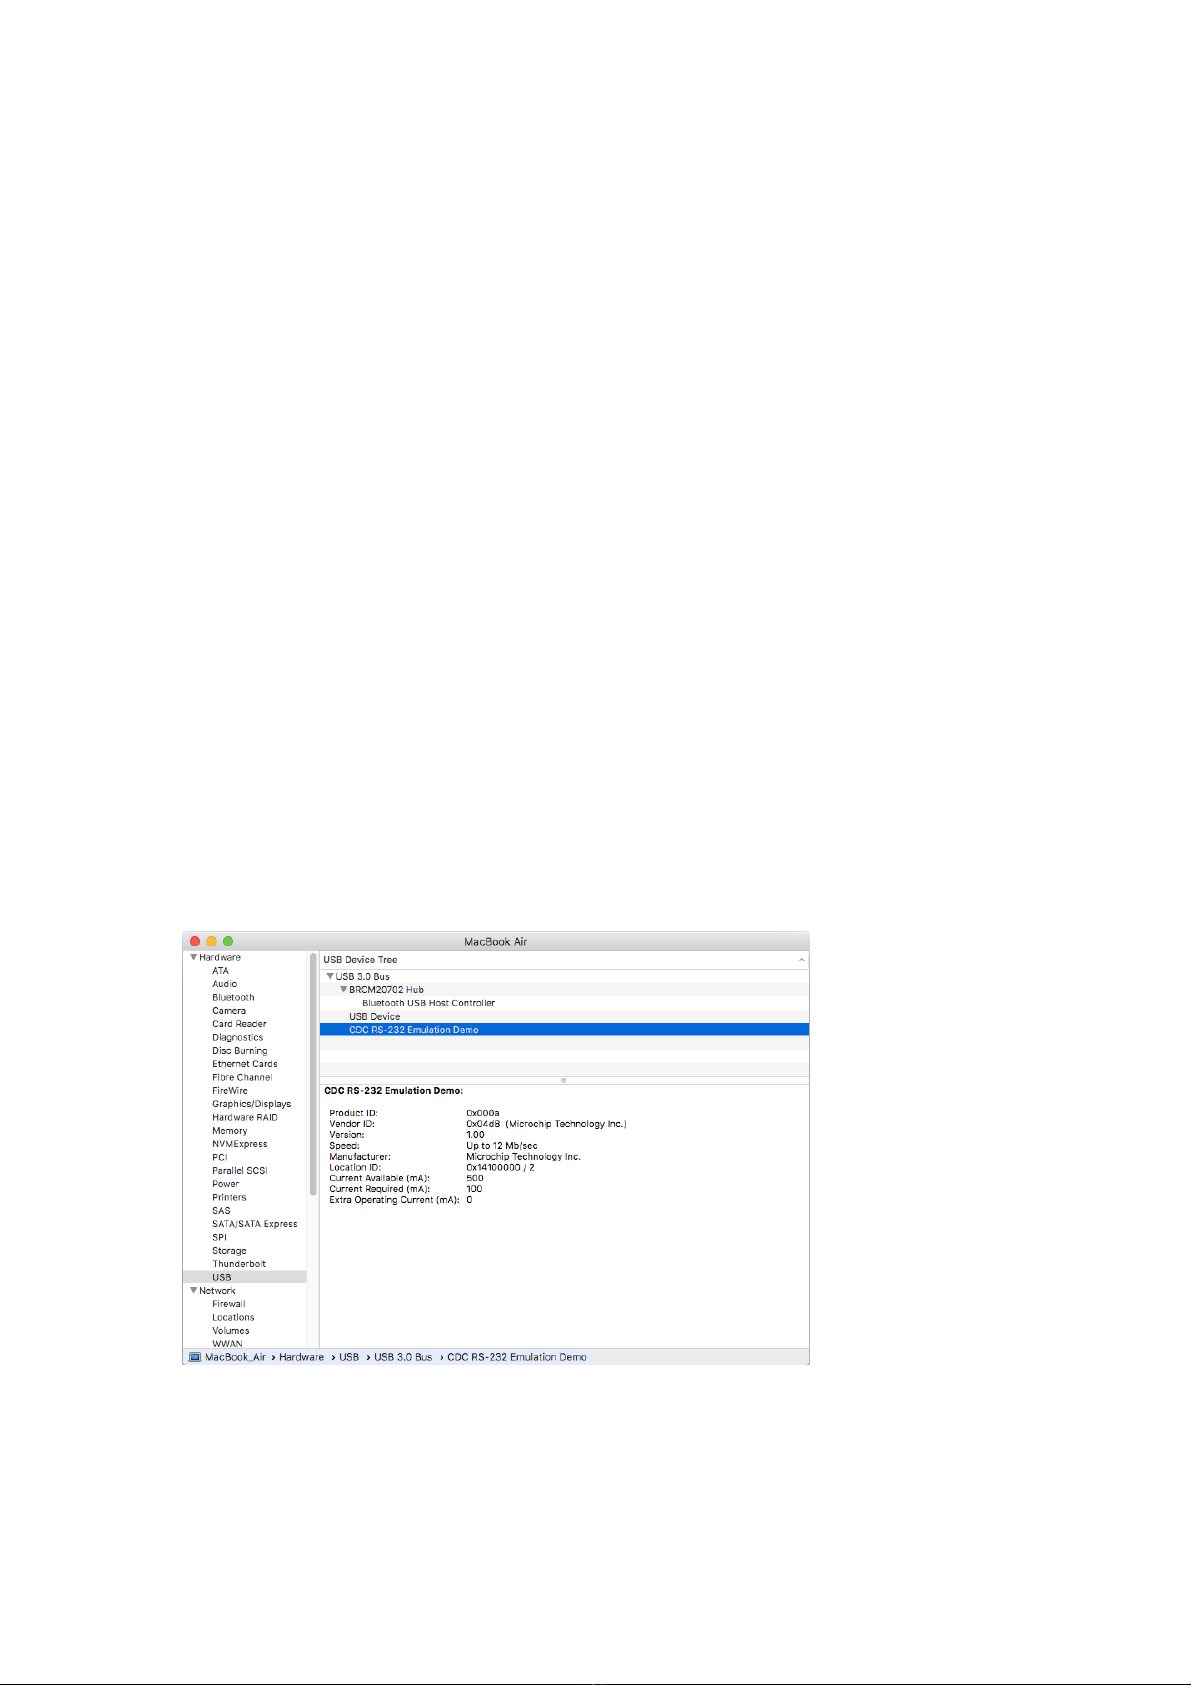
7) When the screen moves to the Lens Connection Setting page again, check the COM Port and click the
Lens Connection button.
8) If the update has been carried out successfully, you can view the updated firmware version on the
Firmware Update page.
Caution!
Use a fully charged battery, or connect the AC adapter to the PC while using this software.
Do not remove the lens or press the Separation button while the firmware update is being carried out.
Do not turn off the PC while the firmware update is being carried out.
Do not specify or change the lens settings while the firmware update is being carried out.

9
3. AF Pünt Setting
AF pünt can be adjusted by ±4.
4. Aperture Setting
Set the position of aperture blades. (Range between -5 and 10)
Aperture setting is carried out at the time of factory shipping, so the value displayed when moving to the
Aperture Setting page is the current aperture Setting value of the lens.
Setting order
1) Click the Reset button: Moves the aperture to its starting point.
2) Move the aperture until the aperture blades are not seen using the OPEN (+) and CLOSE (-) buttons
while checking the lens aperture visually.
3) If the aperture blades are not seen, stop the adjustment immediately and click the Save button.

10
Reset button: Moves the aperture to its starting point for aperture setting.
OPEN (+) button: Moves the aperture to the OPEN position by 1 step.
CLOSE (-) button: Moves the aperture to the CLOSE position by 1 step.
Save button: Saves the current setting to the lens when setting is completed.

11
5. MF Sensitivity Setting
Set the focus movement sensitivity according to the MF ring rotation speed in MF mode.
The setting can be adjusted by 3 steps including Slow, Normal, and Fast.
Select a desired sensitivity among 3 sensitivity levels, then click the Save button.
6. Lens Station Info.
The version information and the user manual of the Lens Station can be viewed.
LED lamp
Off: The lens is not mounted or the lens is disconnected.
On: The lens is connected normally after it is mounted.
Table of contents
Other Samyang Camera Lens manuals