San Jose Navigation CT-58 User manual

CT-58
GPS/GSM Micro Tracker
May. 23 2008
Version: 1.20
San Jose Navigation, Inc.
9F, No.105, Xicheng Rd., Banqiao City,
Taipei County 220, Taiwan (R. .C.).
Tel: +886-2-26879500 Fax: +886-2-26878893
E-Mail: sanan@sanav.com
Web: www.sanav.com

Content
1. Hardware Description..............................................................................................................3
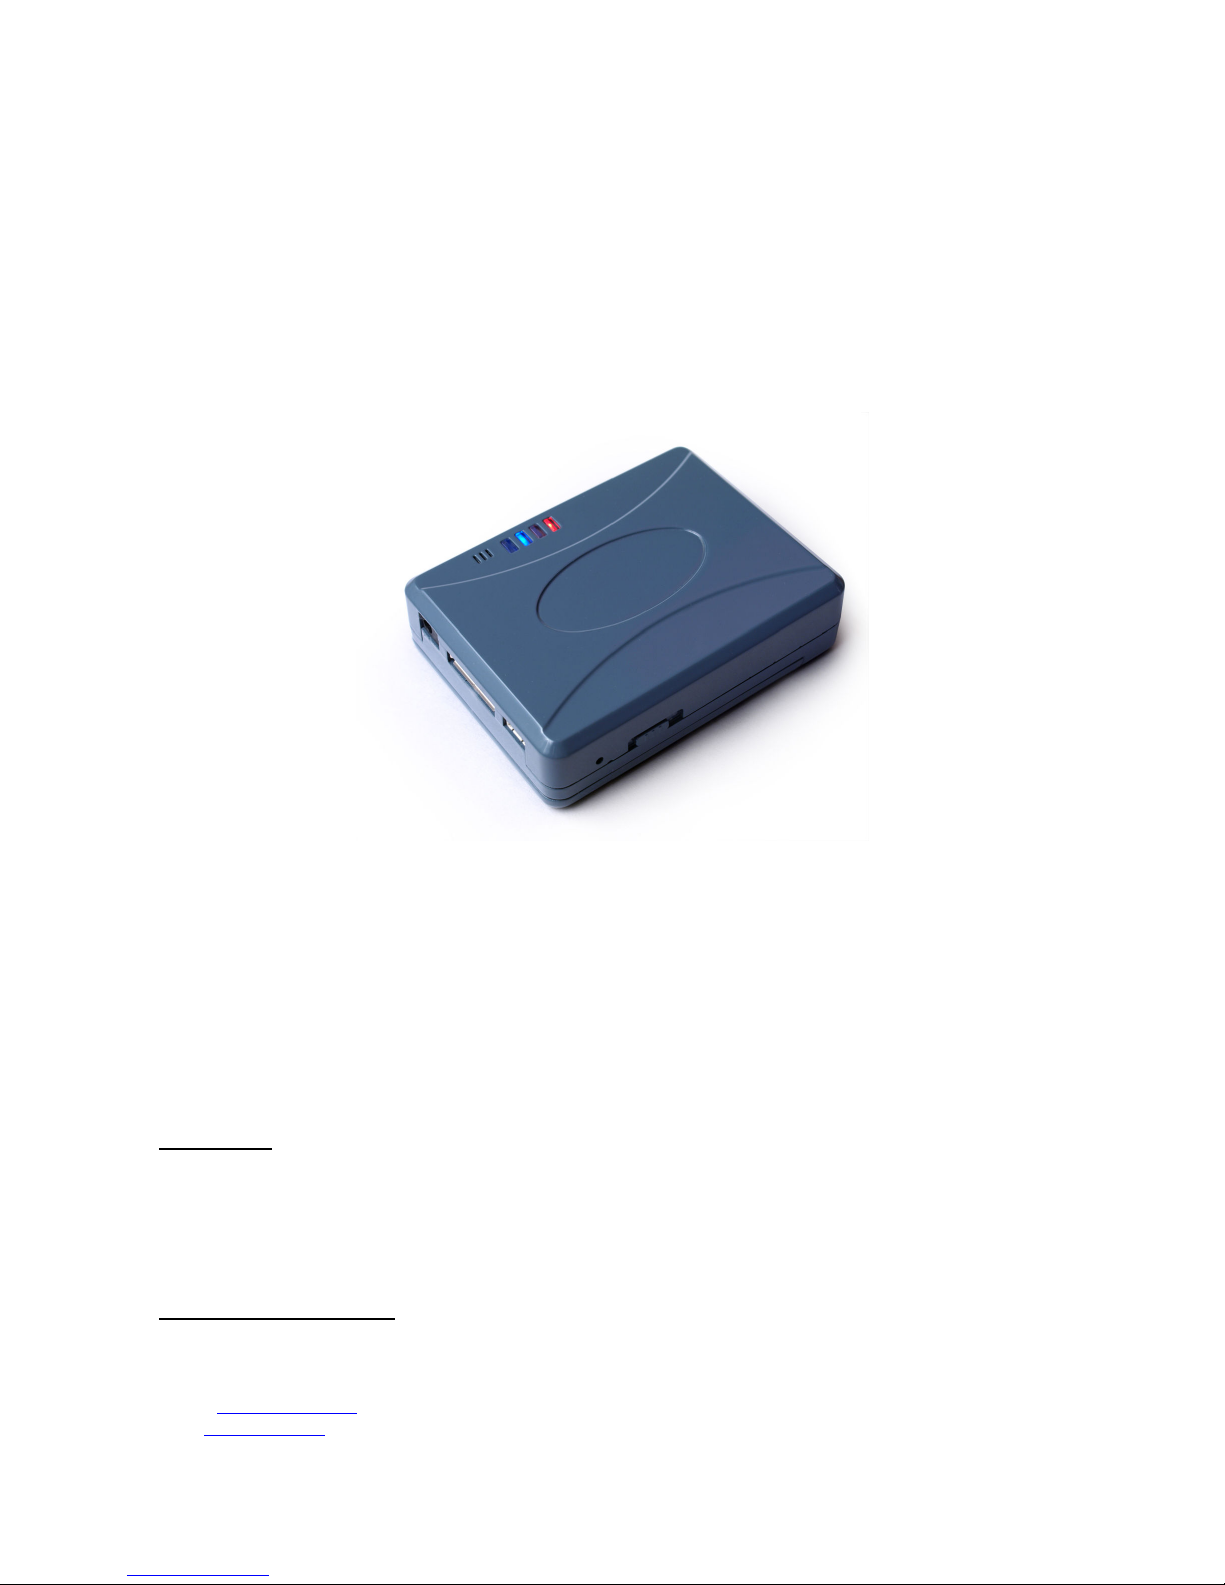
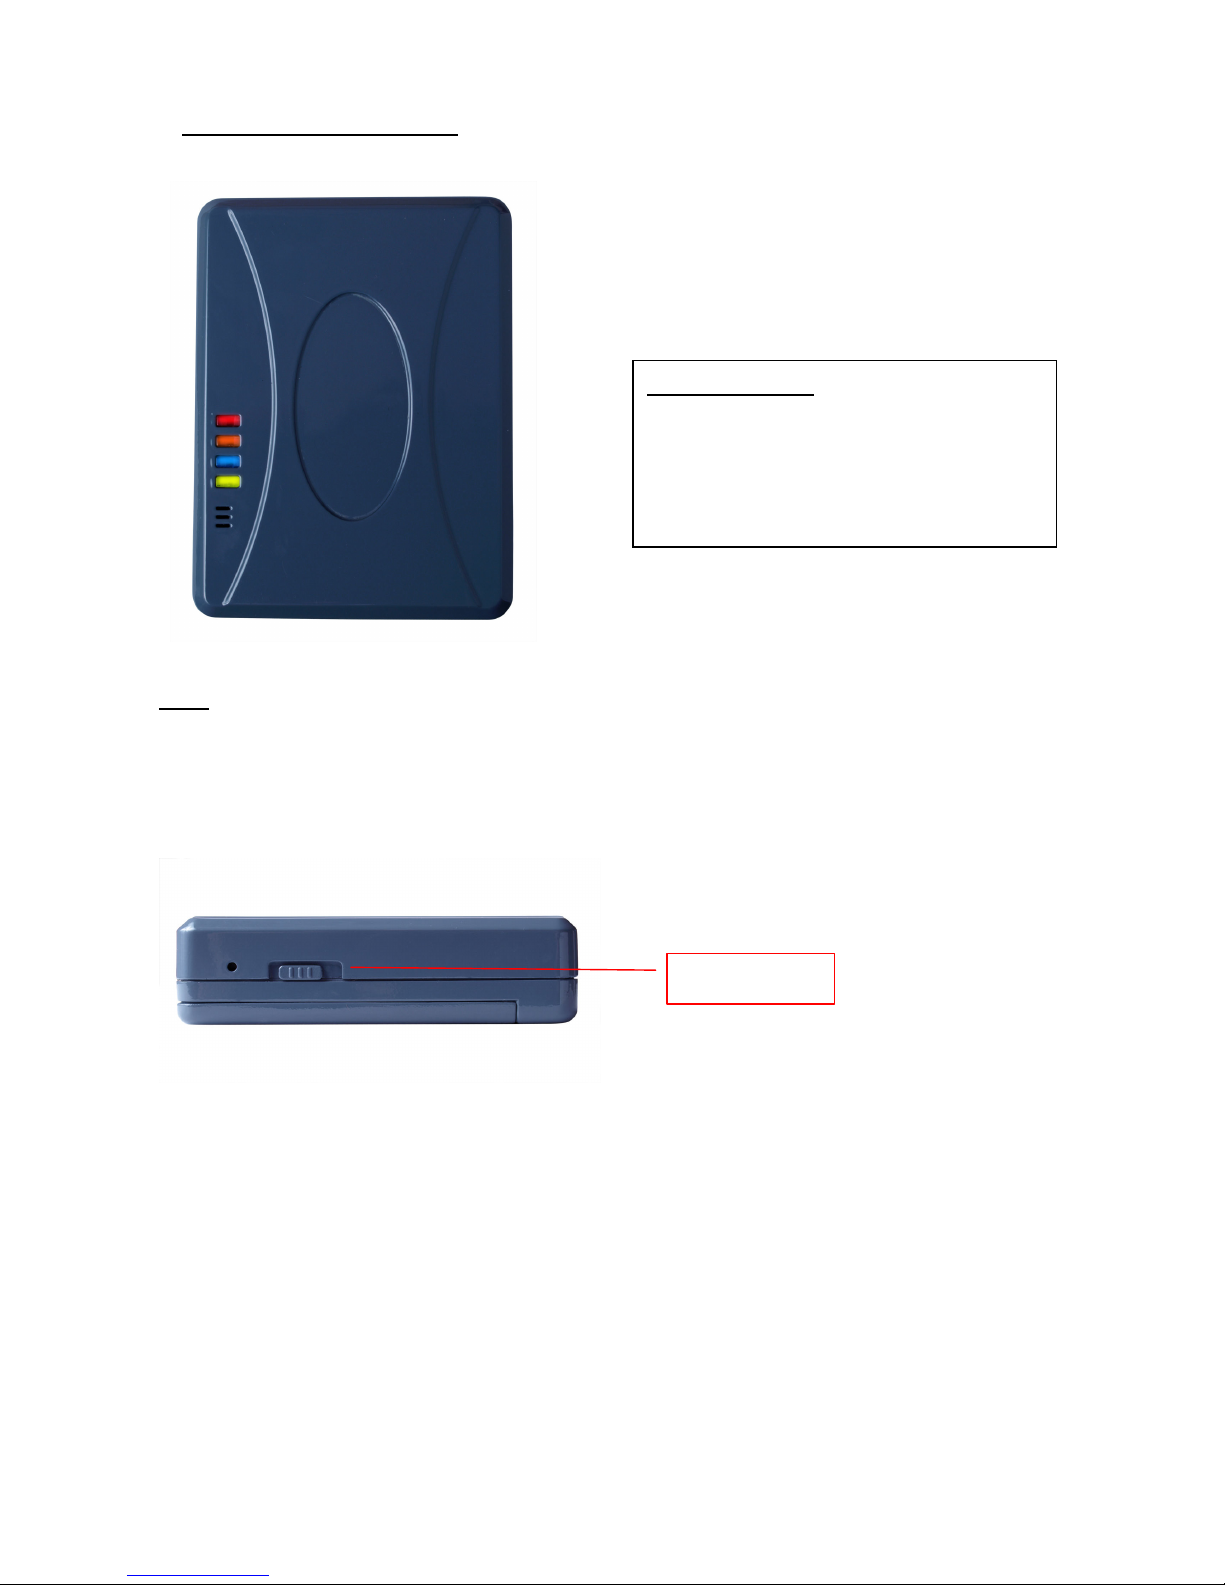
1.1 Front Face.....................................................................................................................3
1.2 Side Face(1) ................................................................................................................3
1.3 Side Face(2) ................................................................................................................4
1.4 Rear Face(Battery Cap)...........................................................................................4
1.5 Package Contents......................................................................................................5
2. Specification...............................................................................................................................6
3. Features.......................................................................................................................................7
4. Setup ............................................................................................................................................8
4.1 Change Username.........................................................................................................9
4.2 Change Password ........................................................................................................10
4.3 Set up the GPRS APN (Access Point Name)...................................................... 11
4.4 Set up a Host Name (URL) to Transmit Data ...................................................12
4.5 Set up the Phone Number List ...............................................................................13
4.6 Set up Auto Report .....................................................................................................14
4.7 All Parameters Reset to Default.............................................................................16
4.8 Acquire Report of Current Position .......................................................................17
4.9 Set up E-mail Address to Receive Data..............................................................18
4.10 Set up SMTP Server.................................................................................................19
4.11 Set up Router for Transmitting Data by URL/IP or E-mail........................20
4.12 Request Imei Code ...................................................................................................22
4.13 Deactivate Panic mode ...........................................................................................23
4.14 Setup Geofence Coordinate ..................................................................................24
4.15 Set up Voice Monitoring Mode .............................................................................26
4.16 Vibration Setting .......................................................................................................27
4.17 S S Phone Setting ...................................................................................................28
4.18 Activate/Deactivate Park Function .....................................................................30
4.19 Set up TCP/ UDP Address to Transmit Data...................................................32
4.20 Set up Panic Report..................................................................................................33
4.21 perate Log Function ..............................................................................................34
4.22 Define Log Interval...................................................................................................35
4.23 Erase the Logged Data ...........................................................................................38
5. Respond Messages ................................................................................................................39
5.1 utput Format When The Router Is Set to HTTP, E-mail, TCP or UDP...40
5.2 utput Format when The Router Is Set to SMS..............................................41
5.3 NMEA 0183 GPRMC Sentence.................................................................................42
6. Warranty....................................................................................................................................43

1. Hardware Description
1.1 Front Face
Note:
A. Yellow light will light on while data while communicating the data to computer
B. Green light will light on while charging the CT-58
1.2 Side Face 1)
LED Indications
Red: GSM status light
range: Data communication light
Blue: GPS status light
Green or Yellow:: Power charging light
Power switch

1.3 Side Face 2)
1.4 Rear Face Battery Cap)
Data communication slot
Power adapter hole
I/ input slot
Use your thumb to press the battery cap
and then slide downward to open it.
Battery insert slot
SIM card insert slot

1.5 Package Contents
A.
DC Adapter Charger
B.
Cigar charger
C.
User Guide

2. Specification
SPECIFICATIONS
Electrics Data
Tri Band 850/1800/1900 or 900/1800/1900 Mhz
Frequency
1575.42 Mhz
Reacquisition < 2sec.
Cold < 60sec. TTFF(Time To First Fix)
Warm < 35 sec. TTFF
GPS Receiver Acquisition time
Hot < 10sec. TTFF
Flash 32MB
Power
Battery Power 3.7V DC Li-Ion Battery,1500mA (future version Li-ion polymer battery )
External Power 6V DC
Battery Life 70-75 hours(1 hour per data)
Environmental Conditions
Operating Temperature -20°C to +70°C
Storage Temperature -25°C to +75°C
Relative Humidity 5% to 95 %, non-condensing
Mechanics Data
Size 8.4(L) x 6.4(W) x 2.3(H) cm
Weight 104g with battery

3. Features
A. Build-in vibration sensor
The built-in vibration sensor will detect the movement of the CT-58. When movement is occurs,
CT-58 will send out reports.
B. Panic option)
External panic button (option) can be connected to CT-58. When panic button is pressed, CT-58
will send out S S report.
C. Auto Report
You can set up auto report function to receive a regular report, and note that the default setup is
off. Please refer to chapter 5.6 for detailed information.
4. Applications
1. Fleet management
2. Vehicle security and recovery
3. Assert tracking
4. Yachting watching
5. Covert tracking
Press Panic
Upload messages to URL via GPRS. (The default report frequency is a
message every 60 seconds for 60 times)
No
GPRS
GPRS
comes back
Send the SMS to the first number in the phonebook instead

4. Setup
CT-58 currently provides 13 commands for setup. You can setup the CT-58 by following the instructions
shown in this chapter via SMS from a cellular phone. Key the specific SMS message in your cellular phone as
the instruction and send it to the SIM number of CT-58. The setup messages are showed in the following
sections.
Note1: The default settings are shown as below.
a. Default CT-58 ID is “username”, and please read Chapter 5.1 in order to change the ID.
b. Default password is “0000”, and please read Chapter 5.2 in order to change the password.
c. There’s no number in the default
contact, and please read Chapter 5.5 in order to add the phone
number.
d. Default setting of Auto Report is deactiva
ted, and please read Chapter 5.6 in order to setup the auto
regular report.
e.
Default setting of APN is only suitable for Taiwan GSM network and please read Chapter 5.3 in order
to change the APN.
f. Default setting of IP/domain is http://www.sanav.com/eric-gga/gprs.aspx
and please read
Chapter 5.4 in order to change the IP/domain.
g. Please be aware of the upper and lower cases when you send the SMS command to CT-58.
Note2: Before doing any setup, please ensure CT-58 is connected with the GSM network. The red LED must
lights on. And please note that CT-58 must not be under Panic mode.
Note3: While you are keying in any setup message, note that N space is allowed between the characters in
the SMS. Characters can be letters, commas or any signs.
Note4: Any setup message must be started with a “#” sign and ended up with a “*” sign.
Note5: nly when the password, username and setup message are correct, the CT-58
will update information
according to user’s definition. If the command is not valid, a failure report is going to be sent to the
commander cell phone.

4.1 Change Username
You can change the ID of CT-58 by below command format. No space is allowed between the
characters. For example, if you send the SMS message shown in the example below to the CT-58,
you will change the ID from “username” to “ason”
Setup format
#「username」,「Password」,「Function Code」,「New username」*
Example:#username,0000,1,ason*
The table 4.1.1 describes the meaning of each segment in the message above.
Table 4.1.1
The table 4.1.2 shows each confirmation message reply after setup
Table 4.1.2
Text Keyed In SMS Description
# Start sign.
username Default ID of CT-58
0000 Default password.
If you have changed the password, please use the updated one.
1 Mode 1 defines the ID setup
Ason New ID defined by the owner.
At the maximum of 8 letters.
* End sign.
Situation Message Reply
Setup Succeeds [username] + CT-58 username is updated.
Setup Fail [username] + CT-58 username setup fail!
Incorrect password [username] + Password setup Fail!
Incorrect username or command
format [username] + command error
CT-58 is in Emergency Mode [username] + in emergency, changing username is not allowed.

4.2 Change Password
Use this SMS message example shown below to change the password of CT-58. For example, by
following the example below, you will change the default password, “0000” to a new password,
“1111”.
Setup format
#「username」,「Password」,「Function Code」,「new Password」,「new Password」*
Example:#username,0000,2,1111,1111*
The table 4.2.1 describes the meaning of each segment in the message above.
Table 4.2.1
The table 4.2.2 shows each confirmation message reply after setup
Table 4.2.2
Text Keyed In SMS Description
# Start sign.
username Default ID of CT-58.
If you have changed the username, please use the updated one.
0000 Default password.
If you have changed the password, please use the updated one.
2 Mode 2 defines to change the password
1111 New password
1111 Reconfirm the password
* End sign.
Situation Message Reply
Setup Succeeds [username] + GC101 Password is updated.
Setup Fail [username] + Password setup Fail!
Incorrect password [username] + Password setup Fail!
Incorrect username or SMS
format [username] + command error
CT-58 is in Emergency Mode
[username] + in emergency, changing password is not allowed.

4.3 Set up the GPRS APN Access Point Name)
For uploading the data to a web server, you must have a set of GPRS APN from your GSM network.
Various GSM network provides different GPRS APN settings. Please check the referential tables for
APN in the Chapter 8 before setup. If you could not find the name of your GSM service provider,
please ask your GMS service provider about the APN settings. If the username and password of
APN are indefinite or showed in blank, just leave the parameters blank (no space). You can follow
the Setup Format below to setup the APN that is provided by your GSM network.
Setup format
#「username」,「Password」,「Function Code」,「access point name」,「user」,「password」
*
Example:#username,0000,3,internet,user,password*
The table 4.3.1 describes the meaning of each segment in the message above.
Table 4.3.1
The table 4.3.2 shows each confirmation message reply after setup.
Table 4.3.2
Text Keyed In SMS Description
# Start sign.
username Default ID of CT-58.
If you have changed the Username, please use the updated one.
0000 Default password.
If you have changed the password, please use the updated one.
3 Mode 3 defines the APN
Internet Name of APN
User Username of APN
Password Password of APN
* End sign.
Situation Message Reply
Setup Succeeds [username] + GC101 GPRS APN is updated.
Setup Fail [username] + CT-58 GPRS APN setup Fail!
Incorrect password [username] + Password setup Fail!
Incorrect username or command
format
[username] + command error
CT-58 is in Emergency Mode [username] + in emergency, GPRS APN setup is not allowed.

4.4 Set up a Host Name URL) to Transmit Data
This command (SMS) instructs the CT-58 to access an URL or fixed IP for data transmission. If you
send the SMS according to the example seen below to CT-58, the URL
“http://www.sanav.com/eric-gga/gprs.aspx “ will be assigned to receive the data sent from the
CT-58. Please note that the question mark “?” or any symbol is not allowed to be keyed in behind
the URL. The CT-58 will add the necessary symbol(s) on automatically.
Setup format
#「username」,「Password」,「Function Code」,「Fixed IP or URL」*
Example:#username,0000,4,http://www.sanav.com/eric-gga/gprs.aspx*
The table 4.4.1 describes the meaning of each segment in the message above.
Table 4.4.1
The table 4.4.2 is showing each confirmation message reply after setup.
Table 4.4.2
Text Keyed In SMS Description
# Start sign.
username Default ID of CT-58.
If you have changed the Username, please use
the updated one.
0000 Default password.
If you have changed the password, please use
the updated one.
4 Mode 4 defines to trasmit data to a specific website
http://www,sanav.com/eric-gga/gprs.aspx
Default domain name, Sign “?”
is not allowed to write
in the area.
* End sign.
Situation Message Reply
Setup Succeeds [username] + CT-58 IP/Domain is updated.
Setup Fail [username] + IP/Domain setup Fail!
Incorrect password [username] + Password setup Fail!
Incorrect username or command
format
[username] + command error
CT-58 is in Emergency Mode [username] + in emergency, IP/Domain setup is not allowed.

4.5 Set up the Phone Number List
Use this SMS message to predefine the cellular numbers (Max. of 5 numbers) by following the
format below.
Setup format
#「username」,「Password」,「Function Code」,「PH-01」,「PH-02」,「PH-03」*
Example:#username,0000,5,+886123456789,+492234567890,+866323456789*
Note that both adding and not adding the “+ “sign in front of the cellular phone number(s) are
both acceptable, while the”+” sign should precede the national code.
The table 4.5.1 describes the meaning of each segment in the message above.
Table 4.5.1
The table 4.5.2 shows each confirmation message reply after setup.
Table 4.5.2
Text Keyed In SMS Description
# Start sign.
username Default ID of CT-58.
If you have changed the Username, please use the updated one.
0000 Default password.
If you have changed the password, please use the updated one.
5 Mode 5 defines the changes of the built-in phone number list.
+886123456789 1st cellular numbers, PH-01
+492234567890 2nd cellular numbers, PH-02
+866323456789 3rd cellular numbers, PH-03
* End sign.
Situation Message Reply
Setup Succeeds [username] + CT-58 phone book is updated.
Setup Fail [username] + CT-58 phone book setup Fail!
Non-
numeric data is input for
numbers [username] + Parameter error
Incorrect password [username] + Password setup Fail!
Incorrect username or command
format [username] + command error
CT-58 is in Emergency Mode [username] + in emergency, phone book setup is not allowed.

4.6 Set up Auto Report
Use this command to set up the frequency of Auto Report. If you send the SMS according to the
example shown below to CT-58, you will have an Auto Report Message every 300 seconds for 99
messages. nce the loop is done, you can send a SMS message to update/renew, or switching off
it in order to renew it.
Note: You may limit the amount of the Auto reply m
essages by inputting the digits from 1 to 9998
in the 「total number of report」
field. When you input 9999, the Auto Report Message will not stop
unless you define a new Auto Report Setting.
Setup format
#「username」,「Password」,「Function Code」,「intervals (sec)」,「total number of report」, 「distance
interval(m)」, 「stationary detection(times)」*
Example1:#username,0000,6,300,99,10,10*
The table 4.6.1 describes the meaning of each segment in the message above.
Table 4.6.1
Text Keyed In SMS Description
# Start sign.
username Default ID of CT-58.
If you have changed the Username, please use the updated one.
0000 Default password.
If you have changed the password, please use the updated one.
6 Mode 6 defines to change the intervals and times of sending-back data
300 A constant interval of sending data
99 The amount of 99 messages sent automatically
10
Distance Interval: when the auto report function is activated, the
tracker will take the current position as the center point, if this value is
defined, the tracker will t
ake this distance as the radius to make a circle.
W
hen the tracker exceeds this circle, the alarm report will be sent to the
assigned router. The unit of this function is meter.
10
Stationary Detection: If this value is defined by 5, the tracker will
detect if the tracker exceeds the circle for 5 times. If the tracker doesn’
t
exceed this circle, the tracker will send a notice message. The unit is
times.
* End sign.

The table 4.6.2 shows each confirmation message reply after setup
Table 4.6.2
Situation Message Reply
Setup Succeeds [username] + Setup K.CT-58 Auto Report setting is updated.
Setup Fail [username] + Auto Report setting Setup Fail!
Incorrect password [username] + Password setup Fail!
Incorrect username or command
format [username] + command error
CT-58 is in Emergency Mode [username] + in emergency, Auto Report setting is
not
allowed.

4.7 All Parameters Reset to Default
Use this SMS message to reset CT-58 to factory default. You can just send the SMS according to
the example seen below. It will overwrite all the current parameters to default.
Setup format
#「username」,「Password」,「Function Code」*
Example:#username,0000,9*
The table 4.7.1 describes the meaning of each segment in the message above.
Table 4.7.1
The table 5.7.2 shows each confirm message reply after setup.
Table 4.7.2
Text Keyed In SMS Description
# Start sign.
username Default ID of CT-58.
If you have changed the Username, please use the updated one.
0000 Default password.
If you have changed the password, please use the updated one.
9 Mode 9 defines to change all the parameter to default value
* End sign.
Situation Message Reply
Setup Succeeds [username] + Setup K. CT-58 resets to default
Setup Fail [username] + Reset Fail!
Incorrect password [username] + Password setup Fail!
Incorrect username or command
format [username] + command error
CT-58 is in Emergency Mode [username] + in emergency, reset to default is not allowed.

4.8 Acquire Report of Current Position
You can send the SMS according to the example shown below. It will transmit current data to the
web server (URL) at once.
Setup format
#「username」,「Password」,「Function Code」*
Example:#username,0000,10*
The table 4.8.1 describes the meaning of each segment in the message above.
Table 4.8.1
The table 4.8.2 shows each confirm message reply after setup.
Table 4.8.2
Text Keyed In SMS Description
# Start sign.
username Default ID of CT-58.
If you have changed the Username, please use the updated one.
0000 Default password.
If you have changed the password, please use the updated one.
10 Mode 10 defines to transmit current data to the web server at once.
* End sign.
Situation Message Reply
Setup Succeeds [username] + Polling K!
Setup Fail [username] + Polling Fail!
In mail mode, the setup parameters
are empty
[username] + Mail address or SMTP server parameter is
empty
Incorrect password [username] + Password setup Fail!
Incorrect username or command
format [username] + command error
Note that the message reply shown in Table 5.8.2 will only be sent back to cell phone that sent the
SMS to do configuration. The caller’s ID of cellu
lar phone must be activated in order to let the
CT-58 recognize the caller ID and response accordingly.

4.9 Set up E-mail Address to Receive Data
In addition to receiving data from URL, you can also obtain data from a specified E-mail address
via GPRS service. After setting up the APN, you can also define an E-mail address to receive data
by following the instruction below, please note that, since processing the transformation from
APN to E-mail address might cost longer time, so receiving data from URL is still recommended.
Setup format
#「username」,「Password」,「Function Code」,「Email address」*
Example:#username,0000,12,mail@San Jose.com*
The table 4.9.1 describes the meaning of each segment in the message above.
Table 4.9.1
The table 4.9.2 shows each confirmation message reply after setup.
Table 4.9.2
Text Keyed In SMS Description
# Start sign.
username Default ID of CT-58.
If you have changed the Username, please use the updated one.
0000 Default password.
If you have changed the password, please use the updated one.
12 Mode 12 defines to setup an E-mail address data to a specific website
mail@San Jose.com The E-mail address that receives the data.
* End sign.
Situation Message Reply
Setup Succeeds [username] + mail address Setup K.
Setup Fail [username] + mail address setup fail.
CT-58 is in Emergency Mode
[username] + in emergency, Mail address setting is not
allowed.
Incorrect password [username] + Password setup Fail!
Incorrect username or command
format
[username] + command error
CT-58 is in Emergency Mode [username] + in emergency, Mail address setting is not
allowed.

4.10 Set up SMTP Server
After setting up the E-mail address, you still have to setup a SMTP server so that the CT-58 can
use the SMTP server send E-mails. Setup SMTP by following instruction:
Setup format
#「username」,「Password」,「Function Code」,「SMTP server」*
Example:#username,0000,13,San Jose.com*
The table 4.10.1 describes the meaning of each segment in the message above.
Table 4.10.1
The table 4.10.2 shows each confirmation message reply after setup.
Table 4.10.2
Text Keyed In SMS Description
# Start sign.
username Default ID of CT-58.
If you have changed the Username, please use the updated one.
0000 Default password.
If you have changed the password, please use the updated one.
13 Mode 13 defines to setup a SMTP server
San Jose.com
The SMTP server
* End sign.
Situation Message Reply
Setup Succeeds [username] + SMTP Setup K.
[username] + SMTP server updated fail!
Setup Fail [username] + SMTP server error.
CT-58 is in Emergency Mode [username] + in emergency, SMTP server setup not allowed.
Incorrect password [username] + Password setup Fail!
Incorrect username or command
format
[username] + command error
CT-58 is in Emergency Mode [username] + in emergency, SMTP server setting is not
allowed.

4.11 Set up Router for Transmitting Data by URL/IP or E-mail
You can choose the router to transmit the data by URL/IP, E-mail or SMS message,. Please refer
to the following table for setup the router.
The table 4.11.1 describes the meaning of each segment in the message above.
Setup format
#「username」,「Password」,「Function Code」,「0, 1,2,3,4,6,7,8 or 9」*
Example:#username,0000,14,1*
The table 4.11.2 describes the meaning of each segment in the message above.
Table 4.11.2
Router code Representation
0
HTTP/SMS, send data to URL, if the URL is untouchable, then send it via SMS
instead.
1 Mail/SMS, send data to e-mail address, if the e-mail address is untouchable,
then send it via SMS instead.
2 HTTP only, send data to URL, if the URL is untouchable, it won’
t send the data
by SMS.
3 E-mail only, send data to the e-mail address, if the e0mail address is
untouchable, it’s won’t send the data by SMS.
4 SMS only, send data by SMS only.
6
TCP/SMS, send data to an assigned IP address, if the IP is untouchable, then
send it via SMS instead.
7 TCP nly, only send data to an assigned IP address.
8
UDP/SMS; send data to an assigned IP address, if the IP is untouchable, then
send it via SMS instead.
9 UDP nly; only send data to an assigned IP address
Text Keyed In SMS Description
# Start sign.
username Default ID of CT-58.
If you have changed the Username, please use the updated one.
0000 Default password.
If you have changed the password, please use the updated one.
14 Mode 14 defines to setup router.
0/1/2/3/4/6/7/8/9
Please see the definition of the code above
* End sign.
Table of contents
Other San Jose Navigation GPS manuals
Popular GPS manuals by other brands

Game Golf
Game Golf classic quick start guide

Artec
Artec Mini Tracker 505 user manual

NAL RESEARCH CORPORATION
NAL RESEARCH CORPORATION SHOUT nano 100 quick start guide

Garmin
Garmin GPSMAP 8X17 installation instructions

Bushnell
Bushnell Onix 364000 quick start guide

Garmin
Garmin Fishfinder 340C install guide