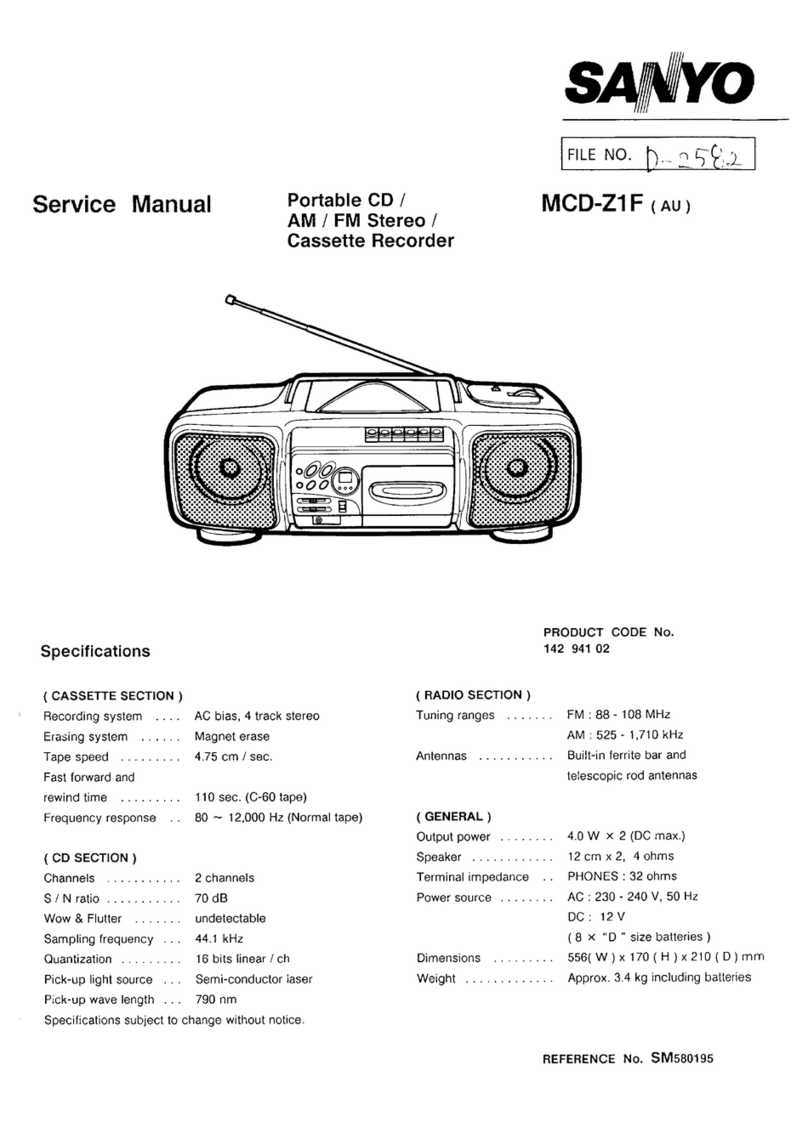
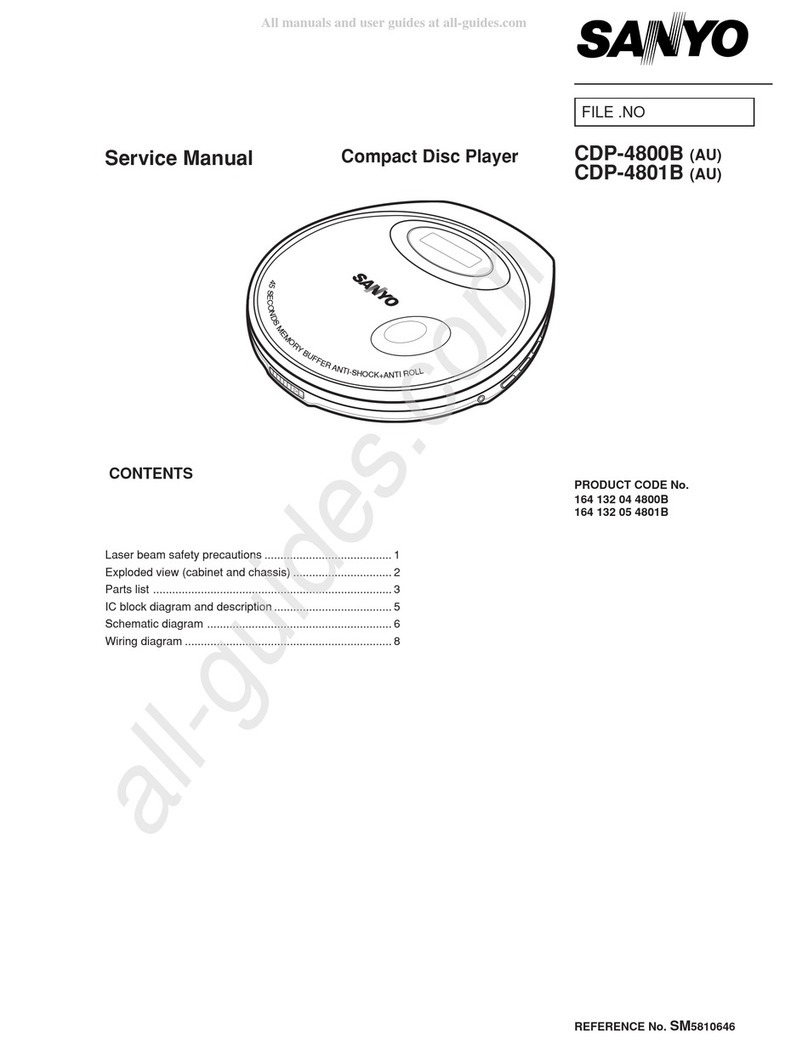
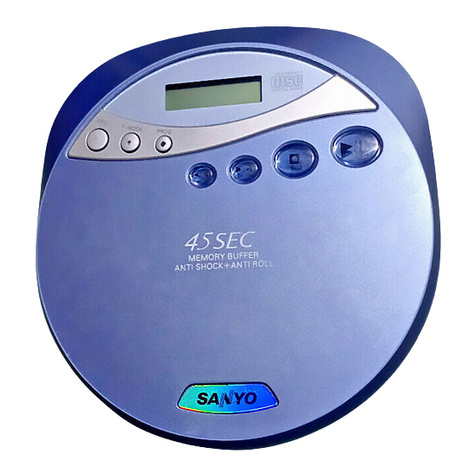
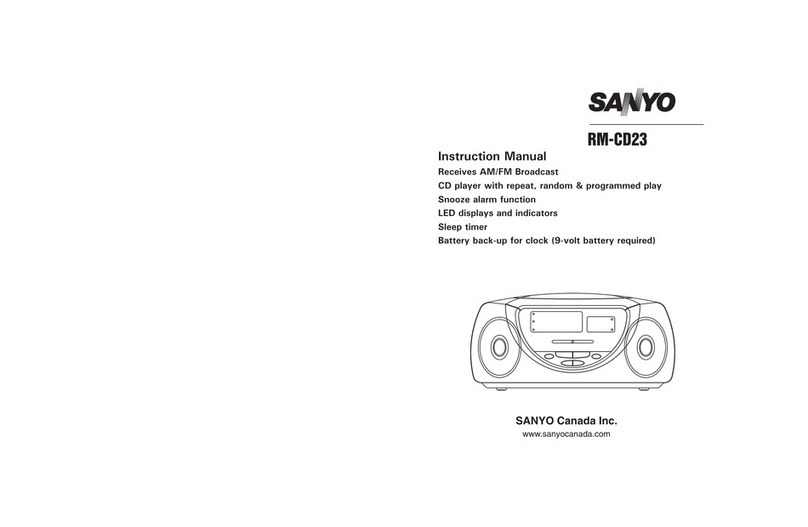
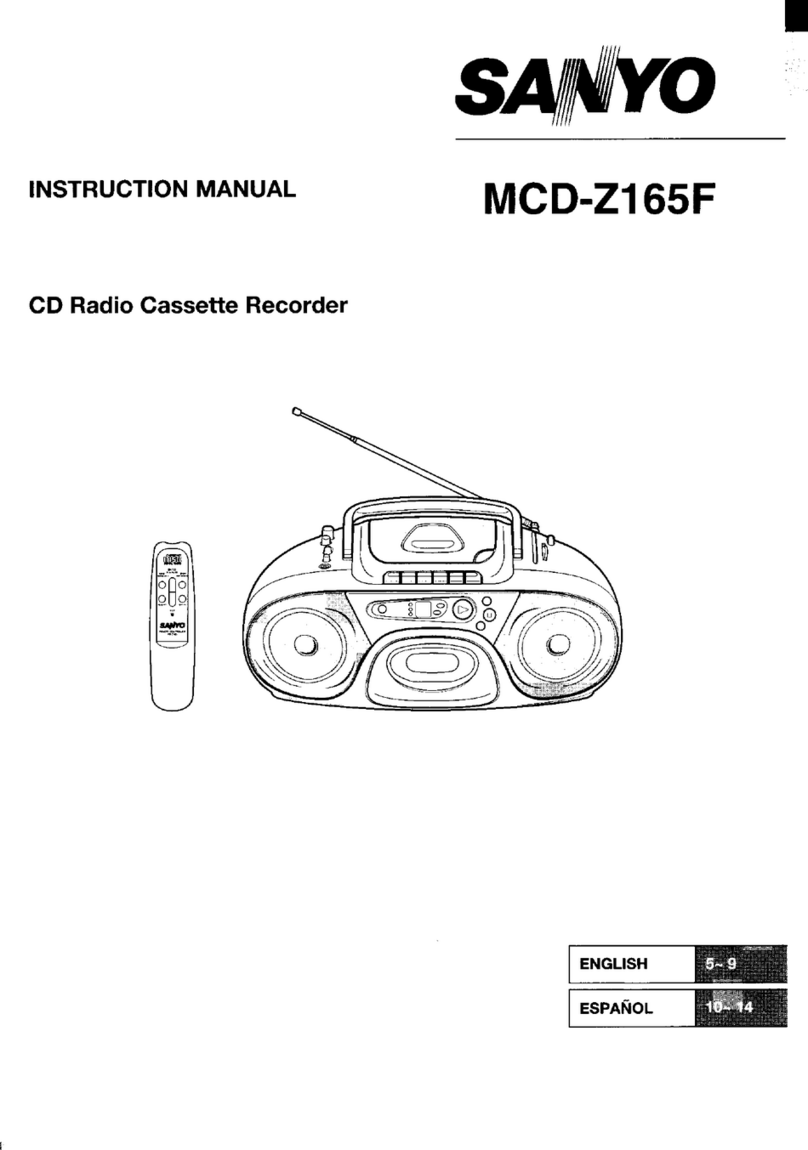
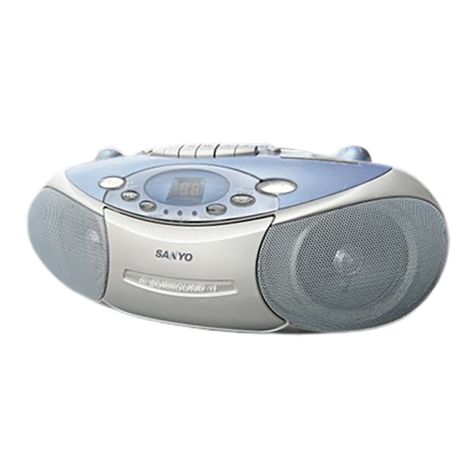
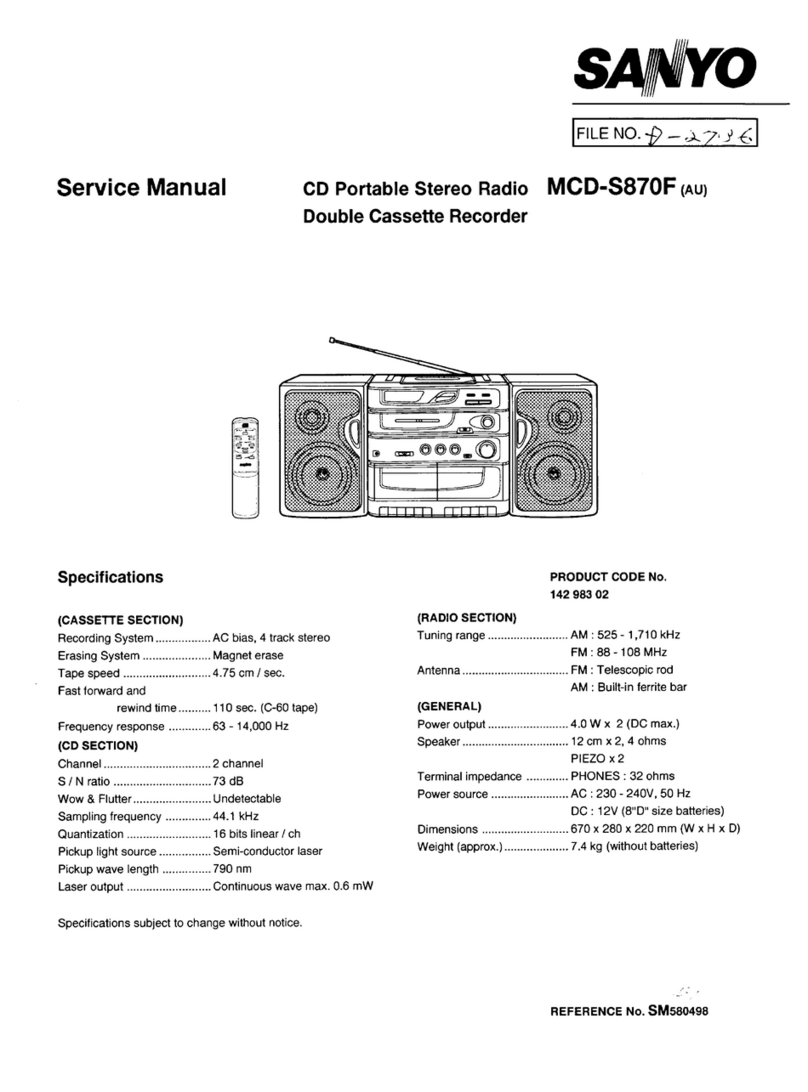
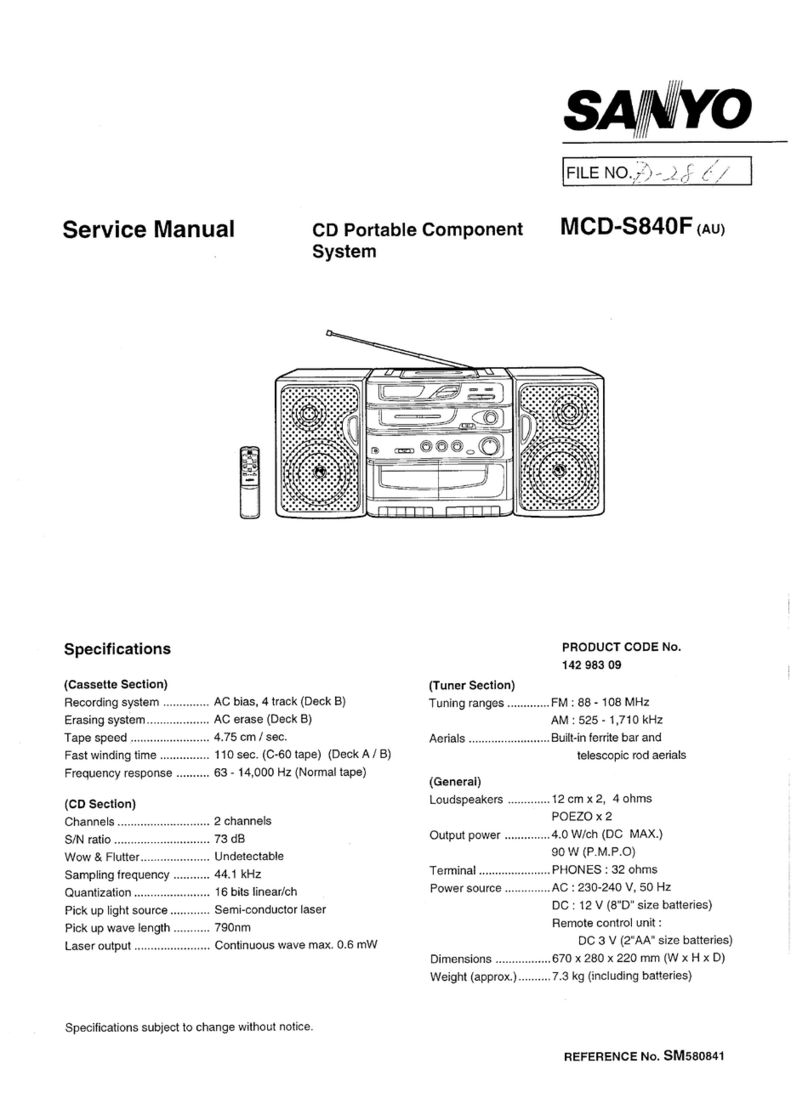
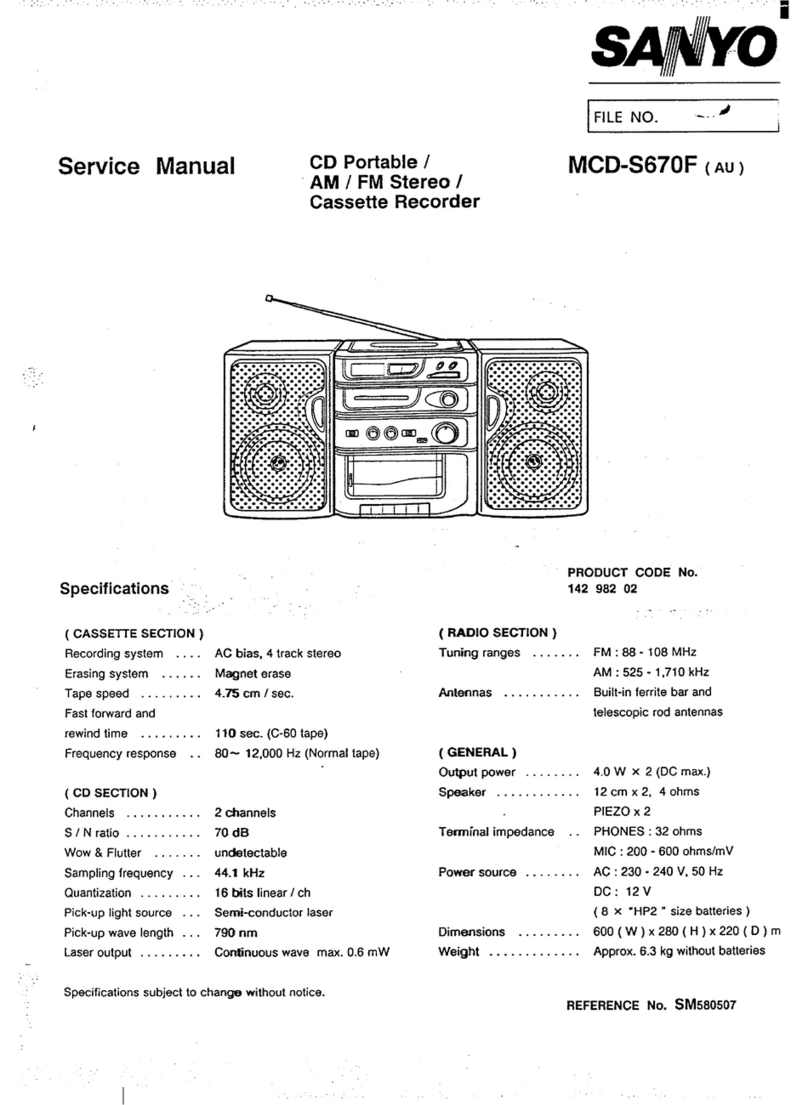
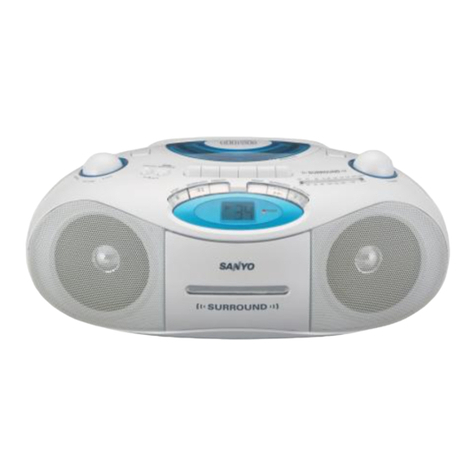
Sanyo MCD-Z38F (AU) User manual

sYqfpfMo‘
INSTRUCTION MANUAL MCD-Z38F
CD Portable Stereo/Radio
Double Cassette Recorder

CAUTION
uSE OF CONTROLS OR ADJUSTMENTS OR PERFORMANCE OF PROCEDURES OTHER THAN
THOSE SPECIFIED IN THE OPERATING INSTRUCTIONS MAY RESULT IN HAZARDOUS RADIA-
TION EXPOSURE.
THE COMPACT DISC PLA’fER SHOULD NOT BE ADJUSTED OR REPAIRED BY ANYONE EXCEPT
PROPERLY QUALIFIED PERSONNEL.
r, !
k
CAUTION [kV!SILTLEMSE6 %4CMATIONWHEti 0P6V AND lwTER-
LOCKSDEFEAITD A’1010 EXPOSURETO BEAM
‘AOVARSEL .USYNLIG LASER STRALING VED A8NING, NAR
SIKKERHEOSAFORYOE,RE ER UOE AF FUNKTION, UNOGA
VARNING -OSVNLIG LASER STRALNING NAR DENNA DEL k
IiOPPNADOCHSPARRAR URKOPPL40. STR.&.ENAR FARLIG. I
IIVORSICHT -UNSICHTBARE LASERSTRAHLUNG TRITT AUS,
WEXN OECK~L GEOfFNET UNO WENN SICHERHEITSVER
RIEGELuNG UBER8RUCKT 1ST. NICHT, OEM STRAHL AUS-
sE17E\,
VAROI Avmama ja $uojal~ kitus ohnenwm 0(0! allr, ina
nabimamamille lbwsiteilylle. AK kmsa titees+e..
A
I
-1-

IFOR SAFE AND EFFICIENTOPERATION I
.
The apparatus shall not be exposed to
dripping or splashing.
Do not damage the mains lead.
When not in use, disconnect the mains lead
from the outlet. Grasp the plug, notthe cord,
when disconnecting the unit.
If water should enter the unit, electrical shock
or amalfunction may result. Use in an area
where there is low humidity and little dust.
Do not disassemble or alter the unit in any
way.
Do not use the unit in areas where extremes
intemperature occur (below 5”Corexceeding
35”C), or where it may be exposed to direct
sunlight.
Because of the CD player’s extremely low
noise and wide dynamic range, there is a
tendency to turn the volume on the amplifier
higherthan necessary. Doing so may produce
an excessively high output from the amplifier
which can cause damage to your speakers.
Please be careful in this regard.
-Sudden changes in the surrounding tem-
peraturecan cause dewtoform ontheoptical
pickup lens inside the unit. Under this
condition the unit may be unable to operate
properly. If this should occur, remove the
disc and allow the player to adjust to the
surrounding temperature.
Do not install this equipment in aconfined
space, such as a book case or built-in cabinet.
-2-

POWER SUPPLY I
I
E
——. —.— ——
5attery#ower operation~
——— ——— —
lstall batteries.
)bseme +and -signs.
@‘
8“D” size batteries
Replace lid.
E————
L_ I
AC power operation
——— ———
Take out the cord and connect it.
AC INPUT
00
t230-240 V AC,
CP
II 50Hz *
\\ JI)
NOTES:
When the mains lead is connected to the
unit, the installed batteries will be automati-
cally disconnected.
-The FUNCTION switch is mounted on the
secondary side. Theunit is not disconnected
Ifrom mains, even switched off.
CAUTION:
WHEN INSTALLING THE BAITERIES
To prevent leakage from the batteries, which is 4. If the unit will not be used for an extended
corrosive and can cause personal injury and period of time, remove the batteries and
damage to the unit, observe the following store them in acool place.
precautions: 5. Carefully follow the battety manufacturer’s
1. The batteries must be installed correctly. instructions for proper use and disposal.
Match the polarities (+ and —signs) on 6. DO NOT ALLOW YOUNG CHILDREN TO
the batteries, to the polarities shown on the HANDLE BATTERIES.
back of the unit.
2. Do not mix new batteries with old or used NOTE:
batteries. When the batteries have become discharged,
3. Only use batteries of the samg type and they must be disposed of fn asafe manner
brand. which complies with all applicable la WS.
-3-

GENERAL OPERATION I
To control the sound.
LOWllilll iHIGH
mTONE
Bass expander switch
(BASSXPANDER)
ON: (Button In) -Increases the bass
output level.
OFF: (Button Out) -For normal bass
output level.
ON/OFF
—m
Using headphones
r.—— ——
—————
————
b1
II
I&g
IStereo headphone ~
n
‘1
------------
I(not supplied) @I
1- PI-!ONES
-1
——. ———— —. ——. ——
-4-

COMPACT DISC OPERATION 1I
CD PLAY
@To CD.
.- ‘
‘“”’’’””m
CUWWISWEDU.WWJ LHIGH
@-+!
PUSHTOCUJSf A
—c .
Push down.
Label facing up \
Push down.
@Press PLAY/PAUSE.
Pm”,.”,,
(1
➤/11
CD TRACK NO
•1 i’ PLAY REPEAT MEMORY
The PLAY indicator will light
@To control the sound.
Press STOPICLEAR.
cPpFz-iL
‘“”’’’””CT5D
DLE31NGSPE:3WFUALA -MtG~
To OFF (TAPE).
-5-

rl
c“““’”‘0 ;5’
The CD TRACK NO. display will show the
total number of tracks on the disc as shown
below.
TRACKS CD TRACK NO.
display
1-19 1-19
More than 19 “O” Flashes
Tab/e 7
NOTES:
If adisc is loaded upside down, or if no disc
is loaded, the CD player will not operate.
Opening the CD compartment lid while a
CD is playing could scratch the disc. Al-
ways press the STOP/CLEAR button and
wait for the disc to stop rotating before
opening the CD compartment lid.
Compact discs
Both 8cm and 12 cm discs can be played in
this unit.
NOTE: Place only one disc at atime in the CD
compartment.
DtiEiE
DIGITAL AUDIO
Only discs bearing the logo as shown can be
played in this unit.
Always place the compact disc in the CD
compartment with the label facing up. Com-
pact discs can be played on only one side.
Fingerprints and dust should be carefully
wiped off the disc’s signal surface (opposite
the label side) with asoft cloth. Gently wipe in
astraight motion from the inside tothe outside
of the disc.
Discs should be returned to their cases after
use to avoid serious scratches which could
cause the player to skip.
Do not expose adisc to direct sunlight, high
humidity, or high temperatures for extended
periods of time to prevent warping the disc.
Do not apply paper or write anything on
surfaces of the disc.
Do not use cleaners or antistatic sprays on
discs, such as those used for phonograph
records.
IMPORTANT NOTE
If an abnormal display indication, or an oper-
ating problem occurs, disconnect the mains
lead. Remove the Dbatteries (see page 2). Wait
at least 5seconds, then reconnect the mains
lead. Reinstall the Dbatteries.
-6-
PLA”7Au~E PAUSE MODE
!7
1. Press the PLAY/PAUSE button during play.
Play will temporarily stop, and the PLAY
F/n indicator will flash.
2. Press the PLAY/PAUSE button again to
resume play. The PLAY indicator will remain
ON.
b
-%SE48.N
,%
\
l++ FM
,“~
. / .’
,.. ?,
;,4
.-,
Press and hold down during playback
TRACK SEARCH
1. In the play mode, press and hold down the
K<or>MSKIP/SEARCH buttonto lower the
volume level and quickly advance or return
to any part of the disc. The CD TRACK NO.
display will flash.
2. Release thel+<or>FISKIP/SEARCH button
to return the volume to normal level and
resume play.
NOTE:
If the 14< or ➤FI SKIP/SEARCH button is
pressed during the PAUSE mode, no sound
will be heard, and the PAUSE mode will
continue when the button is released.
-%*64 ~cti
p+
\
l+< ➤PI
,.,
,
-; .
,.. . ,
;:
-.,
Press and release repeatedly
TRACK SKIP
1.Press and release the ~< or ➤NSKIP/
SEARCH button repeatedly during play to
quickly locate the beginning of atrack.
2. The CD TRACK NO. display will show the
number of the selected track. Play will
continue from the beginning of the new
track.
NOTE:
If the K+ or ➤MSKIP/SEARCH button is
pressed while the unit isinthe PAUSE mode,
the unit will remain in the PAUSE mode
when the button is released.
-7-

—
PROGRAMMED PLAY With programmed play, up to 16 tracks on a
disc can be memorized andplayedin any order.
TO PROGRAM @) Press MEMORY.
MEMORY
R
co’’’c””~’~ 009
PLAY REPEAT MEMORY
-The MEMORY indicator will light on the
unit.
@PressSTOP/CLEAR. @) Repeat 2 and 3 to memorize
additional tracks.
s
,0, C’aR
$?
Checking the program
Press MEMORY.
MEMORY
@Press144 or ➤W. !?!
To view the memorized track numbers, in the
-%EAec”
)%3 ‘
order they were entered.
>
H+ ➤N
,“~ TO BEGIN PROGRAM PLAY
.>.,.
,.
!’ ;; @Press PLAY/PAUSE.
.-, Pm” ?.”s~
SI
CDTRACKNO. //jf
9
➤/1 I
Programmed play will begin.
To cancel programmed play, press STOP:
CLEAR twice.
The MEMORY indicator will go off.
-8-

REPEATPLAY
REPEAT
I
I
PressREPEATbeforeorduring
play (orprogrammed play). I(
REPEAT
8
PLAY REPEAT MEMORY
The REPEAT indicator will light on
To cancel repeat play
PressREPEATagain. II
REPEAT I
The REPEAT indicator will go off. I
-9-

RADIO OPERATION
I
I
RADIO
‘“”’’’””am DuB81MGSPEEDNOR!4ALJ -.:GF I
To OFF (TAPE). I
I
@To control the sound.
~ONOFF ~=ux
LOW! lli[ll HIGH—=
(DmIn >
TONE BASSXPAND
@To RADIO.
CPy=al
-“”mm
2.981NG SPEED NORMAL 3-‘W!
@To AM or FM.
B
AM~=
FM J1
BAND
@Tune in astation.
FMfi AM
Dial pointer —illI
TUNING
MHz- xlokHz
NOTE:
The unit will automatically switch to stereo
when an FM stereo broadcast is received.
ITo improve reception I
FM -Extend and change position. AM -Rotate unit.
-1o-

CASSETTE TAPE OPERATION I
PLAYBACK
A) PLAYBACK
(DeckAor Deck B)
@To TAPE.
J-jih71
‘“”’’’””*m
Du8W,G WED *RwL~ L+GH
@PressSTOP/EJECT.
Insertcassette.
FJJ3!!
r-l
@PressPLAY.
PIAY
Press to temporarily stop the tape
during playback or recording. Press it
again to continue.
I
To quickly wind the
tape forward
PA JSE ST9P EJECT FFJ 3REW
{PLAY
Ii WIA 4+ ➤>+
Deck A
To quickly wind the
tape backward
Full automatic stop
This unit has afull-release stop system to protect
the tape and prevent pinch roller damage. When
the end of the tape is reached in Playback,
Recording, Fast forward or Rewind, the tape
mechanism will automatically stop.
STOP E.ECT
1(
Press STOP/EJECT once to stop the tape.
Press again to remove the cassette.
@To control the sound.
./
-11-

B) Continuous playback (Deck Ato Deck B)
@To TAPE.
@Press PLAY on Deck A.
P(AY
Play begins in Deck A.
@Press PAUSE on Deck B.
PAUSE
q
II
—.
@Press PLAY on Deck B.
PLAY
Deck Bis in standby mode.
When the end of the tape in Deck Ais
reached, the tape will stop and Deck
Bplayback will begin.
When the end of the tape in Deck Bis
reached, the tape will stop.
@Pressboth STOP/EJECTs.
Insertcassettes.
mm
CAUTION:
While playing or recording with one deck,
do not press the Fast Forward (FFWD) or
Rewind (REW) button of the other deck, or
the sound quality may deteriorate.
-12-

RECORDING (Deck B)
A) Recording from
the built-in radio
STOP,EJECT
n
¤/~
%
m
r-l
@To RADIO.
TO AM or FM. Tune in astation.
@PressREC.
PLAY REC
%!
<Q
>
WARNING
UNAUTHORIZED RECORDING OF COPY-
RIGHTED MATERIAL MAY VIOLATE
APPLICABLE COPYRIGHT LAWS. SANYO
ASSUMES NO RESPONSIBILITY FOR
UNAUTHORIZED DUPLICATION, USE OR OTHER
ACTS WHICH INFRINGE UPON THE RIGHTS OF
COPYRIGHT OWNERS.
Automatic Level Control (ALC) recording
The ALC circuit adjusts the recording input level
automatically. No adjustments are required.
Beat cancel switch (BEAT CANCEL, on the bottom
of the unit)
When recording aradio program, an irritating
“whistling” sound may sometimes be heard. If
this occurs, select position 1, 2or 3. Leave
the switch in the position that gives the best
results. E
BEAT CANCEL
123
. . .
STOP EJECT
1T
Press STOPIEJECT once to stop the tape.
Press again to remove the cassette.
I
-13-

B) Recording from
acompact disc
r
I
—— —’
@PressSTOP/EJECT.
Insert cassette.
@To CD.
Safeguards against accidental erasure
To protect side A, break out tab (1). To protect
side B, break out tab (2).
NOTE:
Acassette with the erase guard tabs removed
cannot be erased or used for recording and
the REC button cannot bedepressed. To record
or erase aDrotected cassette, cover the tab
openings with adhesive tape (3).
P
.,-, .
<~~.-’
\\\\_<y/&
2
?
.
e1.<<*% G/,/
./
3
Label facing up
@PressREC. Synchronous recording
(CD-TAPE SVNCHRO DUBBING)
PLAY REC This recording system starts disc play and
~(
cassette recording at the same time.
+0 >
When the REC button is pressed, recording
will start atthebegin ningoftrack number 1
of the disc.
If aprogram has been entered, recording
will start from the beginning of the first
programmed track.
-14-
1

DUBBING (DeckAto Deck B) I
Synchro dubbing
Copying recorded material from the cassette in
Deck Aonto the cassette in Deck B.
*I I I
@Set the FUNCTION switch
to NORMAL or HIGH.
NORMAL:
For normal speed dubbing while listening to
the tape.
HIGH:
For high-speed dubbing (approximately
twice the normal dubbing speed). Set the
VOLUME control to MIN.
@Insertcassettetapes.
prerecorded tape tape for recording
mm
@Press PAUSE on Deck B.
PAUSE
@Press
@Press
NOTE:
7/
II
—.
REC.
PLAY REC
F?
40
.—
PLAY on Deck A.
PLAY
Do not change the dubbing speed during
the dubbing operation.
FF
Automatic stop in dubbing operation
1. The Deck Acassette is~origer than the Deck
Bcassette:
After the Deck Bcassette stops, Deck A
playback will continue at normal speed.
2. The Deck Bcassette is longer than the Deck
Acassette:
After the Deck Acassette stops, Deck Bwill
be set to the erase mode.
Press the Deck BSTOP/EJECT button
immediately when the Deck Acassette st~s.
-15-

MAINTENANCE I
It
Cleaning the unit Cleaning the CD player lens
Clean the outside of the unit with aclean soft The lens should never be touched.
cloth, moistened with lukewarm water. Do not If dust is on the lens, blow it off using acamera
use solvents such as benzene or thinner. These lens blower. (Please consult your diealer.)
will permanently damage the units finish.
Cleaning the tape heads
When dust or reddish-brown oxide builds up on
thetapedeck heads, pinch roller andcapstan, the
following problems may result: /
Poor sound quality during playback
Distorted, poor quality recordings
Erratic tape speed during recording or play-
back
1. Press both STOP/EJECT buttons to open both
cassette compartment lids.
...>{,-O?,.,- .... ... . A.
F F ‘ftrOubieOccurs-
Toavoidthehazard of electric shoclc.and damage
2.
3.
4.
. . ,,
Press the PLAY button of Deck A.
PLAY
R
4
Press the REC button of Deck Bwhile holding
the lever down as
REC
8
●
Moisten acotton swab (1) with Lsopropyl
alcohol or special head cleaning fluid. Gently
rubthefaceofeach head (2,5, 6)with alcohol.
Alsoclean thecapstans (4,8) andpinch rollers
(3, 7).
Deck ADeck B
32 756
to the unit, have the unit bench tested by in
authorized SANYO service statiorn. Do not re-
move the unit from its cabinet to att&mpt repairs
yourself.
-16-

SPECIFICATIONS I
CASSETTE SECTION)
?ecording system:
AC bias, 4-track stereo
:rasing system:
Magnet erase
rape speed:
4.75 cmlsec.
‘ast forward and rewind time:
120 sec. (C-6~tape)
‘requency response:
80-12,000 Hz (Normal tape)
CD SECTION)
;hannels:
2channels
YN ratio:
73 dB
Now &Flutter:
undetectable
Sampling frequency:
44.1 kHz
Iuantization:
16 bits linear/ch
‘ick up light source:
Semi-conductor laser
‘ick up wave length:
790 nm
(RADIO SECTION)
Tuning ranges:
AM: 525– 1,710 kHz
FM: 88– 108 MHz
Aerials:
Built-in ferrite bar and telescopic aerials
[GENERAL)
Output power:
4.0 W/ch (DC max. )
Speaker:
10cmx2,40hms
Terminal impedance:
PHONES: 32 ohms
Power source:
AC: 230--240 V, 50 HZ
DC: 12 V(8 “D” size batteries)
Dimensions:
530x 150x 225mm(Wx HxD)
Weight (approx. ):
4.5 kg including batteries
Specifications subject tochangewithout notice. I
Laser output:
Continuous wave max. 0.6 mW
-17-


D6PIP0236-C
‘) 388110$8
SANYO Electric Co., Ltd.
Printed in Malaysia
Other manuals for MCD-Z38F (AU)
1
Table of contents
Other Sanyo CD Player manuals

Sanyo
Sanyo MCD-ZX530F User manual

Sanyo
Sanyo MCD-XP400 User manual

Sanyo
Sanyo FXD-C200 User manual

Sanyo
Sanyo MCD-Z11F User manual

Sanyo
Sanyo MCD-290F User manual

Sanyo
Sanyo mcd-z37f User manual

Sanyo
Sanyo CDP-4100CR User manual

Sanyo
Sanyo MCD-XP630 User manual

Sanyo
Sanyo CDP-360 User manual

Sanyo
Sanyo MCD-Z260F User manual

Sanyo
Sanyo Excedio CDF-201 User manual

Sanyo
Sanyo CDP-150 User manual

Sanyo
Sanyo CDP-150 User manual

Sanyo
Sanyo DC DJI User manual

Sanyo
Sanyo FXD-RS60RM User manual

Sanyo
Sanyo CDP-195 User manual

Sanyo
Sanyo CDP-565 User manual

Sanyo
Sanyo MCD-ZX250F User manual

Sanyo
Sanyo MAX-5000 User manual

Sanyo
Sanyo CDP-55A User manual