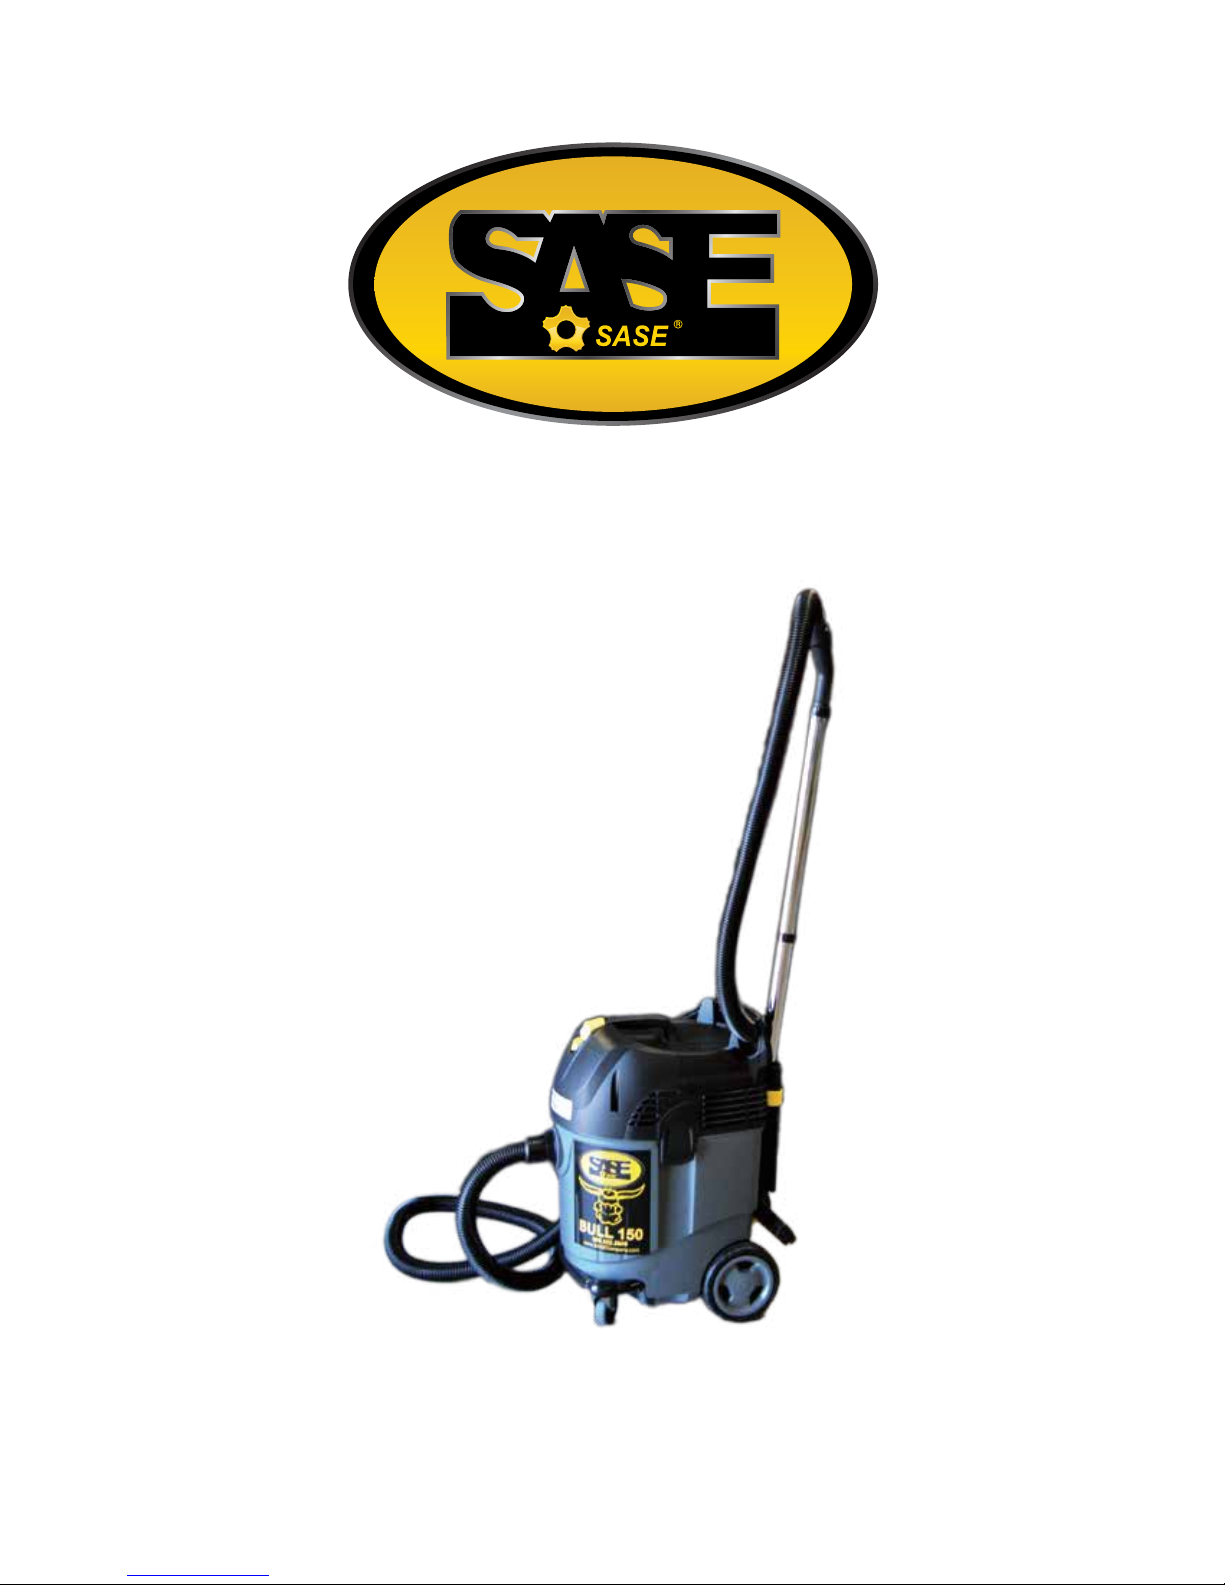
Sase BULL 150 User manual

BULL 150 VACUUM MANUAL
SASE Company, Inc.
800.522.2606 │www.SASECompany.com

2

English 3
Inform your dealer immediately if there
is any transport damage.
Completely remove the accessories
from the carton.
The suction unit is not suitable for suck-
ing up hazardous dusts as asbestos.
Please consult your Kärcher branch or
your Kärcher dealer with regard to such
applications.
Only operate the suction unit from a
suitable socket outlet with earthing con-
tact. Refer to the Technical data for the
necessary main fuse.
Connect to a properly grounded outlet
only - see Grounding instructions.
When using an electrical appliance, basic
precautions should always be followed, in-
cluding the following:This vacuum is in-
tended forcommercial use.
1 DISCONNECT VACUUM CLEANER
FROM POWER CIRCUIT before re-
moving the cover, performing mainte-
nance work, and when not in use.
2 DO NOT LEAVE appliance when
plugged in.
3 ALWAYS CHECK THE POWER SUP-
PLY CORD for damage or signs of any
aging before each use.
4 DO NOT PULL OR CARRY VACUUM
CLEANER BY CORD. Do not close
door on cord or pull cord around sharp
edges.
5 KEEPCORDAWAYFROMHEATAND
OIL. Do not leave cord lying around af-
ter job is complete. It can become a trip-
ping hazard.
6 DO NOT RUN VACUUM OVER CORD.
7 TURN SWITCH TO OFF before unplug-
ging power supply cord.
8 DO NOT UNPLUG BY PULLING
CORD. To unplug, grasp plug, not cord.
9 DO NOT GRASP PLUG WITH WET
HANDS.
10 A DAMAGED CORD OR PLUG should
only be replaced by an authorized serv-
ice center representative. DO NOT AT-
TEMPT TO REPAIR POWER CORD.
11 TO AVOID SHOCK, do not expose to
rain. Store indoors.
12 USE ONLY AS RECOMMENDED BY
THIS MANUAL. Use only with recom-
mended attachments.
13 KEEP HAIR, CLOTHING, LOOSE
JEWELRY, FINGERS and all parts of
the body away from openings and mov-
ing parts.
14 DO NOT BLOCK OR OBSTRUCT
OPENINGS. Keep openings free of lint,
hair, dust, and anything that restricts air
flow.
15 DONOTPICKUPANYTHINGTHATIS
BURNING, smoldering, or smoking
such as matches, cigarettes, or hot ash-
es.
16 DO NOT USE TO VACUUM COMBUS-
TIBLE EXPLOSIVE MATERIALS, such
as coal, grain, and other finely divided
combustible material.
17 DO NOT USE TO VACUUM COMBUS-
TIBLE, hazardous, toxic, or carcinogen-
ic materials, including gasoline, diesel
fuel,acetone,paintthinner,heatingoils,
undiluted acids and solvents, pesti-
cide,and asbestos.
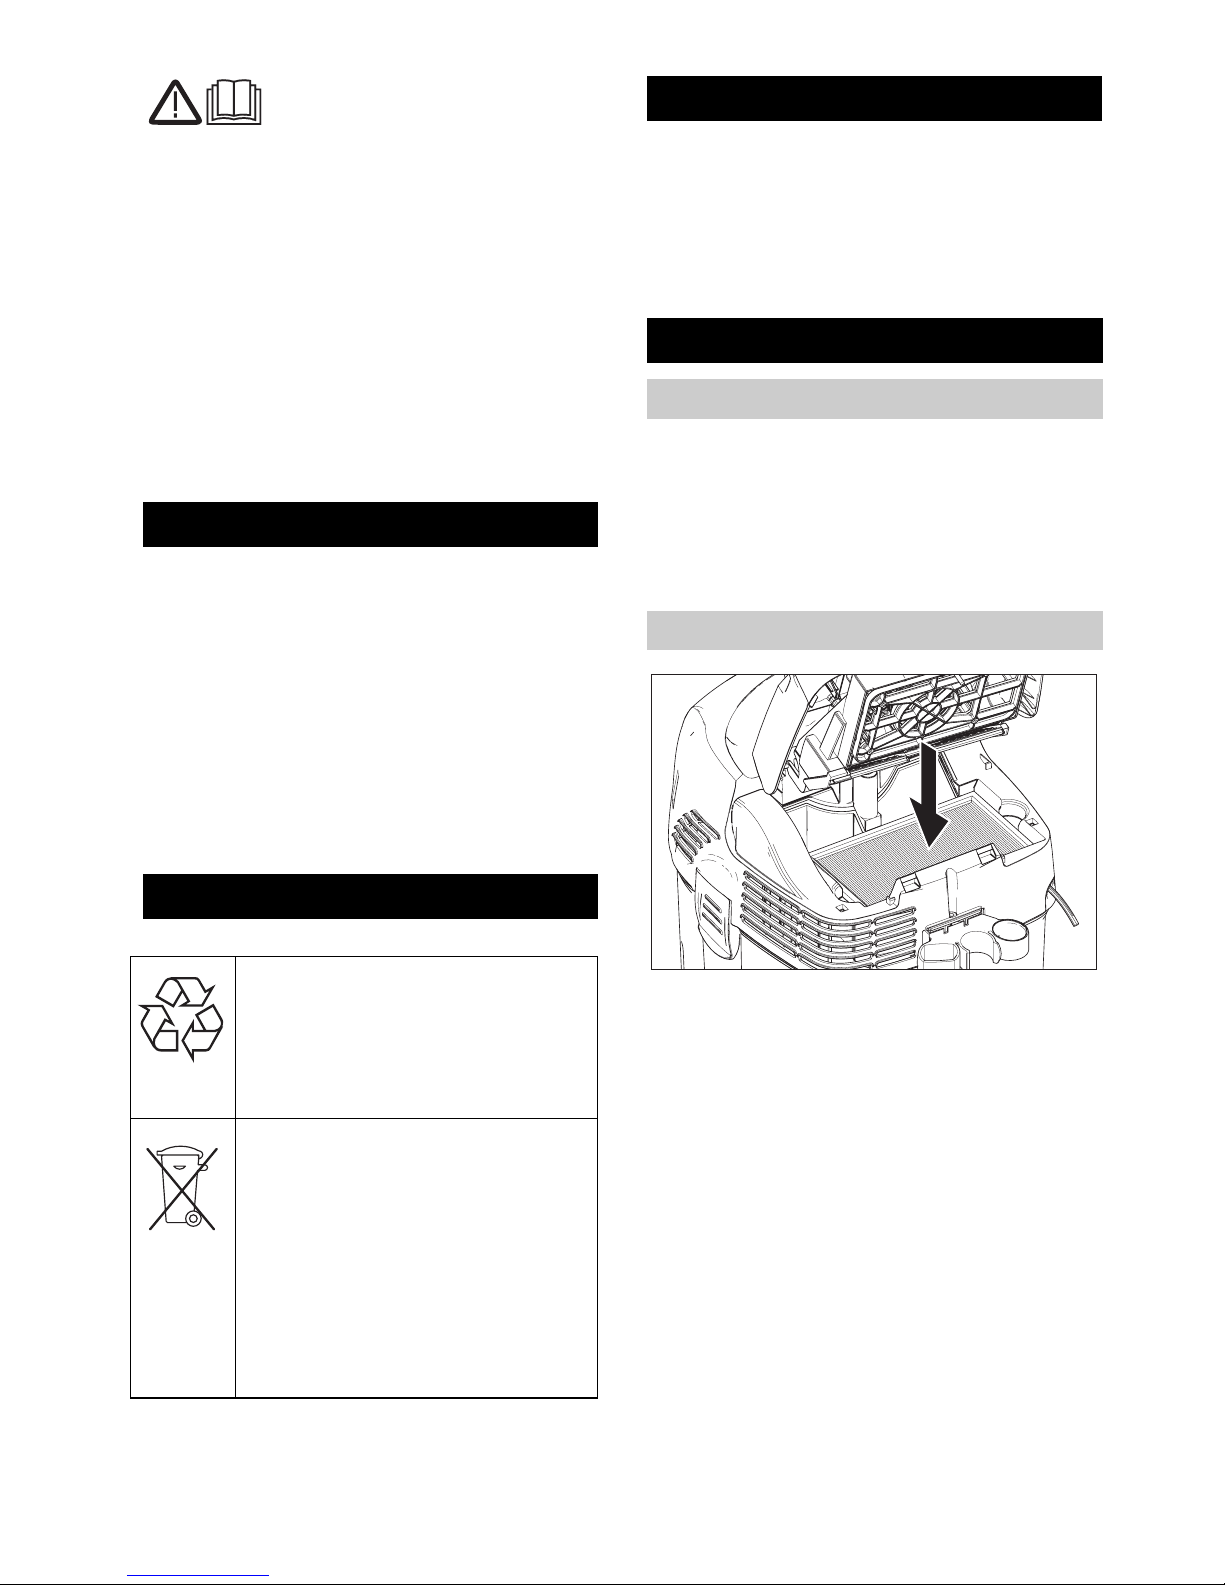
18 USERECOMMENDEDFILTERSwhen
vacuuming drywall materials.
19 DO NOT USE WITHOUT FILTER and/
or dust bag in proper place.
20 CONNECTVACUUM CLEANER WITH
PROPERLY GROUNDED OUTLET
ONLY. See grounding instructions.
21 DO NOT ALLOW VACUUM CLEANER
TO BE USED AS A TOY. Keep children
away from Vacuum Cleaner.
22 DO NOT LEAVE UNATTENDED while
Vacuum Cleaner is running.
IMPORTANT SAFETY IN-
STRUCTIONS
READ ALL INSTRUCTIONS BEFORE US-
ING THIS MACHINE.

4 English
23 DO NOT USE IF CORD, PLUG, FIL-
TER, OR VACUUM CLEANER IS IN
POOR CONDITION. If the Vacuum
Cleaner has been dropped, damaged,
exposed to weather, or dropped into
water;haveitcheckedbyanauthorized
service .
24 ALWAYS USE EYE PROTECTION
when operating Vacuum Cleaner.
25 USEEXTRACAUTIONwhenoperating
on stairs.
26 STAY ALERT! Do not use Vacuum
Cleanerwhen you aretired orunderthe
influence of drugs, alcohol or medica-
tion.
This appliance must be grounded. If it
should malfunction or break down, ground-
ing provides a path of least resistance for
electric current to reduce the risk of electric
shock.
This appliance is equipped with a cord hav-
ing an equipment grounding conductor and
ground plug.
The plug must be inserted into an appropri-
ate outlet that is properly installed and
grounded in accordance with all local
codes and ordinances.
Improper connection of the equipment-
grounding conductor can result in a risk of
electric shock.
Check with a qualified electrician or service
person if you are in doubt as to whether the
outlet is properly grounded.
Do not modify the plug provided with the
appliance.
Ifit will notfittheoutlet,have a properoutlet
installed by a qualified electrician.
This appliance is for use on a nominal 120-
volt circuit, and has a grounded plug that
looks like the plug illustrated in Fig.A.
A temporary adapter that looks like the
adapter illustrated in Fig.B, may be used to
connect this plug to a two-pole receptacle
as shown in Fig.B, if a properly grounded
outlet is not available.
The temporary adapter should be used
only until a properly groundedoutlet (Fig.A)
is installed by a qualified electrican.
The green colored rigid ear, lug, or the like
extending from the adapter must be con-
nected to a permanent ground such as a
properly grounded outlet box cover.
Whenever the adapter is used, it must be
held in place by a metal screw.
SAVE THESE INSTRUCTIONS
This vacuum is intended for commercial
use.
SAFETY INSTRUCTIONS
GROUNDING INSTRUCTIONS
WARNING:
IN ALL CASES, MAKE SURE THE RE-
CEPTACLE IN QUESTION IS PROPERLY
GROUNDED.

English 5
Use only three-wire extension cords that
havethree-pronggrounding-typeplugsand
three-pole receptacle that accepts the ap-
pliance’s plug. Replace damaged or worn
cord immediately.
Figure A
1 Grounded outlet box
2 Current carrying prongs
Grounding prong is longest of the 3 prongs
Figure B
1 Grounded outlet box
2 Grounding means
3 Adapter
Note:
In Canada, the use of a temporary adapter
is not permitted by the Canadian Electrical
Code.
In a double-insulated appliance, two sys-
tems of insulation are provided instead of
grounding. No grounding means is provid-
ed on a double-insulated appliance, nor
should a means for grounding be added to
theappliance.Servicingadouble-insulated
appliance requires extreme care and
knowledge of the system, and should be
done only by qualified service personnel.
Replacement parts for a double-insulated
appliance must be identical to the parts
they replace.
NEVER REMOVE GROUNDING PRONG
FROM POWER PLUG.
EXTENSION CORDS
DO NOT ATTEMPT TO REPAIR POWER
CORD.
Servicing of double-insulated appliances

6 English
Please read and comply with
these instructions prior to the
initial operation of your appliance. Retain
these operating instructions for future refer-
ence or for subsequent possessors.
– Before first start-up it is definitely neces-
sary to read the safety indications Nr.
5.956-249!
– The non-compliance of the operating
and safety instructions may lead to
damages of the appliance and to dan-
gers for the operator and other persons.
– In case of transport damage inform ven-
dor immediately
Environmental protection 6
Proper use 6
Start up 6
Operations 8
Shutting down 9
Maintenance and care 9
Troubleshooting 10
Warranty 11
Accessories and Spare Parts 11
– The machine is meant for dry and wet
cleaning of floors and walls.
– This appliance is suited for the commer-
cial use, e.g. in hotels, schools, hospi-
tals, factories, shops, offices, and rental
companies.
Only Eco Te:
Static charge is deflected by providing
earthing to the connection nozzles. This
prevents the formation of sparks and cur-
rent shocks due to attachments (option)
with electrical conductivity.
몇Warning
The flat pleated filter must must always be
in place while vacuuming.
– When vacuuming fine dust, you may
alsouseanadditional paperfilterbagor
a membrane filter (special accessory).
Contents
Environmental protection
The packaging material can be
recycled. Please do not place
the packaging into the ordinary
refuse for disposal, but arrange
for the proper recycling.
Old appliances contain valuable
materials that can be recycled.
Please arrange for the proper re-
cycling of old appliances. Batter-
ies, oil, and similar substances
must not enter the environment.
Please dispose of your old appli-
ances using appropriate collec-
tion systems.
Proper use
Start up
Anti-static system
Dry vacuum cleaning

English 7
ÎRelease and remove the suction head.
ÎInsert the paper filter bag or the mem-
brane filter (special attachment).
ÎInsert and lock the suction head.
ÎRemove the brush strips (4).
ÎInsert the rubber lips (5).
Note
The structured side of the rubber lips must
point outwards.
– If the appliance is used to vacuum wet
dirtthepaperfilterbagorthemembrane
filter (special accessory) must always
be removed.
– It is recommended to use a special filter
bag (wet) (see Filter systems).
몇Warning
The flat pleated filter must must always be
in place while vacuuming.
– If wet dirt is vacuumed with the uphol-
stery or crevice nozzle, or if water is
sucked up from a container, it is recom-
mended to deactivate the "automatic fil-
ter cleaning" function.
– If the maximum liquid level is reached
the appliance will turn off automatically.
–In case of non-conductive liquids
(such as emulsion drilling fluids,
oils, and greases) the appliance is
not turned off when the container is
full. The filling level must be continu-
ously monitored and the container
must be emptied in time.
– After having completed the wet vacuum
operationcleantheflatpleatedfilter,the
electrodes and the container and let
dry.
The suction hose is equipped with a clip
system. AllC-35/C-DN-35accessoriescan
be connected.
Inserting the paper filter bag
Wet vacuum cleaning
Inserting the rubber lips
Remove the paper filter bag
Clip connection

8 English
ÎPlug in the main plug.
ÎTurn on the appliance.
Only Eco Te:
ÎSet the suction output (mix - max) at the
rotary switch.
Only Eco Te:
ÎConnect the mains plug of the electric
power tool to the vacuum cleaner (3).
ÎTurn on the appliance (1).
Lamp is on - vacuum cleaner is in the stand-
by mode (2).
Note
–Thevacuumcleaneristurnedonandoff
automatically with the electric power
tool.
–The vacuum cleaner starts automatical-
ly within 0.5 seconds and continues to
run for 15 seconds after the power tool
has been switched off.
–Please refer to "Technical specifica-
tions" for the power connection specifi-
cations of the power tools.
ÎAdjust the stepped power tool adaptor
tofittheconnectionoftheelectricpower
tool.
ÎRemove the elbow from the suction
hose.
ÎAttach the stepped power tool adaptor
to the suction hose.
Operations
Turning on the Appliance
Adjust the suction output
Working with electrical power tools

English 9
ÎConnect the adaptor to the electric pow-
er tool.
The appliance has an innovative filter
cleaningsystem thatisparticularlyeffective
with fine dust. The flat pleated filter is auto-
matically cleaned every 15 seconds
through an air jet (pulsating sound).
Note
Automatic filter cleaning is switched on at
the factory.
Note
The automatic filter cleaning function can
be switched on/off only when the appliance
is switched on.
– To switch off automatic filter cleaning:
ÎActivate the switch. Indicator lamp in
the switch goes off.
– To switch on automatic filter cleaning:
ÎPress the switch again. Indicator lamp
in the switch glows green.
ÎTurn off the appliance.
ÎPull out the mains plug.
ÎEmpty the container.
ÎVacuum and wipe the appliance inside
and outside.
ÎStore the suction hose and the mains
cable as shown in the illustration.
ÎPlace the appliance in a dry room and
secure it from unauthorized use.
몇Warning
First remove the mains plug before doing
any job on the vacuum cleaner.
ÎOpen filter door.
ÎReplace the flat pleated filter.
ÎClose the filter door, it must lock into
place.
Automatic filter cleaning
Shutting down
Maintenance and care
Exchanging the flat pleated filter

10 English
ÎRelease and remove the suction head.
ÎClean the electrodes.
ÎInsert and lock the suction head.
ÎCheck cables, plugs, fuse, socket and
electrodes.
ÎTurn on the appliance.
ÎEmpty the container.
ÎTurn off the appliance and wait for 5
seconds, turn it on again after 5 sec-
onds.
ÎClean the electrodes as well as the
space between the electrodes.
ÎRemove blockages in the suction noz-
zle, suction tube, suction hose, or flat
pleated filter.
ÎExchange the paper filter bag.
ÎEnsure the filter cover properly locks
into place.
ÎClean or replace the membrane filter
(special accessory).
ÎReplace the flat pleated filter.
ÎCheck for proper installation of the flat
pleated filter.
ÎReplace the flat pleated filter.
ÎClean the electrodes as well as the
space between the electrodes.
ÎContinuously check the filling level in
case of non-conductive liquid.
ÎSuction hose is not connected.
ÎInform Customer Service
Cleaning the electrodes
Troubleshooting
Suction turbine does not run
Suction turbine turns off
Suction turbine does not startagain
after the container has been emp-
tied
Suction capacity decreases
Dust comes out while vacuuming
Automatic shut-off (wet vacuum
cleaning) does not react
Automatic filter cleaning is not
working
Automatic filter cleaning cannot be
switched off
Automatic filter cleaning cannot be
switched on

English11
The warranty terms published by our com-
petent sales company are applicable in
each country. We will repair potential fail-
ures of your appliance within the warranty
period free of charge, provided that such
failure is caused by faulty material or de-
fects in fabrication. In the event of a warran-
ty claim please contact your SASE Representative
– Only use accessories and spare parts
which have been approved by the man-
ufacturer. The exclusive use of original
accessories and original spare parts en-
sures that the appliance can be operat-
ed safely and troublefree.
Warranty
Accessories and Spare Parts
BULL 150 HEPA FILTER
Item # SAS.KRC.102
Table of contents
Other Sase Vacuum Cleaner manuals