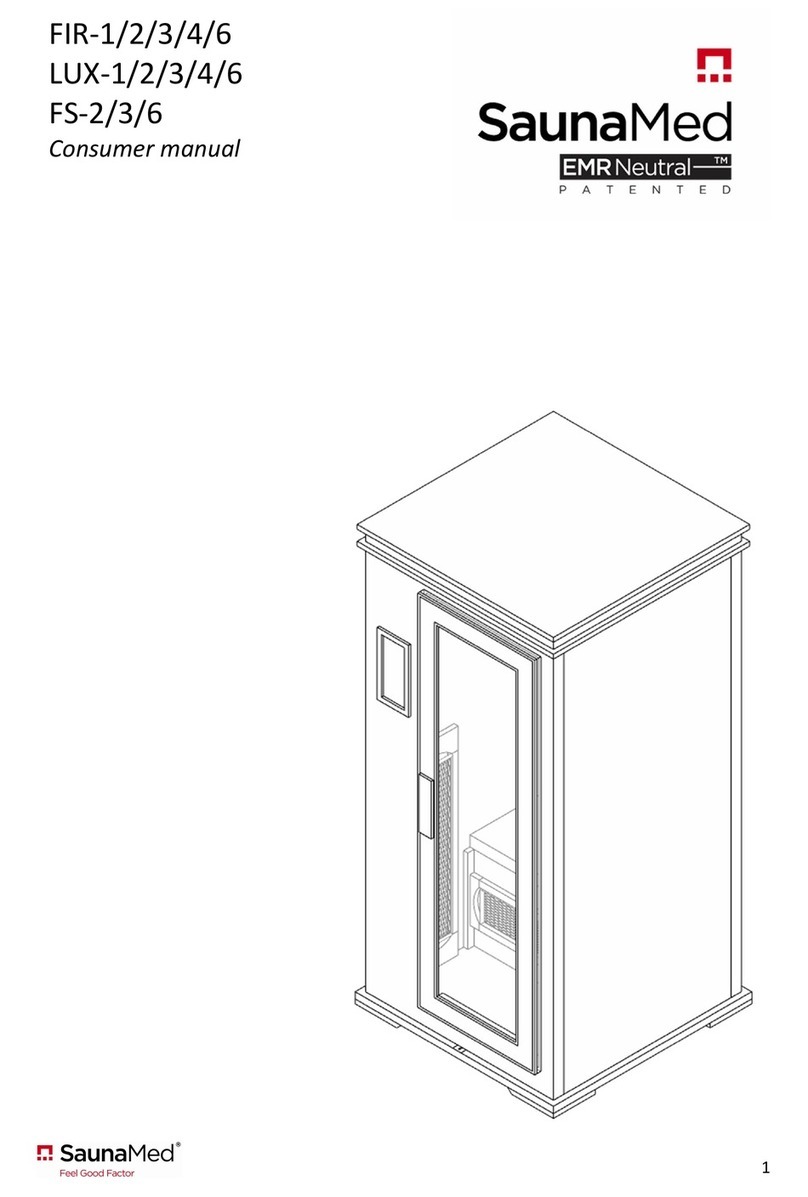
SaunaMed TD002 User manual

1
TD002 /
TD003 /
TD006
Consumer manual

2
Dear Customer,
Thank you for purchasing a SaunaMed Sauna.
Before using your new sauna please read this consumer’s manual carefully.
Contents
Preview
3
Operations
4
Specifications
5
Safety
6
Assembly and installation
8
Harvia Vega heater user guide
20
Tips for use
31
Warranty
33

3
WARNING
DISCONNECT THE SAUNA FROM THE MAINS POWER SUPPLY
BEFORE CHANGING ANY PARTS OR CARRYING OUT A SERVICE.
SaunaMed Traditional Saunas feature the Harvia Vega sauna heater, and a beautiful
glass front. All sauna walls have been custom cut and pre-aligned, all joints are
matched, and each individual piece of hemlock timber is cut and trimmed so that every
panel assembles to an exact fit.
Preview

4
Operating temperature range 80 - 90°C (ambient)
Humidity < 85%
Pressure 700 - 1060 hpa
Power supply 220V - 240V (single phase)
EU Standard
Indoor use only: SaunaMed Saunas are primarily aimed at the domestic market.
Although a SaunaMed may be suitable for light commercial use, we do not recommend a SaunaMed
for heavy commercial use, for example, public gyms, spas, and leisure centres.
Please contact us for information on site-specific suitability and commercial grade saunas.
Do not install closer than 12.7mm (0.5 inches) to a wall.
Operating conditions
Features
Harvia Vega sauna heater
Wooden construction
Temperature adjustable from 20°C – 60°C (5°C increments)
Adjustable dwell time from 0 to 60 minutes
Digital temperature sensor
Ergonomic backrest
Maintenance
Clean the sauna room with a soft wet cloth or sauna cleanser. NEVER use alcohol, benzene
or any other corrosive chemical to clean the unit.
No maintenance or service of electronic components is required unless faulty. Please consult
with the retailer or a qualified electrician if in doubt.
Transportation and storage
Avoid exposure to rain, snow, or other harsh environments during transport.
When in transit, handle the sauna unit with care.
Do not store in damp or humid environments.
Ensure that the unit is installed on a level surface. Uneven surfaces may result in pooling and
water ingress if the unit is installed in a bathroom; this can cause warping of the wooden
floor module.
If the surface on which the unit is installed is uneven and/or likely to be frequently exposed
to moisture, place the unit on levelling supports to raise it above the floor.
Operation
s

5
Model Dimensions (mm)
TD-003p
(3-person Traditional)
1500 x 1380 x 1900 (w x d x h)
TD-006
(6-person Traditional)
1800 x 1630 x 1900 (w x d x h)
Specifications
Dimensions

6
Safety
General Safety Rules
All wiring to the sauna heater and accessories must be routed away from any direct
radiation from the sauna heater.
DO NOT place receptacles, flammables, and combustibles inside the sauna unit.
DO NOT spray water or any other liquids onto the interior or exterior surfaces of the sauna
unit.
DO NOT install any plumbing fixtures (such as taps, showers, steam generators etc.) in the
sauna unit.
DO NOT install any locking and/or latching system on the door, as the malfunction of these
parts can cause entrapment inside the sauna.
If located in a bathroom, ensure that the bathroom is well ventilated.
SaunaMed sauna units are only suitable for zone 3 or above (see diagram below). Installing
a sauna in a wet location with insufficient ventilation can result in electrical faults and
warranty invalidation.
Zone 1 Zone 2
Zone 0
Zone 2
0.6m
Zone 3
(Outside zones)
2.25m
3m

7
Safety Precautions
DO NOT dry clothes or leave towels in the sauna.
DO NOT touch the heating elements with bare hands or metal tools.
DO NOT touch the light when it is on.
DO NOT enter the sauna when wet.
DO NOT use the sauna if you have or suffer from any of the following conditions:
o Open wounds or serious burns
o Eye conditions
o Heat sensitivity
o Obesity
o Heart disease
o High and/or blood pressure
o Circulatory system problem
o Diabetes
DO NOT use the sauna if you are, or think you may be, pregnant.
DO NOT place pets in the sauna.
DO NOT use the sauna after drinking excessive alcohol.
This appliance is not intended for use by persons (including children) with reduced physical,
sensory, or mental capabilities, or lack of experience and knowledge, unless they have been
given supervision or instruction concerning use of the appliance by a person responsible for
their safety.
Children should be supervised to ensure that they do not play with the appliances.
Be careful when using the appliance in places where there are combustible materials.
DO NOT use in an explosive atmosphere.
Be aware that heat may be conducted to combustible materials that are out of sight.
DO NOT leave the appliance unattended when it is switched on.
Safety
IF THE POWER SUPPLY CABLE IS DAMAGED, IT MUST BE REPLACED BY A QUALIFIED ELECTRICIAN OR
AS A COMPLETE ASSEMBLY AVAILABLE FROM THE MANUFACTURER OR ITS SERVICE AGENT.

8
1 x base panel
(included)
1 x back panel
(included)
1 x front panel
(included)
2 x bench units for TD2/3,
4 x bench units for TD6
1 x Harvia Vega heater
(included)
1 x set of sauna stones
(included)
1 x heater rack
(included)
1 x tape measure (to
ensure compliance with
safety distances required
for the heater)
Assembly time: 1 hour
TD-002 /003
TD-006
TD-002 /003
TD-006
TD-002 /003
TD-006
TD-002 /003
TD-006
TD-002 /003
TD-006
TD-002 /003
TD-006
TD-003
TD-006
Assembly and
installation
Pre-assembly checklist
1 x screwdriver
(included)
1 x set of screws for
installing the heater
1 x spacer for wall
alignment (included)
1 x LHS panel
1 x RHS panel
1 x roof panel

9
Pre-assembly notes
Two persons are recommended for safe assembly.
Please pay attention to the following before installation.
DO NOT share the same plug with other appliances.
Position the sauna on a flat and level surface.
DO NOT splash the exterior with water. If the floor is damp, install a floor separator to keep
the sauna dry.
DO NOT store any flammable objects or chemical substances near the sauna.
The TD sauna will need to be connected to an isolator, and this needs to be carried out by
a qualified electrician. Please contact SaunaMed product support if in doubt.
Assembly and
installation

10
Assembly and
installation
Using the spacer
To connect the wall sections together easily, use the wooden spacer (refer to images below)
to bring the ‘male’ and ‘female’ connector pins into alignment.
When connecting the side panels to the back panel, ensure that one assembler holds the
back panel in place while the other assembler places the spacer on the edge of the floor
section before placing the side wall on top of the spacer. This will raise the height of the
male pins in the side wall to the same height as the female pins in the back without the need
for lifting.
Once the pins are pushed together and secure, remove the spacer from under the wall
section. The wall panel will drop and lock into place.
Check that both the top and bottom pins are fully connected before moving onto the next
section.
Spacer
Male and
female
connector
pins

11
Assembly and installation
Assembly process
Step 1
Position the base section in the location where sauna is to be installed (please obey safety distances).
Ensure the ‘Front arrow’ sticker is facing up and is to the front.

12
Assembly and
installation
Assembly process
Step 2
Position the rear panel with pre-installed back rest at the back of the base section.

13
Assembly and installation
Assembly process
Step 3
Install left hand side panel.
Ensure that hidden internal connectors are aligned. The panel then drops down to lock in place.

14
Assembly and
installation
Assembly process
Step 4
Install the right hand side panel.

15
Assembly and installation
Assembly process
Step 5 (FOR TD3)
Install the bench panels as shown in the images below.

16
Assembly and installation
Assembly process
Step 6
Install the Harvia Vega heater as follows:
1. Remove both cardboard covers before installation.
2. Fasten the wall-mounting rack on the wall using the screws supplier with the rack.
Note: The fastening screws must be screwed deep into the panel, and not only superficially
embedded into tongue-and-groove panel.
x 6
450mm
100
–
200mm

17
Assembly process
Step 6 (contd.)
3. The right- or left-handedness of the heater can be changed by installing it onto the rack
correspondingly. Ensure that the clip fastens into the hole properly.
4. Lift the heater onto the rack on the wall such that the fastening hooks of the lower part of the
rack go behind the edge of the heater body. Fasten the edge of the heater onto the rack using
a screw.
For information about electrical connections, see page 29.
Assembly and installation

18
Assembly process
Step 6
Install front sauna panel with pre hung door making sure that all panels are sat flush with the sauna
base.
Assembly and installation

19
Assembly and installation
Assembly process
Step 7
2 persons are needed for this step.
Attach the roof panel to the sauna taking care to ensure that all the cables have been fed through the
pre-drilled holes.

20
Harvia Vega heater user guide
Harvia Vega heater
All SaunaMed TD saunas come with the 6kW Harvia Vega sauna heater (BC60).
Please read this section (Harvia Vega heater user guide) carefully before using the heater.
Selecting the correct type of stones
The heater comes with 1 x set of sauna stones. However, sauna stones need to be replaced yearly,
so please read the guidance notes below regarding selecting the correct stone type.
The stones should be 5 – 10 cm in diameter.
Only use angular, split-face sauna stones that are intended for use in a sauna heater.
Peridotite, olivine-dolerite, and olivine are suitable stone types.
Split-face stones store plenty of heat, making the water thrown onto them vaporise
efficiently on the broad fracture surface. The split-face stones are easy to stack and enable
good air circulation, which saves the heating elements of an electric heater. Light (ceramic),
soft (soapstone) and smooth (rounded) sauna stones do not produce the desired results.
The split-face sauna stones by Harvia are selected with respect for old sauna traditions and
provide bathers with proper, soft steam sensations.
Light, porous ceramic ‘stones’ or soft soapstones do not absorb enough heat when warmed
up. This can damage the heating elements.
Wash off all dust from the stones before piling them into the heater.
Piling the sauna stones
DO DO NOT
Place the stones gently into the heater. Drop stones into the heater
Distribute the stones evenly between the
heating elements and pile the stones such that
they support each other.
Lean the stones on the heating elements
directly.
Ensure that there is sufficient space between
the stones to allow for air circulation between
them.
Do not place objects or devices which could
interfere with the air circulation/flow between
the stones inside the heater, between the
heating elements, or near the heater.
This manual suits for next models
2
Table of contents
Other SaunaMed Plumbing Product manuals
Popular Plumbing Product manuals by other brands

Symmons
Symmons Duro 362SH Operation & maintenance manual

Pfister
Pfister Pasadena LF-049-PD Maintenance & Care Guide

Franke
Franke 7612979002157 Installation and operating instructions

Grohe
Grohe EUROSTYLE 23 577 installation instructions

Nobili
Nobili OZ113/1T2CS Using instructions

DURAVIT
DURAVIT 791247 00 0 00 1000 Mounting instructions