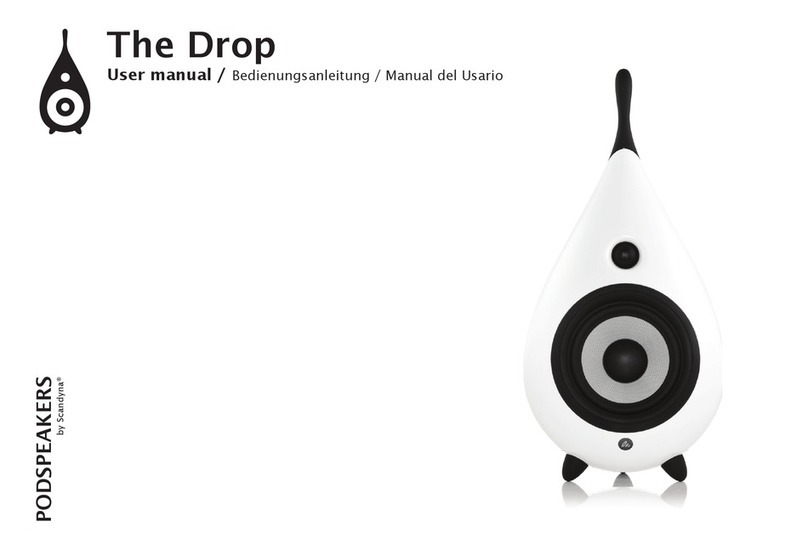
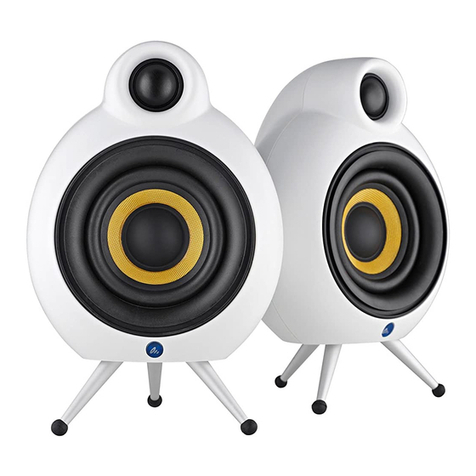
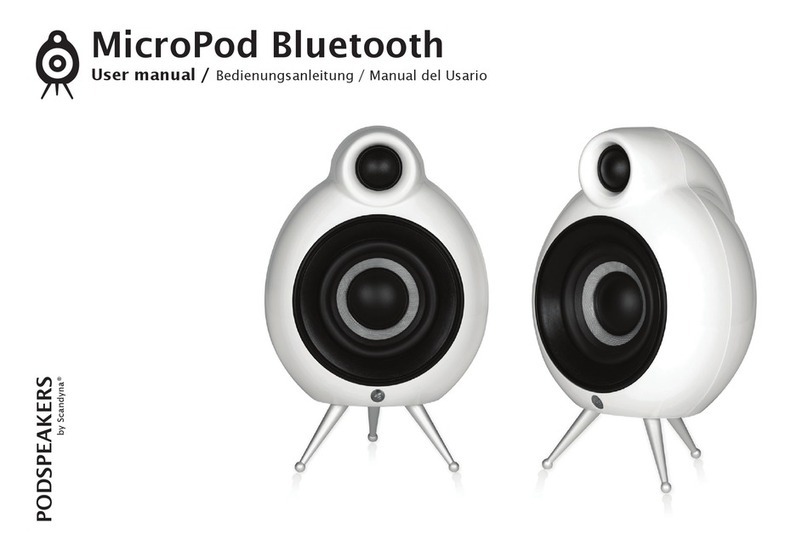
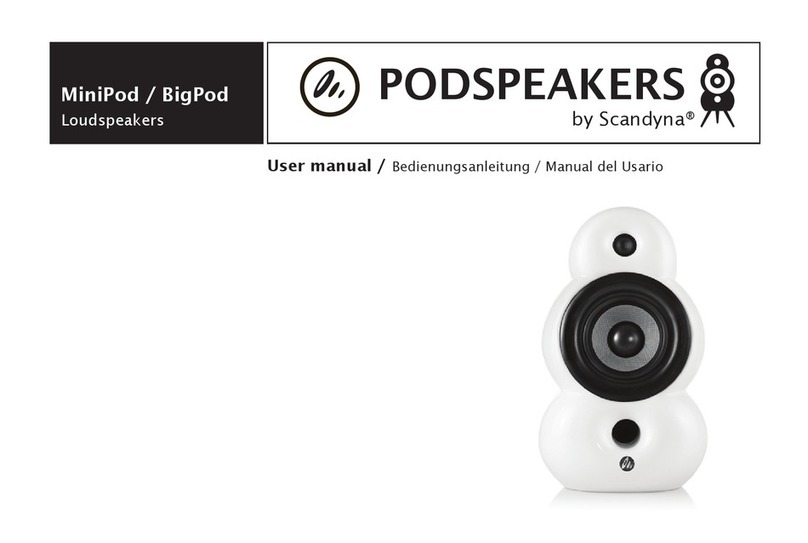
Scandyna MiniPod User manual

MiniPod Bluetooth
User manual / Guide de l’utilisateur
PODSPEAKERS
by Scandyna®

LANGUAGES /
4 English
14 Français

CONGRATULATIONS!
on the purchase of your new MiniPod Bluetooth from Scandyna
Thank you for choosing MiniPod Bluetooth from Scandyna.
We encourage you to please read this manual to properly
acquaint yourself with MiniPod Bluetooth and its features.
We hope that you will enjoy the sound of MiniPod Bluetooth
and welcome you into the Podspeaker family.

// 4
ENGLISH /
5 Welcome to a new world of sound
6 Back panel
7 Remote control
8 LED indicator
Connection and operation
9 Connecting with Bluetooth devices
Running-in period
Care and cleaning
Environmental information
10 Safety instructions
12 Limited warranty

// 5
ENGLISH / Welcome to a new world of sound
MiniPod Bluetooth combines unique design with high quality audio for your smartphone, tablet, laptop, TV
and all bluetooth enabled devices.
For obtaining the maximum Hi-Fi stereosound experience, we highly recommend to pair the
MiniPod Bluetooth with BassStation, for that extra bass dimension.
You can find more information about our exciting products on our website www.podspeakers.dk
MiniPod Bluetooth
Wireless active speaker system
ENGLISH

// 6
ENGLISH / Back panel
1 Binding posts for connecting second
speaker for stereo
2 AUX IN smartphone, tablet, laptop, etc.
3 USB Input
4 Line Out
5 Output for subwoofer
6 Optical Input
7 On/Off button
8 Power connection
9 Fuse 1A, 250V
1
2
4 5
3
6
OUTPUT TO
RIGHT SPEAKER
AC 100-240V 50/60Hz
130 WATTS
USB
POWER
ON
OFF
OPTICAL
AUX IN LINE OUT SUB OUT
1
2
3
7
9
8
6
5
4

// 7
ENGLISH / Remote control
1 Power on/off
A/ Power on: The blue LED will be turned on at high level.
B/ Power off: The blue LED will be turned on at low level.
2 Volume +/-
Volume increase/decrease, the blue LED will flash one time.
When volume is at MAX/MIN the blue LED will not flash.
3Shh! ( mute )
The blue LED will flash slowly
4 Play/Pause
Control Play/Pause in Bluetooth mode.
This button can only be used in Bluetooth mode.
5 PREV/FWD
Choose Previous/Next song in Bluetooth mode.
This button can only be used in Bluetooth mode.
6 Bluetooth
When you choose BT Input the blue LED will flash one time.
7 AUX
When you choose AUX input the blue LED will flash one time.
8 Optical Input
Optical Input support sampling rate 192KHz 24bt.
9 USB Input
USB Coding support sampling rate 48/44.1KHz/16bt.
4
5
7
89
6
5
3
2
1
ENGLISH

// 8
ENGLISH / LED indicator
Left Blue LED is the power indicator.
Right Blue LED is the Bluetooth indicator, Bluetooth is connected when the indicator
is solid, if the indicator flashes, it means that MiniPod Bluetooth is searching for
device.
The red LED is standby indictor, it will turn off when MiniPod Bluetooth is
powered on.
ENGLISH / Connection and operation
Connect the two MiniPod Bluetooth speakers with the included speaker cable and then plug in the power
cable.
Note! The connecting cable consists of a round and a square cable.
Make sure that the square cable is connected to the black binding post and the round cable
is connected to the red binding post on both speakers.
LED indicator

// 9
ENGLISH / Connecting with Bluetooth devices
First time setup
Switch to Bluetooth on the remote, MiniPod Bluetooth will automatically start searching for Bluetooth
devices. Now go to Bluetooth function on your device, MiniPod BT appears after a few seconds, choose
MiniPod BT. Now your device is paired with MiniPod Bluetooth.
Choose the content you want to play from your device, and then enjoy your desired music.
(if volume is low, please check your device).
PREV, NEXT, PLAY/PAUSE on the remote can be used when in Bluetooth mode.
Auto Standby
If the MiniPod Bluetooth doesn’t receive any signal for 15 minutes it will automatically enter standby mode.
Press the Power On button to turn the MiniPod Bluetooth speakers back on, after entering standby mode.
ENGLISH / Running-in period
We recommend a running-in period of your new MiniPod Bluetooth speakers of approximately 15-20 hours at normal listening level before you decide on the final positioning of
the speakers. During the running-in period, the drive units will settle in and perform as intended.
ENGLISH / Care and cleaning
We strongly advise against the use of any solvents or cleaners on the lacquered MiniPod Bluetooth cabinets. The cabinet surface usually only requires dusting or cleaning with a
damp soft cloth (only use cold clean water). Avoid touching the drive units, especially the tweeter, as damage may result.
ENGLISH / Environmental information
MiniPod Bluetooth complies with international directives on the Restriction of Hazardous Substances (RoHS) in electrical and electronic equipment and the disposal of Waste Electri-
cal and Electronic Equipment (WEEE) - the crossed bin symbol indicates compliance and that the products must be appropriately recycled or processed in accordance with these
directives.
ENGLISH
// 10
ENGLISH / Safety instructions
The lightening flash with arrowhead symbol within an equilateral triangle, is intended to
alert the user of the presence of uninsulated “dangerous voltage” within the products enclo-
sure that may be of sufficient magnitude to constitute a risk of electrical shock to persons.
The exclamation point within an equilateral triangle is intended to alert the user to the
presence of important operating and maintenance (servicing) instructions in the literature
accompanying the speakers.
This symbol means that this unit is double insulated.
An earth connection is not required.
Important safety instructions
Read, follow, heed and keep all instructions and warnings.
• Do not use the speakers near water or moisture. Do not use the speakers near a bathtub, washbowl,
kitchen sink, laundry tub, in a wet basement, near a swimming pool, or anywhere else that water or
moisture is present.
• Do not block any ventilation openings. To ensure reliable operation of the speakers and protect them
from overheating, place them in a position and location that will not prevent proper ventilation. E.g. do
not place the speakers on a bed, sofa, or similar surface that may block the ventilation openings.

// 11
• Clean only with a dry lint-free soft cloth and do not use any cleaning agents.
• Do not install near any heat sources, such as radiators, heat registers, stoves or other apparatus that
produce heat.
• Only connect power cord to a polarized and safety grounded outlet wired to current electrical codes
and compatible with voltage power and frequency requirements stated on the rear panel of the
speakers.
• Protect the power cord from being walked on, pinched or strained.
• Unplug the speakers during lightning storms or when unused for long periods of time.
• Use proper power sources. Plug the speakers into a proper power source, as described in the operating
instructions or as marked on the product.
• Servicing is required if the speakers have been damaged in any way such as power supply cord or plug
is damaged, liquid has been spilled or objects have fallen into the speakers, the speakers have been
exposed to rain or moisture, do not operate normally, or have been dropped.
• Do not attempt to service the speakers yourself. Opening or removing covers may expose you to
dangerous voltages or other hazards.
If fuse needs to be replaced only use same type and value.
IMPORTANT!
Remember to unplug the power cable from the mains socket before opening the fuse holder.
We recommend this should be done by qualified personnel only.
Only use attachments and accessories specified by Scandyna A/S Denmark,
for safe operation and to avoid injury.
WARNING! To reduce the risk of electric shock or fire, do not expose the speakers to rain or moisture.
Service must be performed by qualified personnel only.
ENGLISH

// 12
ENGLISH / Limited warranty
Dear Customer
This product has been designed and manufactured to the highest quality
standards, however if something goes wrong with this product, Scandyna A/S and the country distributor,
warrants free replacement parts or repair by the official Scandyna distributor.
This limited warranty is valid for the original owner for a period of one year from the date of purchase and
it is not transferable.
What is covered by the limited warranty:
The limited warranty covers all production and material defects of the product, except for the damages
stated on the following pages.
What is not covered by the limited warranty:
• Damages caused by packing and transport.
• Defect caused by accidents, misuse, normal wear and tear, mis-maintenance, voltage variation and
overloading.
• Damages caused by incorrect installation or operation.
• Damages caused by modification or repair by a non-authorized service center and use of non-original
spareparts.
• Other damages due to the conditions beyond Scandyna’s control such as fire, rain, stroke of lightning,
war and other force majeure events.

// 13
How to claim parts or repair under warranty:
To have your product serviced under warranty, you must contact the dealer from where you bought the
MiniPod Bluetooth.
You will need to produce this warranty booklet completed and stamped by your dealer on the date of
purchase. Alternatively you will need the original sales invoice or other proof of ownership and date of
purchase.
The supplier is liable only to repair or replace defective parts or products.
The supplier is not responsible for indirect losses or damages arising from the use of this product.
Transportation costs for servicing are not covered by this warranty.
A service repair or replacement cannot exceed the value of the product under warranty. In no event shall
the supplier be responsible or liable for special incidental, consequential or indirect damages.
Date of purchase Dealer name and stamp
_________________ ___________________________________________________________________________
ENGLISH

// 14
FRANÇAIS /
15 Bienvenue dans un nouveau monde de musique
16 Panneau arrière
17 Télécommande
18 Voyant LED
Connexion et fonctionnement
19 Connexion avec un appareil Bluetooth
Période de rodage
Entretien et nettoyage
Renseignements environnementaux
20 Consignes de sécurité
22 Garantie limitée

// 15
FRANÇAIS
FRANÇAIS / Bienvenue dans un nouveau monde de musique
MiniPod Bluetooth combine un design unique avec un son de haute qualité pour votre Smartphone,
tablette, ordinateur, TV, et tout autre appareil Bluetooth.
Pour obtenir une expérience optimale Hi-Fi Stéréo, nous vous recommandons de coupler vos MiniPod
Bluetooth à une BassStation pour accentuer les graves.
Vous trouverez plus d’information sur ces produits excitants sur notre site web www.podspeakers.dk
MiniPod Bluetooth
Système d’enceintes actives sans fil

// 16
FRANÇAIS / Panneau arrière
1 Sorties pour la connexion de la seconde enceinte
pour la stéréo
2 Entrée Auxiliaire Smartphone, tablette, ordinateur, etc.
3 Entrée USB
4 Sortie ligne
5 Sortie Subwoofer
6 Entrée optique
7 Bouton On/Off
8 Alimentation
9 Fusible 1A, 250V
1
2
4 5
3
6
OUTPUT TO
RIGHT SPEAKER
AC 100-240V 50/60Hz
130 WATTS
USB
POWER
ON
OFF
OPTICAL
AUX IN LINE OUT SUB OUT
1
2
3
7
9
8
6
5
4

// 17
FRANÇAIS
FRANÇAIS / Télécommande
1 Power on/off
A/ On : Le témoin DEL bleu sera allumé très fortement.
B/ Off : Le témoin DEL bleu sera allumé très faiblement.
2 Volume +/-
Augmenter/Baisser le volume, le témoin DEL bleu clignotera à
chaque pression. Lorsque le volume sera au maximum ou au
minimum, le témoin DEL bleu ne clignotera plus.
3 Shh! (Silencieux)
Le témoin DEL bleu va clignoter lentement
4 Play/Pause
Contrôlez Lecture/Pause en mode Bluetooth.
Ce bouton peut être utilisé uniquement en mode Bluetooth.
5 PREV/FWD
Choisissez musique précédente/suivante en mode Bluetooth.
Ce bouton peut être utilisé uniquement en mode Bluetooth.
6 Bluetooth
Lorsque vous choisissez le Bluetooth, le témoin DEL bleu
s’allumera une fois.
7 AUXILIAIRES
Lorsque vous choisissez une sortie Auxiliaire, le témoin DEL
bleu s’allumera une fois.
8 Entrée optique
L'entrée optique supporte jusqu'à 24 bits/192 kHz.
9 Entrée USB
L'entrée USB prend en charge les fichiers 16 bits au taux
d'échantillonnage 48/44.1 kHz.
4
5
7
89
6
5
3
2
1

// 18
FRANÇAIS / Voyant LED
La LED bleue située à gauche est le témoin d'alimentation.
La LED bleue située à droite est le voyant Bluetooth, la connexion Bluetooth est
établie quand le voyant est fixe, si le voyant clignote, cela signifie que le MiniPod
Bluetooth recherche l'appareil.
La LED rouge est le témoin de veille, elle s'éteindra une fois le MiniPod Bluetooth
allumé.
FRANÇAIS / Connexion et fonctionnement
Connectez les deux enceintes MiniPod Bluetooth avec le câble inclus, puis branchez le câble d’alimentation.
Remarque: Le câble de raccordement est composé d'un câble plat et d'un câble rond.
Assurez vous que le câble plat soit connecté à la borne noire et le câble rond soit connecté à
la borne rouge sur les deux enceintes.
Voyant LED

// 19
FRANÇAIS
FRANÇAIS / Connexion avec un appareil Bluetooth
Première configuration
Passez en mode Bluetooth avec la télécommande, MiniPod Bluetooth recherchera automatiquement les ap-
pareils connectés en Bluetooth. A présent activez le mode Bluetooth sur votre appareil, MiniPod Bluetooth
apparaitra après un délai de quelques secondes, sélectionnez MiniPod BT. Votre appareil est à présent
couplé à votre MiniPod Bluetooth.
Sélectionnez le contenu que vous souhaitez diffuser à partir de votre appareil, vous pouvez maintenant
profiter de la musique de votre choix. (Si le volume est faible, vérifiez votre appareil)
Les boutons PRECEDENT, SUIVANT, LECTURE/PAUSE sur la télécommande peuvent être utilisés en mode
Bluetooth.
Veille automatique
Si le MiniPod Bluetooth ne reçoit aucun signal pendant 15 minutes, il se mettra automatiquement en veille.
Appuyez sur le bouton Power pour rallumer le MiniPod Bluetooth après sa mise en veille.
FRANÇAIS / Période de rodage
Nous suggérons une période de rodage de vos nouvelles enceintes MiniPod Bluetooth d'une durée d'environ 15 à 20 heures à un niveau normal d'écoute avant que vous décidiez
de l'emplacement et des réglages finaux des enceintes. Durant la période de rodage, les mécanismes d'entraînement s'ajusteront et fonctionneront comme il est prévu.
FRANÇAIS / Entretien et nettoyage
Nous déconseillons vivement l'utilisation de solvants ou de nettoyants sur la laque du boîtier. La surface nécessite généralement qu'un époussetage ou un nettoyage avec un
chiffon doux et humide (n'utilisez que de l'eau claire et froide). Évitez de toucher les mécanismes d'entraînement, car cela pourrait endommager l'enceinte.
FRANÇAIS / Renseignements environnementaux
Le MiniPod Bluetooth est conforme aux directives internationales sur la limitation des substances dangereuses (RoHS) dans les équipements électriques et électroniques et à
l'élimination des déchets d'équipements électriques et électroniques (DEEE) - le symbole de poubelle barrée indique la conformité et que les produits doivent être recyclés ou
traités de façon appropriée et conformément à ces directives.

// 20
FRANÇAIS / Consignes de sécurité
Le symbole de la foudre dans un triangle équilatéral est destiné à prévenir l'utilisateur de la
présence de tension non isolée à l'intérieur du boîtier et qui pourrait être suffisamment
importante pour constituer un risque de choc électrique.
Le point d'exclamation dans un triange équilatéral est destiné à prévenir l'utilisateur
d'importante consignes d'utilisation et d'entretien (service) dans la documentation fournie
avec les enceintes.
Ce symbole confirme que l'appareil est doublement isolé. Un branchement sur mise à la
terre n'est pas nécessaire.
Importantes consignes de sécurité
Lire, suivre, observer et conserver toutes les instructions et les avertissements.
• Ne pas utiliser les enceintes près de l'eau ou de l'humidité. Ne pas utiliser les enceintes près d'une
baignoire, d'un lavabo, d'un évier de cuisine, d'une cuve de lessive, près d'une piscine ou près de tout
endroit où il y a présence d'eau ou d'humidité.
• Ne pas obstruer toute ouverture de ventilation. Afin de garantir un fonctionnement sûr des enceintes
et de les protéger de la chaleur excessive, les placer dans un endroit qui n'empêche pas une ventilation
adéquate. Par exemple, ne pas placer les enceintes sur un lit, un sofa ou toute surface semblable qui
pourrait bloquer les ouvertures de ventilation.
ATTENTION
RISQUE DE CHOC ÉLECTRIQUE
NE PAS OUVRIR
Other manuals for MiniPod
2
Table of contents
Languages:
Other Scandyna Speakers manuals

Scandyna
Scandyna MicroPod Bluetooth User manual

Scandyna
Scandyna SmallPod Air User manual

Scandyna
Scandyna Podspeakers The Ball User manual

Scandyna
Scandyna CinePod User manual

Scandyna
Scandyna MicroPod Air User manual

Scandyna
Scandyna The Drop User manual

Scandyna
Scandyna Podspeakers BassStation User manual

Scandyna
Scandyna MiniPod User manual

Scandyna
Scandyna MiniPod User manual