Packaging and Enclosed Parts
Please inspectyour pack for damaged or missingparts. Notify your supplier if any discrepanciesoccur.
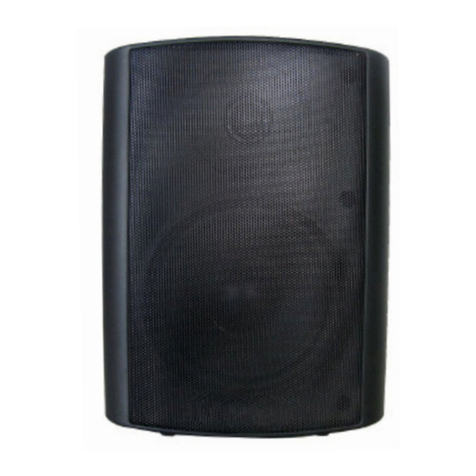
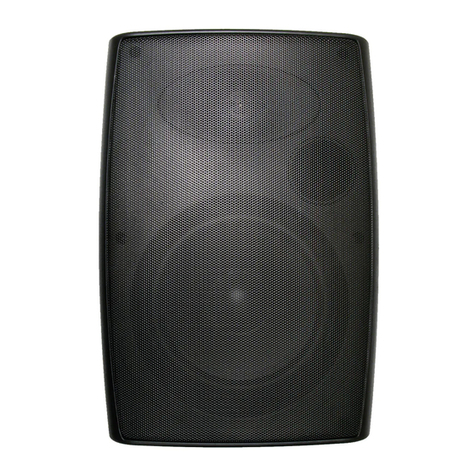
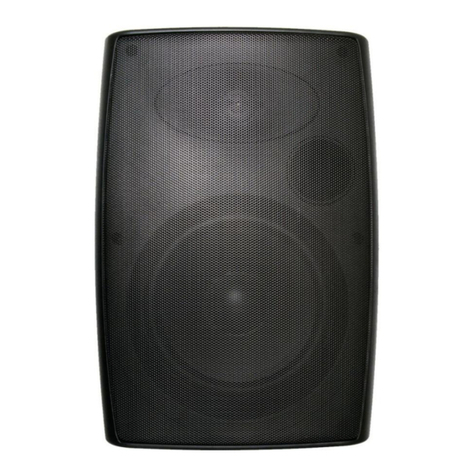
The CECS8070V Speakers are packagedone to a box and sold as each.
Each box includes (1) Speaker, (1) Grille(1) ½” knockout cover plate and (1) Hardwood Tree planted in the NationalForest.
Specifications subject to change without notice.
Install
1. Decide if you want standard 8 ohm two speaker stereo sound, or distributed 70/100volt speaker sound. Then chose 8 ohm or 70Volt. The PRO CECS8070V can
do either.. This speaker may also be used on 100 volt systems.
2. Chose locations for your speakers. If using two separate speakers, keep in mind your “sweet stop” the area where you will spend most of your time.
3. Choose your wiring method: Home Run or Daisy chain. Suggest a pigtail if daisy chain from one speaker to the next
4. Bury your conduit or wire 18”below grade to prevent damage by tillers or shovels when planting. Prewire before hardscape concrete.
5. Insure there is enough room above to place the CECS8070V in the ceiling or Tile.
6. Use a one piece TB8 Tile Support Bracket to prevent sag. See YouTube for install instructions. Cut on inside of TB8 diameter
7. If using for stereo, carefully identify Left and Right cables at both ends . For proper phasing identify the (+) and (-) on each cable.
8. If using as 70 volt the speakers can be Daisy Chained from one speakerto the next.
9. How do I know what size 70 volt amp to use? Rule of thumb- add up all the wattage taps of the speakers then divide by .75 for safety factor. Example, suppose you
have 10 speakers with the wattage tap of 15, the total wattage would be 150 watts. Divide 150W/.75= 200W. Now select an amp of 200W or higher.
10. For 8ohm hook-up proceed to step #11.
11. Connect the amplifier Left wire to the to the White and Green wire Only on the designatedLEFT PRO CECS8070V speaker. Observe polarity.
12. Connect the amplifier Right wire to the to the White and Green wire Only on the designated RIGHT PRO CECS8070V speaker. Observe polarity.
13. Before connecting the wires to the amplifier check the impedancewith a multi-meteron the resistance scale. It should read about 6.5 ohms in the 8 ohm position.
14. If multi-meterreading is OK then connect to amplifier.
15. If using a volume control I suggest placing it inside the house for easy control and to protect it from the elements.
Limited 5 Year Warranty
Current Audio, LLC speakers and accessories are warranted to be free from defects in materials and or workmanship to the original retail purchaser for a
period of 5 years provided the equipment was purchased and installed from a Current Audio, LLC Authorized Dealer.
In the event of defective materials and or workmanship, Current Audio, LLC will, without charge, repair or replace, at its option, the defective product. In
order to make claim under this Warranty and to obtain performance of any obligation under warranty, please contact Current Audio. Instructions will be given
on how to return the defective product to Current Audio. Returned products must be shipped prepaid. Proof of purchase must be provided with the product.
The Warranty does not apply to damage not resulting from defective materials and or workmanship while in the possession of the original consumer or due to
unreasonable use by the original consumer, which includes but not limited to improper installation, negligence, unauthorized repair or modification, aesthetic
deterioration from the environment. Products purchased by unauthorized sources will void the warranty and not be honored.
Current Audio, LLC is not liable for any incidental or consequential damages, so the above limitations or inclusion may not apply to you. This warranty gives
you specific legal rights, and you may have other rights, which vary from state to state within the United States.
CECS8070V Rev2 RPA 04092011
¼-20
PRO CECS80-70V Ceiling Speaker User’s Installation Guide
TB8 Tile Support Bracket
TB8 Tile Support Bracket used as a template Tile-Bracket-Speaker


