Schreiber 101207 User manual

Ref. no HB 24.02 Date: 05 10 11
Double Chest 4 + 2 Drawer
Assembly Instructions - Please keep for future reference
Important - Please read these instructions fully before starting assembly
Dimensions
For all enquiries please contact : 0845 600 24 20
Width - 100,1 cm
Depth - 49 cm
Height - 113 cm
101207
123327
151076
179022
363453
207704
235717

Safety and care advice
Important - Please read these intructions fully before starting assembly
Note: if required the next
page can be cut out and used
as reference throughout the
assembly. Keep this page with
these instructions for future
reference.
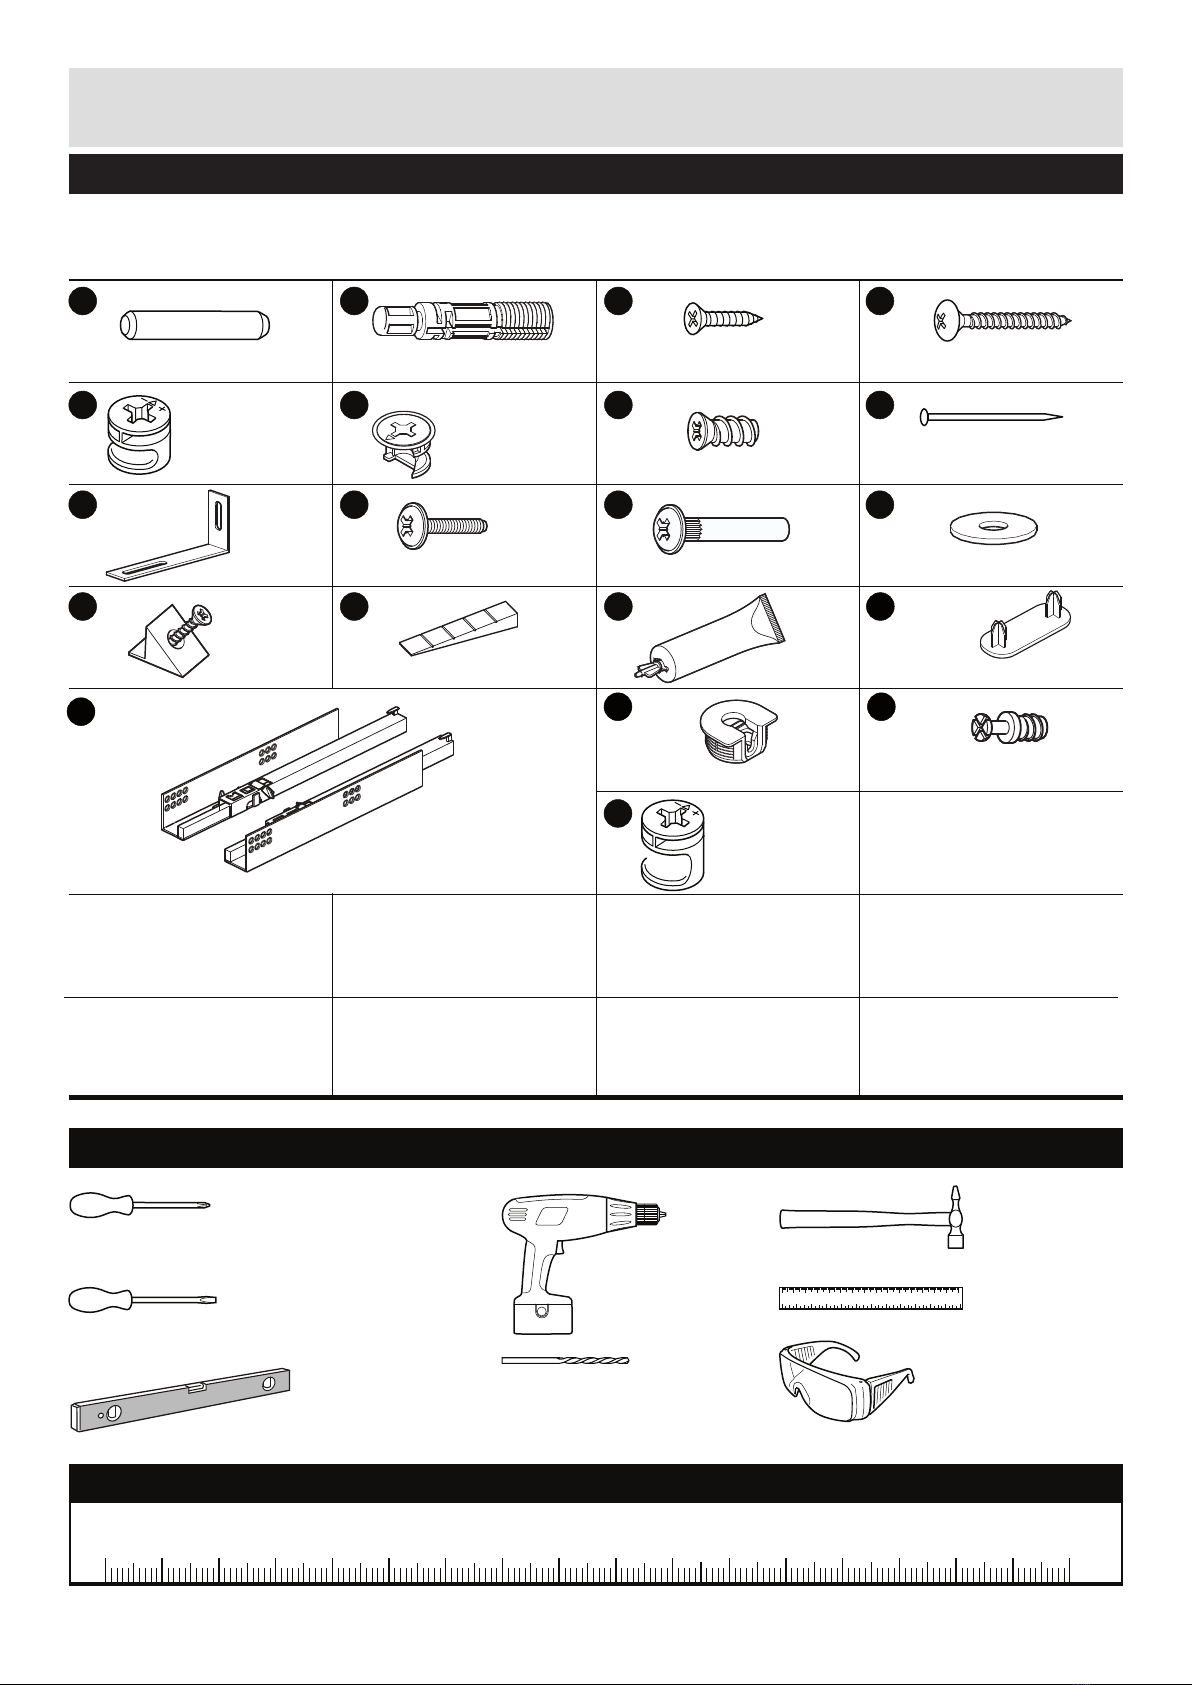
• Check you have all the
components and tools listed on
pages 3 and 4.
Remove all fittings from the
plastic bags and separate them
into their groups.
• Keep children and animals
away from the work area, small
parts could choke if swallowed.
• Make sure you have enough
space to layout the parts before
starting.
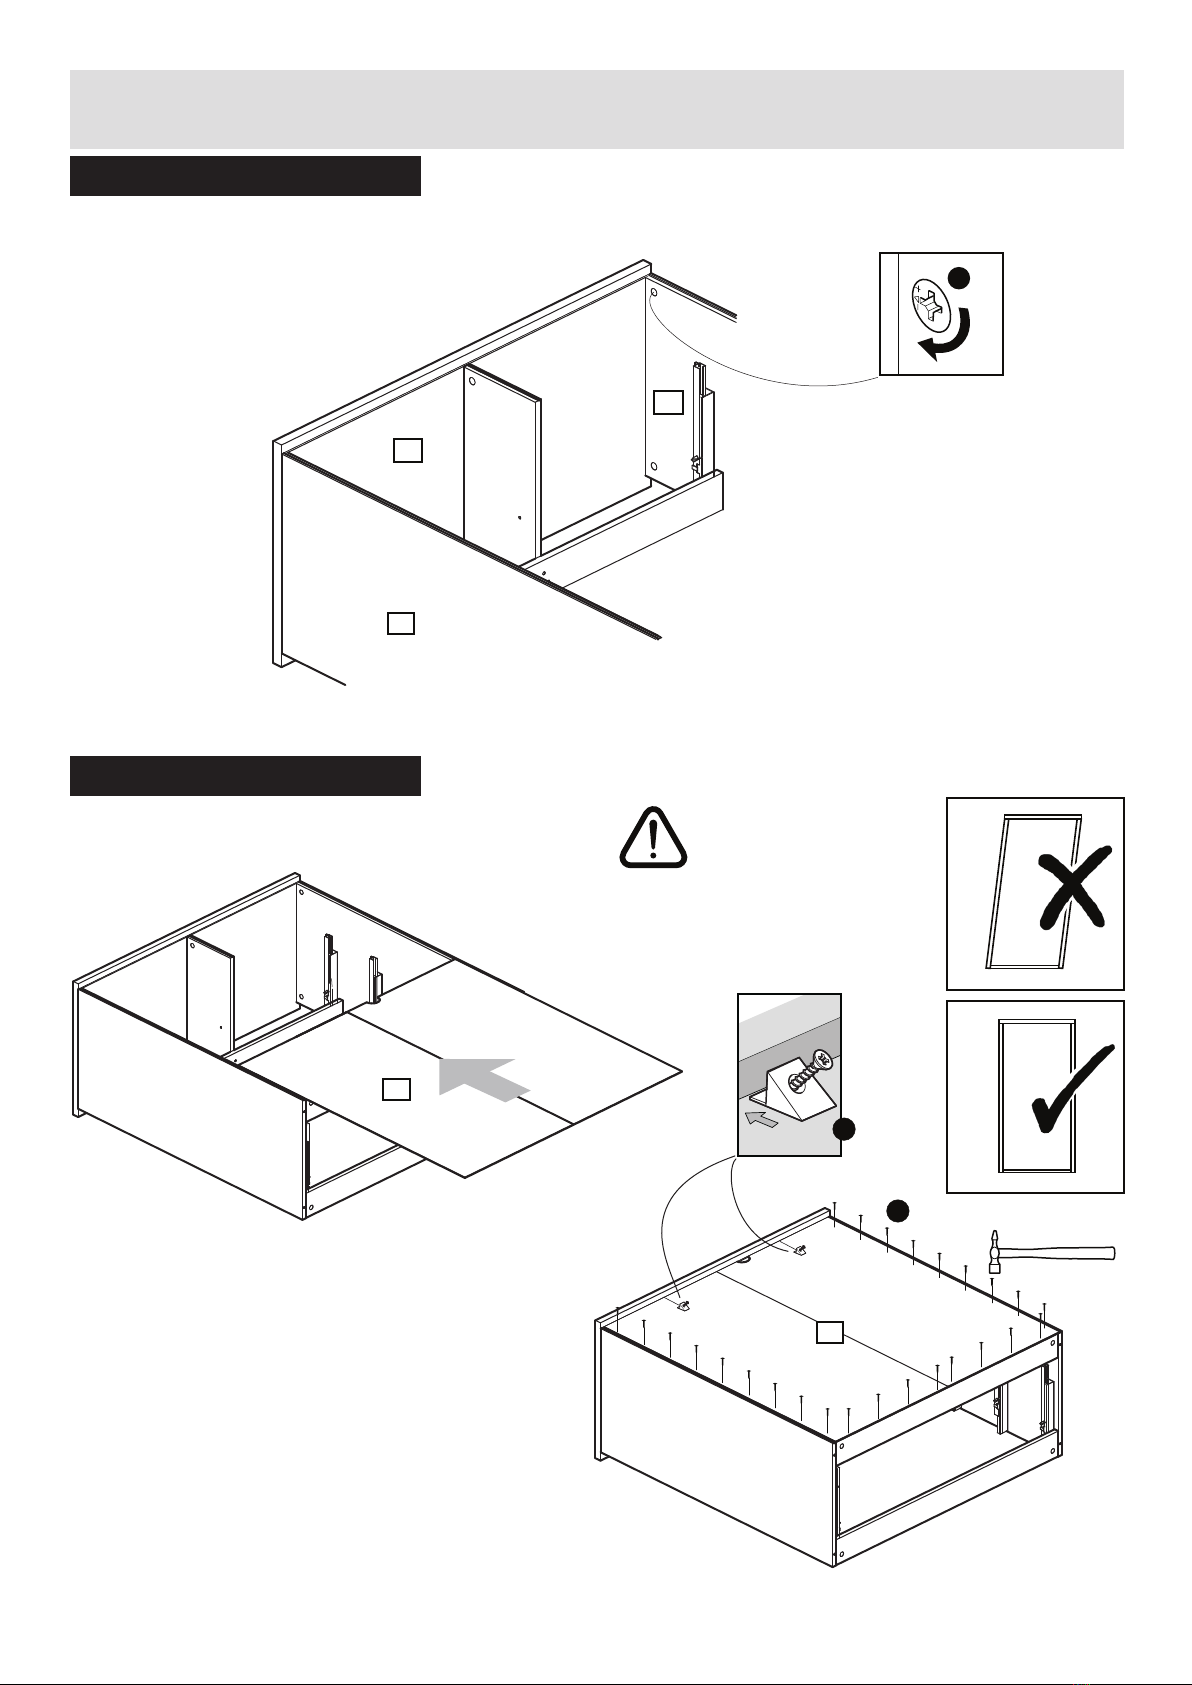
• Do not stand or put weight
on the panels, this could cause
damage.
• Assemble the unit as close
to its final position (in the same
room) as possible. •
• Assemble on a soft level
surface to avoid damaging the
unit or your floor.
• Parts of the assembly will be
easier with 2 people.
• If using power tools, please
follow the safety instructions
supplied with the tools.
•We do not
recommend the
use of power drill/
drivers for inserting
screws, as this
could damage the unit. Only use
hand screwdrivers.
• Warning: Before drilling,
check the wall for hidden pipes
and cables.
• Dispose of all packaging
carefully and responsibly.
• Warning: The unit weighs
approximately 57kgs
Please lift with care.
Recycling – the packaging materials for this product may
be recycled through your local recycling centre. When you
want to dispose of the product itself, please consider
donating it to a local charitable organisation, otherwise
recycle it through your local recycling centre.
Cleaning instructions
• This product has been
manufactured using modern
manufacturing methods and
materials. With appropriate
in-home care and mainte-
nance it will provide trouble
free performances. Many
domestic multi-purpose
cleaning agents are unsuitable
for use on this product.
The use of aggressive chemi-
cals can result in irreversible
damage. Please follow these
guidelines carefully.
USE only 5% soap, 95%
water solution, wiping with a
damp (not wet) cloth. Finally
dry with a soft clean cloth.
Dust with a soft clean cloth
only.
DO NOT USE wax furniture
polish, abrasive or aggressive
cleaners, bleach or hypochlo-
rate (chlorine) based cleaners,
multi-purpose cleaners,
dilutes, acetone, alcohol,
solvent or similar products.
• From time to time check that
there are no loose screws on
this unit.
• This product should not be
discarded with household
waste. Take to your local
authority waste disposal centre.
Care and maintenance
2

1
4
2
3
5
6
7
10
6
11
8
9
7
10
12
13
RAW
3
Components - Panels
Please check you have all the panels listed below
1) Left end panel x1
2) Right end panel x1
3) Back panel x1
4) Top panel x1
5) Back rail x1
6) Front rail x2
7) Left drawer side x6
8) Back drawer long panel x4
9) Long Drawer bottom x4
10)Right drawer side x6
11)Narrow drawer divider x1
12)Back drawer short panel x2
13)Short drawer bottom x2
14)Plinth x1
14
3

Wooden dowel x 61
Ruler -Usethis ruler to help correctly identify the screws
Tools required
A
E
Metal dowel x 37
B
15mmScrew x 1 30mm Screw x 12
4MAx15 Screw x 3 27mm x 3 Spacer x 1
C
I
Note: The quantities below are the correct amount to complete the assembly. In some cases more
fittingsmay be supplied than are required.
05101520253035404550556065707580859095100 110 115 120 125 130 135 140 145 150 155 160 165170
105
F
D
K L
G
J
M ON
25mm Nail x 30x 24
x 1
H
Medium locking
nut x 10
Z
Long locking
nut x 3
00203040506070809000 020304050
023456
Phillips screwdriver
(medium & large)
Spirit level
Flatbladescrewdriver
(medium)
Small
hammer
Ruler/tape
measure
Drill
Ø 5mm Suitable drill bit
(for use with wall plug)
Eye protection
(when using a
hammer or glue)
mm
x 8 Glue x 1
Runner x 6
Levelling Wedge x 2
Short locking
nut x 24
Components - Fittings
Please check you have all the fittings listed below
Support foot x 4
Q
PRS
Wedgefix housing x 2 Wedgefix dowel x 2
4

Assembly Instructions
Step 1
Top
Bottom
2
A
B
Repeat with the left side
panel 1
E
5
66
A
A
A
E
RAW
B
B
14
S
S
5

Assembly Instructions
Step 2
Step 3
Attaching runners
Top
Bottom
4
11
Repeat with the right side
panel 2
Z
B
1
G G
P
1
G
G
G
G
G
P
P
P
P
P
B
6
R
R
Q
Q
Ensure long locking
nut is pushed
down firmly to base of
drill hole. Nut needs to
finish recessed for
correct operation
Z
Z
6

Assembly Instructions
Step 4
Step 5
Locking side panels
E
1
2
5
6
E
6
4
11
RAW
Z
7

Assembly Instructions
Step 6
Step 7
Locking top panel
Fixing back panels
b:
a:
3
H
Important:
The cabinet MUST
be ‘square’ when the
back is attached.
M
3
2
1
4
E
8

Assembly Instructions
Step 8
Step 9
turn over
Fixing Plinth 14
14
9

Assembly Instructions
Step 10
Step 11
G
12
G G
P
12
P
Ø5mm
K
J
10

Assembly Instructions
Step 12
Levelling
N
11

A Guide to - Wall Mounting & Fixings
Revision 2 - 7/10/09
Important note:
Types of walls
Care &
Maintenance
No.1 “General Purpose” wall plug
No.6 “Shield Anchor” wall plug
Heavy loads
No.3 “Cavity Fixing” wall plug
No.4 “Cavity Fixing-Heavy Duty”
wall plug
No.5 “Hammer Fixing” wall plug
No.2 “Plasterboard” wall plug
Generally aerated blocks should not
be used to support heavy loads, use
loads, general purpose wall plugs can
be used.
For use with heavier loads such as TV
& HiFi speakers and satelite dishes etc.
For use with plasterboard partitions or
hollow wooden doors.
heavy loads such as shelving, wall
cabinets and coat racks.
For use with walls stuck with
is secure to the retaining wall.
For use when attaching light loads on
to plasterboard partitions.
Safety: Always check the fitting
and location to ensure your safety
in and around the home.
Fitting: From time to time check
the fitting to ensure the wall plugs
or screws do not become loose.
You can use one of the following types of wall plug if your walls are made
of brick, breeze block, concrete, stone or wood.
Important: When drilling into walls always
check that there are no hidden wires or pipes etc.
Hints:
1: General rule: Always use a larger screw and wall plug
if you are not sure.
2: Ensure you use the recommended drill bit to match the wall
plug and hole size.
3: Ensure you drill the hole horizontally, do not force the drill or
enlarge the hole.
4: Take extra care when drilling high walls, ceilings and ceramic
tiles. Ensure wall plugs are inserted beyond the thickness of
the ceramic tiles to avoid the tiles splitting or cracking.
5:
drilled hole.
If plastic wall plugs
are supplied with your
product:
Make sure that the screws and wall plugs being used
are suitable for supporting your unit. Consult a qualified
tradesperson if you are unsure.
- these are only suitable for
use in masonry walls.
If you are in any doubt about
the correct wall plugs for
your wall, seek professional
advice.
Failure of the product due to
responsibility of the installer.
12

Assembly Instructions
Step 13
C
L
I
Wall fixing
WALL PLUG
AND SCREW
NOT INCLUDED
Please see
Guide to
wall mounting
13

Assembly Instructions
Step 14
c:
A
b:
A10
7
9 13
12
8
D
D
d:
e:
F
F
a: O
A
F
B
7
10
8
A
A
A
A
B
B
F
M
Assembly for
drawer boxes
F
14

Assembly Instructions
Step 15
Insert drawer
a:
b:
c:
d:
FIX
Ensure plastic securing
pegs are to the out
position.
Drawer front adjustment
Drawer front
15

Assembly Instructions
Recycling – the packaging materials
for this product may be recycled
through your local recycling centre.
When you want to dispose of the
product itself, please consider
donating it to a local charitable
organisation, otherwise recycle it
through your local recycling centre.
CLEANING INSTRUCTIONS
This product has been manufactured using
modern manufacturing methods and
materials. With appropriate in-home care
and maintenance it will provide trouble free
performances. Many domestic multi-
purpose cleaning agents are unsuitable for
use on this product. The use of aggressive
chemicals can result in irreversible
damage. Please follow these guidelines
carefully.
USE only 5% soap, 95% water solution,
wiping with a damp (not wet) cloth. Finally
dry with a soft clean cloth. Dust with a soft
clean cloth only.
DO NOT USE wax furniture polish, abra-
sive or aggressive cleaners, bleach or
hypochlorate (chlorine) based cleaners,
multi-purpose cleaners, dilutes, acetone,
alcohol, solvent or similar products.
That's the chest completed.
Take care of your unit by using a damp cloth to clean it.
Please remember to occasionally check that all Cams
and Screws are tight.
This manual suits for next models
6
Table of contents
Other Schreiber Indoor Furnishing manuals