Seagate FreeAgent Theater User manual

Seagate Manager User Guide for Use With Your FreeAgent Drive i
Seagate Manager
User Guide
For Use With Your FreeAgentTM Drive

Seagate Manager User Guide for Use With Your FreeAgent Drive ii
Contents
Contents
Getting Started.............................................................................................................. 1
Using the Seagate Status Icon ...................................................... 1
Restoring the Seagate Status Icon .................................. 2
Managing Your Drives............................................................................................ 3
Using the My Drives Window ........................................................ 3
Settings ................................................................................................... 4
Adjusting the Power Setting ............................................. 4
Testing Your Drive ................................................................ 5
Updating Your Software ...................................................... 5
Adjust LED Control ............................................................... 6
Drive Info ................................................................................................ 6
Storage Features ................................................................................. 7
External Storage ..................................................................... 7
Online Storage ........................................................................ 7
Backing Up and Restoring Folders on a FreeAgent
Drive and to Online Storage........................................................................ 9
Backup Features ............................................................................... 10
Backup Plans for your FreeAgent ................................. 11
Backup Plans for Online Storage ................................... 11
Creating a Backup Plan .................................................................. 12
Using Simple Backup with FreeAgent ........................ 12
Using Simple Backup with Online Storage ................ 13
Creating a Custom Backup with FreeAgent ............ 13
Creating a Custom Backup with Online Storage .... 15
Drive Rotation with FreeAgent ...................................... 16
Managing Backup Settings ........................................................... 17
Editing Backup Settings for FreeAgent ...................... 17
Editing Backup Settings for Online Storage ............. 18

Seagate Manager User Guide for Use With Your FreeAgent Drive iii
Contents
Deleting a Backup Plan for FreeAgent ........................ 18
Deleting a Backup Plan for Online Storage ............... 19
Using Scheduled Backup .................................................. 19
Backing Up Manually ......................................................... 20
Viewing the Backup Log ................................................... 20
Restoring Files ................................................................................... 21
Restoring an Historical Version from FreeAgent .... 21
Restoring an Historical Version from Online
Storage ..................................................................................... 22
Restoring Most Recent Version from FreeAgent .... 22
Synchronizing Folders .......................................................................................... 23
Using Simple Sync ............................................................................ 24
Using Custom Sync .......................................................................... 24
Using Sync Encryption ....................................................... 25
Completing the Sync ....................................................................... 26
Editing Sync Settings ...................................................................... 27
Checking Sync Status ...................................................................... 27
Deleting Sync Settings ....................................................... 27
Using Automatic Sync ..................................................................... 28
Turning Off Automatic Sync ............................................ 28
Using the Sync Preview Window ............................................... 29
Using Automatic Overwrite ............................................. 30
Managing Security ................................................................................................... 31
Creating an Encryption Folder ....................................... 31
Managing an Encryption Folder .................................... 33
Seagate and Maxtor Seagate SecureTM Storage Devices .. 37
Index...................................................................................................................................... 42

Seagate Manager User Guide for Use With Your FreeAgent Drive 4
Getting Started Using the Seagate Status Icon
Getting Started
The Seagate Manager software, included with your FreeAgentTM drive, adds a powerful set of
tools to your FreeAgent Drive:
•Backup and restore features to enable you to protect your data.
•Online storage, file sharing, and backup. Not available in all regions or with all
products.
•Sync, to synchronize one or more folders between two or more computers.
•Security features, including encryption of multiple files and folders in one location, as
well as backup and sync encryption. Not available in all regions or with all products.
•Settings to control power management, software updates, drive lights and more.
The features described in this guide (except where noted) are compatible with all Seagate
FreeAgent and Maxtor OneTouch drives and both Windows XP and Vista operating systems.
Using the Seagate Status Icon
After you install your drive, the Seagate Status icon appears in the taskbar notification area on
your computer desktop. You can use this icon to check the status of your FreeAgent drive and
to access the drive features.
Step 1: To check the status of your drive, roll your mouse over the Seagate icon:
The information popup confirms the drive’s status and identifies the drive letter.
The color of the Seagate Status icon informs you of the drive’s status:
Note: When a backup or sync has failed, the red icon continues to display until the next
successful backup or sync. You can view the log file to determine why the backup failed.
Figure 1: Seagate Taskbar Icon
Blue Drive connected
Green Drive connected, backup passed and sync idle
Yellow Backup or sync in progress
Gray No drive connected
Red Backup or sync failed

Seagate Manager User Guide for Use With Your FreeAgent Drive 5
Getting Started Using the Seagate Status Icon
Step 2: To display the Seagate Status menu, right-click the taskbar icon:
Step 3: Select the feature you want to access or select Exit to close the menu.
Restoring the Seagate Status Icon
If you exit from the Seagate Status menu, the Seagate icon disappears from the taskbar
notification area. To restore the Seagate Status icon to the taskbar notification area, go to
Start >Programs > Seagate > Seagate Manager > Seagate Status Icon
Figure 2: Seagate Status Menu
Figure 3: Restore Seagate Status Icon

Seagate Manager User Guide for Use With Your FreeAgent Drive 6
Managing Your Drives Using the My Drives Window
Managing Your Drives
The My Drives window provides a central point from which to manage your Seagate FreeAgent
device. This is the default window that appears when you open Seagate Manager.
You can also get to the My Drives window by clicking the My Drives button in the Command
Panel from any other window within the software.
Using the My Drives Window
In the My Drives window, you first select the storage location and then the feature you want to
use with it.
There are two storage locations:
•External Storage: Store files on your FreeAgent drive
•Online Storage: Store files on the Internet
For details about these different storage methods, see Storage Features
The Command Panel across the top of the window allows you to access Seagate Manager’s
features: Backup, Sync and Security.
Figure 1: My Drives
Command Panel
Help
Online Storage
External Storage

Seagate Manager User Guide for Use With Your FreeAgent Drive 7
Managing Your Drives Settings
When you use external storage, the middle of the My Drives window displays the connected
FreeAgent drive. If there is more than one drive connected, there will be a list of drives to
choose from. The drive that is currently selected is highlighted in light blue (as shown in Figure
1).
To select a different drive, click the drive icon or partition name.
To access advanced settings for the selected drive, click the Settings button.
For more information, see Settings
To get more information about the selected drive, click the Drive Info button.
For more information, see Drive Info
Any time you need help, you can click the Seagate Manager help icon. If you are not able find
the answer to your question, you can click the Customer Support button to go to Seagate’s
Support website.
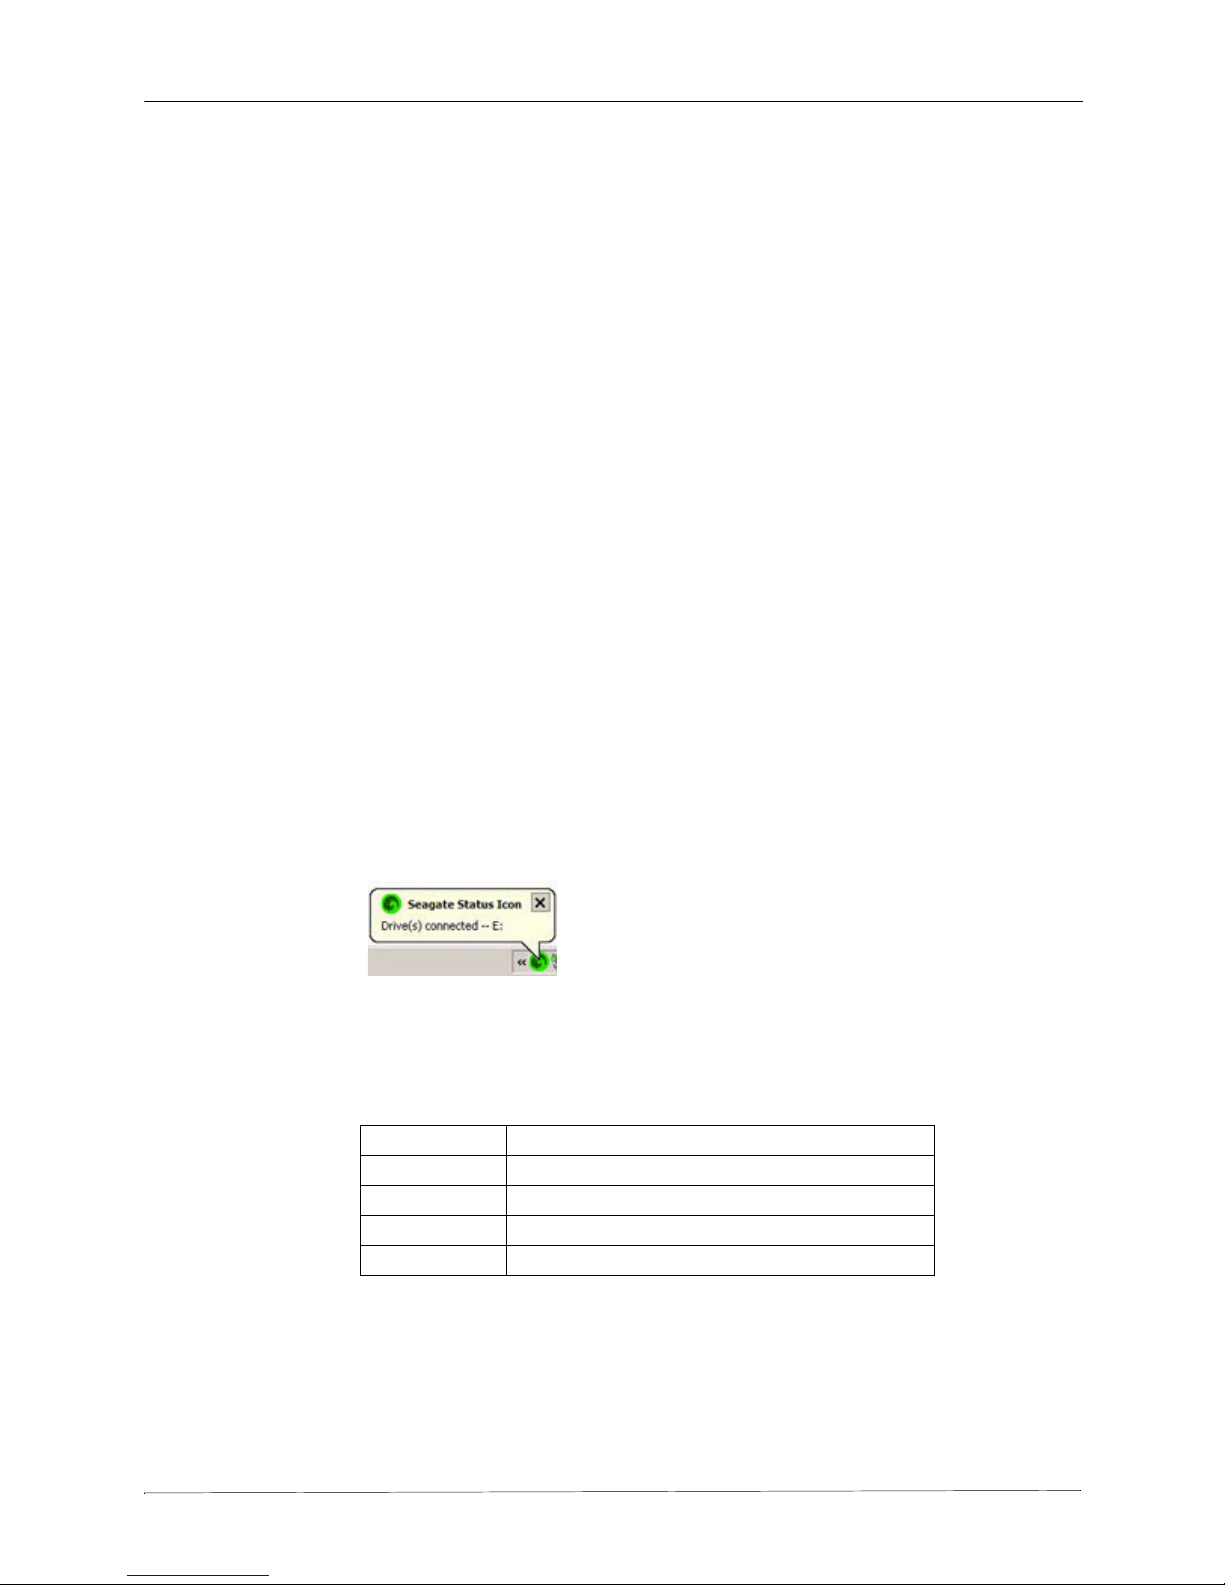
Note: External drives are automatically detected and listed in the My Drives window. It can take a
few seconds for the Seagate Manager software to detect your device. If your device
doesn’t appear, make sure it’s properly connected and turned on. All Seagate and Maxtor
external drives are detected.
Settings
The Settings button, located at the bottom of the My Drives window, allows you to access the
following features:
•Adjust Power Settting
•Test My Drive
•Adjust LED Control
•Check for Software Update
Adjusting the Power Setting
You can choose how long your drive should remain inactive before it goes into power-saving
mode.
Power-saving mode conserves energy by telling your FreeAgent drive’s internal storage disk
to stop spinning when it is not in use. Though power-saving mode uses less electricity, it takes
a little more time for your drive to become active again when you want to use it.
If you use your drive a lot, you may want to choose a longer time interval, so that your work is
not interrupted when opening files from or saving files to your FreeAgent.
If you use your drive less frequently, you may want to choose a shorter time interval, so that
your FreeAgent is not consuming more energy than it needs.

Seagate Manager User Guide for Use With Your FreeAgent Drive 8
Managing Your Drives Settings
To adjust the power setting,
Step 1: In the My Drives window, click External Storage.
Step 2: Select the FreeAgent drive you want to adjust and click Settings.
The Settings window opens.
Step 3: Click Adjust Power Setting.
The Adjust Power Setting window opens.
Step 4: Select an interval from the drop-down menu or click Default to return to the original
power setting time for the drive.
Step 5: Click Apply to save the power setting.
The Adjust Power Setting window confirms that the power setting for your drive
has been changed.
Step 6: Click OK to return to the My Drives window.
Testing Your Drive
Test your drive to check the health of your FreeAgent drive. The diagnostic utility performs its
tests without affecting the data on your drive.
To test your drive:
Step 1: In the My Drives window, click External Storage.
Step 2: Select the FreeAgent drive you want to test and click Settings.
The Settings window opens.
Step 3: Click Test My Drive.
The Test My Drive window opens.
Step 4: Click Test.
A progress bar indicates the progress of the test. When the test is complete, the
results are displayed.
If the diagnostic encounters an error during testing, the serial number of the bad
device is displayed with instructions to contact Seagate for service and support.
Step 5: Click OK.
Updating Your Software
The Software Update feature automatically informs you when an update is available for your
software. However, you can manually check to see if an update is available or you can turn off
the Software Update feature.
To check for software updates:
Step 1: In the My Drives window, click External Storage and then Settings.

Seagate Manager User Guide for Use With Your FreeAgent Drive 9
Managing Your Drives Drive Info
The Settings window opens.
Step 2: Click Check for Software Update.
The Software Update window opens.
Check for updates automatically is selected by default.
Step 3: To turn off Software Update, deselect Check for updates automatically.
Step 4: To check for updates now, click Check Now.
A Software Update window appears to inform you whether your software is up to
date or not.
If new software is available, you can download it from this window. To find out
more information about the new software, click More Info.
Adjust LED Control
The LED Control feature allows you to control the lights on your FreeAgent drive. Your drive
lights flicker to indicate drive activity and status.
Note: This feature is only available for FreeAgent drives.
Step 1: In the My Drives window, click External Storage.
Step 2: Select the FreeAgent drive you want to adjust and click Settings.
The Settings window opens.
Step 3: Click Adjust LED Control.
The Drive Lights window opens.
Step 4: To turn the drive lights off, click Turn lights off and click Apply.
To turn the drive lights back on, click Display status and activity lights and
click Apply.
The drive lights may automatically turn back on in the following situations:
•If power is turned off and back on for the FreeAgent
•If the FreeAgent is disconnected and reconnected
Drive Info
The Drive Info feature provides the following information about your FreeAgent drive:
•Volume
The name of your FreeAgent drive.
•Capacity
The total capacity of your FreeAgent drive.

Seagate Manager User Guide for Use With Your FreeAgent Drive 10
Managing Your Drives Storage Features
•Free Space
The amount of space remaining on your FreeAgent drive.
•File System
The Windows file system of your FreeAgent drive.
To view the Drive Info for your FreeAgent drive:
Step 1: In the My Drives window, click External Storage.
Step 2: Select the FreeAgent drive you want information about and click Drive Info.
The Drive Info window opens.
Step 3: To close the Drive Info window, click OK.
Storage Features
Using External Storage, you store files on your FreeAgent drive. You can backup or restore
your files using your FreeAgent drive.
Using Online Storage, you store files on the Internet using the Seagate Online Storage
website. You can share, backup or restore files using the Internet.
External Storage
To access Seagate FreeAgent and other external drives connected to your computer:
Step 1: Click External Storage.
All Seagate external drives appear.
Step 2: Select the drive you want to use with Seagate Manager.
Online Storage
To access the Online Storage features of Seagate Manager:
Step 1: From the My Drives window, click Online Storage.
The My Drives Online Storage window appears.
Note: If this is your first time using the Online Storage feature, you’ll need to create an account.
For more information, see Creating a Seagate Online Storage Account
Step 2: Do one of the following:
• To back up or restore files, click Backup in the command panel.
The Backup Online Storage window appears.

Seagate Manager User Guide for Use With Your FreeAgent Drive 11
Managing Your Drives Storage Features
• To access the Seagate Online Storage website, click Online in the command
panel.
A web browser window opens and the Seagate Online Storage website
appears.
For more information about backing up and restoring files, see Backing Up and
Restoring Folders on a FreeAgent Drive and to Online Storage

Seagate Manager User Guide for Use With Your FreeAgent Drive 12
Backing Up and Restoring Folders on a FreeAgent Drive and to Online Storage
Backing Up and Restoring
Folders on a FreeAgent Drive
and to Online Storage
With Seagate Manager, you can back up valuable files to your FreeAgent drive. You can also
back up your files to the Internet, with the Seagate Online Storage feature.
Each file you choose to back up from your computer is copied to your FreeAgent drive or
Seagate Online Storage. If you ever lose one of the original files on your computer, you can
easily restore it from the backup version.
For increased data security, you can back up your files to an encrypted folder on your
FreeAgent. Folder encryption uses AES 256-bit encryption to ensure your private files can’t be
accessed without your encryption password. Files that you back up to Seagate Online Storage
are also encrypted and are protected, as well, during the backup and restore processes, with
a secure connection..
Figure 1: Backup for External Storage

Seagate Manager User Guide for Use With Your FreeAgent Drive 13
Backing Up and Restoring Folders on a FreeAgent Drive and to Online Storage Backup Features
Backup Features
The Seagate Manager Backup features allow you to:
•Back up folders to a FreeAgent drive or the Internet
•Restore backed-up files from a FreeAgent drive or the Internet
•Schedule the backup of selected folders
•Edit backup settings
•Launch an immediate file backup
•Use the same backup plan for multiple FreeAgent drives
•Restore backed-up files
•Back up your files to an encrypted folder
After the initial backup, Seagate Manager backs up changed files in backed-up folders on a
schedule you set or when you click Back Up Now in the Backup window.
Note: The Seagate Manager backup feature does not back up locked files.
Figure 2: Backup for Online Storage

Seagate Manager User Guide for Use With Your FreeAgent Drive 14
Backing Up and Restoring Folders on a FreeAgent Drive and to Online Storage Backup Features
Backup Plans for your FreeAgent
You can create one Backup Plan for each FreeAgent drive connected to your computer. You
can select either of two types of Backup Plans:
•Simple Backup: Pre-configured to back up your XP My Documents or your Vista
Personal Folder folder daily at 10:00 p.m.
— OR —
•Custom Backup: You select the folders to be backed up and set a backup
destination and schedule.
— OR —
•Drive Rotation: You can use the same backup plan with two or more FreeAgent
drives.
Backup Plans for Online Storage
You can create one Online Backup Plan per computer on up to two computers. For example,
you could create one for your work computer and one for your home computer.
You can select either of two types of Online Backup Plans:
•Simple Backup: Pre-configured to back up your XP My Documents or your Vista
Personal Folder folder daily at 11:00 p.m.
— OR —
•Custom Backup: You select the folders to be backed up and set a backup
destination and schedule.
Creating a Seagate Online Storage Account
The first time you use Online Storage, you need to create an account.
To create an account:
Step 1: Connect your FreeAgent drive.
Step 2: Click My Drives.
The My Drives window opens.
Step 3: Click Online Storage.
The My Drives Online Storage window opens.
Step 4: Click Backup or Online in the Command panel.
Step 5: The Online Storage Account window opens.
Step 6: Click Create an online account.
The Create Account window appears.

Seagate Manager User Guide for Use With Your FreeAgent Drive 15
Backing Up and Restoring Folders on a FreeAgent Drive and to Online Storage Creating a Backup Plan
Step 7: Enter your email address, create a password and re-enter that password.
Step 8: Select your country of residence from the list.
Step 9: Click the checkbox next to I accept the Terms and Conditions.
Note: If you wish to read Terms and Conditions, you can do so by clicking the I accept the
Terms and Conditions link.
Step 10: Click Create Account.
Note: If you clicked Online in step 3, A web browser opens and the Seagate Online Storage Log
In page appears. If you wish, you can log in to review the features available on the
Seagate Online Storage website.
You will receive a Seagate Online Storage Welcome email, at the email address
you provided, confirming your new account.
Your Seagate Online Storage account is now created.
From now on, as long as you are connected to the Internet, when you click Online
Storage from the My Drives page and then click Backup, Seagate Manager
automatically connects you to your Seagate Online Storage account. You do not
need to log in or go to the Seagate Online website.
Backing up and restoring files using Seagate Online Storage works the same way
as backing up and restoring files using your FreeAgent drive, except that you use
the Internet instead of your FreeAgent drive.
Creating a Backup Plan
Seagate Manager provides several options for creating a backup plan:
•Using Simple Backup with FreeAgent
•Using Simple Backup with Seagate Online Storage
•Creating a Custom Backup for FreeAgent
•Creating a Custom Backup for Seagate Online Storage
•Drive Rotation with FreeAgent (for more than one drive)
Using Simple Backup with FreeAgent
Use Simple Backup to back up your XP My Documents or Vista Personal Folder folder daily
at 10 p.m.
To use Simple Backup:
Step 1: Click My Drives in the Command panel.
Step 2: Click External Storage and select the FreeAgent drive to which you want to
back up.

Seagate Manager User Guide for Use With Your FreeAgent Drive 16
Backing Up and Restoring Folders on a FreeAgent Drive and to Online Storage Creating a Backup Plan
Step 3: Click Backup in the Command panel.
The Backup window opens.
Step 4: Click Simple Backup.
A Simple Backup Confirmation window confirms that you’ve selected Simple
Backup and asks you to name this Backup Plan.
Step 5: Enter a name for your Backup Plan and click OK.
The Backup window now offers the options of editing your backup settings,
restoring backed-up files and deleting backup plans. It also describes your
Backup Plan. Scheduled backup is turned on.
Using Simple Backup with Online Storage
Use Simple Backup to back up your XP My Documents or Vista Personal Folder folder to
Seagate Online Storage daily at 11 p.m.
To use Simple Backup with Seagate Online Storage:
Step 1: Click My Drives in the Command panel.
Step 2: Click Online Storage.
The Online Storage window appears.
Step 3: Click Backup in the Command panel.
The Backup Online Storage window opens.
Step 4: Click Simple Backup.
A Simple Backup Confirmation window confirms that you’ve selected Simple
Backup and asks you to name this Backup Plan.
Step 5: Enter a name for your Backup Plan and click OK.
The Backup window now offers the options of editing your backup settings,
restoring backed-up files and describes your Backup Plan. Scheduled Backup is
turned on.
Creating a Custom Backup with FreeAgent
To select specific folders and a schedule for backup to your FreeAgent drive:
Step 1: On the My Drives page, click External Storage.
Step 2: Select the FreeAgent drive to which you want to backup.
Step 3: Click Backup in the Command panel.
The Backup window opens.
Step 4: In the Backup window, click Custom Backup.

Seagate Manager User Guide for Use With Your FreeAgent Drive 17
Backing Up and Restoring Folders on a FreeAgent Drive and to Online Storage Creating a Backup Plan
The Backup Folder Selection window opens.
Step 5: Name your Backup Plan, select the folders to be backed up, and click Next.
The Backup File Types window opens.
Step 6: Select the types of files you want to back up:
• All File Types
• Photos, Music, Videos, Documents
Back up any or all of these types of files:
• Custom
Select specific file types to include or exclude for backup:
— To back up only a few of the available file types,
1. Select Include these file types.
2. Select each file type you do want to back up and click Add to move it to the
Include list.
— To back up most of the available file types,
1. Select Exclude these file types.
2. Select each file type you don’t want to back up and click Add to move it to the
Exclude list.
Note: File extensions are the suffix characters to the right of a file name that define the file
format.
Step 7: Click Next.
The Backup Schedule window opens.
Step 8: Select the days and time you want to back up your folders.
You have the option of backing up your files to an encrypted folder.
Note: If you do not wish to encrypt your backup, skip to step 13.
Step 9: To encrypt your backup, click Enable Encryption.
• If you do not have an encrypted folder or you have one but have not created a
password for it yet, the Folder Encryption window opens. Go to step 10.
• If you already have an encrypted folder and it is currently open, a checkmark
will appear in the Enable Encryption checkbox. Go to step 11.
Step 10: Create a password, re-type that password and click OK.
Step 11: Click Finish.
The Backup window now displays the details of your backup and Scheduled
Backup is turned on.

Seagate Manager User Guide for Use With Your FreeAgent Drive 18
Backing Up and Restoring Folders on a FreeAgent Drive and to Online Storage Creating a Backup Plan
Creating a Custom Backup with Online Storage
To select specific folders and a schedule for backup to Seagate Online Storage:
Step 1: Click My Drives in the Command panel.
Step 2: Click Online Storage.
The Online Storage window appears.
Step 3: Click Backup in the Command panel.
The Backup Online Storage window opens.
Note: If you have already created an External Storage backup plan for your FreeAgent drive, you
can select Copy the existing folder selection, to select the same folders for online
backup that you chose for backup to your FreeAgent drive.
Step 4: Click Custom Backup.
The Backup Folder Selection window opens.
Step 5: Name your Backup Plan, select the folders to be backed up (unless you selected
all you want by copying the existing folder selection in Step 3), and click Next.
The Backup File Types Online Storage window opens.
Step 6: Select the types of files you want to back up:
• All File Types
• Photos, Music, Videos, Documents
Back up any or all of these types of files:
• Custom
Select specific file types to include or exclude for backup:
— To back up only a few of the available file types:
1. Select Include these file types.
2. Select each file type you do want to back up and click Add to move it to the
Include list.
— To back up most of the available file types:
1. Select Exclude these file types.
2. Select each file type you don’t want to back up and click Add to move it to the
Exclude list.
Note: File extensions are the suffix characters to the right of a file name that define the file
format.
Step 7: Click Next.

Seagate Manager User Guide for Use With Your FreeAgent Drive 19
Backing Up and Restoring Folders on a FreeAgent Drive and to Online Storage Creating a Backup Plan
The Backup Schedule window opens.
Step 8: Select the days and time you want to back up your folders and click Finish.
The Backup window now displays the details of your backup and Scheduled
Backup is turned on.
Drive Rotation with FreeAgent
With Drive Rotation, you can use one backup plan with multiple FreeAgent drives. This is
useful if you have files that are so important that you want to give yourself the added security
of backing them up to more than one drive.
Step 1: Connect the first FreeAgent drive to which you want to back up your files.
Step 2: Click My Drives in the command panel.
The My Drives page opens.
Step 3: Select your drive (if not already selected).
Step 4: Click Backup in the command panel.
The Backup window opens.
Step 5: Create a backup plan for this drive (if you haven’t done so already).
This backup plan can be either a simple or custom backup plan.
Step 6: Connect your second FreeAgent drive.
Step 7: Click My Drives in the command panel.
The My Drives page opens.
Step 8: Select the second drive.
Step 9: Click Backup in the command panel.
The Backup window opens.
Step 10: Click Drive Rotation.
The Backup Drive Rotation window opens.
Step 11: Select the Backup Plan you want to use with your second FreeAgent drive.
Step 12: Click OK.
The Backup window opens, displaying the plan you selected as the Active Plan
and indicating Scheduled Backup is turned on.
You can share your backup plan additional drives by repeating steps 6 - 12, if
you wish.
Step 13: Each time backup takes place, your files will be backed up to as many of the
drives with which you have shared your backup plan as are connected at that time.
If only one of the drives is connected, then your files will backed up to only that
drive. If all of the drives are connected, then your files will be backed up to all
of them.

Seagate Manager User Guide for Use With Your FreeAgent Drive 20
Backing Up and Restoring Folders on a FreeAgent Drive and to Online Storage Managing Backup Settings
Managing Backup Settings
Once you create a backup plan, the Backup window displays:
•The active backup plan
•Which file types will be backed up
•The time of the backup
•The Scheduled Backup (On/Off) setting
Editing Backup Settings for FreeAgent
To edit the settings of a Backup Plan for your FreeAgent:
Step 1: Click My Drives in the Command panel.
Step 2: Click External Storage and select your FreeAgent.
Step 3: Click Backup in the Command panel.
The Backup window opens.
Step 4: In the Backup window, click Edit Backup Settings.
The Backup Folder Selection window displays your current Backup Plan name
and folder selection:
Step 5: Edit the Backup Plan Name and/or the folder selection(s) and click Next.
The Backup File Types window displays your current selections.
Step 6: Edit the types of files to be backed up and click Next.
The Backup Schedule window displays your current schedule.
Note: If you previously had encryption enabled, it remains enabled (displaying a checkmark).
You cannot edit the encryption settings for your backup. The only way to enable or disable
encryption for a backup is to do it when you create the backup plan.
Step 7: Edit the days and/or time you want to back up your folders.
If this drive previously participated in Drive Rotation (sharing a backup plan with
another FreeAgent drive), the Next button is displayed. If not, the Finish button is
displayed.
Step 8: Click Next or Finish.
If you clicked Finish:
The Backup window now displays the new details of your backup and Scheduled
Backup is turned on. You have completed editing of your backup settings.
If you clicked Next:
The Backup Options window opens, showing a list of drives to which this plan
backs up. Go to the next step.
Other manuals for FreeAgent Theater
2
This manual suits for next models
1
Table of contents
Other Seagate Software manuals
Popular Software manuals by other brands

AMX
AMX TPDESIGN3 V3.16 instruction manual

Sony Ericsson
Sony Ericsson K500i Regulatory information

NEC
NEC LCD2490W2-BK-SV - MultiSync - 24" LCD... user guide

Paradyne
Paradyne Jetstream CPX-1000 user guide

Sony
Sony MEX 1GP - Giga Panel Radio operating instructions

Altigen
Altigen AltiAgent ActiveX Programmer's guide

Fluke
Fluke 750SW user manual

Juniper
Juniper SECURITY THREAT RESPONSE MANAGER 2008.2 R2 - INSTALLATION... installation guide

Casio
Casio Physium Application user guide

Brother
Brother PE-DESIGN2.0 instruction manual

Novell
Novell ZENWORKS LINUX MANAGEMENT 7.2 IR2 - ... troubleshooting guide

Adaptec
Adaptec GDTSETUP user manual