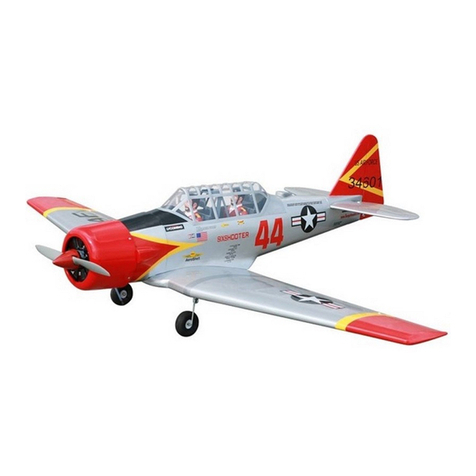
FAIRCHILD PT-19 Instruction Manual
19
FLIGHT PREPARATION.
1) Check the operation and direction of
the elevator, rudder, ailerons and throttle.
A) Plug in your radio system per the
manufacturer's instructions and turn every-
thingon.
B) Check the elevator first. Pull back
on the elevator stick. The elevator halves
shouldmoveup. Ifittheydonot,flipthe servo
reversingswitch on your transmitter to change
the direction.
C) Check the rudder. Looking from
behind the airplane, move the rudder stick to
theright. Theruddershouldmove to the right.
! 4) By movingthe position of theadjust-
able control horn out from the control surface,
you will decrease the amount of throw of that
control surface. Moving the adjustable con-
trol horn toward the control surface will in-
crease the amount of throw.
! 2) Turn on the radio system, and with
thetrimtabsonthetransmitterinneutral,cen-
ter the control surfaces by making adjust-
mentstotheclevisesor adjustable servo con-
nectors. The servo arms should be centered
also.
! 3) When the elevator, rudder and aile-
ron control surfaces are centered, use a ruler
and check the amount of the control throw in
each surface. The control throws should
be measured at the widest point of each
surface!
2) Check Control Surface Throw.
A) The Rudder should move 3/4” left
and 3/4” right from center. If it moves too far,
turn theadjustable control horn out awayfrom
the rudder. Do the opposite if there is not
enough throw.
B) Both elevator halves should move
3/8”upand3/8”downfromcenter. Iftheymove
too far, turn the adjustable control horns out
away from the elevator halves. Do the oppo-
siteifthereisnot enough throw. Bothelevator
halves should also travel the same amount
throughout their total movement.
C) Theaileronsshouldmove 3/16” up
and 3/16” down from center. If the ailerons
move too much, turn the adjustable control
horns out away from the wing. Do the oppo-
site if there is not enough throw. It is impor-
tantthat both aileronsmovethesame amount,
both up and down.
D) Once thecontrolthrows andmove-
ments are set, tubing must be added to the
clevises to ensure they do not release in the
air. Cut a piece of fuel line into five 1/4” long
pieces. Unsnap the clevises and slip one
pieceover eachclevis. Snaptheclevisesback
in place and slide the tubing up over them.
should move up and the other aileron should
move down. If it does not, flip the servo re-
versing switch on your transmitter to change
the direction.
E) From behind the airplane, look at
the aileron on the right wing half. Move the
aileron stick to the right. The right aileron
D) Check the throttle. Moving the
throttle stick forward should open the carbu-
retor barrel. If it does not, flip the servo re-
versing switch on your transmitter to change
the direction.
Ifitdoesnot,fliptheservoreversingswitchon
your transmitter to change the direction.
INITIALFLYING/SPORT FLYING
Ailerons: 3/16” up 3/16” down.
Elevator: 3/8” up 3/8” down.
Rudder: 1” right 1” left.
AEROBATICFLYING
Ailerons: 3/8” up 3/8”down.
Elevator: 1” up 1”down.
Rudder: 2” right 2”left.
Donot use theaerobatic settings for
initialtest flyingor sportflying.


