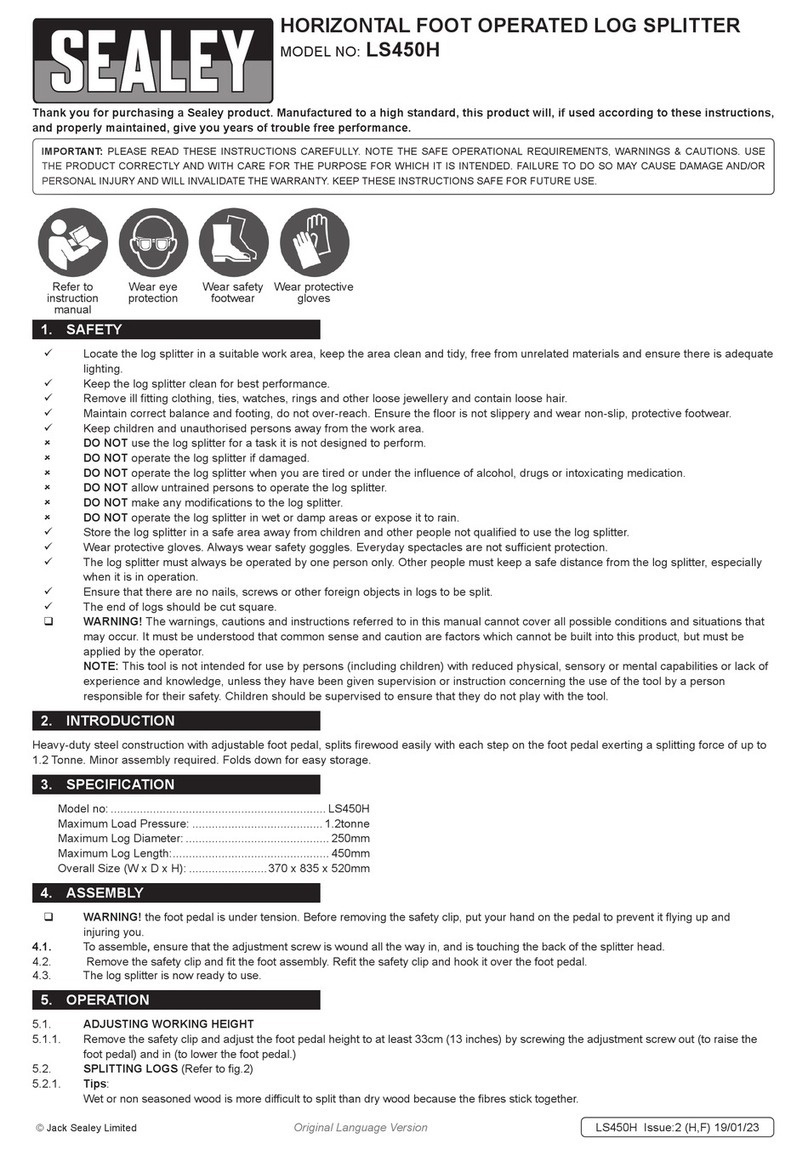
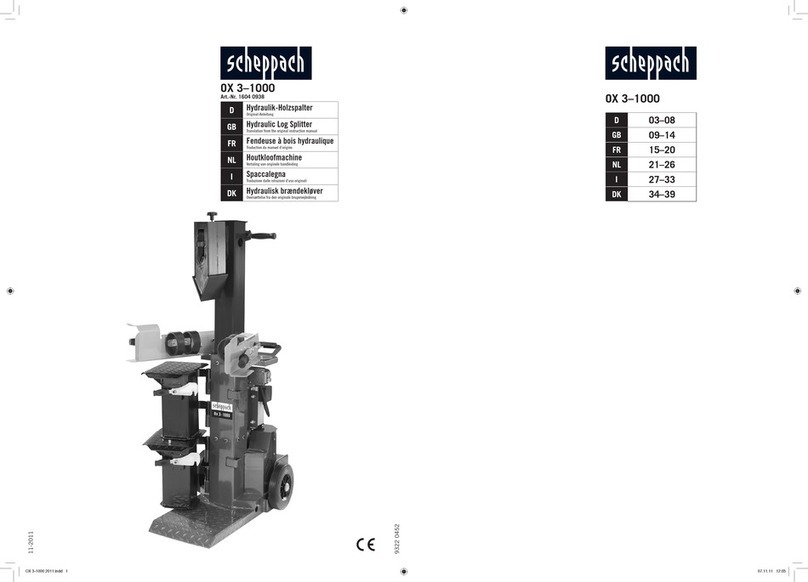
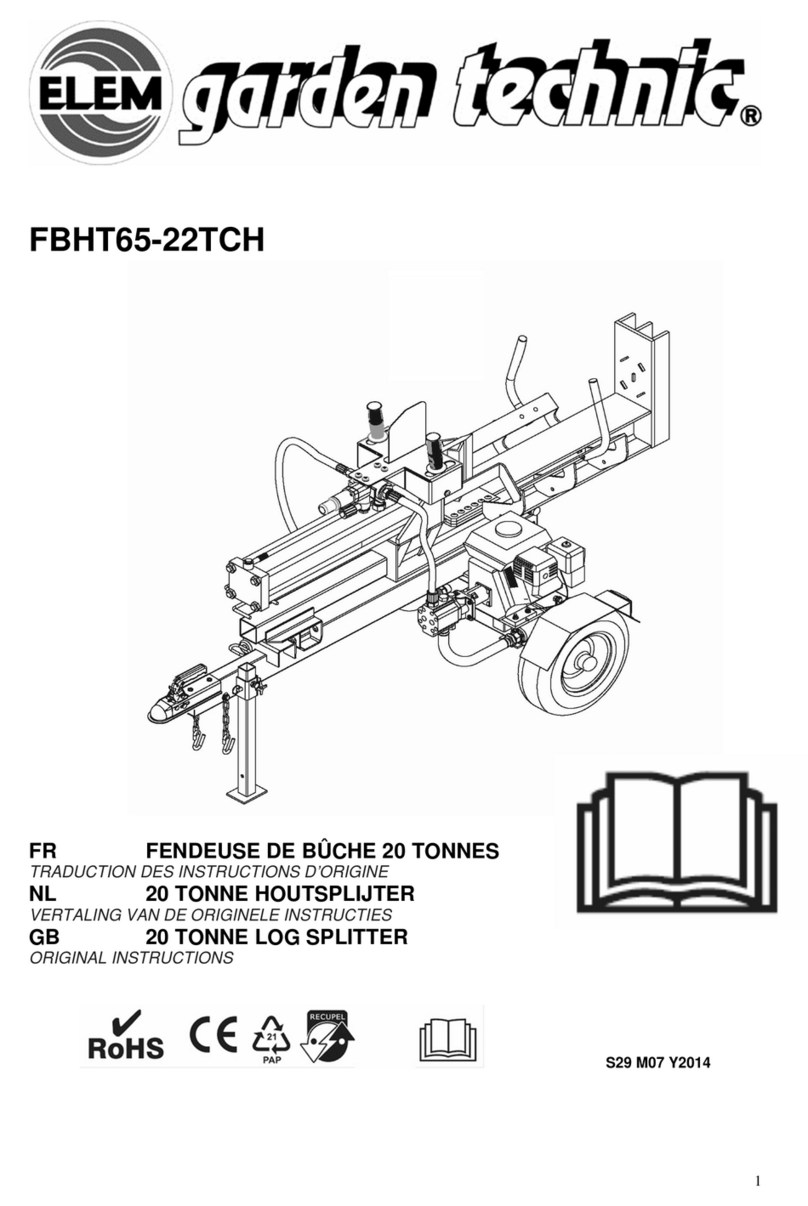
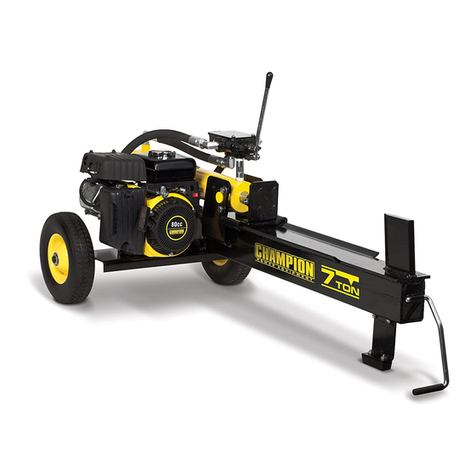
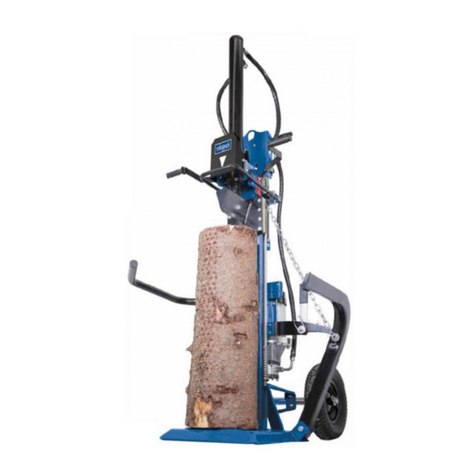
Sealey LS575VH.v2 User manual

INSTRUCTIONS FOR:
HYDRAULIC LOG SPLITTER 8TONNE
575MM CAPACITY VERTICAL TYPE
MODEL: LS575VH.V2
Thank you for purchasing a Sealey product. Manufactured to a high standard this product will, if used according to these instructions and
properly maintained, give you years of trouble free performance.
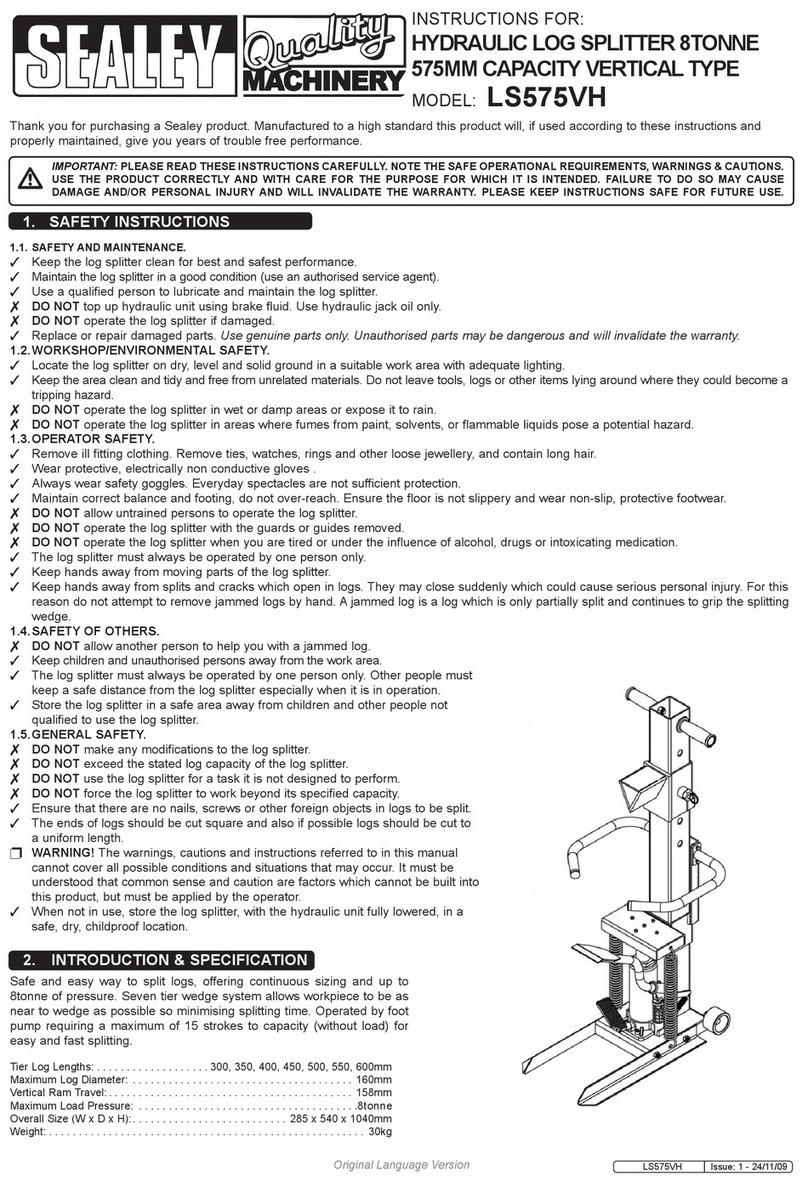
Safe and easy way to split logs, offering continuous sizing and up to
8tonne of pressure. Seven tier wedge system allows workpiece to be as
near to wedge as possible so minimising splitting time. Operated by foot
pump requiring a maximum of 15 strokes to capacity (without load) for
easy and fast splitting.
Tier Log Lengths: ...................300, 350, 400, 450, 500, 550, 600mm
Maximum Log Diameter: ..................................... 160mm
Vertical Ram Travel: ......................................... 158mm
Maximum Load Pressure: .....................................8tonne
Overall Size (W x D x H):.......................... 285 x 540 x 1040mm
Weight: ..................................................... 30kg
2. INTRODUCTION & SPECIFICATION
IMPORTANT: PLEASE READ THESE INSTRUCTIONS CAREFULLY. NOTE THE SAFE OPERATIONAL REQUIREMENTS, WARNINGS & CAUTIONS.
USE THE PRODUCT CORRECTLY AND WITH CARE FOR THE PURPOSE FOR WHICH IT IS INTENDED. FAILURE TO DO SO MAY CAUSE
DAMAGE AND/OR PERSONAL INJURY AND WILL INVALIDATE THE WARRANTY. PLEASE KEEP INSTRUCTIONS SAFE FOR FUTURE USE.
1. SAFETY INSTRUCTIONS
1.1. SAFETY AND MAINTENANCE.
3 Keep the log splitter clean for best and safest performance.
3 Maintain the log splitter in a good condition (use an authorised service agent).
3 Use a qualified person to lubricate and maintain the log splitter.
7 DO NOT top up hydraulic unit using brake fluid. Use hydraulic jack oil only.
7 DO NOT operate the log splitter if damaged.
3 Replace or repair damaged parts. Use genuine parts only. Unauthorised parts may be dangerous and will invalidate the warranty.
1.2.WORKSHOP/ENVIRONMENTAL SAFETY.
3 Locate the log splitter on dry, level and solid ground in a suitable work area with adequate lighting.
3 Keep the area clean and tidy and free from unrelated materials. Do not leave tools, logs or other items lying around where they could become a
tripping hazard.
7 DO NOT operate the log splitter in wet or damp areas or expose it to rain.
7 DO NOT operate the log splitter in areas where fumes from paint, solvents, or flammable liquids pose a potential hazard.
1.3.OPERATOR SAFETY.
3 Remove ill fitting clothing. Remove ties, watches, rings and other loose jewellery, and contain long hair.
3 Wear protective, electrically non conductive gloves .
3 Always wear safety goggles. Everyday spectacles are not sufficient protection.
3 Maintain correct balance and footing, do not over-reach. Ensure the floor is not slippery and wear non-slip, protective footwear.
7 DO NOT allow untrained persons to operate the log splitter.
7 DO NOT operate the log splitter with the guards or guides removed.
7 DO NOT operate the log splitter when you are tired or under the influence of alcohol, drugs or intoxicating medication.
3 The log splitter must always be operated by one person only.
3 Keep hands away from moving parts of the log splitter.
3 Keep hands away from splits and cracks which open in logs. They may close suddenly which could cause serious personal injury. For this
reason do not attempt to remove jammed logs by hand. A jammed log is a log which is only partially split and continues to grip the splitting
wedge.
1.4.SAFETY OF OTHERS.
7 DO NOT allow another person to help you with a jammed log.
3 Keep children and unauthorised persons away from the work area.
3 The log splitter must always be operated by one person only. Other people must
keep a safe distance from the log splitter especially when it is in operation.
3 Store the log splitter in a safe area away from children and other people not
qualified to use the log splitter.
1.5.GENERAL SAFETY.
7 DO NOT make any modifications to the log splitter.
7 DO NOT exceed the stated log capacity of the log splitter.
7 DO NOT use the log splitter for a task it is not designed to perform.
7 DO NOT force the log splitter to work beyond its specified capacity.
3 Ensure that there are no nails, screws or other foreign objects in logs to be split.
3 The ends of logs should be cut square and also if possible logs should be cut to
a uniform length.
pWARNING! The warnings, cautions and instructions referred to in this manual
cannot cover all possible conditions and situations that may occur. It must be
understood that common sense and caution are factors which cannot be built into
this product, but must be applied by the operator.
3When not in use, store the log splitter, with the hydraulic unit fully lowered, in a
safe, dry, childproof location.
Original Language Version LS575VH.V2 Issue: 1 - 07/02/13
© Jack Sealey Limited

3. ASSEMBLY & PREPARATION
3.1. Assembly.
3.1.1. Attach the hydraulic pump to the base by using two M8 allen
bolts (fig.1).
3.2. Transportation.
Carefully tip the log splitter backwards onto it's wheels, using
the handles to transport it short distances.
3.3. Work site preparation.
Plan the work site beforehand to ensure a safe working
environment and to save effort by positioning the logs so they
can easily be reached. Ensure that the log splitter is
positioned on firm and level ground. Locate site so that the
split wood can be stacked or loaded directly into a suitable
vehicle or trailer.
When cutting up wood for splitting, bear in mind the capacity
of the splitter, which is between 300mm and 600mm in 50mm
steps. Decide which length is most appropriate and cut the
wood slightly shorter than the set length.
Original Language Version LS575VH.V2 Issue: 1 - 07/02/13
3.1.3. Attach the two feet to the bottom of the main post, Secure
each foot using two M10 bolts, two lock washers Ø10 and
two M10 nuts. Bolt through the two outer holes (fig.2).
3.1.4. Slide the wedge assembly over the main post and locate
the pins into one of the sets of locating holes (fig.3).
3.1.5. Attach the two handles to the top of the log splitter, one
handle per side. Secure each handle using a lock washer Ø10
and a M10 nut (fig.3).
3.1.2. Slide the log support over the main post and down onto the
hydraulic pump unit (fig.1).
3.1.6. Attach foot pedal by inserting into the hydraulic pump socket.
Tighten bolt to secure the foot pedal in place (fig.4).
3.1.7. Attach the two springs into the centre holes of the feet.
Then attach the other ends of the springs to the log support.
(fig.5).
3.1.8. Attach the two log cradle arms to the splitter using four M6
bolts and four lock washers (fig.6).
Fig.1
Fig.2
Fig.3
Fig.5
Fig.6
Fig.4
© Jack Sealey Limited

p WARNING! Ensure you read, understand and apply the safety
instructions in Section 1 before use.
p WARNING! This system has been designed to prevent the
operator from handling the log during the splitting process.
For safety reasons the operator must not ask a second
person to place or handle the log. The system is designed to
be operated by one person only.
p WARNING! Always split a log along its grain. Never attempt to
split a log laid across the machine as this could be dangerous
for the operator and could seriously damage the splitter.
Never attempt to split a log if it is sitting at an angle.
4.1. Pump the foot pedal of the hydraulic pump to raise the splitter
log support to a suitable working height.
4.2. Place a log securely on the log support.
4.3. When logs of approximately the same length are to be split, the
wedge can be set to avoid having to pump the ram to operate
through it's full stroke every time. Pull both of the wedge release
pins out of the locating holes in the post, and adjust the wedge
as near to the log as possible and replace the wedge release
pins ensuring that they have both located into a hole - Make
sure the wedge release pins are firmly seated in the post holes
before continuing - the wedge may have to be raised slightly to
do this.
4. OPERATING INSTRUCTIONS
5.1. Hydraulic pump.
To add oil to the hydraulic pump:
5.1.1. Remove the two springs from the log support and undo the 2
allen bolts, remove the hydraulic unit from the base unit.
5.1.2. Position the hydraulic unit vertically and remove the round rubber
oil plug on the back of the unit's housing. Using a piece of wire or
similar, dip into the oil to check it's level. It should be
immediately below the plug hole (¾ full). Add hydraulic jack oil if
required (see 5.1.4. for specification).
5.1.3. Replace the rubber oil plug and re-assemble the log splitter.
5.1.4. After one year the hydraulic oil should be replaced in order to
extend the life of the unit. Use hydraulic jack oil only.
IMPORTANT: Only fully qualified personnel should attempt
hydraulic maintenance or repair.
NOTE: Use a good quality hydraulic jack oil, such as SEALEY
HYDRAULIC JACK OIL.
p WARNING! DO NOT use brake fluid, or any fluid other than
hydraulic jack oil, as this may cause serious damage to the
pump and will invalidate the warranty.
5.1.5. When draining the oil make sure that no dirt is allowed to
enter the hydraulic unit.
5.1.6. Periodically check the hydraulic unit's piston and ram for signs
of corrosion. Clean exposed areas with a clean oiled cloth.
5.2. Hydraulic pump will not lift.
5.2.1. The oil level may be low. Check oil level as described in section
5.1.2. and top up if necessary.
5.2.2. The pump may have air trapped in the system. To eliminate
trapped air, open the release valve by pushing on the release
lever and pump the foot pedal of the pump at the same time,
through its full stroke, five or six times. Close the release valve.
5.2.3. Hydraulic pump's piston 'O' ring seal may have become worn. If
this is suspected take the jack to an approved agent for
servicing.
5. MAINTENANCE
IMPORTANT: NO RESPONSIBILITY IS ACCEPTED FOR INCORRECT USE OF THIS PRODUCT.
Hydraulic products are only repaired by local service agents. We have service/repair agents in all parts of the UK.
DO NOT ReTuRN THe PRODucT TO us. Please telephone us on 01284 757500 to obtain the address and phone number of your local agent. If product is
under guarantee please contact your dealer. DE-COMMISSIONING PRODUCT Should the product become completely unserviceable and require disposal, draw
off the oil into an approved container and dispose of the product and the oil according to local regulations.
NOTe: It is our policy to continually improve products and as such we reserve the right to alter data, specifications and component parts without prior notice.
IMPORTANT: No liability is accepted for incorrect use of this product.
WARRANTY: Guarantee is 12 months from purchase date, proof of which will be required for any claim.
INFORMATION: For a copy of our latest catalogue and promotions call us on 01284 757525 and leave your full name and address, including postcode.
01284 757500
01284 703534
sales@sealey.co.uk
Sole UK Distributor, Sealey Group,
Kempson Way, Suffolk Business
Park, Bury St. Edmunds, Suffolk,
IP32 7AR
www.sealey.co.uk
Web
email
Original Language Version LS575VH.V2 Issue: 1 - 07/02/13
4.4. Ensure the log is stable and keeping hands out of the way of the
wedge, pump the foot pedal to raise the log up tight against the
wedge, continue with even strokes of the foot pedal until the log
is split.
4.5. Remove or stack the logs as you work and regularly clear the
area of any accumulated wood chips and other debris to keep
the work area safe.
4.6. To lower the splitter log support, release the pressure from the
hydraulic pump by pushing on the release lever and then apply
downward pressure to the log support.
4.7. Wipe down the log splitter to remove tree sap or dirt after each
use and tidy the work area ready for the next work session.
4.8. When the splitter is not in use, thoroughly clean it and store it
in a dry location with the hydraulic pump at it's lowest position to
minimise corrosion.
Fig.7
© Jack Sealey Limited
Parts support is available for this product. to obtain a parts listing and/or diagram, please log on to www.sealey.co.uk,
email: sales@sealey.co.uk or telephone: 01284 757500.
Other Sealey Log Splitter manuals

Sealey
Sealey LS550V User manual

Sealey
Sealey LS370H User manual

Sealey
Sealey LS370H User manual

Sealey
Sealey LS450H User manual

Sealey
Sealey LS370H.V2 User manual

Sealey
Sealey LS575VH.V2 User manual

Sealey
Sealey LS575VH User manual

Sealey
Sealey LS450H User manual

Sealey
Sealey LSH180V User manual

Sealey
Sealey LS1050V User manual