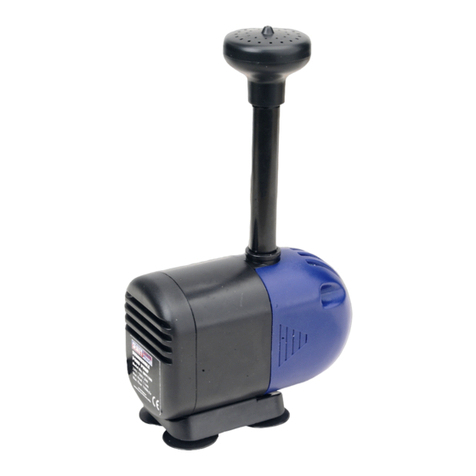
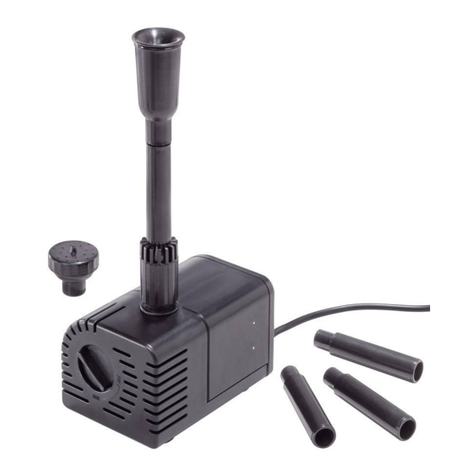
Sealey WPP2300 User manual

1.1. ELECTRICAL SAFETY
WARNING! It is the owner’s responsibility to read, understand and comply with the following:
You must check all electrical equipment and appliances to ensure they are safe before using. You must inspect power supply leads, plugs and
all electrical connections for wear and damage. You must ensure the risk of electric shock is minimised by the installation of appropriate safety
devices. An RCCB (Residual Current Circuit Breaker) should be incorporated in the main distribution board. We also recommend that an RCD
(Residual Current Device) is used with all electrical products. It is particularly important to use an RCD together with portable products that are
plugged into an electrical supply not protected by an RCCB. If in doubt consult a qualified electrician. You may obtain a Residual Current
Device by contacting your Sealey dealer. You must also read and understand the following instructions concerning electrical safety.
1.1.1. The Electricity At Work Act 1989 requires all portable electrical appliances, if used on business premises, to be tested by
a qualified electrician, using a Portable Appliance Tester (PAT), at least once a year.
1.1.2. The Health & Safety at Work Act 1974 makes owners of electrical appliances responsible for the safe condition of the appliance
and the safety of the appliance operator. If in any doubt about electrical safety, contact a qualified electrician.
1.1.3. Ensure the insulation on all cables and the product itself is safe before connecting to the mains power supply. The pump and cable are
designed for submerging in water and as such must not be tampered with (if in doubt, contact a qualified electrician).
1.1.4. Ensure that cables are always protected against short circuit and overload.
1.1.5. Regularly inspect power supply leads, plugs and all electrical connections for wear and damage, especially power connections, to
ensure that none is loose.
1.1.6. Important: Ensure the voltage marked on the product is the same as the electrical power supply to be
used, and check that plugs are fitted with the correct capacity fuse. A 13 amp plug may require a fuse
smaller than 13 amps for certain products, see fuse rating at right.
1.1.7. DO NOT pull or carry the appliance by its power supply lead.
1.1.8. DO NOT pull power plugs from sockets by the power cable.
1.1.9. DO NOT use worn or damaged leads, plugs or connections. Immediately replace or have
repaired by a qualified electrician. A U.K. 3 pin plug with ASTA/BS approval is fitted. In case
of damage, cut off and fit a new plug according to the following instructions (discard old plug
safely).
(UK only - see diagram at right). Ensure the unit is correctly earthed via a three-pinplug.
a) Connect the GREEN/YELLOW earth wire to the earth terminal ‘E’.
b) Connect the BROWN live wire to live terminal ‘L’.
c) Connect the BLUE neutral wire to the neutral terminal ‘N’.
d) After wiring, check that there are no bare wires, that all wires have been correctly
connected, that the cable outer insulation extends beyond the cable restraint and that
the restraint is tight.
1.1.10. The electrical cable is designed for use in water and must not be substituted. If damaged contact a qualified electrician.
1.1.11. Extension cable use. Only use a cable designed for use with water equipment. Contact your dealer or a qualified electrician
for advice. Ensure water is kept clear of electrical mains power supply. DO NOT touch switch or plug with wet hands.
INSTRUCTIONS FOR:
SUBMERSIBLE POND PUMPS
Thank you for purchasing a Sealey product. Manufactured to a high standard this product will, if used according to these instructions and
properly maintained, give you years of trouble free performance.
1. SAFETY INSTRUCTIONS
IMPORTANT: PLEASE READ THESE INSTRUCTIONS CAREFULLY. NOTE THE SAFE OPERATIONAL REQUIREMENTS, WARNINGS & CAUTIONS.
USE THE PRODUCT CORRECTLY AND WITH CARE FOR THE PURPOSE FOR WHICH IT IS INTENDED. FAILURE TO DO SO MAY CAUSE
DAMAGE AND/OR PERSONAL INJURY AND WILL INVALIDATE THE WARRANTY. PLEASE KEEP INSTRUCTIONS SAFE FOR FUTURE USE.
Blue
Neutral
Wire
Yellow & Green
Earth Wire
Cable
Restraint
FUSE RATING
5AMP
Brown
Live
Wire
1.2. GENERAL SAFETY
WARNING! This pump must be used in accordance with Health & Safety, government, local authority and water authority rules and
regulations including appropriate procedures for the protection of persons, animals, equipment and property.
Familiarise yourself with application, limitations and potential hazards peculiar to the pump.
WARNING! Disconnect the pump from the mains power before changing accessories, servicing or performing any maintenance.
WARNING! DO NOT have contact with the water whilst the submerged pump is connected to the mains supply.
Maintain the pump in good condition (use an authorised service agent). Keep the pump clean.
Replace or repair damaged parts. Use genuine parts only. Unauthorised parts may be dangerous and will invalidate the warranty.
Switch off the power on all devices that are in contact with the water before carrying out any cleaning or maintenance work on the device.
DO NOT operate the pump if any parts are damaged or missing as this may cause failure and/or personal injury.
DO NOT use the pump for any purpose other than that for which it is designed.
DO NOT operate the pump out of water. The pump pick-up area must be completely submerged during operation.
DO NOT operate the pump during freezing temperatures. DO NOT leave the pump in water that may freeze.
DO NOT carry the pump by its electrical cable, or outlet pipe.
DO NOT use the device in water additionally chlorinated or in acidic or alkaline solutions.
DO NOT use in salt water.
DO NOT let the pump run dry. This can cause irreparable damage.
WPP2300 WPP2650 WPP3500
Original Language Version WPP2300, WP2650, WPP3500 Issue: 3 - 24/11/09

2. INTRODUCTION & SPECIFICATIONS
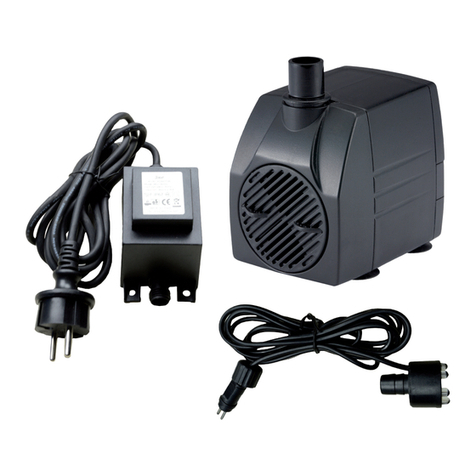
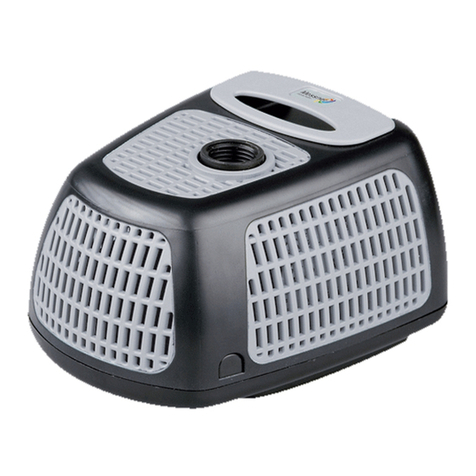
A range of pond pumps suitable for creating garden water features such as fountains and waterfalls. They also provide the important
functions of filtration and water circulation which are necessary to maintain healthy plant and fish life. Each pump is supplied with 5
fountain heads (Fig.3) and 10m of cable.
3. OPERATING INSTRUCTIONS
WARNING! Ensure that you read, understand and apply the safety instructions in Section 1.
3.1. Start-up.
3.1.1. Place the pump on a flat level surface which is raised from the bottom of the pond. This prevents the pump from clogging too quickly.
3.1.2.
You may use the pump lying on its side. You should however, make sure that the motor axis is horizontal, otherwise the shaft will be subject
to increased wear.
3.2. Cascade Fountain Mode.
3.2.1. When installing the pump in the pond, make sure that the fountain head projects above the water surface. Please refer to
Fig 1 and ensure the regulating valve Fig 1.1 is set at o° (turned all the way to the right). The delivery heights and diameters in Fig 1
correspond to a condition in which the fountain head is placed 50mm above the water surface.
Technical Data.
Model: WPP2300 WPP2650 WPP3500
Power Consumption: 55W 75W 95W
Max. Head: 2.3mtr 2.7mtr 3.0mtr
Max. Flow Rate: 2300ltr/h 2650ltr/h 3500ltr/h
Max. Submersion Depth: 2.3mtr 2.7mtr 3.0mtr
Power Cable: 10mtr 10mtr 10mtr
Max. Temp. of the Pumped Fluid: 35°C 35°C 35°C
Input: 230V 230V 230V
Protection Type: IP68 IP68 IP68
Fig 1
12
Refer to Fig 1. WPP2300 WPP2650 WPP3500
Diameter of 1st stage “C” 1100mm 1200mm 1320mm
Diameter of 2nd stage “B” 800mm 1000mm 1100mm
Delivery head of 1st stage “D” 700mm 900mm 990mm
Delivery of second stage “E” 1100mm 1450mm 1595mm
Max. delivery head “F” 1300mm 1800mm 1980mm
Refer to Fig 1 WPP2300 WPP2650 WPP3500
Distance from pump outlet to fountain head “G” 240-395mm 255-410mm 255-410mm
Distance from pump base to fountain head “H” 365-520mm 380-535mm 380-535mm
3.3 Fountain Heads.
3.3.1. A selection of fountain heads are supplied with the pump (fig 3). Choose the desired style and install onto the outlet pipe.
3.4. Fountain and Water Spout Connection.
3.4.1. Additional water spectacles can be connected to the water spout connection (Fig.1.2) with a hose of 19mm OD .
3.4.2. To open the spout connection, turn the regulating valve (Fig 1.1) anticlockwise between 0-90° to adjust the flow between
the spout and the fountain head.
3.5. Water Spout Only.
3.5.1. Turn the regulating valve all the way anticlockwise to 90°. All the water flow will now be through the water spout.
Fig 2
Original Language Version WPP2300, WP2650, WPP3500 Issue: 3 - 24/11/09

4. MAINTENANCE
WARNING! With the exceptions listed below, all pump and electrical cable service maintenance and repair must be
undertaken by an authorised service agent only. Failure to observe this rule may be dangerous and will invalidate your warranty.
WARNING!
Ensure that the pump is disconnected from the mains power supply before attempting any service or maintenance.
NOTE: The pump filter should only be cleaned out when necessary, as cleaning will simultaneously wash out the micro organisms which help
to keep the pond healthy. However, it should be cleaned whenever there is a noticeable deterioration in pump performance.
4.1. Cleaning the filter sponge.
4.1.1. Press the filter housing together on both sides (fig 4.1) and pull off the cover.
4.1.2. Remove the sponge filter (fig 4.2) from the housing and clean with clean cold water.
Caution: Never use the pump without the filter in place as this could lead to damage to the pump.
4.2. Cleaning the functioning parts.
4.2.1. Open the pump chamber lid (fig 4.3) by twisting it anti-clockwise a quarter turn and pulling it clear of the pump body.
4.2.2. Remove the magnetic impeller (fig 4.4) carefully from the shaft. As this is done the magnetic force of the impeller must be overcome.
4.2.3. Do not use any implements to remove dirt from inside the pump, but simply wash it out with lukewarm water.
4.2.4. Use a soft sponge to remove any dirt deposits.
4.2.5. To reassemble the pump, carefully slide the magnetic impeller onto the shaft. At a certain point, the impeller will be drawn into the
housing by the magnetic force.
4.2.6. Check that the ceramic washer (fig 4.5) and rubber bearing (fig 4.6) at both ends of the shaft are correctly mounted.
4.2.7. Before closing the pump chamber with the lid (fig 4.3) make sure that the o-ring (fig 4.7) is correctly seated.
4.2.8. Plug the supply cable into the mains supply briefly (no more than 3 seconds) to check that the impeller turns freely. A certain level of
noise is inevitable during this dry run. This is no cause for concern. When it is used in water, the pump should operate silently.
4.3. Winter storage
4.3.1. Place the pump in water filled vessel in a frost free room. Storage in water prevents deposits from accumulating on the pump. If the
pump is stored dry, these deposits can block the impeller. If you wish to store the pump dry, you must ensure that the functioning
parts and filters have been thoroughly cleaned and dried.
Fig. 4
A B C D E
Fig. 3
A - Cascade
B - Water Bell
C - Foaming Jet
D - Water Lily
E - Petunia
NOTE: It is our policy to continually improve products and as such we reserve the right to alter data, specifications and component parts without prior notice.
IMPORTANT: No liability is accepted for incorrect use of this product.
WARRANTY: Guarantee is 12 months from purchase date, proof of which will be required for any claim.
INFORMATION: For a copy of our latest catalogue and promotions call us on 01284 757525 and leave your full name and address, including postcode.
01284 757500
01284 703534
sales@sealey.co.uk
Sole UK Distributor, Sealey Group,
Kempson Way, Suffolk Business Park,
Bury St. Edmunds, Suffolk,
IP32 7AR
www.sealey.co.uk
Web
email
Original Language Version WPP2300, WP2650, WPP3500 Issue: 3 - 24/11/09
This manual suits for next models
2
Table of contents
Other Sealey Pond Pump manuals
Popular Pond Pump manuals by other brands

MDM
MDM SEQUENCE ALPHA PRIMER 3200PRM15 Installation and service manual

Aquagarden
Aquagarden inpond 2000 manual

Pontec
Pontec PondoTronic UVC 18 operating instructions

HEISSNER
HEISSNER HFP5000-00 Instructions for use

Clarke
Clarke SSP3 Operating & maintenance instructions

Blagdon
Blagdon Amphibious IQ Series Instructions for use