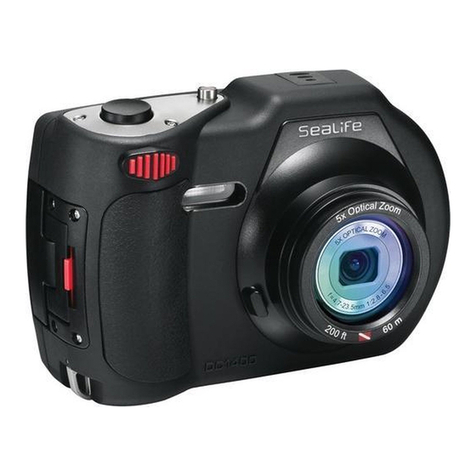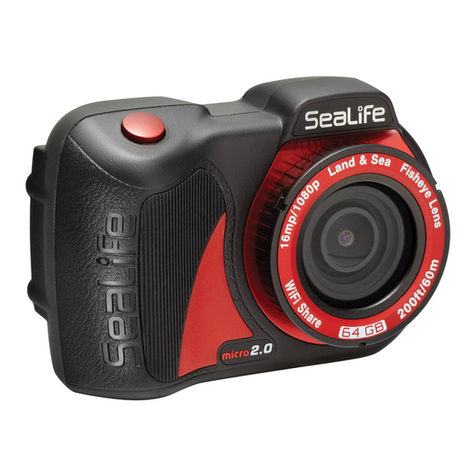
b. Built-in Flash setting –We recommend keeping the camera’s built-in flash OFF when taking
underwater pictures. Turning the flash ON will increase the backscatter and cancel the Dive
Mode color-correction effect.
c. Fine-tuning the White Balance color-correction Setting –The White balance (WB) setting will
compensate for undesirable color casts, so that white objects appear white in your picture. You
can correct for the underwater “blue” effect by selecting the appropriate WB. The White Balance
setting is located in the camera’s MENU. Here are some common ones you will find in your
SeaLife camera:
oAuto White Balance –The camera will do its best to automatically detect what the correct WB
balance should be, but this will not work underwater. Only use the Auto WB for land pictures
or in very sunny, bright conditions within depths of 10 feet.
o<25ft/8m –Most effective for shallow water at depths less than 25 ft/8m.
o>25ft/8m –Most effective for deeper water at depths greater than 25 ft/8m. Note: In dark
conditions or depths greater than about 60ft/18m, the color correction will not be as effective
and may result in dark or grainy pictures –consider using an external flash or photo-video
light accessory, which works well at any depth.
o“Green Water” or “Blue Water” –Ocean and fresh water will take on a greenish color if it
contains a high concentration of algae. If the water contains little or no algae, it will take on a
blue color tone. Just look at the water from the surface and you should be able to see if the
color tone of the water is blue or green.
oManual white balance –The color tone of water varies depending your depth or local diving
conditions. You can achieve near perfect color correction by manually adjusting the camera’s
white balance. Remember that the color tone will change as you change depth. Your
instruction manual will provide detailed instructions. It’s really not that difficult once you have
done it a few times.
