SEC AnyWhere User manual

www.solarenergycentre.com
SEC AnyWhere Solar Powered
Lighting Kit
Installation & Operation Manual
SEC Solar Energy Centre
www.solarenergycentre.com

2
Contents
3 Introduction
4 How do AnyWhere lights work?
6 Installation Considerations
8 Installing the Solar Panel
9 Connecting the Terminal Hub
10 Installing AnyWhere lights
12 Operating AnyWhere lights
14 Troubleshooting
15 Energy FAQ’s
16 Energy consumption data
17 SEC Solar Panels
19 Other products

3
Introduction
The SEC AnyWhere solar
lighting system is a
revolutionary, weatherproof
product developed for use
wherever there is sunshine
where the mains electricity
is unreliable or unavailable.
The AnyWhere lighting kit
consists of a very simple
set of parts that can be
connected to form an
expandable, super energy
efficient, stand-alone
lighting system.
Solar Panel
Cable with
Twist-fit plugs
Terminal Hub
AnyWhere
Light

4
How do AnyWhere lights work?
The concept of the SEC
AnyWhere Lighting kit is
simple.
During the daytime, elec-
tricity is collected from the
sun using a highly efficient
Solar PV panel (1).
This electrical energy is
then passed through the
cables and Terminal Hub
(2) to charge the battery in
the AnyWhere lights (3)
shown on page 5.
1
2

5
When not in use, the
AnyWhere light will store
the electricity in its internal
battery, ready to convert it
back to light whenever it is
switched on.
It is possible to connect as
many solar panels and
AnyWhere lights together
as required, as long as
there is a good balance
between the electricity
consumed and being
harvested from the sun on
a daily basis.
The size of Solar PV panel
supplied with each
AnyWhere light kit has
been carefully sized to fully
charge the battery daily.
If additional lighting is
required, it may be
necessary to install larger
Solar panels to maintain
this energy balance.
3

6
Installation Considerations
Before installing the
AnyWhere solar lighting
system, it is important to
consider the position of
both the solar panel on or
near the roof, and the
AnyWhere lights
themselves.
Please note that the Solar
panel must face the
Equator to generate
electricity most efficiently,
so please bear this in mind
when fixing and adjusting
the panels.
AnyWhere Lights
Solar Panel
Terminal hub

7
The solar panel should be
positioned where there is
uninterrupted access to
sunlight, with no shadows
from nearby objects such
as trees or buildings. The
Solar PV panel will not
charge the battery fully if
the panel is positioned in a
shadowed area as shown.
fixing. Make sure that the
total distance from the
Solar Panel to the Terminal
Hub, and from the Hub to
the light does not exceed
the length of the cables.
The Hub should be placed
above the ceiling at approx-
imately equal distances to
all devices.
Once the panel is fixed,
next check the best position
and height for your
AnyWhere lights, to give
the best light distribution in
the room. See page 13 for
more information about light
operation if you would like
check the position before

8
Installing the Solar Panel
The Solar Panel is
designed to be mounted on
a rigid pole, either on the
roof top or adjacent to it.
The pole should be fixed
with brackets to a roof
support (as shown below).
If roof mounting is not
possible, the pole can also
be fixed to an outer wall of
the building, as long as the
panel can face the Equator
and is not overshadowed at
all. In either case, an alu-
minium or galvanized steel
pipe of 26 mm
diameter is ideal, but a PVC
pipe is also acceptable.
It is very important that the
Solar Panel points towards
the Equator. If necessary,
adjust the tilt angle at the
rear of the panel using the
Allen key supplied so that
the sun’s rays fall directly
onto the surface of the
panel at 12.00hrs (midday).
This will ensure the best
possible electricity
generation and ongoing
performance.

9
Connecting the Terminal Hub
The Terminal Hub should
be installed under the roof,
and spaced approximately
equally between the lights
themselves.
Once positioned, insert the
twist-fit plug at the end of
the cable from the Solar
Panel into one of the four
ports on the Terminal Hub.
Twist the plug clockwise to
lock into place.
For four Light kits, connect
one Terminal Hub to
another using the extra
cable with twist-fit plugs.
Note: for longer distances,
it is also possible to
connect two Terminal Hub’s
with an optional extra DC
cable, wired to the terminal
located underneath each
Terminal Hub.

10
Installing AnyWhere lights
AnyWhere lights are just large enough for the
designed to be suspended twist-fit connector to pass
from the ceiling and can be through.
fitted in a few simple steps.
2) Take the cable and
connect the twist-fit
connector to the back of the
light in the port provided.
Ceiling
1) Once you have located
the best position for the
AnyWhere light, mark and
drill a 20mm diameter hole
in the ceiling. This will be
Then feed the other end
through the hole in the
ceiling that has just been
made.

11
3. Attach the Ceiling Cap
onto the cable (through the
slit at one side), between
the light unit and the ceiling.
1. Adjust the level of the
AnyWhere light to the
desired height and then
fasten the Ceiling Cap to
the ceiling with the screws
provided, covering the hole
the cable passes through.
1. Connect the cable from
the light to any available
port on the Terminal Hub
using the other twist-fit
connector.
Repeat steps 1-5 as
required if 2, 3 or 4 light kits
have been purchased.

12
Operating AnyWhere lights
AnyWhere lights provide
bright results day after day
year after year using elec-
tricity generated by the sun.
To turn the light on, gently
pull down on the Pull
Switch once. The light will
shine at its brightest setting,
which is 240 Lumens.
By gently pulling on the Pull
Switch again, the light will
dim by 50%, giving a
brightness of 120 Lumens.
Pulling once more will dim
the light to its lowest set-
ting, which is 25 Lumens.
One more pull on the Pull
Switch will turn the light off.
In addition, the light can be
gradually dimmed in 32
steps from its brightest
setting. This is achieved by
pulling and holding the Pull
Switch. After a second or
two it will become apparent
that the light is dimming in
stages. Releasing the Pull
Switch at any time during
the dimming process will
leave the light illuminated at
the selected level.
To accommodate for
different height require-
ments, the cord length for
the Pull Switch can be
changed using the spool
found in the pull Switch.
Cord
Pull Switch
Spool

13
Remove, adjust and This indicates that the
replace as shown in the battery in the light requires
diagram on Page 12. charging.
When the AnyWhere light
is being charged by the
Solar Panel, the Green
indicator light located inside
the light lens will start to
flash.
Red
Indicator
Once the internal battery is
fully charged, the green
indicator light will stop
flashing.
Alternatively, if the charge
level of the battery
becomes low, the red
indicator light will glow
continuously.
If the light unit is still used
and not recharged by the
Solar Panel once the red
indicator light is glowing,
the internal battery will
eventually become fully
discharged and the light will
stop working.
In this situation, ensure that
the Solar Panel is correctly
positioned (see earlier
chapters) and allow time
during daylight hours for
electricity to be collected, to
charge the internal battery.
To prolong the light life
between charges, it is
recommended to turn the
AnyWhere light off when it
is not needed. Using the
light partially dimmed will
also extend the battery life.
Green
Indicator

14
Troubleshooting
In the unlikely event that
the AnyWhere light does
not function when installed
correctly, please consider
the following trouble-
shooting steps:
1. If the Green indicator is
flashing during daylight
hours, give the lamp some
time to store enough
energy before using again
in the evening.
1. Try unplugging the twist-
fit plug on the AnyWhere
light and plugging it back in,
before attempting to switch
on the light again. This
action will reset the
protection circuits.
1. Check that all cabling is
connected in the correct
manner and that the twist-fit
plugs are inserted and
locked in place. Replace
any damaged cable or
plugs as required.

15
Energy FAQ’s
All SEC products are rated
in Joules for energy input,
storage and consumption,
and Lumens for light output.
Joules
A Joule is a unit of Energy
(all forms of energy can be
measured in Joules). The
higher the Joule number
the higher the amount of
energy.
Lumen
A Lumen describes a unit of
luminous flux, or in
practicable terms, is a
measure of the brightness
of light emitted by a light.
The higher the Lumen
number, the more light is
being emitted.
It is important to think of
lighting in terms of Joules
and Lumens rather than
other commonly used units.

16
Energy Consumption Data
Pull
Switch
position
Light
Output (%)
Light output
(Lumen) Energy
used
(KiloJoules)
Max.
operating
hours1
1 100 240
8kJ per
hour
6 to 8 hrs
2 50 120
4kJ per
hour
12
to16 hrs
3 10 25
1kJ per
hour 24 hrs+
4 Off N/a
5kJ per
month 12 months2
Notes
1. The maximum operating hours shown are from a
full battery charge without recharging.
1. The internal battery will self discharge at a rate
of +/- 6% per month. Therefore a full recharge is
recommended every six months if the light is not
to be used.

17
SEC Solar Panels
The SEC range of high
quality Solar PV Panels
are available in a variety of
sizes, for larger AnyWhere
light installations or other
solar powered systems.
As a general guide, each
AnyWhere light requires 3
Wp of solar panel Capacity
(12 Volts), although this
figure may need to be
higher in some parts of the
world with lower sun levels
to ensure reliable operation
throughout the year.
When specifying Solar
Panel requirements, it is
important to consider the
local climate as electricity
generated will vary in
different parts of the world.
As a guide, a predominately
cloudy day will give approx.
1-3 average sun-hours of
light to a Solar Panel.
A bright, sunny day will
however give approx. 4.5
average sun-hours per day,
whilst very bright, sunny
conditions can give up to 6
average sun-hours per day.
The table on page 18 gives
more information about the
collection properties of the
SEC range under these
different light conditions.

18
SEC Solar Panel Range
Model
Energy Output
@3sh/d
@4.5sh/d
@6 sh/d
(kJ/day (kJ/day)
(kJ/day)
SEC300
-20Wp 216 324 432
SEC450
-28Wp 324 486 648
SEC600
-40Wp 432 648 864
SEC750
-50Wp 540 810 1080
SEC900
-60Wp 648 972 1296
SEC1200
-80Wp 864 1296 1728
SEC1500
-100Wp 1080 1620 2160
SEC2000
-125Wp 1350 2025 2700
Electrical Characteristics
Imp Pm Isc
(A) (J/s) (A)
SEC300
-20Wp 1.21 20 1.31
SEC450
-28Wp 1.82 30 1.96
SEC600
-40Wp 2.42 40 2.62
SEC750
-50Wp 3.03 50 3.27
SEC900
-60Wp 3.64 60 3.93
SEC1200
-80Wp 4.85 80 5.24
SEC1500
-100Wp 6.06 100 6.55
SEC2000
-125Wp 7.58 125 8.18

19
Other products
The AnyWhere lights and
Solar Panels are just one of
an exciting new range of
energy efficient Solar pow-
ered products from SEC.
As well as the AnyWhere
lights, there is a mains/grid
connected version of this
product called the AnyTime
light, which only requires
10% of the electricity used
to provide the same amount
of light as a 40 W or 80 W
incandescent lamp with up
to 10 hours backup light
when the mains/utility
power fails.
In Future, you also can
expect to see several new
products that work using
Solar energy, such as:
- More new Lights
- Low energy Televisions
- Low energy fans
- Low energy Refrigerators
- New and more efficient
lower cost Solar Panels
More information can be
found on our website:
www.solarenergycentre.com

Worldwide offices
Solar Energy Centre –UK Head office
Thorney Weir House, Iver
Bucks SLO 9AQ, England
Tel: +44 1895 431543 Fax:
+441895 431880
martin.prest@solarenergycentre.com
Solar Energy Centre - Europe
42 rue de la Rochette
77000 Melun France
Tel: +33 675 59 06 92
Email: christian.dhainaut@secbattery.com
Solar Energy Centre - Middle East
P.O.Box 32225
Kingdom of Bahrain Tel: +973
17 721322 Fax:+973 17
740743
sujo.pulikottil@secbattery.com
Solar Energy Centre - Asia Unit
6, 6th.Floor, Hewlett Centre
No. 54 Hoi Yuen Road, Kwun Tong
Kowloon, Hong Kong
Tel: 852 230 44382
duncan.low@secbattery.com.hk
www.solarenergycentre.com
Version 2.0 - Issued Mar 2010 20
SEC Solar Energy Centre
www.solarenergycentre.com
Other manuals for AnyWhere
1
Table of contents
Popular Work Light manuals by other brands

EuroLite
EuroLite 50605200 user manual
BGS technic
BGS technic 85322 instruction manual
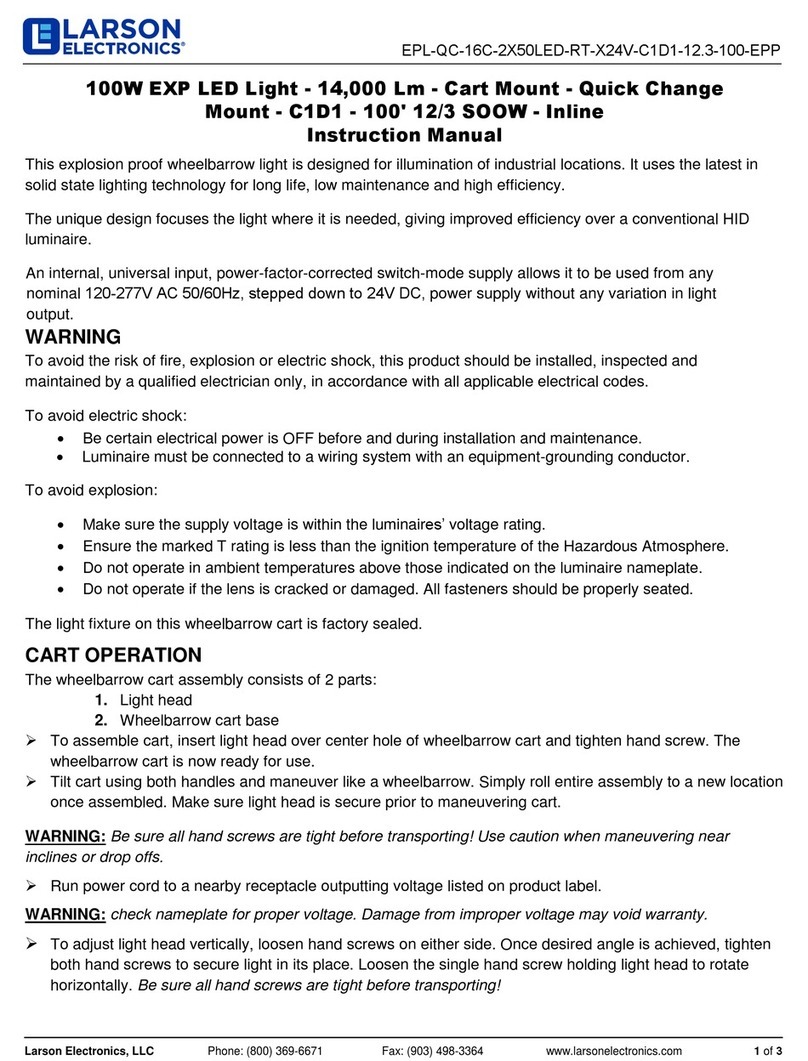
Larson Electronics
Larson Electronics EPL-QC-16C-2X50LED-RT-X24V-C1D1-12.3-100-EPP instruction manual

Bosch
Bosch 3 601 DA0 0 series Original instructions
Kogan
Kogan KATRC25LEDA user manual
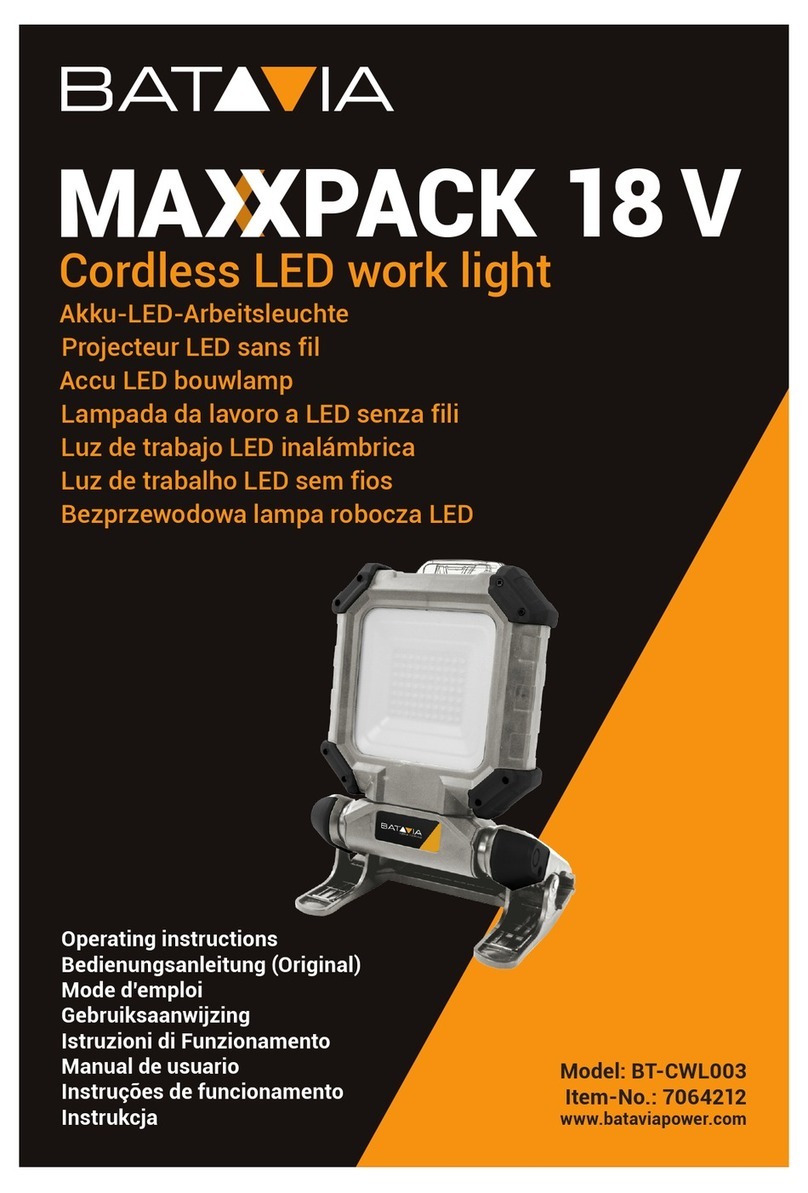
Batavia
Batavia Maxxpack BT-CWL003 operating instructions

SLV
SLV LED OUTDOOR BEAM operating manual

GreenWorks
GreenWorks WL40B00 Operator's manual
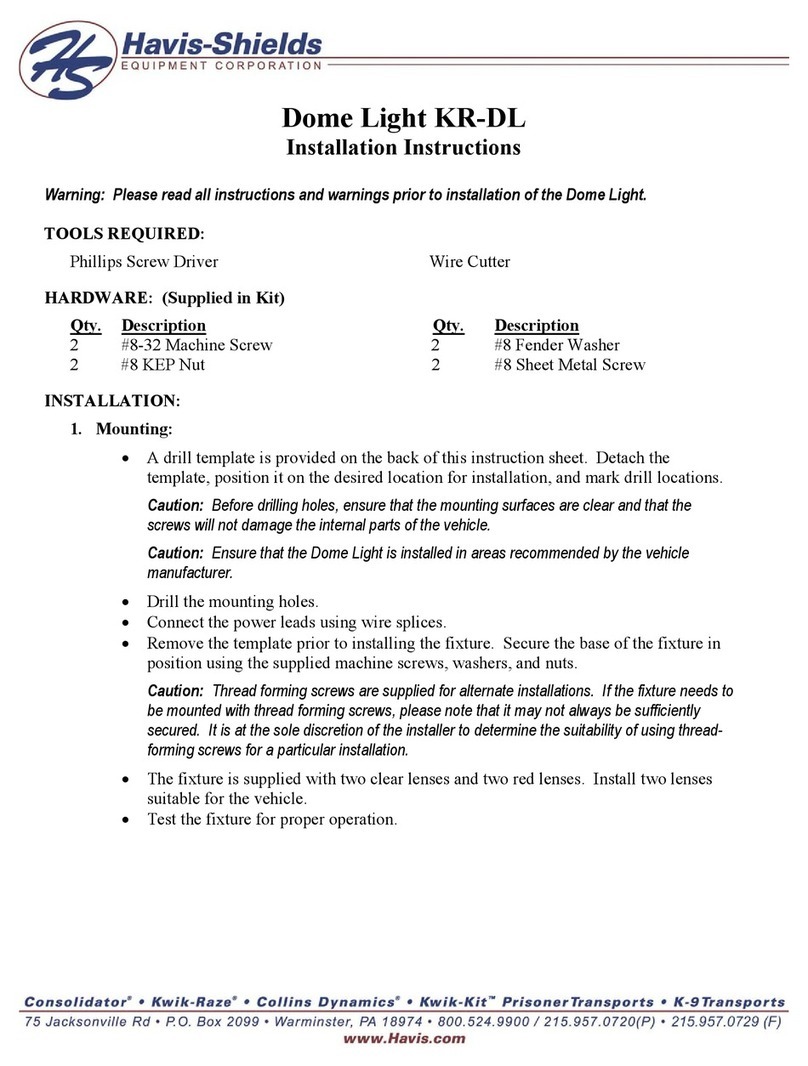
Havis-Shields
Havis-Shields Dome Light KR-DL installation instructions
Westinghouse
Westinghouse 23PL/H/LED/2G11 Series owner's manual
SpeedTech Lights
SpeedTech Lights DUAL CARBINE 30 instruction manual

Toparc
Toparc 059146 manual
