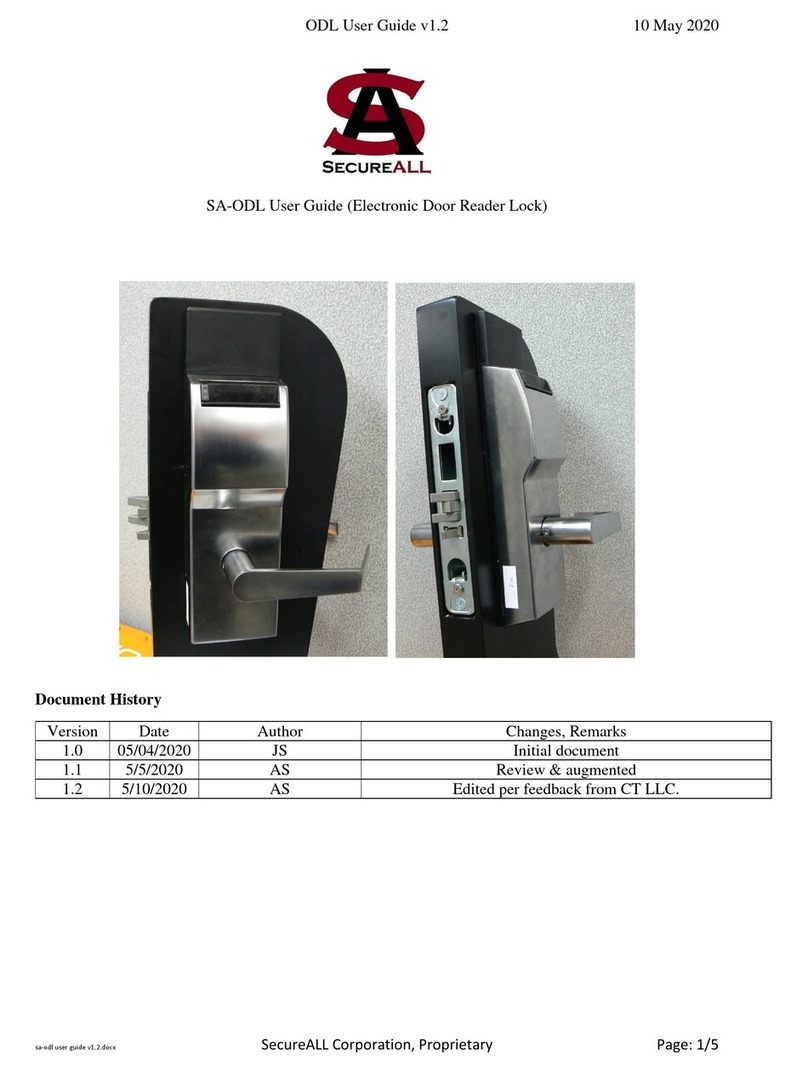
SecureALL SA-MDR User manual

SecureALL Corporation
SA-MDR Installation Guide
Version 3.0

Nnn-0000nn © Copyright 2012 SecureALL Corporation Page 2 of 22
All Rights Reserved
SecureALL Corporation
SA-MDR Installation Guide
Copyright © 2012 by SecureALL Corporation.
All rights reserved under International and Pan-American copyright conventions. No part of this
document may be reproduced in any form or any means, electronic or mechanical, including
photocopying, without permission in writing from the Company. All inquiries should be
addressed to SecureALL Corporation, 695 Woburn Court, Mountain View, CA 94040.

Nnn-0000nn © Copyright 2012 SecureALL Corporation Page 3 of 22
All Rights Reserved
Revision History
Version
Date
Author
Revision Description
1.0
02-15-2012
JDS
Initial version
2.0
08-15-2012
RAS
Added step for changing lock from RH to LH;
added instructions for installing the flex cable
that has replaced the 14-pin cable; added step to
check current level post battery installation; new
mortise cutout template.
3.0
7-16-2013
RAS/DAC
Added spacer and corrected bill of materials

Nnn-0000nn © Copyright 2012 SecureALL Corporation Page 4 of 22
All Rights Reserved
Table of Contents
Revision(History(.............................................................................................................................(3(
Table(of(Contents(...........................................................................................................................(4(
Introduction(.....................................................................................................................................(5(
Configuring(the(Mortise(Chassis(..............................................................................................(6(
Installation(Instructions(.............................................................................................................(7(
Appendix(A(-(Mortise(Cutout(Template(...................................................................(16(
Appendix(B(-(Mortise(Lock(Assembly,(Exploded(View(.........................................(18(
Appendix(C(-(Screw(Package(.......................................................................................(19
(

Nnn-0000nn © Copyright 2012 SecureALL Corporation Page 5 of 22
All Rights Reserved
I. Introduction
These instructions are to be used to install a SecureALL SA-MDR mortise door reader. This
document assumes availability of a door with a cutout pocket for an industry standard, ANSI
Grade 1, heavy-duty mortise lock. See Appendix A for cutout dimensions.
Required Tools:
1. Phillips head screwdriver (Size #3 Drive)
2. Phillips head screwdriver (Size #2 Drive; pitch: 0.6) for Escutcheon Cover Screws
3. Allen wrench - supplied by SecureALL
Check the Materials:
Verify that the following materials are included and there is no visible damage. If there are any
damaged or missing items, contact SecureALL immediately for assistance. See Appendix B for
an exploded view of the lock and Appendix C for pictures of the screw hardware.
ITEM NO. PART NO. DESCRIPTION QTY
1 190-000176 FACE PLATE 1
2 850-000122 MORTISE CHASSIS ASSEMBLY 1
3 190-000177 INSIDE LEVER ASSEMBLY 1
4 190-000178 OUTSIDE LEVER ASSEMBLY 1
5 190-000171 SPINDLE W/SCREW (SET) 1
6 190-000189 SPACERS, 1/4" HIGH 2
7 190-000172 MOUNTING POST 2
8 190-000173 TRIM SCREW 2
9 820-000127 INSIDE COVER ASSEMBLY 1
10 820-000128 OUTSIDE COVER ASSEMBLY 1
11 820-000129 INSIDE RF ASSEMBLY 1
12 190-000175 DUST BOX 1
13 190-000179 STRIKE PLATE 1
14 190-000168 MORTISE SCREW 2
15 190-000166 CHASSIS SCREW 2
16 190-000170 SCALP SCREW 2
17 190-000167 ESCUTCHEON COVER SCREW 3
18 190-000169 STRIKE SCREW - FINISHED 2
19 530-000100 AA BATTERIES 3

Nnn-0000nn © Copyright 2012 SecureALL Corporation Page 6 of 22
All Rights Reserved
II. Setting the mortise chassis
The diagram below gives the instructions to change from an inside (i.e. door opens in) to an
outside (i.e. door opens out) lock unit or from an outside to an inside lock unit. Picture #1 shows
an outside opening right hand door and #4 shows an inside opening right hand door.

Nnn-0000nn © Copyright 2012 SecureALL Corporation Page 7 of 22
All Rights Reserved
If it is necessary to change from a left hand inside opening lock unit to a right hand inside
opening lock unit (or vice versa), first follow the procedure above to reverse the latch bolt. The
locking side must then be reversed. Unscrew the two screws in the left figure below and put
them in the same screw holes on the other side of the chassis.
III. Installation Instructions for Left Hand, Inside Opening Door
1. Orienting the Chassis Assembly (Item 2) as shown in Figure 1a, carefully thread the two
cables into the door pocket and through the second hole as shown in Figure 1b. Holding
the cables taut, push the Chassis Assembly all the way into the pocket.
Figure 1a Figure 1b

Nnn-0000nn © Copyright 2012 SecureALL Corporation Page 8 of 22
All Rights Reserved
2. Using Mortise Screws (Item 14), secure the Chassis Assembly to the door, as shown in
Figure 2.
Figure 2
3. Place the outside Spindle (Item 5A) and inside Spindle with Screw (Item 5B) in the
Chassis Assembly and tighten the screw that is embedded inside Item 5B with the
Phillips screwdriver. See Figures 3a & 3b.
Figure 3a Figure 3b
Item 14
Item 5B
Item 5A

Nnn-0000nn © Copyright 2012 SecureALL Corporation Page 9 of 22
All Rights Reserved
4. Mount Outside Lever Assembly (Item 4) on the outside Spindle. Insert Mounting Posts
(Item 7) through the holes in the Outside Lever Assembly, making sure they are
completely inserted. See Figure 4.
Figure 4
5. Mount the Outside Cover Assembly
a. Hold the Outside Cover Assembly (Item 10) perpendicular to the door as shown
in Figure 5a.
Figure 5a
Item 7

Nnn-0000nn © Copyright 2012 SecureALL Corporation Page 10 of 22
All Rights Reserved
b. Slide the Outside Cover Assembly toward the handle until it butts up against the
handle end (Figure 5b).
Figure 5b
c. Rotate the Outside Cover Assembly clockwise and then push it toward the handle
until the end is within the Outside Cover Assembly cutout (Figure 5c).
Figure 5c

Nnn-0000nn © Copyright 2012 SecureALL Corporation Page 11 of 22
All Rights Reserved
d. Feed the handle through the cutout, rotate the Outside Cover Assembly
counterclockwise and continue pushing onto the handle (Figure 5d).
Figure 5d
e. When halfway onto the handle, insert the flex cable through the upper hole
(Figure 5e).
!
!!!!!!!!!!!!!!!!!!!!!!!!!!!!!!Figure 5e

Nnn-0000nn © Copyright 2012 SecureALL Corporation Page 12 of 22
All Rights Reserved
f. Complete pushing the Outside Cover Assembly onto the handle (Figure 5f).
Figure 5f
6. Holding the Outside Cover Assembly flush to the door, align the Inside RF Assembly
(Item 11) screw holes with the top and bottom holes in the door. Use Chassis Screws
(Item 15) to secure the Inside RF Assembly to the door. See Figure 6. Do not fully
tighten the screws at this point.
Figure 6
Item 15

Nnn-0000nn © Copyright 2012 SecureALL Corporation Page 13 of 22
All Rights Reserved
7. Mount the Inside Lever Assembly (Item 3) on the Spindle with Screw. Place a spacer
(Item 6) on each Trim Screw (Figure 7a). Insert the Trim Screws (Item 8) into the Inside
Lever Assembly holes (Figure 7b). Fasten the screws until they are tight. Tighten the
Inside RF Assembly screws in Step 6. Be cautious not to overtighten any of the screws.
Work the handles and make sure there is no binding. If binding occurs, back off each of
the screws slightly until there is no binding. If binding continues, it will be necessary to
remove the chassis and widen the cutout slightly.
Figure 7a Figure 7b
8. Mount the Inside Cover Assembly on the Inside Lever by following the same steps as in
Step 5. Holding the Inside Cover Assembly (Item 9), in the order shown below, connect
to the printed circuit board (PCB) the three cables that are sticking through the Inside RF
Assembly and the battery box cable.
a. Flex cable (Figure 8a) -
Figure 8a
Item 8
Flex cable
Item 9
Flex cable
socket

Nnn-0000nn © Copyright 2012 SecureALL Corporation Page 14 of 22
All Rights Reserved
Important note: The flex cable and socket are very delicate and must be
handled as discussed here to avoid damage.
The flex cable socket is the brown unit at the bottom of the PCB shown above.
Start by pressing in fully the upper moveable part of the socket. Grab both ends
of the moveable part and gently pull until fully extended. Take the flex cable and,
with the blue side facing up, insert it into the socket. Push it in as far as it will go
without force. Holding it in this position, press both sides of the moveable part of
the socket simultaneously until it locks into place. Gently pull on the flex cable to
ensure it is secure. The flex cable should be square to the socket, i.e. the same
amount of blue should be visible at the socket from one side to the other, It
should not be cocked or crooked relative to the socket.
b. Motor cable (Figure 8b) -
Figure 8b
The motor cable is two-wire, black/red and is inserted into its socket with the
smooth side up. (Note: Other than the flex cable, the cables are keyed and can
only be inserted with the correct orientation into the appropriate socket on the
PCB.)
c. Latch position cable (Figure 8c) -
Motor cable

Nnn-0000nn © Copyright 2012 SecureALL Corporation Page 15 of 22
All Rights Reserved
Figure 8c
The Latch Position Cable is five wire, Yellow/Green/White/Black and goes into
the socket at the top left of the PCB. The connector top is stepped, not smooth.
d. Power (battery box) cable (Figure 8d) -
Figure 8d
Latch position
cable
Power cable

Nnn-0000nn © Copyright 2012 SecureALL Corporation Page 16 of 22
All Rights Reserved
The Power Cable is two-wire, black/red, but is attached to a four-wire connector
that goes into the socket at the top right of the PCB. The top side of the connector
is stepped, not smooth.
e. After all cables are attached, the assembly will look as shown in Figure 8e. Take
any excess wire for the Motor and Latch Position Cables and push it back through
the hole in the Inside RF Assembly to make it easier to install the Inside Cover
Assembly.
Figure 8e
9. Insert the three AA batteries (Item 19) into the battery box in the Inside RF Assembly.
Make sure the polarity of the batteries is correct.
Figure 9

Nnn-0000nn © Copyright 2012 SecureALL Corporation Page 17 of 22
All Rights Reserved
As soon as the last battery is installed, a red LED will light up and remain solid for a
couple of seconds. It will then flash on and off five times before turning off. If this
sequence is not observed (i.e., the LED may remain solid red or flash on and off
indefinitely), then there is a problem with the lock. Detach all the cables and repeat Steps
8a-8d. If the required sequence is still not observed, set the unit aside for further
investigation.
10. Make sure the battery cable is routed to the outside of the battery box via the cable guide
and the flex cable is not "pinched" in any way as the Inside Cover Assembly is routed all
the way onto the Inside Lever. Secure the Inside Cover Assembly with three Escutcheon
Cover Screws (Item 17).
Figure 10a Figure 10b
Item 17

Nnn-0000nn © Copyright 2012 SecureALL Corporation Page 18 of 22
All Rights Reserved
11. Fasten Face Plate (Item 1) using the Scalp Screws (Item 16).
Figure 11
12. Insert the Dust Box (Item 12) and the Strike Plate (Item 13) in the door frame cutout and
secure with the Strike Screws (Item 18).
Item 16

Nnn-0000nn © Copyright 2012 SecureALL Corporation Page 19 of 22
All Rights Reserved
APPENDIX A - MORTISE CUTOUT TEMPLATE

Nnn-0000nn © Copyright 2012 SecureALL Corporation Page 20 of 22
All Rights Reserved
APPENDIX A - MORTISE CUTOUT TEMPLATE
Table of contents
Other SecureALL Lock manuals
