SEI Industries BAMBI MAX BBXHL4000PF User manual

2016 VERSION D
BAMBI MAX
(4453–7590 MODELS)
SERVICE
MANUAL
Photo courtesy of Dan Sweet

2016 Bambi MAX Service Manual – Models 4453-7590 (Version D)
We Engineer Solutions
BAMBI MAX SERVICE MANUAL - Models 4453-7590
Version D
Issue Date: January 2017
PLEASE READ BEFORE USING.
SEI INDUSTRIES LTD.
7400 Wilson Avenue
Delta, B.C. Canada
V4G 1H3
Phone: (604) 946-3131
Fax: (604) 940-9566
E-Mail: [email protected]
Website: www.sei-ind.com
USA Patent # 9,265,977
Australia Patent AU2012201273
Canada Patent Pending
COPYRIGHT © 2016 SEI INDUSTRIES LTD. ALL RIGHTS RESERVED

2016 Bambi MAX Service Manual – Models 4453-7590 (Version D)
We Engineer Solutions
Table of Contents
Section 1: Introduction 1
Bambi MAX (Models 4453–7590) .................................................................................1
Valve System ................................................................................................................2
System Overview ............................................................................................2
System Description .........................................................................................2
Section 2: Deploying the Bambi MAX 6
Deployment Instructions ...............................................................................................6
Attaching to the Cargo Hook ..........................................................................6
Head Orientation ............................................................................................6
Connecting Power ..........................................................................................7
Using Longlines ..............................................................................................7
Instant Deployment System (IDS) ..............................................................................10
Section 3: Using Accessories 11
Using PowerFill ...........................................................................................................11
Overview .......................................................................................................11
System Description .......................................................................................11
Electrical Requirements ................................................................................12
Flying with the PowerFill System ..................................................................12
Filling the Bambi MAX Bucket with the PowerFill System ............................12
Using Foam ................................................................................................................13
Sacksafoam Foam Injection System ............................................................14
Compatible Bambi MAX/Sacksafoam Models ..............................................15
Bambi Mobility Sled ....................................................................................................15
Section 4: Making Adjustments 16
Adjusting Components ...............................................................................................16
Valve Adjustment ..........................................................................................16
Section 5: Packing and Storage 18
Packing and Storing ...................................................................................................18
Packing the Bucket .......................................................................................18
Storing the Bambi MAX ................................................................................22
Section 6: Troubleshooting and Maintenance 23
Troubleshooting ..........................................................................................................23
Valve Troubleshooting ..................................................................................23
Checking Aircraft / Longline Wiring ..............................................................24
Maintenance Procedures ............................................................................................25
Weekly Inspections .......................................................................................25
Weekly Inspection Checklist .........................................................................25

2016 Bambi MAX Service Manual – Models 4453-7590 (Version D)
We Engineer Solutions
Section 7: Valve Maintenance 26
MAX Valve Repair and Replacement .........................................................................26
Linkage Adjustment ......................................................................................26
Valve Removal .............................................................................................26
Valve Installation ..........................................................................................28
Bambi MAX Seal Replacement ....................................................................30
Drive Cable Replacement .............................................................................35
Changing the Guide Bushings ......................................................................39
Section 8: Repair Quick Guide 40
Overview of Repair Categories ...................................................................................40
Category 1: Safety ........................................................................................40
Category 2: Operational ...............................................................................40
Category 3: Monitor ......................................................................................40
Category 4: OKAY ........................................................................................40
Bucket Shell Repair Criteria .......................................................................................41
Cables Repair Criteria ................................................................................................42
IDS Hub Repair Criteria ..............................................................................................43
M-Straps and Top Chains Repair Criteria ..................................................................44
Control Head Repair Criteria ......................................................................................45
Section 9: General Repairs 46
Repair Instructions ......................................................................................................46
Suspension Line Replacement .....................................................................46
M-Strap Replacement ...................................................................................47
Removing Old M-Straps ...............................................................................48
Installing New M-Straps (Short) ....................................................................49
Installing New M-Straps (Long) ....................................................................51
Bottom Loop Repairs ....................................................................................53
Bucket Patching ............................................................................................53
IDS Hub/Spokes Replacement .....................................................................54
IDS Detailed Drawing ...................................................................................55
Load Test on the Hook .................................................................................55
Bambi MAX Shell Repairs ..........................................................................................56
Repair Failures .............................................................................................56
Repairing in High Humidity ...........................................................................57
Making Temporary Repairs with Sealing Clamps .........................................58
Temporary Repairs Using Glue ..................................................................................60
Applying the Glue .........................................................................................60
Gluing with Patches ......................................................................................61
Cutting the Patch ..........................................................................................62
Applying the Patch ........................................................................................62
Hot Air Gun Patching ..................................................................................................64
Hot Air Gun Procedure .................................................................................65
Repair Kits ..................................................................................................................66
Repair Kit Parts Table ..................................................................................66
Optional Supplies .........................................................................................66

2016 Bambi MAX Service Manual – Models 4453-7590 (Version D)
We Engineer Solutions
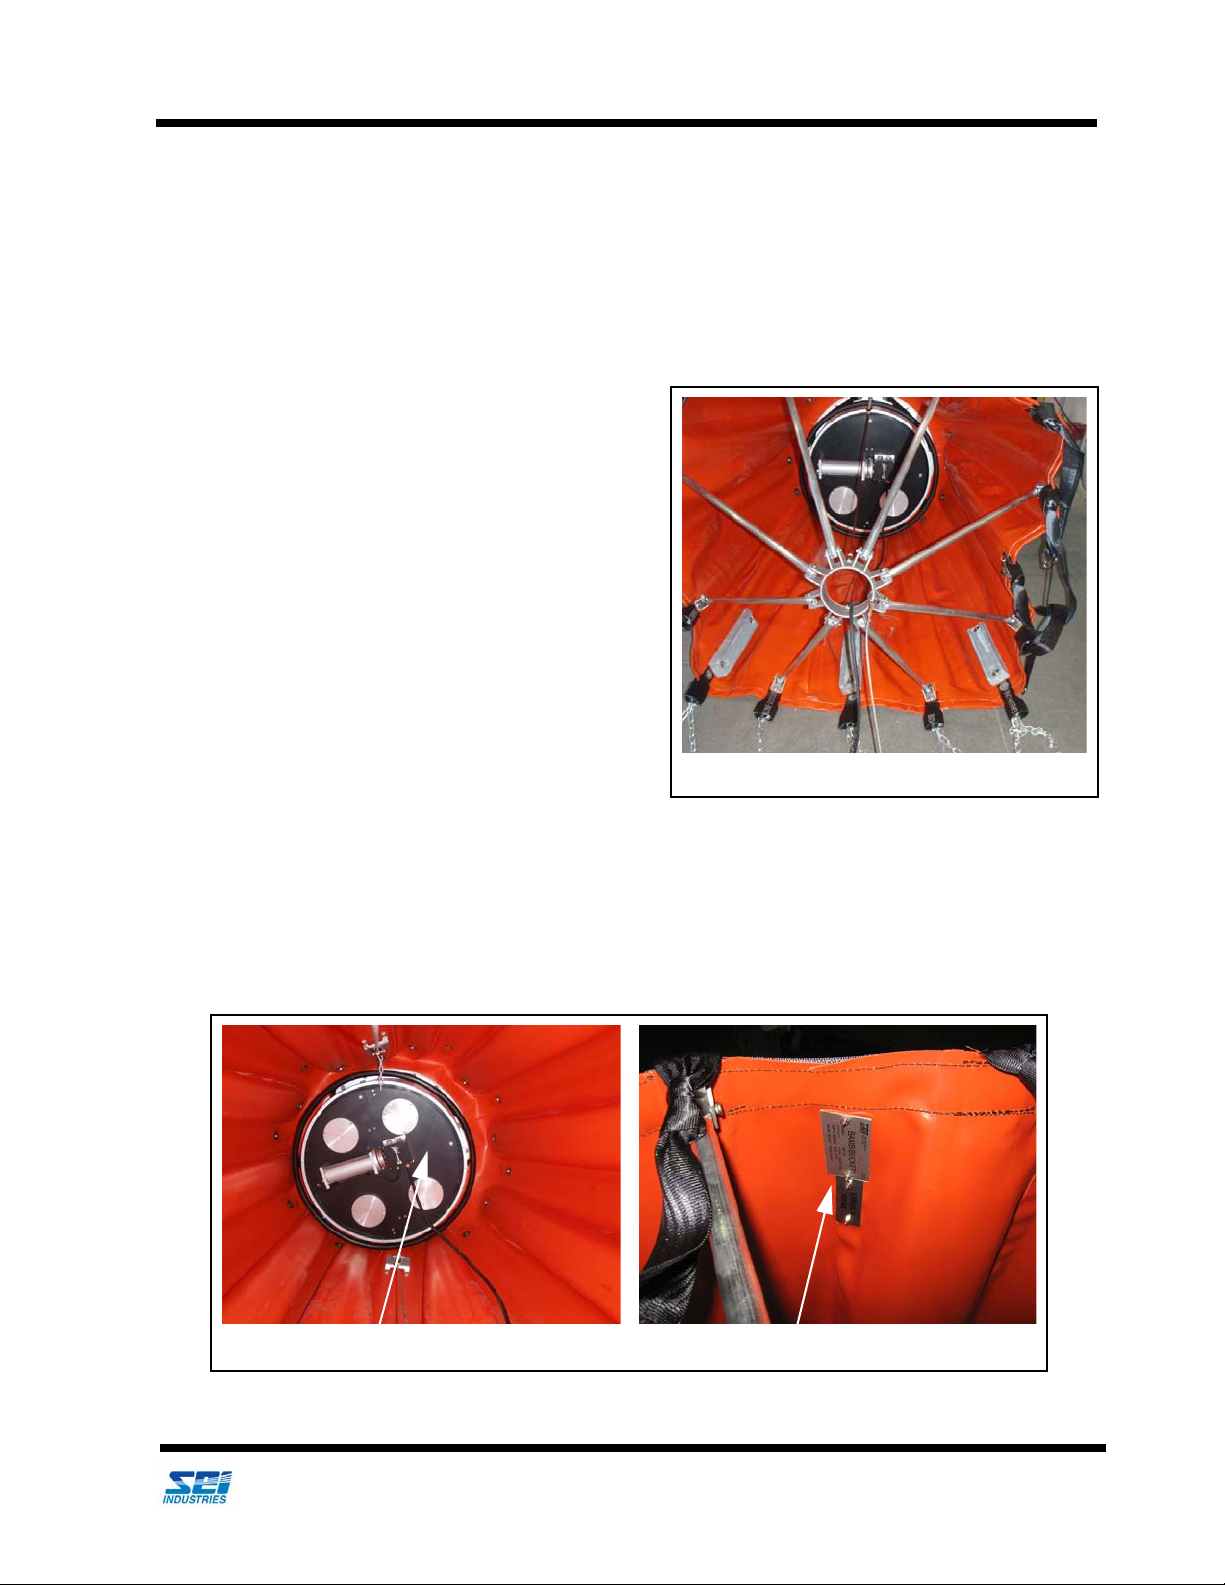
Section 10: Specifications and Parts 67
Capacity and Weight Specifications ...........................................................................67
Bambi MAX Capacity and Weight Specifications .........................................67
Bambi MAX with PowerFill Capacity and Weight Specifications ..................67
Parts Listings ..............................................................................................................68
Bambi MAX Valve 25” Shell Assembly, Models 4453-5566 .........................68
Bambi MAX Valve 25" Shell Assembly, Models 6578-7590 .........................69
Bambi MAX Valve 25" Installation ................................................................70
Bambi MAX Valve 25" Seals ........................................................................71
Bambi MAX Valve 25" Actuator and Controller ............................................72
Bambi MAX Valve 25" Actuator ....................................................................73
Bambi MAX Valve 25" Sheave Bar and Guide Rods ....................................74
Bambi MAX Valve 25" Lift Bar and Linkage .................................................75
Bambi MAX Valve 25" Lift Bar ......................................................................76
Bambi MAX Head, Model 4453 ....................................................................77
Bambi MAX Head, Models 5566-7590 .........................................................77
Bucket Shell, Models 4453 ...........................................................................78
Bucket Shell, Models 5566 ...........................................................................79
Bucket Shell, Models 6578-7590 ..................................................................80
Rigging, Models 4453 ...................................................................................81
Rigging, Models 5566 - 7590 ........................................................................82
IDS System, Model 4453 ..............................................................................83
IDS System, Model 4453 (continued) ...........................................................84
IDS System, Model 5566 ..............................................................................85
IDS System, Model 5566 (continued) ...........................................................86
IDS System, Models 6578 - 7590 .................................................................87
IDS System, Models 6578 - 7590 (continued) ..............................................88
Ballast Systems, Models 4453 - 7590 ..........................................................89
PowerFill MAX Pump Assembly, Models 4453-7590 ...................................90
PowerFill MAX Flapper Valve and Impeller, Models 4453-7590 ..................91
PowerFill MAX Screens, Models 4453-7590 ................................................92
PowerFill MAX Standoff, Models 4453-5566 ................................................93
PowerFill MAX Standoff, Models 6578-7590 ................................................94
Carry Bags ....................................................................................................95
Troubleshooter Kit ........................................................................................95
Section 11: Warranty 96
Appendix: Drawings 97
Pilot Controls ...............................................................................................97
Pilot Controls, US Interagency ..................................................................98
Crew Controls (using remote power supply) ...............................................99
PowerFill MAX Wiring .................................................................................100

Section 1: Introduction Bambi MAX (Models 4453–7590)
2016 Bambi MAX Service Manual – Models 4453-7590 (Version D) 1
We Engineer Solutions
Section 1: Introduction
Bambi MAX (Models 4453–7590)
This manual provides helicopter operators with
information on the service and maintenance of the Bambi
MAX. This service manual also includes all parts lists
and installation drawings. A separate Bambi MAX
operations manual is also supplied which should be
carried on-board the helicopter. For your own protection,
and for longer bucket life, always read the instructions
and warnings. Ignoring these warnings could result in
personal injury, bucket damage or aircraft damage.
SEI Industries Ltd. offers complete parts supply and
repair services for the Bambi MAX. For a repair facility
in your area, please contact SEI. For maintenance and
repair purposes, parts diagrams and descriptions are
provided in this manual. When ordering parts, please
provide the model and serial number of your Bambi
MAX.
There are several other models of buckets available from SEI Industries. These include Bambi MAX model
series 1518-3542 and series HL4000-HL9800. In addition, a number of accessories and enhancements are
also available including the PowerFill system, Power Pack with hand grip (for valve only), Sacksafoam and
Marine Recovery Device. For more copies of this manual, please contact SEI or visit our website at
www.bambibucket.com for more information on these products.
Bambi MAX inside bucket.
Bambi MAX valve serial number location. Bambi MAX shell serial number location.

Section 1: Introduction Valve System
2016 Bambi MAX Service Manual – Models 4453-7590 (Version D) 2
We Engineer Solutions
Valve System
System Overview
The Bambi MAX uses a tubular type valve with seals located on the top and bottom of the tube. When in
the default closed position, the seals make contact with top plate and bottom ring of the valve assembly.
When in the open position, the tube is raised allowing water to flow between the bottom of the tube and the
base ring and then through the opening in the base ring.
System Description
Movement of the valve tube is controlled by an actuator and drive cable system. The actuator is mounted
on the top plate and consists of a drive motor, reduction gearing and a cable drum. The cable drum can be
rotated clockwise or counter-clockwise depending on the direction of the motor.
One end of the drive cable is attached to the cable drum. The cable is routed down around the deflector
sheaves at the base of the valve and back up to the cable drum where the other end is terminated forming a
closed loop. The drive cable is also attached to a horizontal lift bar which itself is attached across the lower
end of the tube.

Section 1: Introduction Valve System
2016 Bambi MAX Service Manual – Models 4453-7590 (Version D) 3
We Engineer Solutions
When the motor and cable drum is rotated clockwise, the drive cable pulls up on the lift bar, opening the
valve. When the motor and cable drum is rotated counter-clockwise, the other end of the drive cable pulls
down on the lift bar via the deflector sheaves, closing the valve. It is normal for there to be slackness on the
non tension side of the cable.
Operation of the valve motor is regulated by a controller located in a waterproof enclosure on the top of the
valve assembly. The controller receives power and a control signal from the aircraft via a three conductor
cable. The control signal is provided in the aircraft via a momentary push button and relay.
Caution
The control enclosure is hermetically sealed. Unauthorized opening will void the warranty.

Section 1: Introduction Valve System
2016 Bambi MAX Service Manual – Models 4453-7590 (Version D) 4
We Engineer Solutions
Valve position feedback to the controller is provided by a sensor cam and two sensors. The sensor cam is
located on the front of the cable drum and rotates with the motor and cable drum. The sensors are located
in the controller enclosure. As the sensor cam rotates, a cut-out in its face actuates the sensors, signalling
to the valve controller if the valve is closed, open, or somewhere in between. The sensors are a proximity
type and are not affected by any non-metallic contamination of the water.
When the controller receives the open signal from the aircraft, the valve motor rotates clockwise and opens
the valve. When the open sensor is triggered by the cam, the motor turns off and the valve remains in the
open position as long as the open signal is present.
When the operator releases the push button, the open signal is
removed. The motor rotates clockwise and closes the valve.
When the closed sensor is triggered by the cam, the motor
turns off and the tube remains in the closed position.
The sensor cam can rotated on the drum to adjust the valve
position. Rotating the cam clockwise will lower the valve;
counter-clockwise will raise the valve. See Section 4:
Making Adjustments.
There is a status indicator lamp on the side of the control
enclosure which indicates where the controller thinks the
valve is.
Indicator Status
White (Off) No Power
Yellow Valve Closed
Flashing Green Valve Partially Open
Green Valve Open
Red Sensor Fault

Section 1: Introduction Valve System
2016 Bambi MAX Service Manual – Models 4453-7590 (Version D) 5
We Engineer Solutions
The controller has an internal motor protection system to prevent the motor from being overloaded. When
excessive current flows to the motor due to a stalled condition, the motor protection device activates.
When activated, the device isolates the motor from the power source. but does not remove power from the
rest of the controller. The controller and valve will remain locked in whatever state they were at the time
the motor protection device was activated.
To reset the motor protection, turn off power to the circuit using the aircraft's circuit breaker. Wait for
approximately 10 seconds and turn the power back on again. The valve should return to its normally closed
state.

Section 2: Deploying the Bambi MAX Deployment Instructions
2016 Bambi MAX Service Manual – Models 4453-7590 (Version D) 6
We Engineer Solutions
Section 2: Deploying the Bambi MAX
Deployment Instructions
Attaching to the Cargo Hook
Head Orientation
The Bambi MAX is rigged for a longitudinal cargo hook. Correct attachment is indicated when the ballast
on the Bambi faces forward in flight.
For this style of head, if using a swivel hook, always operate in the
locked position to assure that the ballast is always facing forward in
flight.
Caution
The Bambi MAX may not be suitable for a direct hook-up to the cargo hook. The actual hook-up
will be different for various aircraft and operators must comply with all instructions and bulletins
supplied by the aircraft manufacturer. It is the operator’s responsibility to ensure that the Bambi
MAX is correctly fitted to the helicopter.
Caution
It is important that the ballast faces forward in flight. This will avoid twisting of the suspension
lines.
Warning
When a ring is used to turn the bucket 90 degrees,
choose a ring that is the same size as the shackle on
the head.

Section 2: Deploying the Bambi MAX Deployment Instructions
2016 Bambi MAX Service Manual – Models 4453-7590 (Version D) 7
We Engineer Solutions
Connecting Power
The power requirement to control the Bambi MAX valve is 5 amps, 24/28 VDC. The Bambi MAX comes
with a three-conductor, 16-gauge control cable that comes from the valve to 3' above the head. Attached to
the end of the cable is a male waterproof Nema 5-15 electrical plug (the female receptacle for the helicopter
is attached). If an additional plug is required, an IP67 or better must be used.
The purpose of this type of plug is to offer a clean breakaway if the Bambi MAX has to be jettisoned from
the aircraft in an emergency. It is suggested that the plug be lightly taped together with vinyl tape, while in
use, to ensure that wind action does not separate the plug during flight.
There are three types of suggested
wiring installations (see Appendix for
diagrams).
1. Pilot control: In this
configuration, the control is
wired into the pilot's control
column through a relay.
2. Pilot control (US
interagency): In this
configuration, the control is wired into the pilot's control column through a 50 amp relay as per US
interagency regulations. This system can also be used to control a heli-torch, etc.
3. Crew control (remote power supply): This configuration allows a crew member or a pilot to
control the dumping of the bucket using a battery pack to supply the power to the remote switch.
This also eliminates the high cost of pre-wiring the aircraft.
Using Longlines
Longlines should be at least 50 ft. long to keep the Bambi MAX well clear of the helicopter’s tail rotor.
When using a longline, care must be taken in selecting the correct gauge of control cable. See the chart
below for recommendations.
When purchasing a synthetic rope longline, we recommend that the customer also purchase a protective
cover and have the conduit inserted at the time of manufacture. However, if this is not feasible due to
different conduits for different applications, we recommend taping the conduit using duct tape (grey) at 3-4
ft. intervals along the longline and cover.
Bambi Max
Model
V
alve PowerFill
Current Draw
Amps at 24.5
VDC
Current Draw
Amps at 24.5 VDC
BBXHL4000PF 5 90
BBXHL5000PF 5 90
BBXHL7600PF 5 90
BBXHL9800PF 5 90
Important Note
It is recommended that operators, who choose to use the Bambi MAX with a longline, ensure that
the longline is at least 50’ long.

Section 2: Deploying the Bambi MAX Deployment Instructions
2016 Bambi MAX Service Manual – Models 4453-7590 (Version D) 8
We Engineer Solutions
We do not recommend using zip ties to attach wiring/conduit as this tends to damage the cover and longline.
When attaching conduit, allowances must be made for any stretch in the load bearing line and this must be
taken into account when attaching to ensure that the terminations are not released from the belly, bucket or
hook, etc.
It is also imperative to take extreme care when removing the conduit from the longline, especially if a knife
is used to remove the tape as one could inadvertently cut through the cover and the damage the synthetic
rope. It is important to remember that when conduit is duct taped to the outside of a longline, the flight
characteristics can change. In our experience, it may take some time and a few trial flights to determine the
length between attachment points of the conduit to the longline.
Longline Wire Details For Valve and PowerFill
Checking Suspension Cable Length
Length
V
alve PowerFill
Feet Meters Wire
Recommended
Plugs Wire Recommended Plugs
0–100 23–30 16/3
SOW
NEMA 5-15P/
NEMA 5-15R
4 x #6 TEW
1 x #4 WELDING
2 x APP 6326G6
APP1381
101–150 30–45 14/3
SOW
NEMA 5-15P/
NEMA 5-15R
4 x #4 W
ELDING
1 x #2 WELDING
2 x APP 6326G6
APP1381
151-200 46–61 12/3
SOW
NEMA 5-15P/
NEMA 5-15R
4 x #4 WELDING
1 x #1 WELDING
2 x APP 6326G6
APP1381
Warning
Using a Bambi MAX with a greater overall length than the distance from the cargo hook to the
front tip of the tail rotor on your helicopter could result in a tail rotor strike and possible loss of
control of the helicopter which could result in injury or death.
Measuring the
bucket.

Section 2: Deploying the Bambi MAX Deployment Instructions
2016 Bambi MAX Service Manual – Models 4453-7590 (Version D) 9
We Engineer Solutions
Overall lengths of Bambi MAXs with standard rigging are provided in this manual. Before using the Bambi
MAX, check for the maximum total length. To determine this length, measure the distance from the cargo
hook to the front tip of the tail rotor on the helicopter you will be using and subtract 6” (152 mm).
To determine overall bucket length:
1. Stretch out the bucket on the ground; secure the control head.
2. Measure the distance from the shackle on the control head to the bottom of the bucket. This
measurement should be less than the maximum total length of the dimension taken from the
helicopter.
Lengths are accurate to within 1%. Overall lengths with
standard rigging. Specifications subject to change.
Bambi Max
Model
Overall Length PowerFill Lengths
Feet Meters Feet Meters
BBX4453 21’3” 6.47 21’9” 6.62
BBX5566 21’5” 6.53 21’11” 6.68
BBX6578 21’8” 6.60 22’2” 6.75
BBX7590 27’9” 8.46 28’3” 8.61
Important Note
To avoid potential rotor strikes when using the Bambi MAX, the operator must measure the
extended length of the Bambi MAX and the distance from the belly hook to the closest possible
point of the tail rotor.
A) Always measure the overall extended length of your Bambi MAX.
and
B) Measure the distance from the belly hook to the closest possible point on the tail rotor.
"B" must always exceed "A" by at least six (6) inches.

Section 2: Deploying the Bambi MAX Instant Deployment System (IDS)
2016 Bambi MAX Service Manual – Models 4453-7590 (Version D) 10
We Engineer Solutions
Instant Deployment System (IDS)
The instant deployment system uses a hub and spoke mechanism to automatically expand the mouth of the
bucket as soon as the weight of the Bambi MAX is taken up by the suspension cables. When the bucket is
full, the IDS deployment cable and hub restrainer cables should be slack as they should not bear any load.
Their function is to position the hub and spoke mechanism to hold the bucket open.
The main parts of the IDS are illustrated in this manual for maintenance purposes. To deploy the IDS on the
ground, reach into the bucket, grasp the hub of the IDS and pull outward fully until the two restraining cables
from the hub to the lower bucket shell are tight. The IDS restraining cables are set at the factory and
normally should not require any adjustment.
Grasp the hub of the IDS and pull outward fully to tighten cables.
Correct IDS position.

Section 3: Using Accessories Using PowerFill
2016 Bambi MAX Service Manual – Models 4453-7590 (Version D) 11
We Engineer Solutions
Section 3: Using Accessories
Using PowerFill
Overview
The PowerFill system is comprised of two electrically driven pumps which have a combined output of
900gpm (56 L/s). The system allows a helicopter to get partial or complete fills from a range of previously
inaccessible shallow water sources including streams, canals, ponds and low profile dip tanks. The pumps
can fill the bucket from water sources as shallow as 18" (46cm). The system can be supplied as original
equipment or can be added to an existing Bambi MAX bucket. Installation instructions are supplied with
the kit when it is shipped.
System Description
The PowerFill MAX system is mounted to the Bambi MAX
valve. The blanking plates in the top plate of the valve are
removed and two screens are installed onto the lower side of
the valve plate. The pump assemblies and motors are then
attached to the screens on the top of the valve plate. When
the bucket is immersed in water to the level of the top plate
of the valve, the pumps will draw water through the screens
and discharge into the bucket through one way flapper
valves.
The pump motors are controlled by solid state relays in a
watertight control enclosure located between the two motors.
The controller includes a time delay circuit to stagger the
starting of the motors to reduce the transient current load on
the aircraft power supply. Power is transmitted to the pump
controller via two heavy gauge electrical cables. A separate
control cable supplies the signal to start the pumps. Quick
disconnect plugs are fitted at the top end of the cables to
allow the cables to separate with minimal force in the event
of a load jettison.
On the bottom of the bucket, a standoff structure is installed
to provide an intake area that keeps the pumps clear of any
rocks and debris in the water source. The pump is fully
waterproof in operation to a depth of 10 ft. (3m).
Screens
Flapper Valves

Section 3: Using Accessories Using PowerFill
2016 Bambi MAX Service Manual – Models 4453-7590 (Version D) 12
We Engineer Solutions
Electrical Requirements
The pumps require a 28VDC power source capable of supplying 90 amperes of current. This supply must
be from the aircraft non-essential bus or from a transformer / rectifier unit (TRU). The installation shall be
done in accordance with FAA Advisory Circulars AC43.13-1B and AC43.13-2A and any applicable aircraft
manufacturer's instructions. Refer to the back of this manual for a wiring diagram.
Flying with the PowerFill System
No prior experience is required to quickly master using the PowerFill since flying a Bambi MAX with the
PowerFill system will not adversely affect the flight characteristics of the bucket.
Filling the Bambi MAX Bucket with the PowerFill System
Initiating a fill with the PowerFill system is simple and can be quickly mastered.
1. Open the valve while immersing the bucket. This allows water to enter the bucket and immerse
the pump impellers. Failure to do so may prevent the pumps from priming. Frothing of the water
or slow fill rate indicates the pump is not submerged enough to maintain prime. It may not be pos-
sible to fill from water sources less than 18" (46cm) deep. Opening the valve also allows the
water level in the bucket to equalize with the external water source level, thereby minimizing the
filling time.
2. Close the valve.
3. Press and hold the pump button. The two pumps will start
sequentially. Once a fill has been started, the bucket will need to be
supported by maintaining some tension on the suspension lines,
particularly when the bucket is nearly full. If the bucket is not
supported, the flexible nature of the bucket shell may allow it to
collapse to one side as the water load increases.
4. Release the pump button when the desired amount of water is in the bucket.
Warning
Do not connect the Bambi MAX PowerFill system to any aircraft bus bar that is used for
emergency or essential loads. Before installation, do an electrical load analysis to ensure that the
generator capacity is adequate to operate the system and amend the aircraft electrical load to the
new requirements.
Model Fill Time
BBX4453 36s
BBX5566 44s
BBX6578
52s
BBX7590
60s

Section 3: Using Accessories Using Foam
2016 Bambi MAX Service Manual – Models 4453-7590 (Version D) 13
We Engineer Solutions
Using Foam
The Bambi MAX is designed to be effective with foam. All materials used in the manufacture of the Bambi
MAX are resistant to the chemical action of foam.
Caution
Do not run the pump if it is submerged to a depth of 10 ft. (3 m) or more. Do not submerge the
bucket to a depth of more than 20 ft. (6.1 m) when performing conventional dip fills (pump off).
Important Note
The filter screens are designed to filter out objects large enough to damage the pump impellers and
to prevent weeds and debris from clogging the pump intakes. If operating the pumps in extremely
dirty or swampy water sources, more frequent inspections of the pump impellers and filter screens
may be required to maintain optimal function.
Important Note
The pumps can be run dry without damage. However, maximum life can be obtained from the
pumps if the run time is limited only to filling the bucket.
Caution
After using foam or retardants, cycle through several dumps with water only or hose down with
fresh water. This will prolong the bucket life.

Section 3: Using Accessories Using Foam
2016 Bambi MAX Service Manual – Models 4453-7590 (Version D) 14
We Engineer Solutions
Sacksafoam Foam Injection System
The Sacksafoam is SEI Industries’ advanced foam dispensing
system for use with the Bambi MAX. This system, exclusive to the
Bambi, allows foam to be dispensed into the bucket in route from
the filling source to the fire site.
There are three models of Sacksafoam to fit this range of Bambi
MAXs. The operation of the Sacksafoam is controlled by the pilot
through a control unit, which is mounted in the cockpit.
Sacksafoam I contains the foam reservoir directly installed inside
the bucket.
The Sacksafoam II is a self-contained unit that can be stowed onboard the
helicopter. This system is completely housed in a foam-resistant case. With the
Sacksafoam II, the pilot still controls the foam dispensing through the control
unit.
The Sacksafoam III is identical to the Sacksafoam II, except that the controller is
mounted in the foam resistant case in the Sacksafoam III.
If additional foam storage is required, the Sacksafoam Plus can be purchased
to add an additional 40 gallons of foam on board.
Sacksafoam I
Sacksafoam II,
Model 5598
Sacksafoam Plus

Section 3: Using Accessories Bambi Mobility Sled
2016 Bambi MAX Service Manual – Models 4453-7590 (Version D) 15
We Engineer Solutions
Compatible Bambi MAX/Sacksafoam Models
Bambi Mobility Sled
The Bambi Mobility Sled is a cart with wheels that moves larger buckets in hangars, on runways or around
remote sites. The rugged, lightweight two-piece Bambi Mobility Cart allows one person to move a bucket
from one location to another. Easy to steer and brake, the three-wheeled cart comes equipped with tow-bar
and foam-filled all-terrain 16" tires. Roll on, winch and go!
Model Bambi Bucket Reservoir
USG
Capacity Liters
Sacksafoam I
004339 BBX2024-BBX4453 30 114
004240 BBX5566-BBXHL5000 60 228
Sacksafoam II
004344 BBX1518-BBX4453 25 95
Sacksafoam III
004346 BBX5566-BBXHL9800 25 95
Sacksafoam Plus
004350 Sacksafoam II & III 40 151
PART NUMBER DESCRIPTION
009387 Sled Mobility Bambi
This manual suits for next models
11
Other SEI Industries Firefighting Equipment manuals
Popular Firefighting Equipment manuals by other brands

Agio
Agio 1902402 manual

Tyco Fire Suppression & Building Products
Tyco Fire Suppression & Building Products ANSUL AQUASONIC Design, Installation, Recharge, and Maintenance Manual

General Air Products
General Air Products RFP System Installation, operation and maintenance manual

Task Force Tips
Task Force Tips VORTEX 2 ER manual

Kidde
Kidde IG-55 Design, Installation, Operation, and Maintenance Manual with FM Approval

Zico
Zico QUIC-RELEASE QR-FEH-1 Series Parts and instruction manual