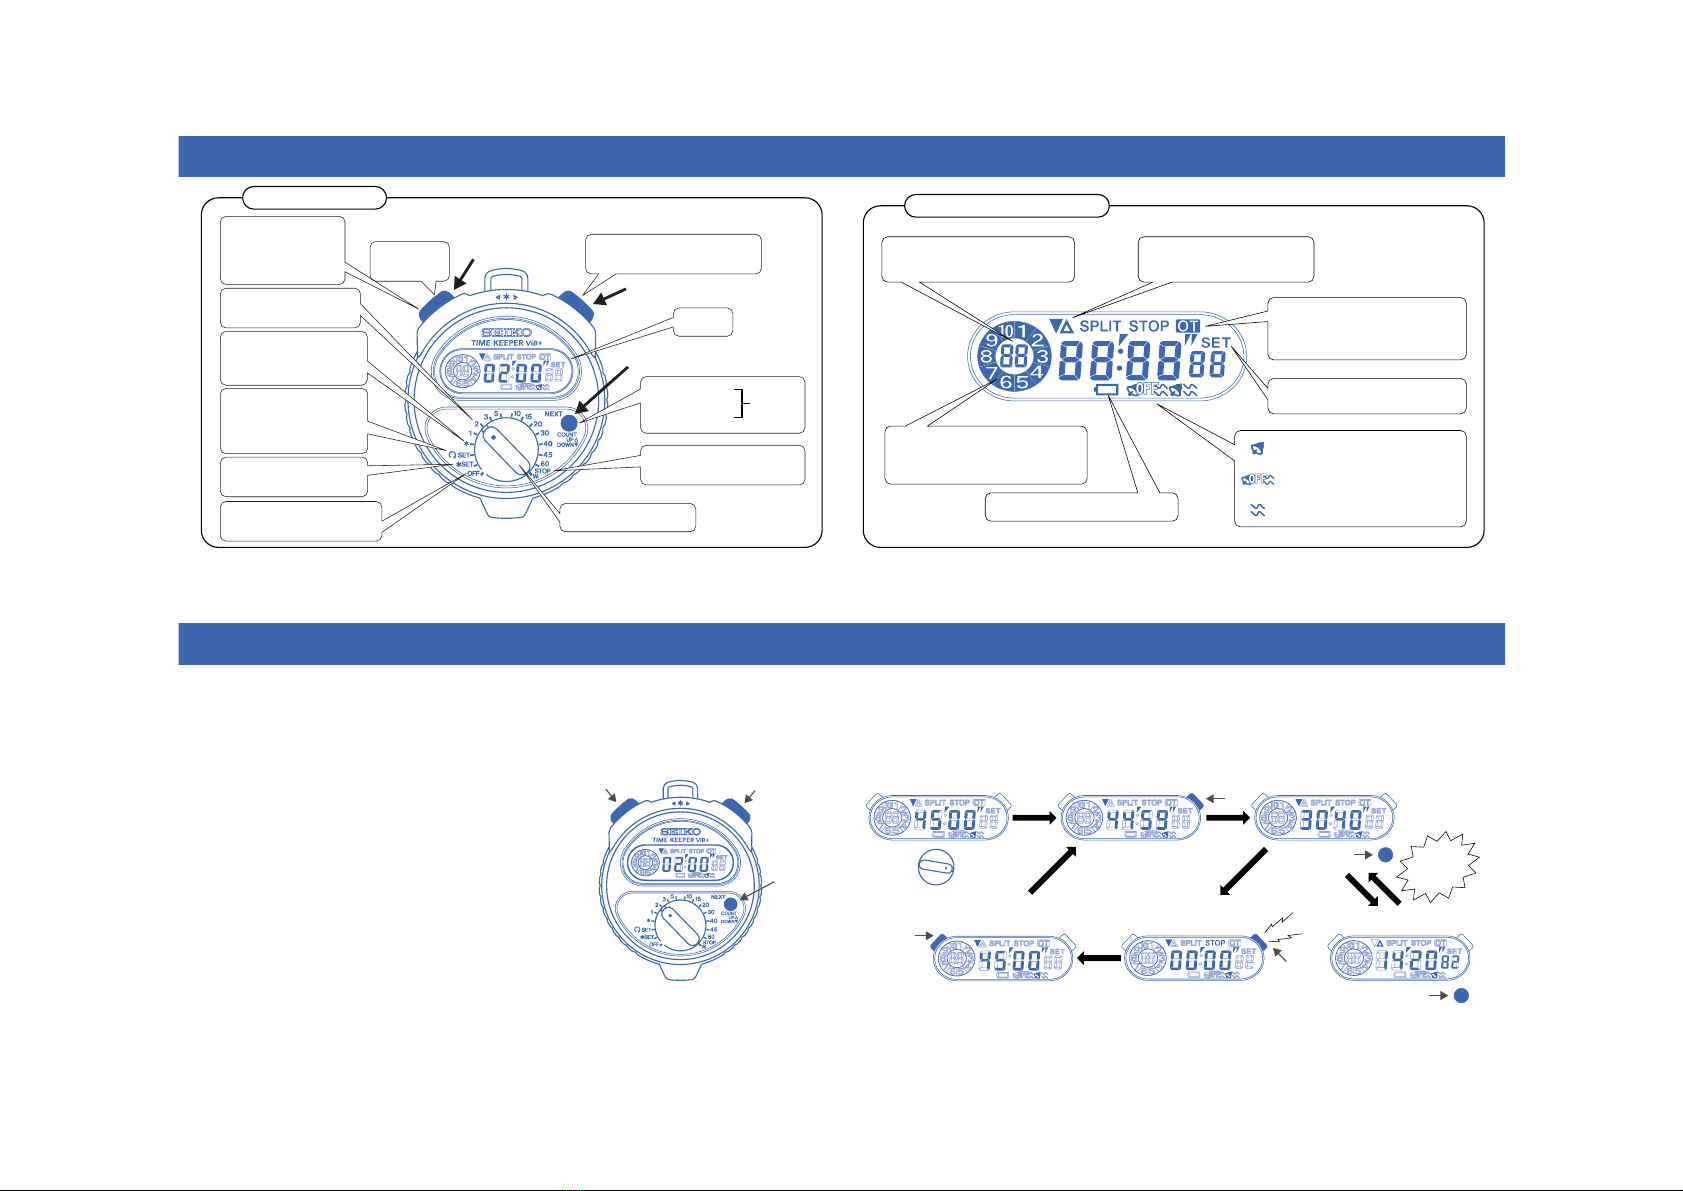
■HOW TO USE THE TIMER (SINGLE TIMER)
•Selecting any of the following time settings: 1, 2, 3, 5, 10, 15, 20, 30, 40, 45, and 60
minutes.
•Selecting the Count-Down ⇔Count-Up display.
•This function indicates that the time is up either by releasing a beep sound or
vibration alarm.
•Continue counting the time even after the time set on the timer is over (Overtime
Display).
*To set any other time desired be sure to read “How to Use the Timer for Setting Any Time.”
¤Align the rotary switch knob with the desired dial division.
‹Press button ¬to select the count-up display(△) or count-
down display (▼).
*Selecting the display with the ¬button also after the timer
has started.
›Press button ¿to start the timer.
*Each time the ¿button is pressed the timer start/stop is
repeated.
*Overtime will start measuring after the time set on the
timer is over.
fiPress button ¿to stop the timer.
flPressbutton¡toresetthetimer.
¡¿
S
P
L
I
T
・
R
E
S
E
T
M
I
N
.
S
E
C
.
S
T
A
R
T
・
S
T
O
P
¬
Button Button
Button
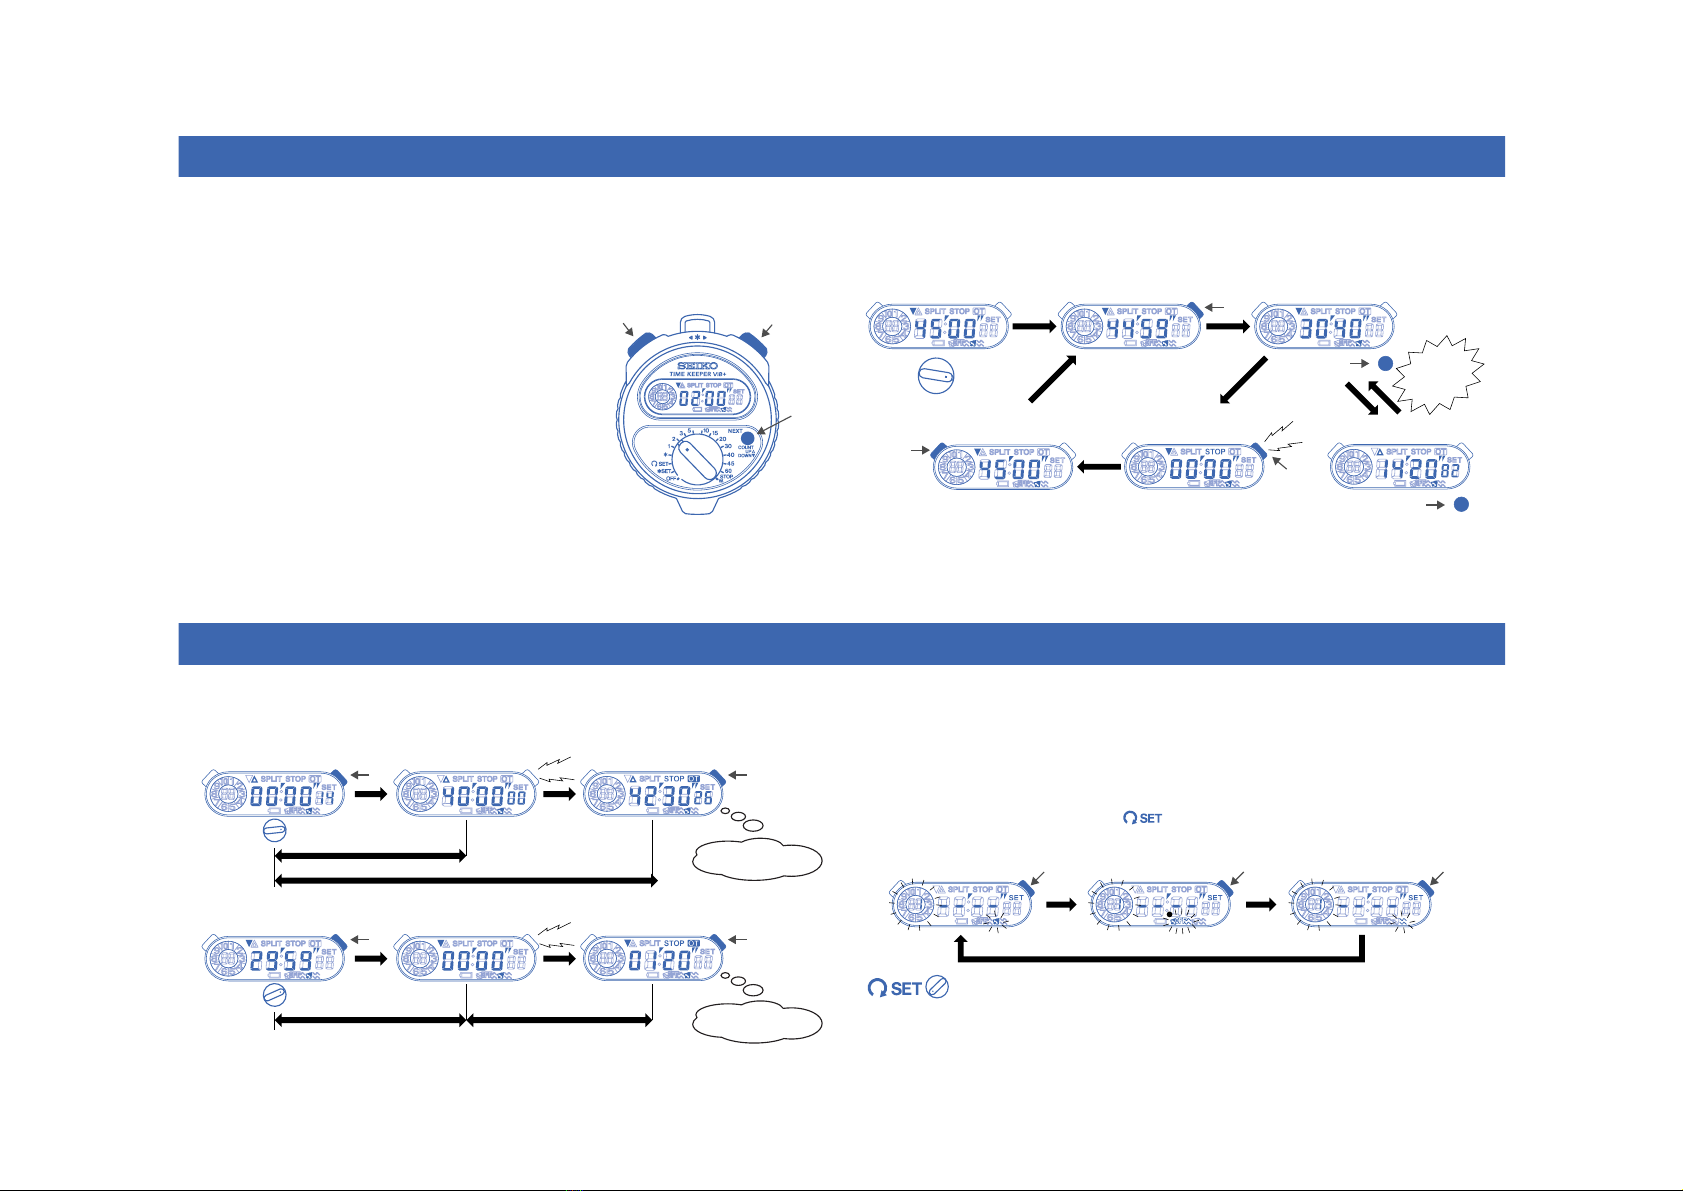
Example : When counting the time on the COUNT-DOWN DISPLAY for a soccer match
and needing to check the time that´s elapsed or the time a goal was scored.
*The display can be selected by pressing the ¬button when to know the TIME ELAPSED immediately
after the game has started or the REMAINING TIME when the game is near the end.
(Time set : 45 min.)
45 min.
(Start) (Remaining Time When a Goal was Scored)
(Time Elapsed When Goal was Scored)
(End of First Half)
(Time Elapsed when a Goal was Scored)
¿
¬
¿
Beep
¬
●Selecting the COUNT-DOWN ⇔COUNT-UP Display on the timer
( )
Button ¡to go over to the
second half of the match.
GOAL SCORED
in First half :
14 min. 20 sec.
¡
●Using the Timer to Count Overtime
Continuing to count time even after the set time has elapsed. Overtime can be
counted:
(Start) ¿¿
Beep
Beep
40 min.
Timer time
Overtime Display counted-up from the start.
The match took 42 min.
30 sec., including lost time.
¿¿
30 min.
Example 1 : Suppose the user wants to time a rugby match using the COUNT-UP DISPLAY.
The match starts at the 40 minute setting.
(Start)
Example 2 : Suppose the user wants to count the 30 minute repeat study text using the
COUND-DOWN DISPLAY. Count-down starts at the 30 minute setting.
End of study text It took 1 min.
20 sec. longer that expected.
Overtime after timer set time is over.
Timer set time
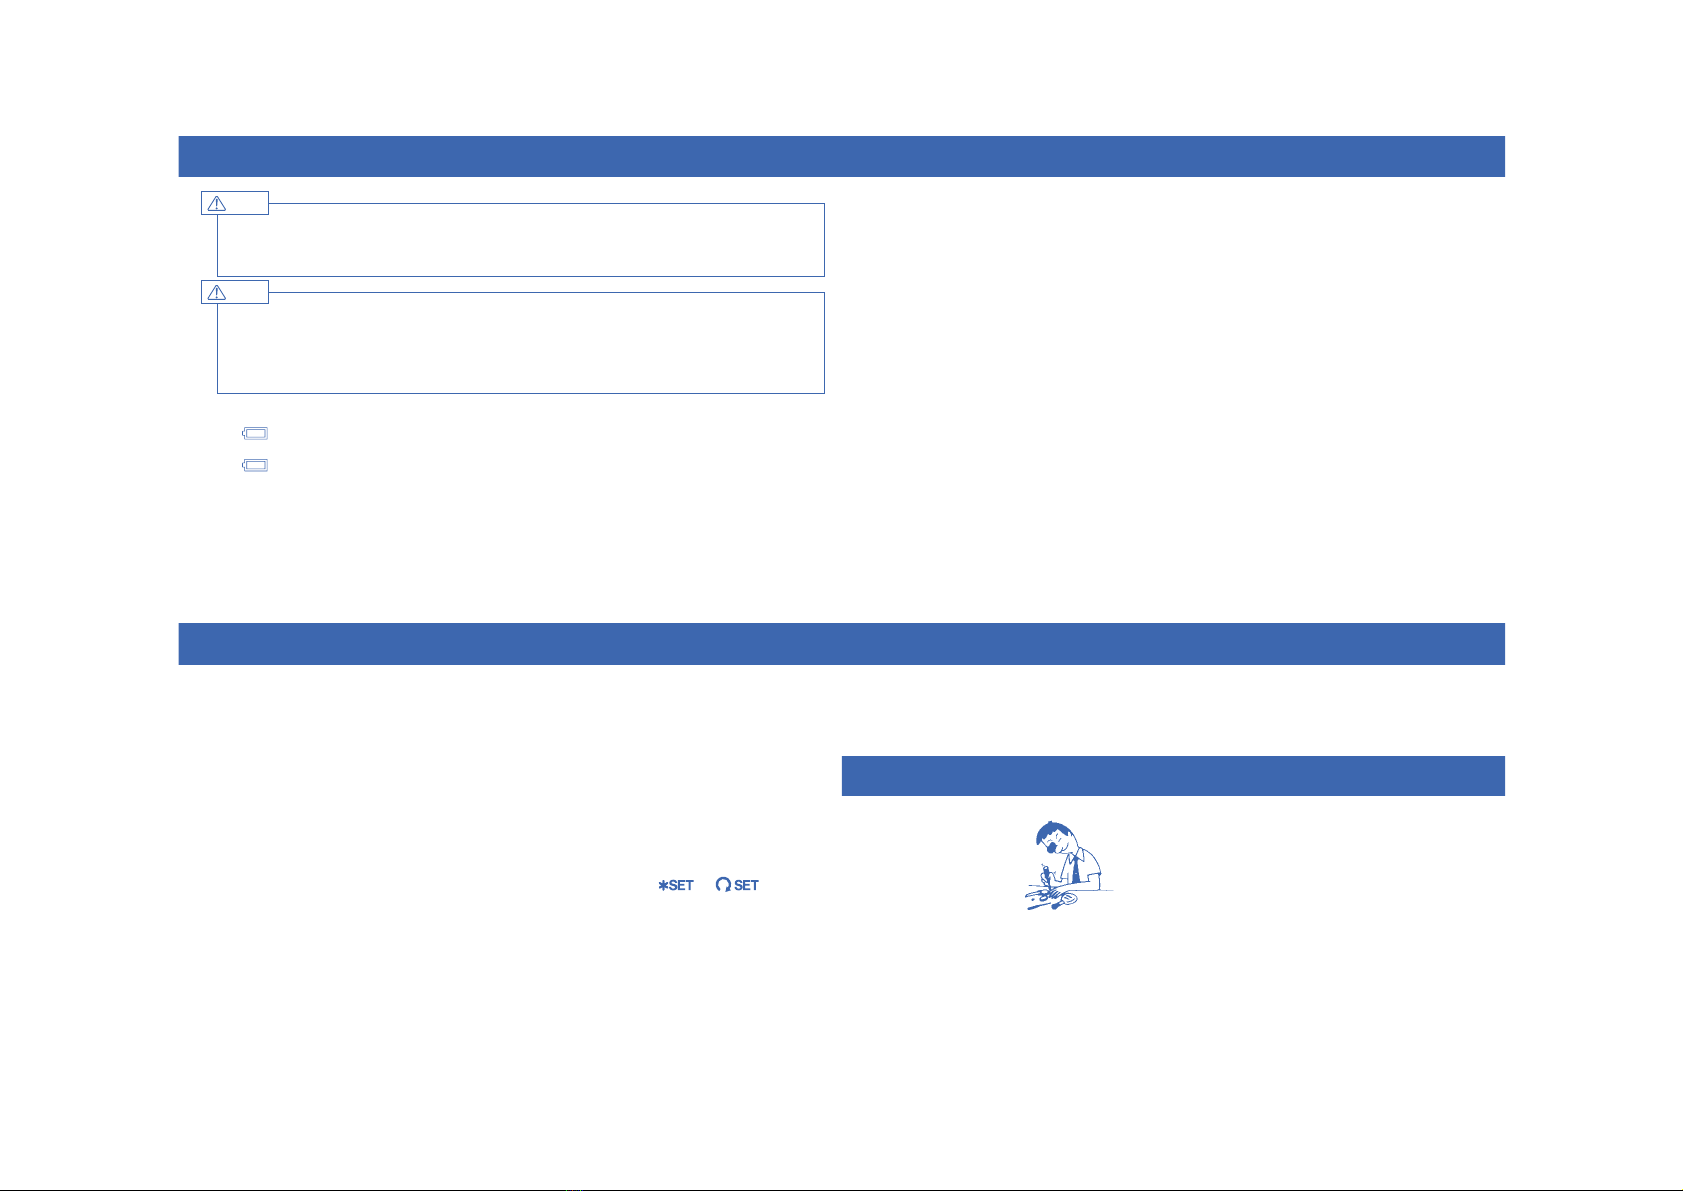
•When the time set on the timer is over a beep sound or vibration is generated.
•The user can select BEEP SOUND ONLY, NO WARNING, VIBRATION as the TIME-UP
warning.
*The BEEP SOUND and VIBRATION cannot be set at the same time.
•Only when the BEEP SOUND has been selected will a sound be generated to
confirm the selection that has been made when operating the button.
●How to Set the Time-Up Warning
■TIME UP WARNING FUNCTION
(ACOUSTIC ALARM ONLY) (NO ALARM) (VIBRATION ONLY)
*Whether the BEEP SOUND or VIBRATION for the TIME-UP warning has been set, a preliminary sound
or preliminary vibration alarm will be generated 1-3 seconds beforehand. When the time is up, this
function releases either a sound or vibration.
¤Align the knob of the rotary switch with .
‹Press button ¿to select the TIME-UP message.
¿¿¿