Selec 900VPR-U User manual

DISPLAY
ELECTRICAL CONNECTION
AUXILIARY SUPPLY
3 Digits, LCD with Backlight
Under Voltage :
85 5 L
3Ø-3 wire, 3Ø-4 wire
85 270V AC/DC
50 60Hz
50 288 N
45 65Hz
4VA max.
3Ø-4 wire]
to 00V AC ( - )
3Ø- wire]
Over Voltage
3Ø- wire]
to 00V AC ( - )
3Ø- wire]
Under Frequency : 45 – 65Hz
Over Frequency : 45 – 65Hz
Phase Asymmetry : 5 – 30%
OPERATING RANGE
FREQUENCY RANGE
VA RATING
TRIP SETTINGS
–
/
– V AC (L- )
– 00V AC (L- )
–
50 to 288V AC (L-N)
[for
85 5 L L
[for 3
: 50 to 288V AC (L-N)
[for 4
85 5 L L
[for 3
q
!
!
!
!
Over voltage, Under voltage, Over frequency,
Under frequency, Phase Asymmetry, Phase
failure, Neutral Loss, Phase sequence
monitoring system etc.
True RMS measurement
Trip Time delay, Recovery Time delay,
Power ON delay
Adjustable switching Hysteresis
Two separate alarm relays operation
FEATURES
SPECIFICATIONS
900VPR-U
Operating Instructions
selec
OP441-V01
TIME SETTINGS
HYSTERESIS
RESOLUTION
ACCURACY
Power ON Delay : 0.5 300sec.
Trip Time Delay : 0 300sec.
R Time : 0 300sec.
: 1 .0
Asymmetry : 2
Time : 0ms
(Trip Time Delay, Power ON Delay,
Recovery Time Delay)
–
–
ecovery –
Voltage : 1 – 40V
Frequency 0. – 2 Hz
– 20.0%
Voltage : 1V
Frequency : 0.1Hz
Voltage : %
Frequency :
5% of setting 12
NO (5A, 250V AC)
NC (3A, 250V AC)
- Indoor use
- Altitude of up to 2000 meters
- Pollution degree
Temperature : Operating : -25 C to +55 C
Storage : - 25 C to +70 C
Humidity : Up to 95% RH, non-condensing
No. of Push Buttons : 3
Size : 35mm width
Mounting : 35mm Din Rail Mount
Wire Size (max) : 4 sq.mm
Screw tightening torque : 0.5 N-M
±1 ± 2digits
±0.5% ± 1digit
±
OUTPUT SPECIFICATIONS
ENVIRONMENTAL SPECIFICATIONS
MECHANICAL SPECIFICATIONS
II
O O
O O
Response Time
< 120ms
Over Voltage < 120ms
Phase Asymmetry : < 120ms
Phase loss : < 200ms
Phase sequence < 250ms
Under Voltage :
:
±
:
2 Relays : Relay1 : 1C/O (SPDT)
Relay2 : 1C/O (SPDT)
LED1 : Continuously ON after trip
LED2 : Continuously ON after trip
RELAY RATING
LED INDICATION
WEIGHT
150 gms.
1. To prevent the risk of electric shock power supply
to the equipment must be kept OFF while doing the
wiring arrangement.
2. Wiring shall be done strictly according to the
terminal layout with shortest connections. Confirm
that all connections are correct.
1. To ensure the safe operation of unit, check the
wiring and connections.
All safety related codifications, symbols and
instructions that appear in this operating manual or
on the equipment must be strictly followed to ensure
the safety of the operating personnel as well as the
instrument.
If the equipment is not used in a manner
specified by the manufacturer it might impair the
protection provided by the equipment.
If there is physical damage to the unit then do not
use it.
Read complete instructions prior to installation
and operation of the unit.
SAFETY PRECAUTIONS
WIRING GUIDELINES
WARNING
CAUTION
Doc. name : OP INST 900VPR-U OP441-V01(Page 1 of 4)
DIMENSIONS ( All dimensions in mm )
35
90
70.50
45
67.50
90
44
LED INDICATION CHART
Various Conditions
No fault
‘R1' LED ‘R2’ LED
OFFOFF
R1 Trip
ON
ON
OFF
TERMINAL CONNECTIONS
28 26
25
COM2 NC2
NO2
RELAY 2
15 18 16
NO1
COM1 NC1
RELAY 1
L1 A2 A1
N
L3
L2
R2 Trip
OFF ON
Both the Relay Trip
(If Programed for Both Relay)
ON

CONFIGURATION MENU
TO SCROLL THROUGH MAIN MENU PRESS + OR + KEYS
Relay 1
settings
Time Setting
for Relay 1
Relay 2
setting
Time Setting
for Relay 2
Hysteresis
Password
Factory set
Trip time
delay
Recovery
time delay
Power
ON delay
Trip time
delay
Recovery
time delay
Password
Enable /
Disble
Set
password
Factory set
Yes / No
MAIN MENU SUB MENU
Press + for 3sec. to enter or exit configuration menu.
Network
selection
SUB MENU
3P3 / 3P4
Network Selection (NWK) Press to enter sub menu from main menu
DISPLAY
(For 1sec)
Press + or + to change parameter value
Press or to scroll
through sub menu
DESCRIPTION RANGE
DEFAULT
VALUE CONDITION
Network
selection
Set Over
Voltage
Set under
Voltage
Over
Voltage
Over
frequency
Under
Voltage
Under
frequency
Set over
frequency
Phase
failure
Power ON
Delay Mode
Power ON
Delay Mode
MOD
MOD
Latch
Under
frequency
Latch
Phase
failure
Note : Appearance of shaded menus dependant on selection of other parameters
Phase
Asymmetry
Setting
Phase
Asymmetry
Setting
Phase
sequence
Set under
frequency
Asymmetry
Over
voltage
Under
voltage
Over
frequency
Set under
voltage
Set Over
voltage
Set over
frequency
Phase
sequence
Asymmetry
Set under
frequency
Frequency
Voltage Asymmetry
Press Key to go to Relay 1 setting (RL1) from network selection (NWK)
Press Key to go to network selection (NWK) from Relay 1 setting (RL1)
85 - 500V(Default : 498)
[For 3P3W system]
50 - 288V(Default : 264)
[For 3P4W system]
This option will be prompted
only when OV protection ON
Relay 1 (RL1) settings Press to enter sub menu from main menu
DISPLAY
(For 1sec)
Press + or + to change parameter value
Press or to scroll
through sub menu
DESCRIPTION RANGE
DEFAULT
VALUE CONDITION
ON / OFF
Over voltage
V
<
R1
Under voltage ON / OFF
V
<
R1
Over
frequency ON / OFF
<
R1
<
R1 Hz
Under
frequency
ON / OFF
Set Over
Voltage
V
<
R1
85 - 500V(Default : 332)
[For 3P3W system]
50 - 288V(Default : 184)
[For 3P4W system]
Set under
voltage This option will be prompted
only when UV protection ON
V
<
R1
<
R1 Hz
This option will be prompted
only when OF protection ON
Set over
frequency 45.0 - 65.0Hz
<
R1 Hz
Set under
frequency 45.0 - 65.0Hz This option will be prompted
only when UF protection ON
Asymmetry
ON / OFF
AS
<
R1
Phase
Asymmetry
Setting
5.0 - 30.0% This option will be prompted
only when AS protection ON
V AS
R1
ON / OFF
Phase
sequence
R1
Phase
failure
ON / OFF
R1
Doc. name : OP INST 900VPR-U OP441-V01(Page 2 of 4)

R2
R2
V AS
R2
AS
<
R2
<
R2 Hz
<
R2 Hz
<
R2 Hz
<
R2 Hz
DISPLAY
(For 1sec) DESCRIPTION RANGE
DEFAULT
VALUE CONDITION
Latch ON / OFF
If Latch is ON, user has to reset
the unit manually when fault is
removed
Time Setting for Relay 1 (TM1) Press to enter sub menu from main menu
Press + or + to change parameter value
Press or to scroll
through sub menu
Trip time delay 0.0 - 300s
Recovery time 0.0 - 300s
DISPLAY
(For 1sec) DESCRIPTION RANGE
DEFAULT
VALUE CONDITION
Applicable for Relay 1 and
Relay 2
Power ON
delay 0.5 - 300s
Relay 2 (RL2) Press to enter sub menu from main menu
Press + or + to change parameter value
Press or to scroll
through sub menu
Over
frequency
DISPLAY
(For 1sec) DESCRIPTION RANGE
DEFAULT
VALUE CONDITION
S
R1 off
t
S
on
t
S
R1
t
R1
DISPLAY
(For 1sec) DESCRIPTION RANGE
DEFAULT
VALUE CONDITION
Set over
frequency
45.0 - 65.0Hz
Under
frequency
ON / OFF
ON / OFF
Set under
frequency
45.0 - 65.0Hz
This option will be prompted
only when UF protection ON
This option will be prompted
only when OF protection ON
Asymmetry
ON / OFF
Phase
Asymmetry
Setting
5.0 - 30.0%
This option will be prompted
only when AS protection ON
Phase
sequence
ON / OFF
Phase failure
ON / OFF
If RL1 is selected, all the
settings done for RL1 & TM1
will be automatically set for
RL2 and no other parameter
of RL2 & TM2 will be prompted.
Relay RL1 / RL2
R2
Note : Relay 2 (RL2) Default values shown are applicable when Relay 2 (RL2) selected as Relay 1 (RL1)
Over voltage ON / OFF
V
<
R2
Set Over
voltage
85 - 500V(Default : 498)
[For 3P3W system]
50 - 288V(Default : 264)
[For 3P4W system]
This option will be prompted
only when OV protection ON
V
<
R2
Set under
voltage
85 - 500V(Default : 332)
[For 3P3W system]
50 - 288V(Default : 184)
[For 3P4W system]
This option will be prompted
only when UV protection ON
V
<
R2
Under voltage ON / OFF
V
<
R2
Press to enter sub menu from main menu
Press + or + to change parameter value
Press or to scroll
through sub menu
Time Setting for Relay 2 (TM2)
DISPLAY
(For 1sec) DESCRIPTION RANGE
DEFAULT
VALUE CONDITION
Trip time delay 0.0 - 300s
S
R2
t
S
R2 off
t
Recovery time
0.0 - 300s
ON / OFF
Latch
If Latch is ON, user has
to reset the unit manually
when fault is removed
R2
R1
ON / OFF
MOD
ON / OFF
Power 'ON'
Delay Mode
R1
R2
ON / OFF
MOD
ON / OFF
Power 'ON'
Delay Mode
R2
Doc. name : OP INST 900VPR-U OP441-V01(Page 3 of 4)
ON : N
OFF : N (During Trip)
C (During Trip)
O
ON :
OFF : N
NO
C
ON : NO
OFF : NC
ON : N
OFF : N (During Trip)
C (During Trip)
O

PARAMETER
Voltage (L1-phase)
Average Voltage
Voltage (L2-phase)
Voltage (L3-phase)
Voltage (L1-L2 phase)
SYMBOL
L1
L2
L3
L1 L2
L1 L2 L3
Voltage (L2-L3 phase) L2 L3
Voltage (L1-L3 phase) L1 L3
Frequency Hz
Phase Asymmetry As %
Press to enter sub menu from main menu
Press + or + to change parameter value
Press or to scroll
through sub menu
Password (PW)
DISPLAY
(For 1sec) DESCRIPTION RANGE
DEFAULT
VALUE CONDITION
Press to enter sub menu from main menu
Press + or + to change parameter value
Press or to scroll
through sub menu
Factory set (RST)
Reset
(Factory set) YES / NO
DISPLAY
(For 1sec) DESCRIPTION RANGE
DEFAULT
VALUE CONDITION
Press key for 3 sec. to enter or exit Trip Value Setting menu :
TRIP VALUE SETTING
Press + or + to change parameter value
Press or to scroll
through main menu
YES / NO
This option will prompted first
when the user enters the trip
setting menu. User has to set
NO after which he can access
the trip setting menu.
LOCK
DISPLAY
(For 1sec) DESCRIPTION DEFAULT
VALUE CONDITION
LOCK
YES / NO (In this option if YES is selected by the user, then whenever
the user enters the Trip Value Setting, initially LOCK option will be
prompted. The user will have to set NO after which he can access the
trip setting menu. If the user wants to disable LOCK option, he can set
NO when LOCK option is prompted after TR2 option.)
Press + or + to change parameter value
Press or to scroll
through main menu
DISPLAY
(For 1sec) DESCRIPTION RANGE
DEFAULT
VALUE CONDITION
Set over
voltage for
Relay 1
85 - 500V(Default : 498)
[For 3P3W system]
50 - 288V(Default : 264)
[For 3P4W system]
Set under
voltage for
Relay 1
85 - 500V(Default : 332)
[For 3P3W system]
50 - 288V(Default : 184)
[For 3P4W system]
Set over
voltage for
Relay 2
85 - 500V(Default : 498)
[For 3P3W system]
50 - 288V(Default : 264)
[For 3P4W system]
Set under
voltage for
Relay 2
85 - 500V(Default : 332)
[For 3P3W system]
50 - 288V(Default : 184)
[For 3P4W system]
Trip time
delay for
Relay1
0.0 - 300s
S
R1
tt
Trip time
delay for
Relay2
0.0 - 300s
S
R2
tt
NOTE : PW option will be asked when the user enter the config. menu if PW option is enabled in the config menu and
the user has to enter the password which he has set in the S.PW (set password) option.
Individual parameters can be viewed with every press of keys.
R1
*
Default Page : This page is displayed after 3 sec.
from other online page.
For 3P4W system average of L-N voltages is shown.
For 3P3W system average of L-L voltages is shown.
*
In Trip value setting & configuration menu, if no key
pressed for 30 sec. then unit resumes online mode.
NOTE : If Values are changed, the same setting in config menu will also changed and vice versa, also if RL1 is
selected for RL2 in config menu no parameter of Relay 2 will be prompted in the above trip value setting.
Trip Indication on press of key : Trip value will be displayed till the key is pressed.
Press key for 3sec. to reset manually
TRIP INDICATION
RESET
Master Password : 753
ONLINE KEYS
Hysteresis (HYS) Press to enter sub menu from main menu
Press + or + to change parameter value
Press or to scroll
through sub menu
DISPLAY
(For 1sec) DESCRIPTION RANGE
DEFAULT
VALUE CONDITION
Hysteresis
for voltage 1.0 - 40.0V
V
H
Hysteresis
for frequency 0.1 - 2.0Hz
H
Hysteresis for
Asymmetry 2.0 - 20.0%
S
A
H
Password ENB / DIS Enable / Disable password
protection option
Will be prompted only when
Password option is enabled
Set password 0-999
RANGE
V
<
R1
V
<
R1
(Specifications subject to change as development is a continuous process.)
Selec Controls Pvt. Ltd., India
Factory Address :
91-22-28476443 / 1882
I
EL-27/1, Electronic Zone, TTC Industrial Area,
MIDC, Mahape, Navi Mumbai - 400 710, INDIA.
Tel. No. : +
Fax No. : +91-22-28471733 I Toll free : 1800 227 353
V
<
R2
V
<
R2
Doc. name : OP INST 900VPR-U OP441-V01(Page 4 of 4)
Other Selec Switch manuals
Popular Switch manuals by other brands
Eaton
Eaton BZM1-XA installation instructions
Ubiquiti
Ubiquiti TS-16-CARRIER quick start guide
Synergy Global Technology
Synergy Global Technology LCDK1023 user manual
Lantronix
Lantronix SM TAT4X Series install guide
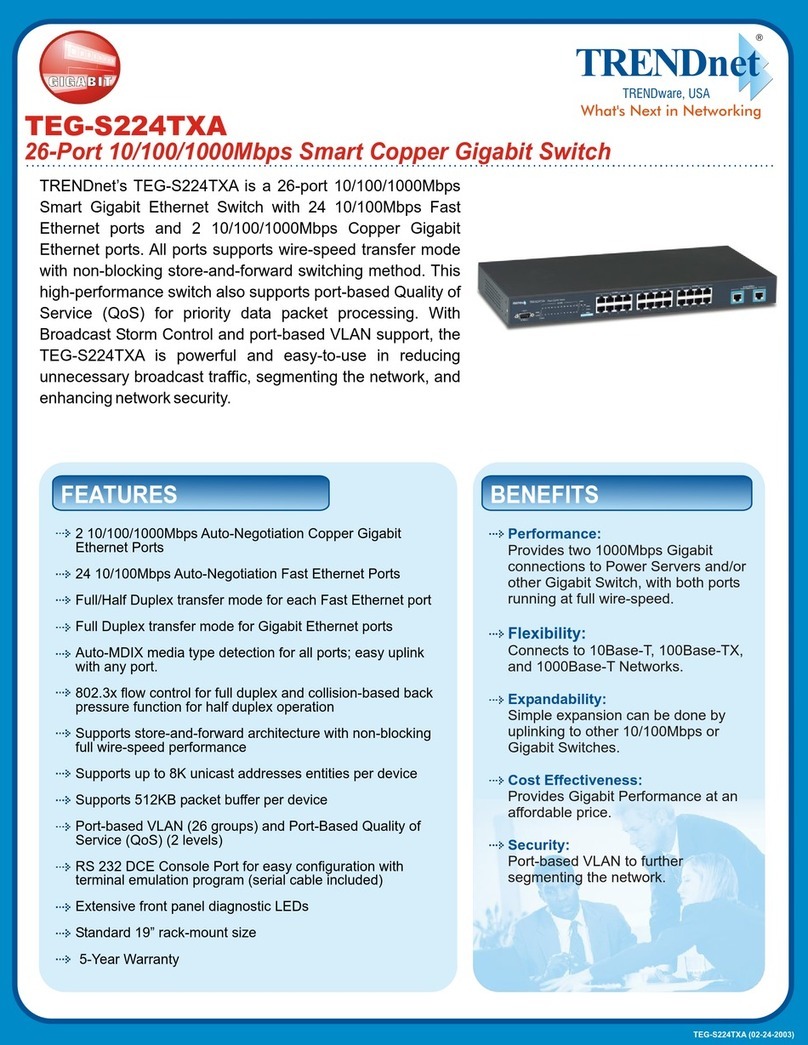
TRENDnet
TRENDnet TEG-S224TXA - 26PORT Gigabit Copper Switch 24-10/100... Specifications

Ocean Matrix
Ocean Matrix OMX-PSW12 instruction manual
IMC Networks
IMC Networks PoE McBasic Operation manual
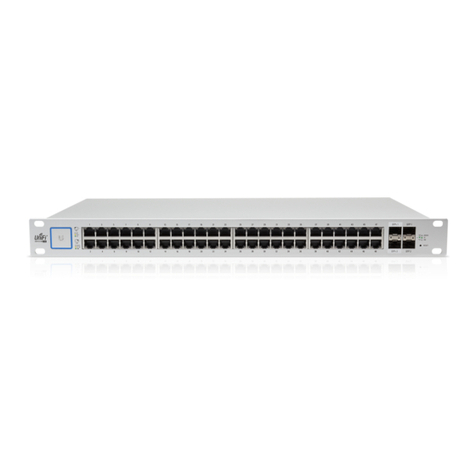
Ubiquiti
Ubiquiti UniFi Switch 48 US-48-500W quick start guide
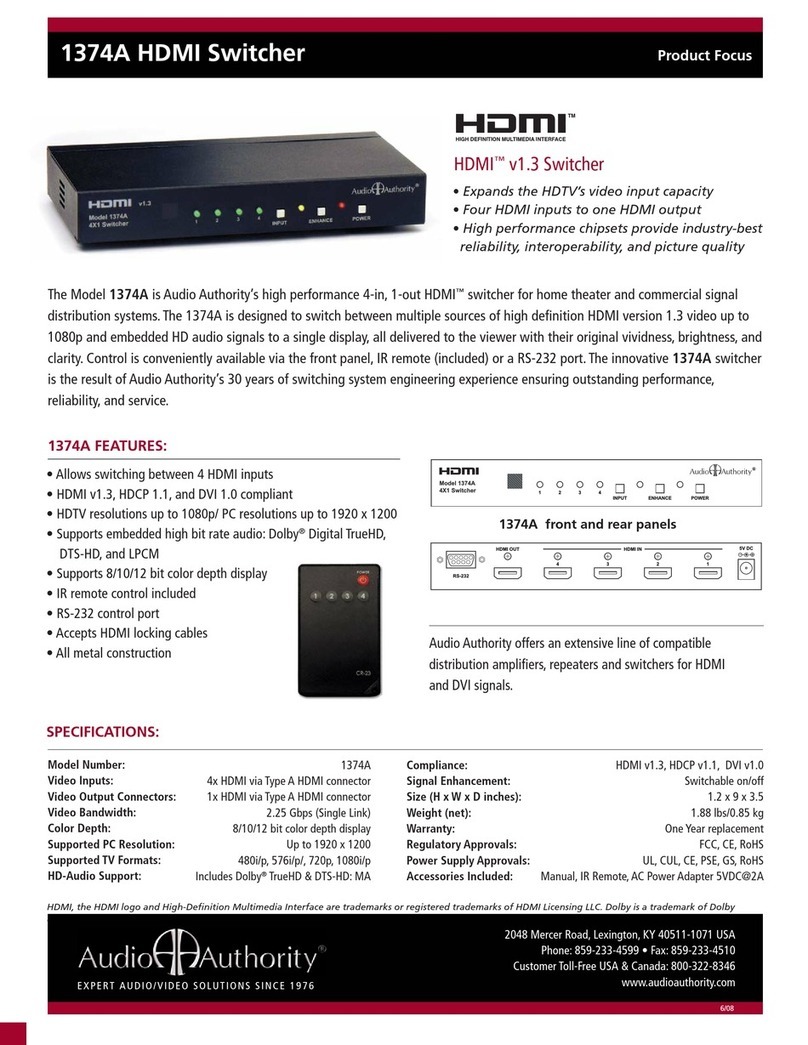
Audio Authority
Audio Authority 1374A product manual
Chroma
Chroma Magic Box EtherSwitch 7F quick start guide
Sound Performance Lab
Sound Performance Lab 2269 owner's manual

Ethernet Direct
Ethernet Direct HUSKY HUE-500SN user manual
