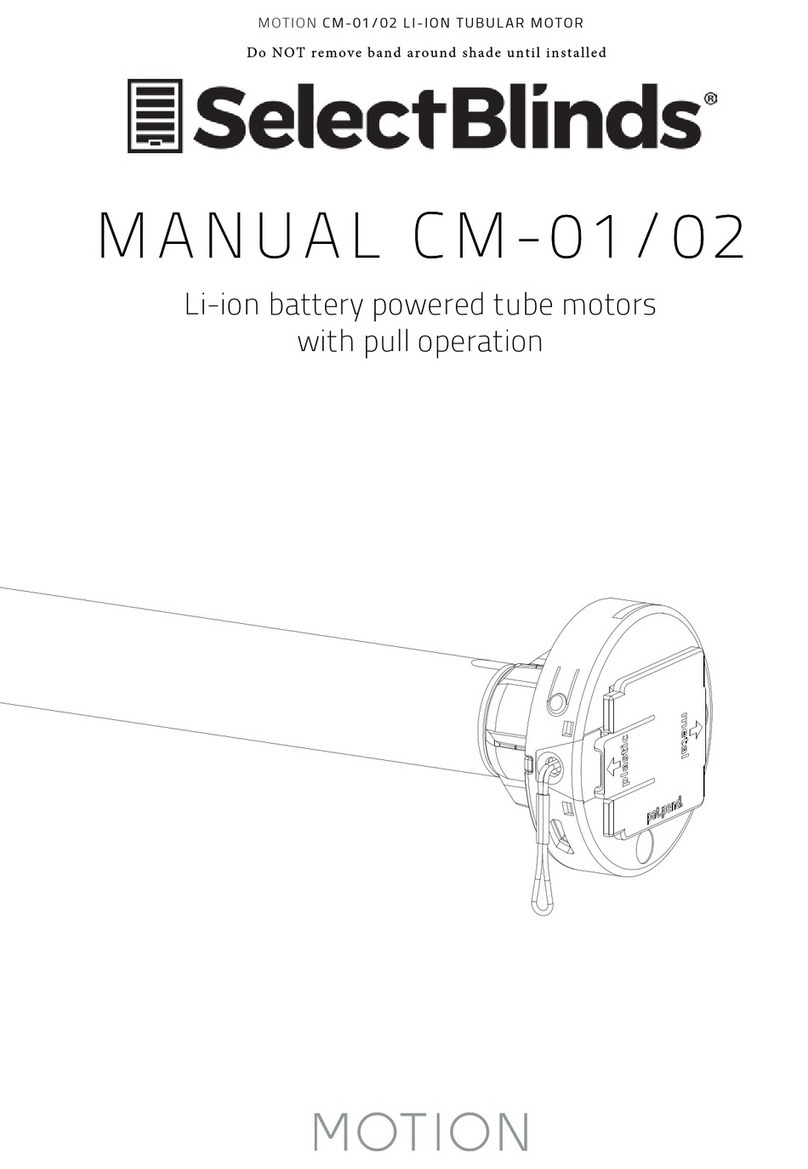
SelectBlinds Roller Shade Deluxe Spring Motor User manual

Tools Required:
Tape measure, pencil, drill, drill bits,
screw driver, step stool or ladder.
Note: use a 5/64” drill bit to pre-drill the
screw holes (for attachment to a wall stud
or header board). Use Wall Anchors (not
included) for hollow dry wall or plaster
mounting.
Step 1. Mount the Brackets
The brackets can be face mounted, top
mounted or side mounted – attach the
brackets to the window frame, molding
or ceiling as illustrated. The brackets
are “universal” – there are no “right” and
“left” brackets.
Mark the screw locations with a pencil
– pre-drill the screw holes using a 5/64”
drill bit.
Step 2. Install the Shade
Put the spring loaded pin into the round
hole of the bracket, push the spring
loaded tip into the bracket, and then
insert the hook arms on the opposite
side of the shade into the two hook arm
receiver holes of the bracket. Once the
two hook arms are through the holes,
gently pull down until the two hook arms
have locked securely to the bracket.
Pin End
Side Mount
Inside Window
Opening
Outside Window Opening
Top Mount
Inside Window
Opening
or Ceiling Mount
Spring End
Roller Shade – Deluxe Spring Motor

Step 2A. Cassette Installation (for
shades with optional Cassette Valance)
The shade is pre-mounted in the
cassette. It can be removed to adjust
tension, if necessary.
To attach the cassette outside the
window frame, use the rear bracket holes
as illustrated.
To attach the Cassette inside the window
frame (or to the ceiling), use the top
bracket holes as illustrated.
Attach the Cassette by placing the back-
bottom of the head rail into the bottom
of each mounting bracket. Push forward
and up, snapping the rail into the top of
the mounting bracket.
Step 3. Install the Bracket Covers
– For Outside Mount Shades Only!
Bracket covers slide onto the brackets as
shown until they snap into position.
Step 4. Operating the Shade
Raise the Shade: Grip the center of the
bottom hem (do not release your grip until
you have set the shade at the desired
height) – pull the shade away from the
window sill, if necessary – pull straight
down to release the spring motor that
controls the movement of the shade –
allow it to rise to any desired point, then
pull downward gently to stop/set the
shade.
Lower the Shade: Pull straight down and
stop/set the shade as described above.
Step 5.Adjust Spring Tension
This shade has a reliable long-lasting
Outside
Window
Frame
Mount
Inside
Window
Frame or
Ceiling
Mount
Spring Motor. The Spring Motor must
have proper tension in order to function
as intended. Handling in transit can affect
spring tension. Therefore, please give
special attention to the instructions below
to optimize the performance of your
shade.
Spring Tension should be adjusted to
assure best performance and to suit
personal preference. The tension on the
spring should be neither too loose nor
too tight. When a window shade refuses
to roll up, the spring is too loose. When
it won’t stay down the roller spring is too
tight.
To Increase Tension: lower the shade
about 18 inches from the top, and then
remove it from the brackets. Roll-Up the
shade all the way to the top by hand,
and then place the shade back into the
brackets as described in Step 2. Repeat
as often as necessary to achieve desired
tension.
Caution: over-winding may result in
permanent damage to the spring motor.
To Decrease Tension: remove the shade
from the brackets, and then unroll about
18 inches of shade material, and then
place the shade back into the brackets as
described in Step 2. Repeat as often as
necessary to achieve desired tension.
Cleaning the Shades
Dusting: Vacuum using the soft brush
attachment. Washing: Use a cloth,
sponge or soft brush and a mild
detergent. Use warm or cold water, not
hot water. Place toweling on the floor
or window sill and wash the blind in
sections.

Smart WiFi Hub Instructions
1.Download & Install “P2 POWERMATE” APP on your cellphone
(1) Search for “P2 POWERMATE" on the App Store or Google play
(2)Download “P2 POWERMATE” and install the APP on your phone
powermate
powermate smart hub powermate APP
2.Register and login to the P2 POWERMATE APP
(1) When installation is complete open P2 POWERMATE
(2) Create an account using your e-mail address – enter a password that
should include letters and numbers only, no signs or special characters
(3) Login in to your account (after the account is established you will login
to the APP directly)
3. Link the P2 POWERMATE hub to the POWERMATE APP
(1) Choose ”Add
device” on desktop
1.
(2) Choose P2
POWERMATE Smart
Hub
(3) Choose
“Allone Pro”
(6) Choose “Next”
on the P2
POWERMATE APP
(5) Press and hold the central button on the hub
until the circular light turns RED and Flashes
(4) Power on the P2
POWERMATE hub
(7) Choose “Join” to enable the hub to access your Wi-Fi
network
Tip: Make sure your network is available, not restricted to
assure access
(8) Select your Wi-Fi
network and input
your Wi-Fi password
(9) The P2 POWERMATE hub will connect to your
Wi-Fi network automatically. When you see
“Added successfully” on the P2 POWERMATE APP,
choose “Done”
(10) The APP is linked to
the P2 POWERMATE hub
when Allone Pro
appears on the desktop
(1) Choose “Allone
Pro” on the APP
desktop
(2) Choose “+ Add”
at the menus
bottom right corner
(3) Choose “Motor ”
device
(4) Now press the “programming button” on motor
head for 1 second - the shade will oscillate one time.
Then tap “pairing” on P2 POWERMATE APP. If the
shade is successfully added to the APP, the shade will
oscillate one more time.
If not, repeat the step 4 operation.
(5) Choose “Response
has been stored”
when the shade is
successfully added to
APP.
(6) The shade has
been added to the P2
POWERMATE APP.
Confirm that you can
now control the shade
using the APP, and
then proceed to add
additional shades if
applicable.
Choose available Wi-Fi
4. Add your shades to the P2 POWERMATE APP
Version 2.0

(1)Choose ”Me” on
the P2 POWERMATE
desktop, and then
Select “family
Management”
menu
(2)Choose “Member
Permission”
(3)Tap “+” family
members at the top
right corner of the
screen
(5)When your family member receives and accepts the invitation, the
Administration account shows the family QR Code that the family member will scan
The family member taps “+” at the top right corner, and chooses “Add to an existing
family”. Choose “scan the family's QR code to join it”, and then scan the code on the
administrators screen.
(4)Input your family
“Account e-mail
address” then go to
to bottom, send an
invitation to your
family member
5. Family “Member Permission” management
Note that the set-up account is the one and only administrator – only the administrator's login can make changes to the APP. However, the administration account can add
family members with their own ID, and they can then control the shades from their phones or tablets.
6.”Siri Shortcut” Voice Command Management
(1) Choose ”Scenes”
on the P2
POWERMATE
desktop. Create a
scene.
(2) Slide the “scene”
icon to left, and then
choose “Edit” scene
(3) Add Execution
Task
(5) Choose an
“Action” for the
shade you
selected. Then
Add to Siri.
(4) Choose “Device” and then select the
shade you want to add to this scene
(6) In the Add to Siri menu, you can edit the
“Siri shortcut command”. For example: “open
shade in bedroom”. After all tasks are set up,
save the scene. Now you can let Siri control
your shades.
7.Link to “Amazon Alexa” & “Google home” voice control device
(1) Login in your “Amazon Alexa” or
“Google home” APP
(2) “Amazon Alexa” add “Skills & Games”
“Google Home” add “Home control”
(3) Search
“p2 powermate”
(4) Choose
“ENABLE TO USE”
(5) Input your “p2 powermate” account and
password, then sign in. Now P2 Powermate
had been linked to your “Alexa” or “Google
Home” voice control device.

Motorization Troubleshooting Guide
PROBLEM
SOLUTION
Shade moving in the wrong direction.
Reset the motor to factory spec and erase all limits, then program from
the beginning.
Shade not stopping at desired height (reset limit).
Top limit can not be reset without erasing all limits and starting from the
beginning. Take the shade to the incorrect limit, press and hold the
program button on the back of the remote until the shade jogs. Move
the shade to the desired height, then press and hold the program button
until the shade jogs again. The limit has been reset
Motor has no response to remote.
Press and hold the program button on head of motor. See if it jogs. If it
does, then walk through programming from beginning,
Check the antenna, make sure it is not kinked or touching metal.
Still not working. Plug in the motor.
See if motor operates or can be programmed.
Switch motor to another channel.
If remote already has 1 motor on the desired channel, put that motor in
sleep mode and then erase the memory of the motor that is to be
switched and joined on another channel. Program the new channel and
then wake the other motor up.
Motor begins to beep. Power is getting low.
Plug in the motor as soon as possible. If the power drops to zero voltage,
the memory could be lost and the motor will have to be reprogrammed.

SMART CONTROLLER
powered by Neo Smart Blinds
ENGLISH
SETUP CODE
CODE DE CONFIGURATION
System requirements
• A strong WiFi signal (3 bars or more) in the location where you
will setup your Smart Controller.
• The Smart Controller only supports 2.4GHz WiFi (IEEE 802
11b/g/n), not 5GHz. WiFi security needs to be set to WPA-PSK or
WPA2-PSK.
• A smartphone or tablet running Android 5.0 (Lollipop) or
higher, or iOS 8 or higher is needed.
Troubleshooting
The home WiFi doesn’t appear in the step 4
Try rescanning, if the problem persists, you will need to reposition
the Smart Controller to a place with stronger WiFi signal. In this
case, exit the process (tap on the menu, then tap Your Rooms),
replace the Smart Controller and start over.
The Smart Controller LED in the bottom is not blinking blue
The process fails in the last step
Press the S button for 10 seconds, then press the R button once
and start over. Pay special attention when typing the WiFi
password.
Need more help?
Visit neosmartblinds.com/smartcontroller for detailed instructions
about how to use the app and troubleshooting.
Integrations
Smart home devices
Visit neosmartblinds.com/smartcontroller-integrations for detailed
information about connecting to Amazon Alexa, Google Home
and other systems.
Control4
name, your email and your company’s name. This information is
necessary to always send to you any further driver update.
Legal Information
Getting to know your
Smart Controller
Smart Controller Status:
Flashing blue - Hotspot available
Flashing green - Connecting to the WiFi network
Pulsing cyan/blue-green - Connected to the Internet
Getting Started
Download the Neo Smart Blinds app
Download the app to your phone or tablet by
searching Neo Smart Blinds on Google Play
or the App Store.
Note: Do not install Neo Smart Blinds Blue
Plug in your Smart Controller in reach of your home WiFi
Choose a place not too far from your home router or a place
you know has good WiFi signal strength. You will be able to
change its location after, if necessary.
Create an account and choose the setup code written
on the cover
After opening the app, tap on Create one to create
a new account. Enter a valid email address and choose
a password, select the region time zone from the place
where the Smart Controller will be located. Choose the
setup code written in the cover and tap on Register.
Follow the app step by step to add the Smart Controller
Have in hand the home WiFi password. It will be necessary
to connect the Smart Controller to the Internet.
Note: Some Android users won’t be connected quickly to the
hotspot. If it is the case, please wait about 10 seconds
before returning to the app. During this time, your device may
notify you that the hotspot does not have Internet access,
and will prompt you whether you want to remain connect-
ed. You need to select the option that will allow you to keep
connected before returning to the app.
FCC
This equipment has been tested and found
to comply with the limits for a Class B digital
device, pursuant to Part 15 of the FCC Rules.
These limits are designed to provide reason-
able protection against harmful interference
in a residential installation. This equipment
generates uses and can radiate radio
frequency energy and, if not installed and used
in accordance with the instructions, may cause
harmful interference to radio communications.
However, there is no guarantee that interfer-
ence will not occur in a particular installa-
tion. If this equipment does cause harmful
interference to radio or television reception,
which can be determined by turning the
equipment off and on, the user is encouraged
to try to correct the interference by one of the
following measures:
• Reorient or relocate the receiving antenna.
• Increase the separation between the
equipment and receiver.
• Connect the equipment into an outlet
on a circuit different from that to which the
receiver is connected.
• Consult the dealer or an experienced radio/
TV technician for help
Contains transmitter module FCC ID:
COFWMNBM11
To comply with FCC/IC RF exposure limits for
general population/ uncontrolled exposure,
the antenna(s) used for this transmitter must
be installed to provide a separation distance
of at least 20 cm from all persons and must not
be co-located or operating in conjunction with
any other antenna or transmitter.
IC
This device complies with Industry Canada’s
licence-exempt RSSs. Operation is subject to
the following two conditions:
• This device may not cause interference;
and
• This device must accept any interference,
including interference that may cause unde-
sired operation of the device.
This device meets the exemption from the
routine evaluation limits in section 2.5 of
RSS102 and users can obtain Canadian infor-
mation on RF exposure and compliance.
Contains transmitter module IC:
10293A-WMNB11
This End equipment should be installed and
operated with a minimum distance of 20 centi-
meters between the radiator and your body.
micro-USB port
power adapter
micro-USB cable
LED indicator
Smart Controller Status
Reset button
Setup button
SBCAN
This manual suits for next models
4
Table of contents
Other SelectBlinds Engine manuals
Popular Engine manuals by other brands

O.S. engine
O.S. engine MAX-12CV-R Owner's instruction manual

Beckhoff
Beckhoff AG2800 operating instructions
Plettenberg
Plettenberg Nova 15 operating manual
HFE INTERNATIONAL
HFE INTERNATIONAL GENPOD 70 owner's manual

ILMOR
ILMOR MV-10 Owner's manual & installation guide

Lombardini
Lombardini LDW 1404 Use & maintenance

