EN-7
2016 04/2016
PURPOSE OF USE
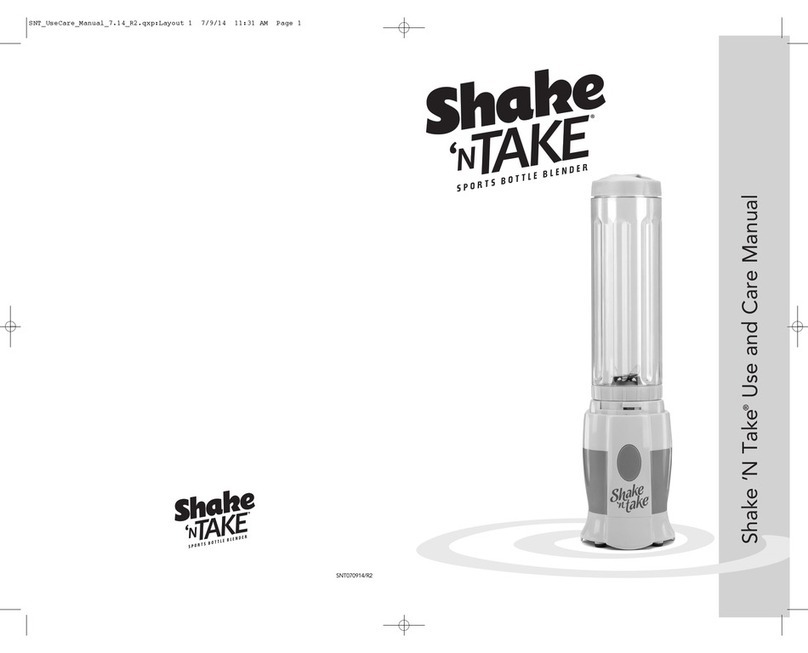
This nutri blender is ideal for making fresh fruit or fitness beverages, milkshakes and other cocktails,
mixed drinks, outstanding salsas, creamy soups, sauces, blended baby food and it may also be used for
blending ice. It is equipped with a single four-blade assembly made from quality stainless steel and two
sizes of blending jars. The blending jars are made from quality durable plastic that does not contain the
toxic hydrocarbon BPA (Bisphenol A) and they can also serve as convenient drink bottles. Both bottles
can be closed with a cap with or without a drinking spout for comfortable carrying without risking
spilling the beverage. Its anti-slip feet provide excellent stability to the blender during its operation.
The bottles, caps and the blade assembly can be safely washed in the top rack of a dishwasher.
BEFORE FIRST USE
1. Take the appliance and its accessories out of the packaging materials.
2. Thoroughly wash all parts intended for contact with food (large and small blending jars A3
and A4, caps A1 and A2 and the blade assembly A5), using warm water and a neutral kitchen
detergent. Then rinse with clean water and allow these parts to dry naturally or dry them out
thoroughly using a wiping cloth. All removable parts can also be safely washed in the top rack of
a dishwasher.
Attention:
When cleaning the blade assembly A5 take special care to avoid injury. The blades A5 are
sharp.
The blade assembly A5 has a gasket seal to ensure that the blending jar remains air-tight during
the blending process. If the blade assembly A5 is washed in a dishwasher, this gasket seal may
come loose due to heat. After washing the blade assembly A5, always check that the gasket
seal is in its place.
ASSEMBLING AND DISASSEMBLING THE APPLIANCE
• Before you start assembling or disassembling the appliance, check that the motor unit A6 is turned
off and disconnected from the power socket and that the rotating parts have come to a complete
stop.
1. Assembling and disassembling the blender
1.1 Turn the blending jar A3 or A4 over so that the neck points upwards.
1.2 Check that the gasket seal on the blade assembly A5 is in its place. Place the blade assembly A5 on
to the neck of the blending jar A3 or A4 so that the blades point inwards and screw it clockwise
on to the neck of the blending jar A3 or A4.
Note:
Place the ingredients into the blending jar A3 or A4 before attaching it to the blade assembly
A5. When filling the blending jar A3 or A4 do not exceed the MAX mark.
1.3 Turn the blending jar assembled in this way over so that the blade assembly A5 points downwards
and insert it into the motor unit A6 so that the tabs along the outer perimeter of the blending
bottle slide into the slots on the motor unit A6.
