- 3 - 07/2023
2023, .
• Thank you for purchasing our SENCOR product; we hope you will be
satisfied with it.
• Before using this appliance, please familiarise yourself with the user
manual, even if you are already familiar with using similar types of
appliances. Use the appliance only as described in this user manual.
Keep the manual for future reference.
• For the duration of the legal rights regarding faulty performance or
warranty for quality, we recommend keeping the original packaging,
packaging materials, receipt, and proof of the seller'sliability or
warranty certificate. When transporting the appliance, we recommend
packaging it again in the original box provided by the manufacturer.
. . . . . . . . . . . . . . . . . . . . . . . . . . . . . . . . . . . . . . . . . . . . . . . . . . . . . . . . . . . . . . . . . . . .
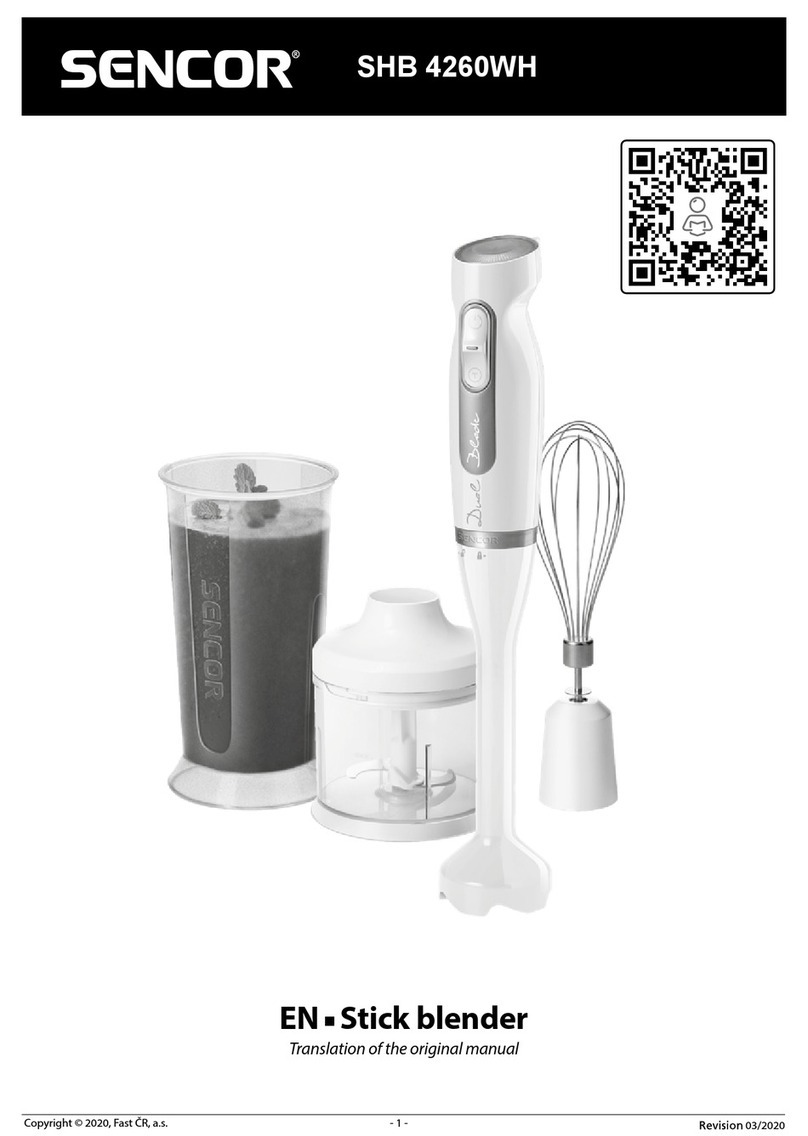
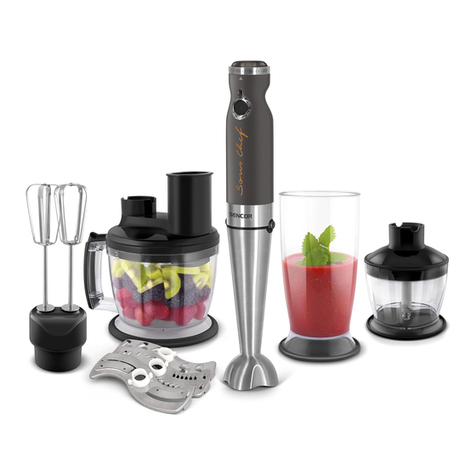
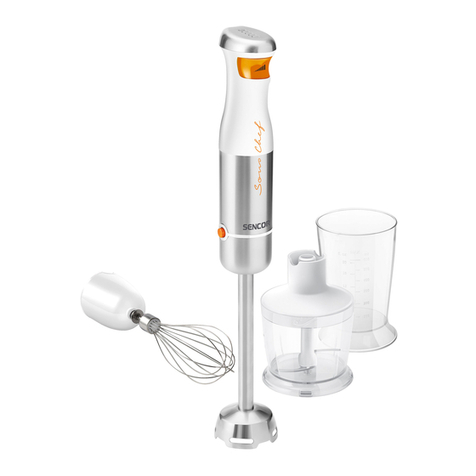
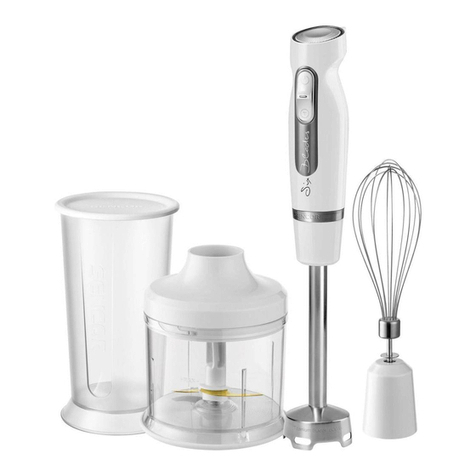
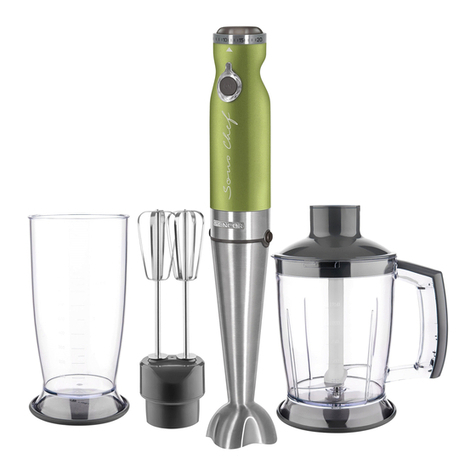
DESCRIPTION OF THE APPLIANCE
A1 Speed dial
A2 Switch to turn on/off
A3 TURBO button
A4 Motor unit
A5 Removable stick blender
attachment
A6 Chopper container lid with
hole for connecting the motor
unit
A7 500 ml chopper container
A8 Blade unit of the chopper
A9 800 ml mixing and whisking
container
A10 Adapter for connecting whisk
or milk frothing attachment
A11 Whisk
A12 Milk frothing attachment
. . . . . . . . . . . . . . . . . . . . . . . . . . . . . . . . . . . . . . . . . . . . . . . . . . . . . . . . . . . . . . . . . . . .
BEFORE FIRST USE
• Before first use, remove the appliance and its accessories form the
packaging and remove all promotional labels and tags. Check that
neither the appliance nor any of its components is damaged.
• Thoroughly wash all removable food contact accessories with warm
water and neutral dishwashing detergent. Then rinse it with clean
water and let it dry freely or wipe it thoroughly dry with asoft cloth.
Clean the adapter only with adamp cloth. Make sure that no water
leaks inside. When cleaning the stick blender attachment, do not
immerse the upper end, which attaches to the motor unit, in water.
• Wipe the motor unit with aslightly damp cloth and wipe dry.
Warning:
Take extra care when handling the graters and blade
unit of the stick blender and chopper to avoid cutting
yourself on the blade.
. . . . . . . . . . . . . . . . . . . . . . . . . . . . . . . . . . . . . . . . . . . . . . . . . . . . . . . . . . . . . . . . . . . .
PURPOSE OF USE
Stick Blender
It is suitable for mixing soft ingredients andliquids. It is mainly used for
thepreparation of baby food, various types of cocktails, sauces, spreads, etc.
Hand Mixer
It is suitable for preparing light batters or for whipping whipped cream, egg
whites and creams. Do not use for whipping thick doughs.
Milk Frothing Attachment
It is suitable for whipping hot or cold milk and milk substitutes for further
use, e.g. for making cappuccino or hot chocolate. Do not use it to whip
creams, etc.
. . . . . . . . . . . . . . . . . . . . . . . . . . . . . . . . . . . . . . . . . . . . . . . . . . . . . . . . . . . . . . . . . . . .
ASSEMBLING AND DISASSEMBLING
Before you start assembling or disassembling the appliance, make sure
that the power unit is turned off, disconnected from the power socket
andthat the rotating parts are not inmotion. Parts that attach to themotor
unit must be dry andclean!
Stick Blender
1. Attach the stick blender attachment from below to themotor unit.
Aclick indicates that both parts are connected.
2. Mix the food in thesupplied container or other suitable container,
which is intended for contact withfood.
3. When disassembling, press andhold the button in the front while
removing the stick blender attachment from themotor unit.
4. When using the stick blender toblend food in thepot, always remove
the pot from the hob first.
5. The food you put in the supplied container should not be boiling or too
hot to avoid damaging the container. It is recommended to allow the
food to cool down to about 50 to 60°C before using the stick blender.
Hand Mixer
1. Insert the whisk into the hole in the adapter until it clicks into place.
Before use, always make sure that the whisk is properly attached.
2. Attach the whisk adapter to the motor unit from below. The
attachment is signalled by aclick.
3. Whisk food in the supplied container or other suitable food contact
container.
4. To remove, press and hold the button in the front of the motor unit
while pulling the motor unit upwards. Next, proceed in the opposite
way to assembling the hand mixer.
Milk Frothing Attachment
1. Insert the end of the milk frothing attachment into the hole in the
adapter.
2. Attach the adapter with the attachment to the motor unit from below.
The attachment is signalled by aclick.
3. Do not use the milk frothing attachment for more than 1 minute. Then
let it cool down for 1 minute.
4. When disassembling, press andhold the button in the front of the
motor unit andremove the milk frothing attachment from themotor
unit.
. . . . . . . . . . . . . . . . . . . . . . . . . . . . . . . . . . . . . . . . . . . . . . . . . . . . . . . . . . . . . . . . . . . .
OPERATING THE APPLIANCE
• Select the type of accessories you want to use and assemble the
appliance according to the instructions in the chapter Assembling and
disassembling the appliance.
• Connect the power cord plug to apower socket. Use the speed dial to
set the desired speed. Turn the dial clockwise to increase speed, turn
the dial anticlockwise to decrease speed.
• Press the switch as soon as the desired speed is set. Do not adjust the
speed while the appliance is running. As long as the switch is pressed,
the appliance will operate. When the switch is released, the appliance
switches off.
• If you need to process ingredients quickly, press the TURBO button
and the appliance will start at maximum power. When the button is
released, the appliance switches off.
• Disconnect the power cord from the power socket when you have
finished using it. Make sure that the rotating parts have stopped
rotating and disassemble the appliance into its individual parts.
Then clean all used parts according to the instructions in the chapter
Cleaning and Maintenance.
Warning:
The maximum continuous operation time of the
appliance is 1 minute. Then let it cool down for 3 to
5minutes. If you are using the appliance toblend
sticky or harder food, stop operation after 30 seconds.
. . . . . . . . . . . . . . . . . . . . . . . . . . . . . . . . . . . . . . . . . . . . . . . . . . . . . . . . . . . . . . . . . . . .
EN Stick Blender
User Manual
