- 3 - Revision 09/2022
Copyright © 2022, Fast ČR, a.s.
• Thank you for purchasing aSENCOR brand product and we hope that
you will be happy with it.
• Prior to using this appliance, please read the user'smanual
thoroughly, even in cases, when one has already familiarised
themselves with previous use of similar types of appliances. Only use
the appliance in the manner described in this user’smanual. Keep
this user'smanual in asafe place where it can be easily retrieved for
future use.
• We recommend saving the original cardboard box, packaging
material, purchase receipt and responsibility statement of the vendor
or warranty card for at least the duration of the legal liability for
unsatisfactory performance or quality. In the event of transportation,
we recommend that you pack the appliance in the original box from
the manufacturer.
. . . . . . . . . . . . . . . . . . . . . . . . . . . . . . . . . . . . . . . . . . . . . . . . . . . . . . . . . . . . . . . . . . . .
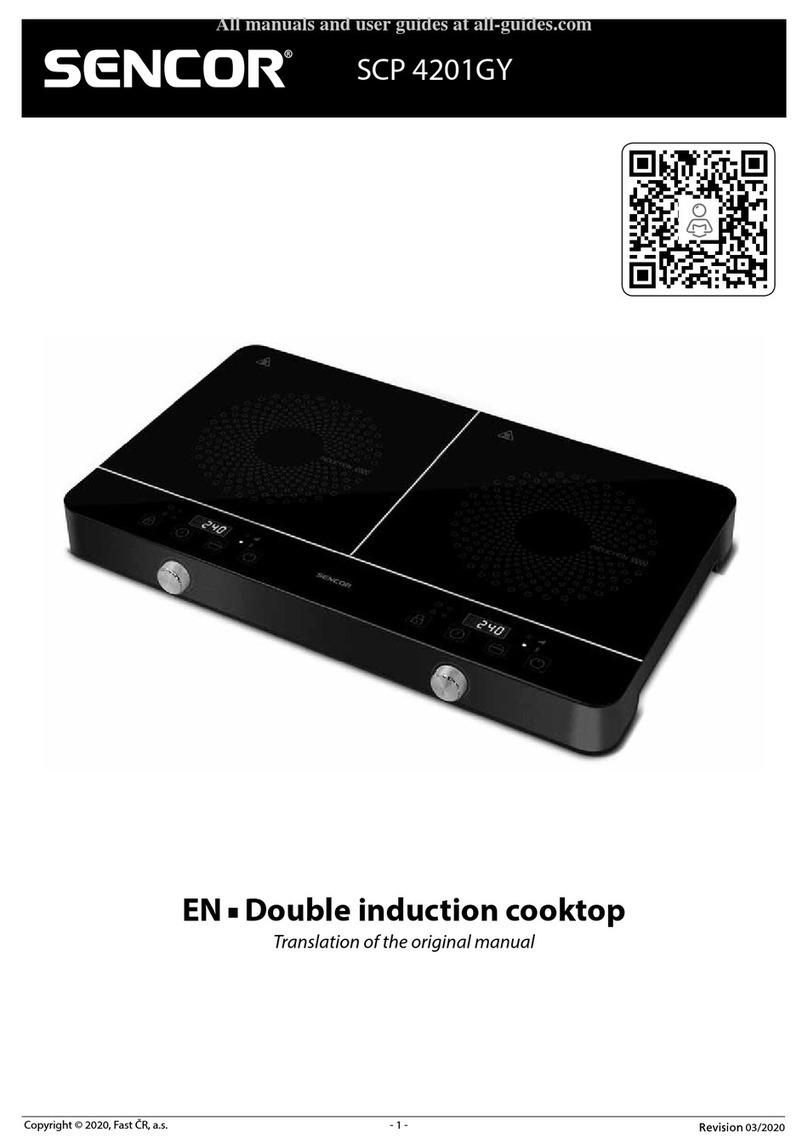
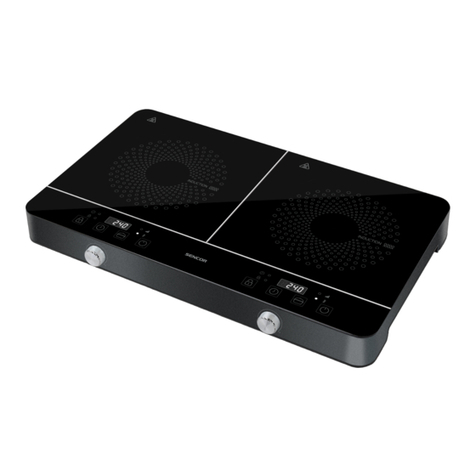
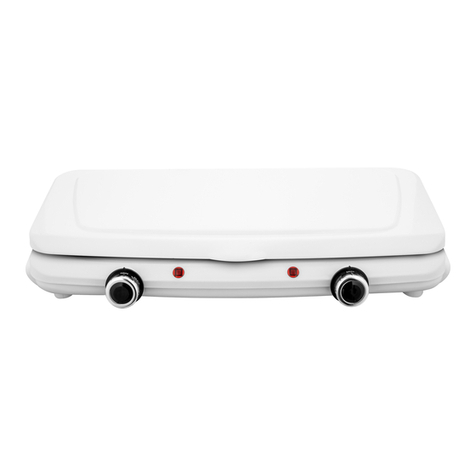
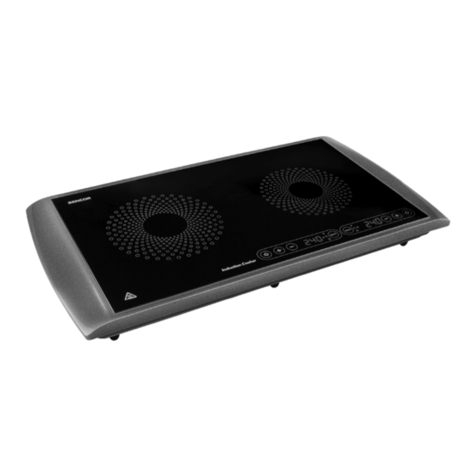
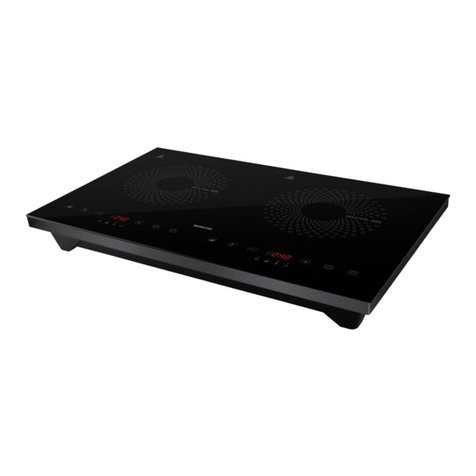
DESCRIPTION OF THE APPLIANCE
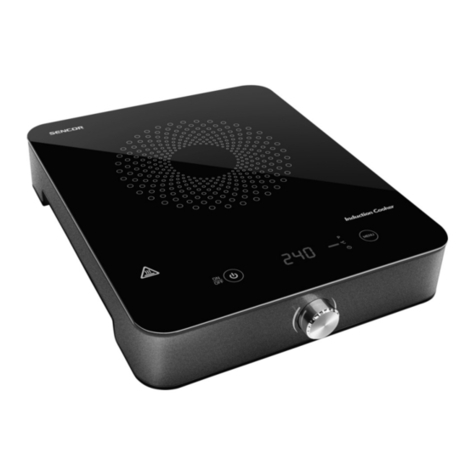
A1 Hotplate
A2 Control panel
A3 Anti-slip feet
. . . . . . . . . . . . . . . . . . . . . . . . . . . . . . . . . . . . . . . . . . . . . . . . . . . . . . . . . . . . . . . . . . . .
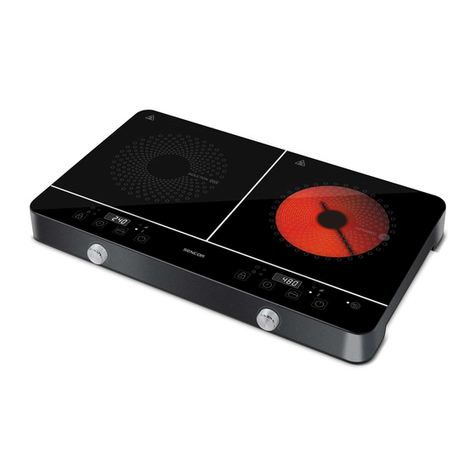
DESCRIPTION OF THE CONTROL PANEL
B1 Left hotplate control knob
B2 Left hotplate display
B3 ON/OFF button for the left
hotplate with an indicator light
B4 TIME (timer setting) button
for the left hotplate with an
indicator light
B5 POWER indicator light
B6 TIME (timer setting) button
for the right hotplate with an
indicator light
B7 ON/OFF button for the right
hotplate with an indicator light
B8 Right hotplate display
B9 Right hotplate control knob
. . . . . . . . . . . . . . . . . . . . . . . . . . . . . . . . . . . . . . . . . . . . . . . . . . . . . . . . . . . . . . . . . . . .
BEFORE FIRST USE
• Before first use, take the appliance and its accessories out of the
packaging material and remove all promotional labels and stickers.
Check that neither the appliance nor any of its parts is damaged.
• Wipe the surface of the appliance with aclean, lightly dampened
cloth. Then wipe it dry.
Note:
When first turned on, there may be light smoke emitted. This
is an entirely normal event, which will disappear after afew
minutes.
. . . . . . . . . . . . . . . . . . . . . . . . . . . . . . . . . . . . . . . . . . . . . . . . . . . . . . . . . . . . . . . . . . . .
OPERATING THE APPLIANCE
1. Place the appliance on akitchen countertop or on atable within
reach of apower socket. At the same time, make sure that all safety
instructions are followed.
Warning:
The appliance must not be placed on acooktop,
stove, gas stove, etc.
2. Make sure that there are no foreign objects located on the hotplates
and that the surface is clean.
3. Fully unwind the power cord and connect it to apower socket. The
POWER indicator light will be lit.
Note:
Since the appliance heats up during operation, the power
cord must be located in such away that it is not touching the
surface of the appliance.
4. Place apot or pan on the appropriate hotplate. To achieve optimal
power consumption and cooking time, use cookware with aflat
base, the diameter of which corresponds to the size of the hotplate.
Place foodstuffs into the pot or pan.
5. Press the ON/OFF button, the indicator light will turn on and the
display of the selected hotplates will show "----".
Note:
If you do not perform any action within 10 seconds, the
hotplate will automatically turn off.
6. Turn the control knob and the default power level of the selected
hotplate will be shown on the display (left hotplate: 2,200; right
hotplate: 1,300).
7. Turn the control knob to the left/right to set the desired power level in
100 Wincrements:
Left hotplate: 2,200 to 100;
Right hotplate: 1,300 to 100.
The display will always show the set power level, which is
automatically saved and the hotplate will start at the set power level.
8. Regularly check the condition of the food while the hotplate is
running. Do not leave the appliance without supervision when it is in
operation.
9. When the meal is cooked, turn off the hotplate being used using the
ON/OFF button. “HOT” will appear on the screen of the hotplate
being used.
Warning:
Do not touch the hotplate when the display shows
“HOT” (hot hotplate). “HOT” indicates that the given
hotplate is hot and that it is dangerous to touch it.
There is adanger of serious burns.
10. When you have finished using the appliance, ensure that both the
hotplates are turned off using the ON/OFF buttons and disconnect
the power cord plug from the power socket.
11. Allow the appliance to cool down completely. Wait until the
messages "HOT" turn off on both displays. Then clean it out
according to the instructions in chapter Cleaning and maintenance.
Never move the appliance unless it has cooled down completely.
Note:
When the appliance is turned off, the fan will run to speed up
the cooling down process. This is normal. Do not touch the
hotplates until “HOT“ disappears from the display. Even then,
the hotplate can be warm, and there is care to be taken.
Setting the timer
The timer enables atime to be set, for which the hotplate will be in
operation and after which it will turn off.
1. Turn on the appliance and set the power level as described above.
2. Press the TIME button of the hotplate that you wish to use.
3. The display will show the default time of “30“ (30 minutes).
4. Turn the control knob to the right/left to set the required time. You
can set it in the range from 1 to 180 minutes. The set time will flash
three times and acountdown will be started.
5. During use, the display will alternately show the set power level and
the countdown time. The TIME indicator light will turn on and off.
When the display shows the countdown time, the TIME indicator
light will be lit. When the display shows the power level, the TIME
indicator light will be off.
6. When the set time has elapsed, asound will be made and the
hotplate will turn off. The display will show "----" and then “HOT” will
be shown.
If you need to cancel the timer, press and hold down the TIME button for
3seconds.
. . . . . . . . . . . . . . . . . . . . . . . . . . . . . . . . . . . . . . . . . . . . . . . . . . . . . . . . . . . . . . . . . . . .
EN Double glass ceramic cooktop SmoothCook
User'sManual
