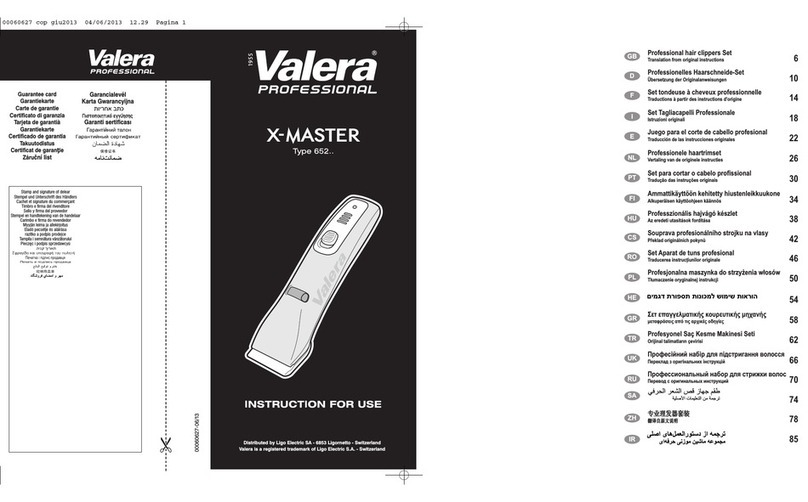
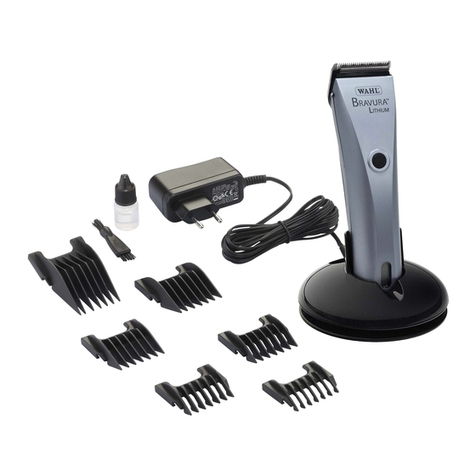
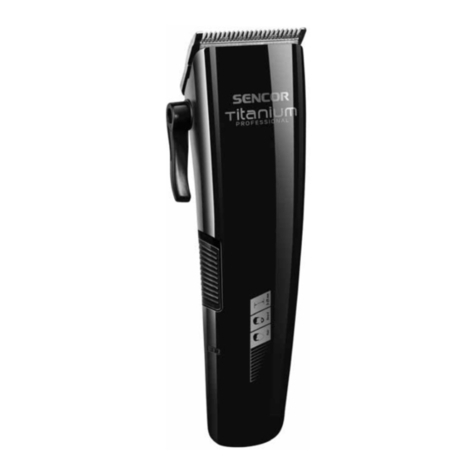
Sencor SHP 460CH Repair manual

05/2021
- 1 -
© 2021
EN Hair clipper
Translation of the original manual
SHP 460CH

05/2021
- 2 -
© 2021
EN Hair Clipper
Important safety instructions
READ CAREFULLY AND STORE FOR FUTURE USE.
General warnings
■This appliance may be used by children 8 years of age and
older and by persons with physical or mental impairments
or by inexperienced persons, if they are properly supervised
or have been informed about how to use the product in
asafe manner and understand the potential dangers.
■Children must not play with the appliance.
■Cleaning and maintenance performed by the user must
not be performed by unsupervised children.
■In the event that the power cord is damaged, have it
repaired at aprofessional service centre to prevent causing
adangerous situation. It is forbidden to use the appliance
if it has adamaged power cord.
Warning:
Keep the appliance dry.
■The parts of the appliance that need to be mounted or
stood upright, must be mounted or stood upright in such
away that they cannot fall into water.
Do not use the appliance in the bath or shower. Do not
clean it under awater tap, do not spray it with water or
any other liquid or submerge it in water or any other
liquid.

05/2021
- 3 -
© 2021
Electrical safety
■ Before connecting the appliance to apower socket, check that the voltage on its rating label corresponds to the voltage in the power socket to which you wish
to connect it. Do not use an extension cord.
■ Do not place the power cord over sharp objects. Make sure that the power cord does not hang over the edge of atable and that it is not touching aheated
surface.
■ Ensure that the power cord is not clamped or crimped.
■ Disconnect the appliance from the power socket by gently pulling the plug of the power cord, and not the power cord itself. Otherwise, this could damage
the power cord or the socket.
■ Do not connect and disconnect the power cord to and from the power socket with wet hands.
■ Do not pull or carry the appliance by the power cord.
■ Keep the power cord dry.
■ Do not wind the power cord around the body of the appliance.
■ Do not use or store the appliance or leave it lying in abathroom or similar locations where it could fall into abath, wash basin or other containers filled with
water.
■ In the event that the appliance falls into water during use, under no condition reach for it, rather, immediately disconnect the power cord from the power
source. Never use the appliance if any part of it was submerged in water. Hand the appliance over to an authorised service centre for inspection.
SAFETY DURING USE
■ This hair clipper is intended for home use only and is designed for cutting human hair, beards and nose and ear hair. The hair clipper is not intended for
commercial purposes or for trimming animal fur.
■ Only use the hair clipper on dry clean hair, beards or nose and ear hair. Do not use it on wet or just washed hair or on beards on which ashaving foam or gel,
etc. is applied.
■ Use the hair clipper and its accessories in accordance with the instructions contained in this user'smanual.
■ Use only the original accessories supplied with this hair clipper.
■ Only use the hair clipper in indoor areas. Do not use it outdoors.
■ Do not use the hair clipper in rooms where aerosol sprays are used or where oxygen is administered.
■ Do not expose the hair clipper and its accessories to the outdoor environment, extreme temperatures, direct sunlight, excessive humidity or excessively dusty
environments.
■ Do not place the hair clipper and its accessories near heaters, open fires or other sources of heat.
■ Before every use, check that the selected comb attachment is not damaged. Never use ahair clipper with adamaged comb attachment.
■ The hair clipper may heat up during use. This is completely normal.
■ Keep the hair clipper at asafe distance from eyes.
■ Always turn off the hair clipper and disconnect it from the power source when not using it, when leaving it without supervision and before attaching,
removing or replacing an attachment and before cleaning, maintenance or storage. Store the hair clipper in adry environment.
■ Keep the hair clipper clean. Perform cleaning and maintenance according to the instructions in chapter Cleaning and maintenance.
■ Do not perform any maintenance on the hair clipper other than cleaning the individual components as described in chapter Cleaning and maintenance.
■ Do not use the hair clipper if it has fallen on the floor, if it was submerged in water, if it is not functioning correctly or if it is damaged in any other way.
■ Only use the cutting unit lubricating oil in accordance with the instructions in this user'smanual and store it out of children'sreach. Keep the oil at asafe
distance from eyes and sources of heat.
■ In order to prevent ahazardous situation from arising, do not repair the hair clipper or any of its accessories yourself or modify it in any way. For all repairs,
contact an authorised service centre. By tampering with the product you risk voiding your legal rights arising from unsatisfactory performance or quality
warranty.

05/2021
- 4 -
© 2021
SHP 460CH
2
3
4
5
6
1
A

05/2021
- 5 -
© 2021
2
3
4
5
7
6
8
1
B

- 6 - 05/2021
© 2021
EN Hair Clipper
User'smanual
■ Prior to using this appliance, please read the user'smanual thoroughly, even in cases,
when one has already familiarised themselves with previous use of similar types of
appliances. Only use the appliance in the manner described in this user’smanual.
Keep this user'smanual in asafe place where it can be easily retrieved for future use.
In the event that you hand this appliance over to somebody else, make sure to also
include this user'smanual.
■ Carefully unpack the appliance and take care not to throw away any part of
the packaging before you find all its parts. We recommend saving the original
cardboard box, packaging material, purchase receipt and responsibility statement
of the vendor or warranty card for at least the duration of the legal liability
for unsatisfactory performance or quality. In the event of transportation, we
recommend that you pack the appliance in the original box from the manufacturer.
DESCRIPTION OF THE HAIR CLIPPER AND ITS ACCESSORIES
A1 Cutting unit
A2 Cutting height adjustment lever
A3 On/Off switch
A4 Hanging loop
A5 Hair clipper unit
A6 Power cable
B1 Comb attachment size 3mm
B2 Comb attachment size 6mm
B3 Comb attachment size 9mm
B4 Comb attachment size 12mm
B5 Comb
B6 Scissors
B7 Oil for lubricating the cutting unit
B8 Cleaning brush
PURPOSE OF USE
■ The hair clipper is intended for domestic use and is not intended for business
activities or other professional areas of use.
■ The hair clipper is suitable for cutting clean, dry or lightly dampened hair.
■ The hair clipper can also be used to trim dry beards and whiskers to which no
shaving gel or foam has been applied.
■ The hair clipper is not intended for cutting wet, freshly washed hair, for clipping
synthetic hair or hair on to which agel, etc. has been applied.
■ The hair clipper must not be used to clip animal fur.
OPERATION
PREPARATION BEFORE THE HAIRCUT
Attention:
Do not use the hair clipper if you have open wounds, cuts or
blisters on your skin.
■ Before starting any styling of hair or beards, acquaint yourself with the operating
instructions.
■ You can use the hair clipper to clip your own or other people'shair. When clipping
somebody else'shair, seat them so that their head is at the level of your chest. This
will provide for acomfortable cutting position. Before cutting hair, thoroughly comb
out the hair in the growth direction.
■ Cover your neck and shoulders or that of the person whose hair you will be cutting
with atowel to limit cut hair from falling on clothes.
■ Prior to every use, check that the cutting unit is clean.
■ Prior to every use, check the cutting unit and the selected comb attachment for
damage. Never use ahair clipper with adamaged cutting unit or comb attachment.
CUTTING WITHOUT THE COMB ATTACHMENT
■ You may use the hair clipper without a comb attachment, for example, to trim
beards very close to the skin or to trim the neckline or the area around the ears.
Attention:
The blades of the cutting unit will cut off all hair, beards or
nose and ear hair that comes into contact with them, therefore
be especially careful when handling the hair clipper while it is
running.
■ Set the cutting height using the lever A2:
- If you want the cutting height to be as short as possible, move the lever upwards
all the way. Hair will be cut directly above the scalp. This setting is suitable for
trimming hair on the neck and around the ears. The length of the cut is extended
by gradually pushing the lever downwards.
- For the greatest cutting height, slide the lever downwards all the way. In this
position, the cutting height is set to approximately 3mm.
■ Connect the power cord plug to a power socket. Turn the hair clipper on and off
using switch A3.
■ When you have finished using the hair clipper, always clean it according to the
instructions in chapter Cleaning and maintenance.
CUTTING THE COMB ATTACHMENT
■ The hair clipper is supplied with 4 comb attachments B1–B4 for cutting lengths of
3, 6, 9 and 12 mm.
- the 3 or 6 mm attachment is suitable for clipping the nape of the neck and the
side parts of the head
- the 9 or 12 mm attachment is suitable for clipping the back and top parts of the
head
■ Attach the comb part of the selected attachment from above on to the blade of the
cutting unit and push the heel of the attachment towards the bottom part of the
cutting unit. An audible click is made when it is pushed down. Always ensure that
the attachment is properly attached.
Attention:
Put a comb attachment on to the cutting unit before turning
on the hair clipper and always turn the hair clipper off before
removing it.
■ When using the hair clipper for the first time, it is recommended to first try the
largest adapter and only thereafter use the smaller attachment.
■ Connect the power cord plug to a power socket. Turn the hair clipper on and off
using switch A3.
■ When you have finished using the hair clipper, always clean it according to the
instructions in chapter Cleaning and maintenance.
ADVICE AND TIPS
■ Clip hair slowly and in a relaxed manner. Use only short movements and clip
gradually across the whole head.
■ Always only clip off small amounts of hair at once. You can clip off the next piece
of hair later.
■ While clipping, comb the hair back to the hairstyle that you are cutting.
■ When using a comb attachment, start cutting with the largest cutting height and
then gradually reduce the set hair cutting height.
■ Record the used height setting for certain hairstyles so that you do not need to
spend time adjusting it the next time.
■ It is most effective to cut counter to the direction of hair growth.
■ Because hair grows in various directions, it is also necessary to move the hair clipper
in various directions (upwards, downwards or crosswise).
■ Repeat individual passes so that you cut also the hair that you did not cut in the
previous passes.
■ Ensure that the flat part of the comb attachment is in full contact with the scalp.This
will ensure an even haircut result.
■ To achieve good results on curly, sparse or long hair, you can try using acomb to
lead the hair towards the hair clipper.
■ Trim beards by slowly moving counter to the growth direction of the beard, going
from the bottom upwards. When trimming beards using acomb attachment, keep
in mind that the comb attachment must be in constant contact with the skin in
order to ensure an even cut. After reattaching an attachment on to the cutting unit,
do not forget to set the cutting height again.
Note:
When cutting, some hair may accumulate between the blade of the
cutting unit and the comb attachment. To remove the hair accumulated
between the blade of the cutting unit, press the lever up and down
several times.
To remove hair accumulated in the comb attachment, first turn off the hair
clipper, remove the attachment and clean it.
CLEANING AND MAINTENANCE
■ Before you start cleaning the hair clipper, turn it off and disconnect it from the
power source. Never clean the hair clipper when it is connected to apower socket.
■ Regular cleaning after every use will ensure that the hair clipper remains in good
working order.
Attention:
Except for the comb attachments B1-B4 and the comb B5, no
other part of this hair clipper is intended for cleaning under
awater tap. Do not spray the hair clipper or its power cord with
water or any other liquid or submerge it in water or any other
liquid.
CLEANING THE CUTTING UNIT
■ If the comb attachment is mounted on the cutting unit, remove it.
■ Use the cleaning brush to remove all hair and whiskers from the cutting unit.
Attention:
The edges of the cutting unit are sharp, pay increased attention
when handling them.
CLEANING THE COMB ATTACHMENT
■ Clean a used comb attachment using abrush or rinse it under running lukewarm
water. After washing it, carefully wipe it with asoft, dry cloth and then allow it to
dry naturally.
- 7 - 05/2021
© 2021
CLEANING THE BODY OF THE HAIR CLIPPER
■ The hair clipper unit can be cleaned using aclean dry cloth. In the event that it is
very dirty, you can use alightly dampened cloth. Then thoroughly wipe the cleaned
surface dry.
■ To clean the power cord, use aclean, dry cloth.
■ For cleaning, do not use brushes with hard bristles, cleaning products with an
abrasive effect, solvents, etc. Otherwise, the cleaned surface may be damaged.
LUBRICATING THE BLADE OF THE CUTTING UNITS
■ To ensure complete movement of the cutting unit, it is recommend that it is
regularly lubricated always after several sessions.
■ If an attachment is mounted on the cutting unit, remove it.
■ Apply 1 to 2 drops of oil B7 to the blades of the cutting unit and evenly spread the
oil using acloth. Dry off excess oil. Check that the unit is clean before using again.
Note:
After using up the supplied oil, you can use an oil that does not contain
acids, e.g. sewing machine oil.
REPLACING THE CUTTING UNIT
■ In the event that the cutting unit A1 is worn out, please contact an authorised
service centre.
■ If you replace the cutting unit yourself, use only original spare parts and proceed
according to the following instructions.
- Using asuitable screwdriver, loosen the screws on the underside of the cutting
unit and remove the bottom and upper part of the cutting unit.
- Attach anew upper and bottom part of the cutting unit to the body of the hair
clipper.
- Check that both parts are seated correctly. The blade must be parallel. Set the
lever A2 to the top position and simply align the tips of the upper and lower teeth
so that the end part of the teeth of the upper part is at adistance of approximately
1.2 mm from the end part of the teeth on the bottom part.
- Attach the new cutting unit to the body of the hair clipper using screws. If you
find that the upper and bottom parts of the cutting unit are not properly aligned,
slightly loosen the screws. Adjust both parts relative to each other and retighten
the screws.
STORAGE
■ When you have finished using it, you can store the hair clipper with all its accessories
in a suitable location out of children's reach. Keep the hair clipper away from
extreme temperatures, direct sunlight and excessive humidity. Do not use in an
overly dusty environment.
TECHNICAL SPECIFICATIONS
Rated voltage range .................................................................................................... 220−240 VAC
Rated frequency........................................................................................................................50/60 Hz
Rated power input............................................................................................................................. 9 W
Noise level ...................................................................................................................................72 dB(A)
Electrical shock protection class........................................................................................................II
The declared noise emission level of the appliance is 72 dB(A), which represents alevel
Aof acoustic power with respect to areference acoustic power of 1 pW.
EXPLANATION OF TECHNICAL TERMINOLOGY
Electric shock protection class:
Class II – Electrical shock protection is provided by double or
heavy-duty insulation.
Changes to text and technical parameters are reserved.
INSTRUCTIONS AND INFORMATION REGARDING THE
DISPOSAL OF USED PACKAGING MATERIALS
Dispose of used packaging material at asite designated for waste in your municipality.
DISPOSAL OF USED ELECTRICAL AND ELECTRONIC
EQUIPMENT
This symbol on products or original documents means that used
electric or electronic products must not be added to ordinary
municipal waste. For proper disposal, renewal and recycling, hand
over these appliances to determined collection points. Alternatively,
in some European Union states or other European countries you may
return your appliances to the local retailer when buying an equivalent
new appliance.
Correct disposal of this product helps save valuable natural resources
and prevents potential negative effects on the environment and human health, which
could result from improper waste disposal. Ask your local authorities or collection
facility for more details.
In accordance with national regulations penalties may be imposed for the incorrect
disposal of this type of waste.
For business entities in European Union states
If you want to dispose of electric or electronic equipment, ask your retailer or supplier
for the necessary information.
Disposal in other countries outside the European Union.
This symbol is valid in the European Union. If you wish to dispose of this product,
request the necessary information about the correct disposal method from the local
council or from your retailer.
This product meets all the basic requirements of EU directives related to
it.
Table of contents
Other Sencor Hair Clipper manuals

Sencor
Sencor SHP 431BL User manual

Sencor
Sencor SHP 100 User manual

Sencor
Sencor SHP 211SL User manual

Sencor
Sencor SHP 90 User manual

Sencor
Sencor SHP 3301BL User manual

Sencor
Sencor SHP 90 User manual

Sencor
Sencor SHP 320SL User manual

Sencor
Sencor SHP 8400BK User manual

Sencor
Sencor SHP 3500BL Repair manual

Sencor
Sencor SHP 8900BK Repair manual