- 4 - Revision 04/2023
Copyright © 2023, Fast ČR, a.s.
• When you finish cleaning and have cleaned out the appliance, place it
back into the stand so that the battery can recharge.
• Keep the charging adapter plugged in permanently. The electronics
in the appliance control the battery charging process and ensure that
it is always optimally charged. When the battery is fully charged,
the electronics interrupt the charging process and resume it when it
is necessary to charge the battery again. There is no need to worry
about wasting electricity.
• Disconnect the charging adapter from the power socket only in the
event of a long term absence. When you return, plug it back into the
socket so that the vacuum cleaner is again ready for use.
. . . . . . . . . . . . . . . . . . . . . . . . . . . . . . . . . . . . . . . . . . . . . . . . . . . . . . . . . . . . . . . . . . . .
USING THE VACUUM CLEANER
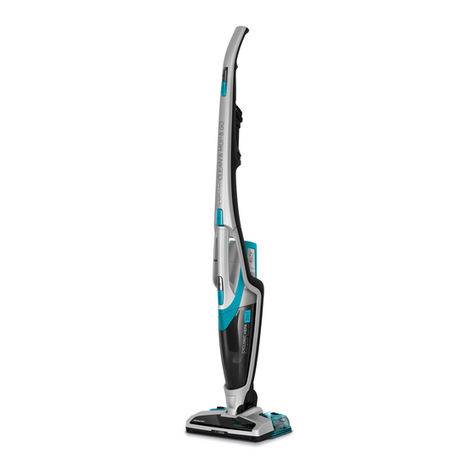
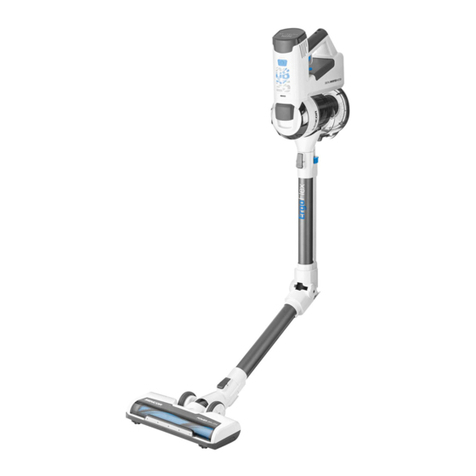
1. Upright vacuum cleaner
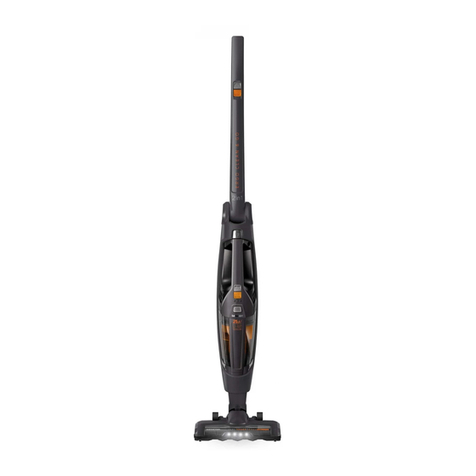
• You may use the vacuum cleaner for vacuuming various types of floor
coverings such as for example hard floor coverings, carpets, etc.
• Hold the vacuum cleaner by the handle and pulling it upwards,
remove it from the charging base. After removing from the charging
base, the vacuum cleaner should be secured in the vertical parking
position. After releasing it from the parking position, the handle may
be moved in the vertical direction.
• Start the vacuum cleaner by pressing button A2. Use button A3 to
regulate the suction power of the vacuum cleaner and the speed of
the rotary brush at two levels.
• The LED indicators signal the battery power level. The individual
LED indicators will turn off as the battery gradually discharges. If it
is discharged fully, all the LED indicators will be off and the vacuum
cleaner will stop running.
• When you have finished using it, turn off the vacuum cleaner
by pressing the button A2. Clean it according to the instructions
contained in chapter Maintenance and cleaning, and allow it to
charge according to the instructions contained in chapter Charging the
vacuum cleaner.
2. Hand vacuum cleaner
• Turn on the hand vacuum cleaner by pressing button A15. You may
use it for vacuuming locally soiled floor coverings, furniture, etc.
Vacuuming hard to reach places is made easier by the slot nozzle and
upholstered furniture by the brush nozzle.
• When you have finished using it, turn off the vacuum cleaner by
pressing button A15 again. Clean it according to the instructions
contained in chapter Maintenance and cleaning, and allow it to
charge according to the instructions contained in chapter Charging the
vacuum cleaner.
3. Using the vacuum cleaner with the wiping attachment
• Remove the lid and pour water or acleaning agent solution into
the tank. Put the lid back on. Place the wiping attachment with the
attached sleeve on the floor.
• We recommend that you wet the wiping sleeve before attaching it to
the attachment. This will speed up the wiping process, which will be
more effective from the very beginning.
• Put the vacuum cleaner on to the attachment. Water will start to
slowly flow into the sleeve. Turn on the vacuum cleaner, and while
vacuuming you will also wipe the floor at the same time.
• Always use aneutral cleaning agent with alow foaming effect. Do not
use cleaning agents with ableaching effect, chlorine-based cleaning
agents, disinfection cleaning agents, etc. Before using the cleaning
agent, check that it is suitable for your type of floor covering.
• Regularly check the water/solution level in the water tank, and fill it
up as necessary.
• When no longer using the wiping attachment, turn off the vacuum
cleaner and remove the wiping attachment from the vacuum cleaner.
. . . . . . . . . . . . . . . . . . . . . . . . . . . . . . . . . . . . . . . . . . . . . . . . . . . . . . . . . . . . . . . . . . . .
MAINTENANCE AND CLEANING
• Before cleaning, always make sure that the vacuum cleaner is turned
off and the power adapter is disconnected from the power socket.
Dust container and filters
• Disassemble the hand vacuum cleaner according to the instructions in
chapter Assembly and disassembly. Remove the contents of the dust
container, rinse it out with water and thoroughly wipe dry.
• Remove dust and dirt from the external filter. Wash it under running
water and then dry thoroughly, or allow it to dry naturally.
• In the event that the internal HEPAtype filter is soiled, wash it under
agentle current of running water and allow it to dry naturally.
Attention:
Before assembling the vacuum cleaner, make sure
that all its parts are completely dry. Prior to starting it,
make sure that all the filters are properly installed in
their place. Otherwise, this could damage the vacuum
cleaner.
When filters are soiled, their effectiveness is reduced,
so do not neglect their cleaning.
• After 6 months of use, we recommend replacing the internal
HEPAtype filter for anew one. Spare filters are available at brick and
mortar, and online stores.
Floor nozzle and attachments
• If the rotary brush is soiled by hair or animal fur, remove the floor
nozzle from the body of the vacuum cleaner. Turn it so that the rotary
brush is pointing upwards. On the left side of the nozzle there is alatch
that secures the brush cover in place, see fig. F1. Release the latch, tilt
open the cover and take out the brush (see fig. F2).
• Remove all dirt and dust from the rotary brush and the internal space
of the floor nozzle. After cleaning, return the rotary brush back in its
place. Tilt the cover back and secure in place.
• For cleaning the surface of the floor nozzle and the attachments use
adry or alightly dampened cloth. Then wipe everything so that it is
thoroughly dry.
Outer surface of the vacuum cleaner
• Clean the outer surface of the vacuum cleaner using adry or alightly
dampened cloth. Then wipe everything so that it is thoroughly dry.
Pay special attention when cleaning the body of the upright vacuum
cleaner. In the part where the suction opening is located, dust may
accumulate, which needs to be removed regularly.
• Clean the charging base using adry or slightly dampened cloth, whilst
ensuring that the socket for connecting the power adapter plug does
not come into contact with moisture. Then wipe everything so that it
is thoroughly dry.
• Do not use steel wool, abrasive cleaning products, solvents, etc. to
clean the vacuum cleaner.
. . . . . . . . . . . . . . . . . . . . . . . . . . . . . . . . . . . . . . . . . . . . . . . . . . . . . . . . . . . . . . . . . . . .
CLEANING THE WIPING ATTACHMENT
• Always empty out the tank after every use of the attachment. Wipe
the attachment with asoft sponge lightly dampened in warm water.
Wipe dry using aclean wiping cloth.
• Remove the sleeve and hand wash it in clean water with asmall
amount of washing powder for delicate laundry at atemperature of
30° to 40°. Do not use washing agents containing bleach, with an
extra bleaching effect or highly alkaline washing agents. Allow the
sleeve to dry naturally. Do not use adryer, fan or other electrical
appliances for drying.
• We recommend regularly inspecting the sleeve and replacing it
with anew one based on the frequency of use. Despite regular and
rigorous maintenance, it is possible that over time remains of dirt and
dust accumulate in the sleeve, which may clog it and thus negatively
affect ability of water to flow through the sleeve and the effectiveness
of wiping.
