- 8 - 07/2021
2021
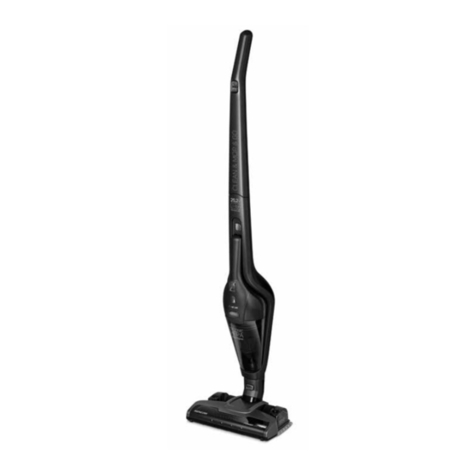
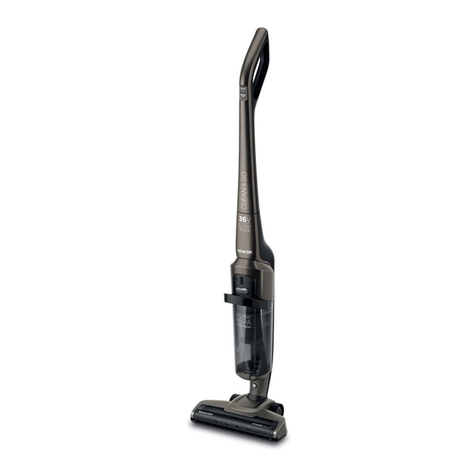
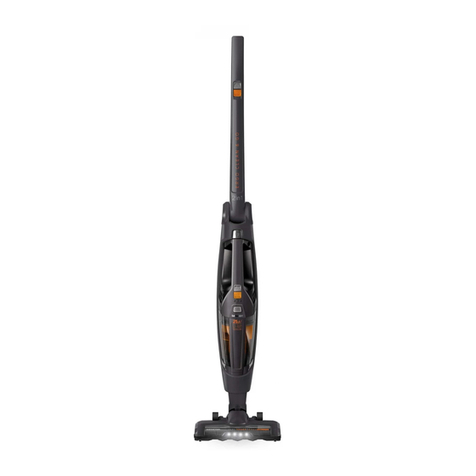
■ Hold the vacuum cleaner by the handle and release it from the parking
position. After releasing it from the parking position, the handle may be
moved in the vertical direction.
■ Start the vacuum cleaner by pressing button A2. The vacuum cleaner
will start at full suction power. If you need to reduce the suction power,
press button A13. The suction power of the vacuum cleaner will be
reduced. Press button A13 again to again increase the suction power.
■ When you have finished using it, turn off the vacuum cleaner by
pressing button A2. Clean it according to the instructions contained
in chapter „Cleaning and maintenance“, and allow it to charge
according to the instructions contained in chapter „Charging the
vacuum cleaner“.
■ In the event that the rotary brush is clogged while vacuuming, e.g.
by a larger amount of vacuumed hair or fur, the automatic safety
mechanism is activated, which will stop the rotary brush to prevent it
from becoming damaged.Turn off the vacuum cleaner using button A2
and remove the wound on hair or fur from the rotary brush – more in
chapter „Cleaning and maintenance“. Prior to turning on the vacuum
cleaner again, check that the rotary brush, the dust container A10 and
the filters A18 andA19 are clean.
Hand vacuum cleaner
■ The hand vacuum cleaner is suitable for vacuuming locally soiled floor
coverings, furniture, etc.
■ In order to remove the hand vacuum cleaner from the body of the
upright vacuum cleaner, press button A8 and the top part of the hand
vacuum cleaner will be released. Hold the hand vacuum cleaner by
the handle A15 and carefully remove it from the body of the upright
vacuum cleaner.
■ Turn on the hand vacuum cleaner by pressing button A14.
■ To vacuum dust and dirt from hard-to-reach places, put the crevice
nozzle A24 on to the suction hole A17.
■ If you need to vacuum dust and dirt from upholstered furniture, put the
brush nozzle A23 on to the suction hole A17.
■ When you have finished using it, turn off the vacuum cleaner using
button A14. Clean it according to the instructions contained in chapter
„Cleaning and maintenance“, and insert it back into the body of
the upright vacuum cleaner. Allow it to recharge according to the
instructions in chapter „Charging the vacuum cleaner“.
CLEANING AND MAINTENANCE
■ Before cleaning, make sure that the vacuum cleaner is turned off and
the power adapter is disconnected from the power socket. In order to
extend the lifetime of the vacuum cleaner, we recommend you perform
cleaning and maintenance after every use.
Warning:
To prevent the risk of injury by electrical shock, do not
submerge the appliance, power cord or power plug in
water or any another liquid.
Dust container and filters
■ Press button A11 to release the dust container A10 from the body of
the hand vacuum cleaner – see figure E1. Move the dust container A10
over awaste bin. Carefully pull the filters A18 andA19 out of the dust
container A10 – see figure E2.
■ Tip out all the contents of the dust container A10 and rinse it out as
necessary under a current of cold running water. Allow it to dry and
check that the dust container A10 is completely dry before reassembly.
■ Pull the inner filter A18 out of the outer filter A19. Remove dust and
dirt from the outer filter A19 rinse it out as necessary under acurrent of
cold running water. Allow it to dry and check that the outer filter A19 is
completely dry before reassembly.
■ Carefully remove any soils from the inner filter A18. If the inner filter
A18 is excessively soiled, rinse it under running water. Allow it to dry
naturally.
■ Assemble the dust container A10 and filters A18 and A19 in reverse
sequence.
Warning:
Before assembling the vacuum cleaner, make sure
that all its parts are completely dry. Prior to starting it,
make sure that all the filters are properly installed in
their place. Otherwise, this could damage the vacuum
cleaner.
When filters are soiled, their effectiveness is reduced,
so do not neglect their cleaning.
■ It is recommended to replace the inner filter A18 with anew one after
6 months of use. Spare filters are available at brick and mortar, and
online stores.
Floor nozzle
■ If the rotary brush is soiled, turn the floor nozzle A6 so that the rotary
brush is pointing upwards. On the left side of the nozzle A6 there is
alatch that secures the brush cover in place. Release the latch, tilt open
the cover and take out the brush –see figure F.
■ Remove all dirt and dust from the rotary brush and the internal space
of the floor nozzle A6. After cleaning, return the rotary brush back in its
place. Tilt the cover back and secure it in place.
■ For cleaning the surface of the floor nozzle A6, use adry or alightly
dampened cloth. Then wipe everything so that it is thoroughly dry.
Outer surface of the vacuum cleaner
■ Clean the outer surface of the vacuum cleaner using adry or alightly
dampened cloth. Then wipe everything so that it is thoroughly dry.
Warning:
Do not clean any part of the vacuum cleaner using
steel wool, abrasive cleaning products, petrol, solvents
or any other similar products.
Storage
■ When not using the vacuum cleaner for an extended period of time,
clean it according to the instructions provided above.
■ Before storing it, check that the vacuum cleaner is perfectly clean and
dry.
■ Store the vacuum cleaner in adry, clean and well-ventilated location
not exposed to extreme temperatures and out of children‘sreach.
TECHNICAL SPECIFICATIONS
SVC 7811WH
Power adapter
Input.........................................................................100 – 240V~, 50/60Hz, 0.35A
Output...................................................................................................14V , 0.5A
Electrical shock protection class...............................................................................II
Vacuum cleaner
Power input ...........................................................................................................110W
Electric rotary brush ..............................................................................................10W
Li-Ion battery......................................................... 11.1V , Li-Ion / 2,200mAh
Time required for charging to full capacity ........... approximately 4.5hours
Operating time when fully charged (high / low power) ..up to 13 / 25min
Noise level......................................................................................................≤ 76dB(A)
Dust container capacity .........................................................................................0.5l
The declared noise emission level of models SVC 7811WH is ≤76dB(A),
which represents level A of acoustic power with respect to a reference
acoustic power of 1pW.
Safety class for electrical shock protection:
Class II – Electrical shock protection is provided by double or
heavy-duty insulation.
The product is intended for household use only. The product
is not intended for outdoor use.
We reserve the right to change text and technical specifications.
