SENKO SGT User manual
SGT Docking Station
Version II
User’s Manual
SGT Docking Station version II

Table of Contents
2
Warning …………………….…………………………………………………………
1. Overview …………………………………………………………………………..
1.1 Description ………………………………………………………...
1.2 Instructions and Parts ……………………………………………..
1.3 Key Features …………………………………………………….…
1.4 Specification …………………………………………………….…
2. Set up and Operation ……………………………………………………………..…
2.1 Power turn on/off …………………………………………………..
2.2 Bay LEDs and meanings ……………………………………......….
2.3 Charging battery …………………………………………………....
2.4 Exhaust Port & Fresh air Inlet ………………………………………
2.5 Installation of Gas Cylinder ……………………………………..…..
3. Testing …………………………………………………………………………….…
3.1 Calibration ………………………………………………………..…
3.2 Bump Test ……………………………………………………….…
4. Trouble Shooting ………………………………………………………………….…
5. Docking Station II Manager Software ……………………………………………..…
5.1 Software Installation ……………………………………………..…
6. Connecting to the SGT Docking Station II ……………………………………….….
6.1 Connecting with SENKO IR Link ……………………………………
6.2 Connecting with USB ……………………………………………….
7. Using Software …………………………………………………………………...….
7.1 Overview of Software ………………………………………………
7.1.1 Docking Station Tab …….………………………..
7.1.2 SGT Tab ……………………………………….…
7.1.3 Logs Tab …………………………………......…..
Limited Warranty …………………………………………………………………….…
3
4
4
4
5
5
6
6
6
6
7
7
7
7
8
8
9
9
11
12
12
13
13
14
15
16
17
SGT Docking Station version II

WARNING
Any unauthorized attempt to repair or modify the product, or any other cause
of damage beyond the range of the intended use including damage by fire,
lightening, or other hazard, voids liability of the manufacturer.
Do not use if the device appears to be damaged.
Use the device in a clean environment, which has no hazardous gases.
Do not use the expired gas cylinders.
Ensure to use the certified gas cylinders.
Ensure that the gas types and the concentrations match with manuals and
devices.
Severe vibration or shock to the device may cause a sudden reading change
and cause the device malfunction.
Do not leave or use the device at the watery place or at where there is any
liquid.
Do not use a device which has been failed the test.
Read the operation manual before use
✓Before operation, read the manual carefully and follow all the instructions.
✓IR link communication works only when it is placed at the bay 1 on the docking
station.
✓The deice only operates when the power LED turns to green.
✓Before upgrading firmware, connect the plug to avoid any data loss and
malfunction by unexpected power off. And the file names are fixed as below.
- Docking F/W File Name : DK_FW.bin,
- SGT F/W Name : SGT_FW.bin
- SGT_CO.bin, SGT_H2S.bin, SGT_O2.bin
3
SGT Docking Station version II

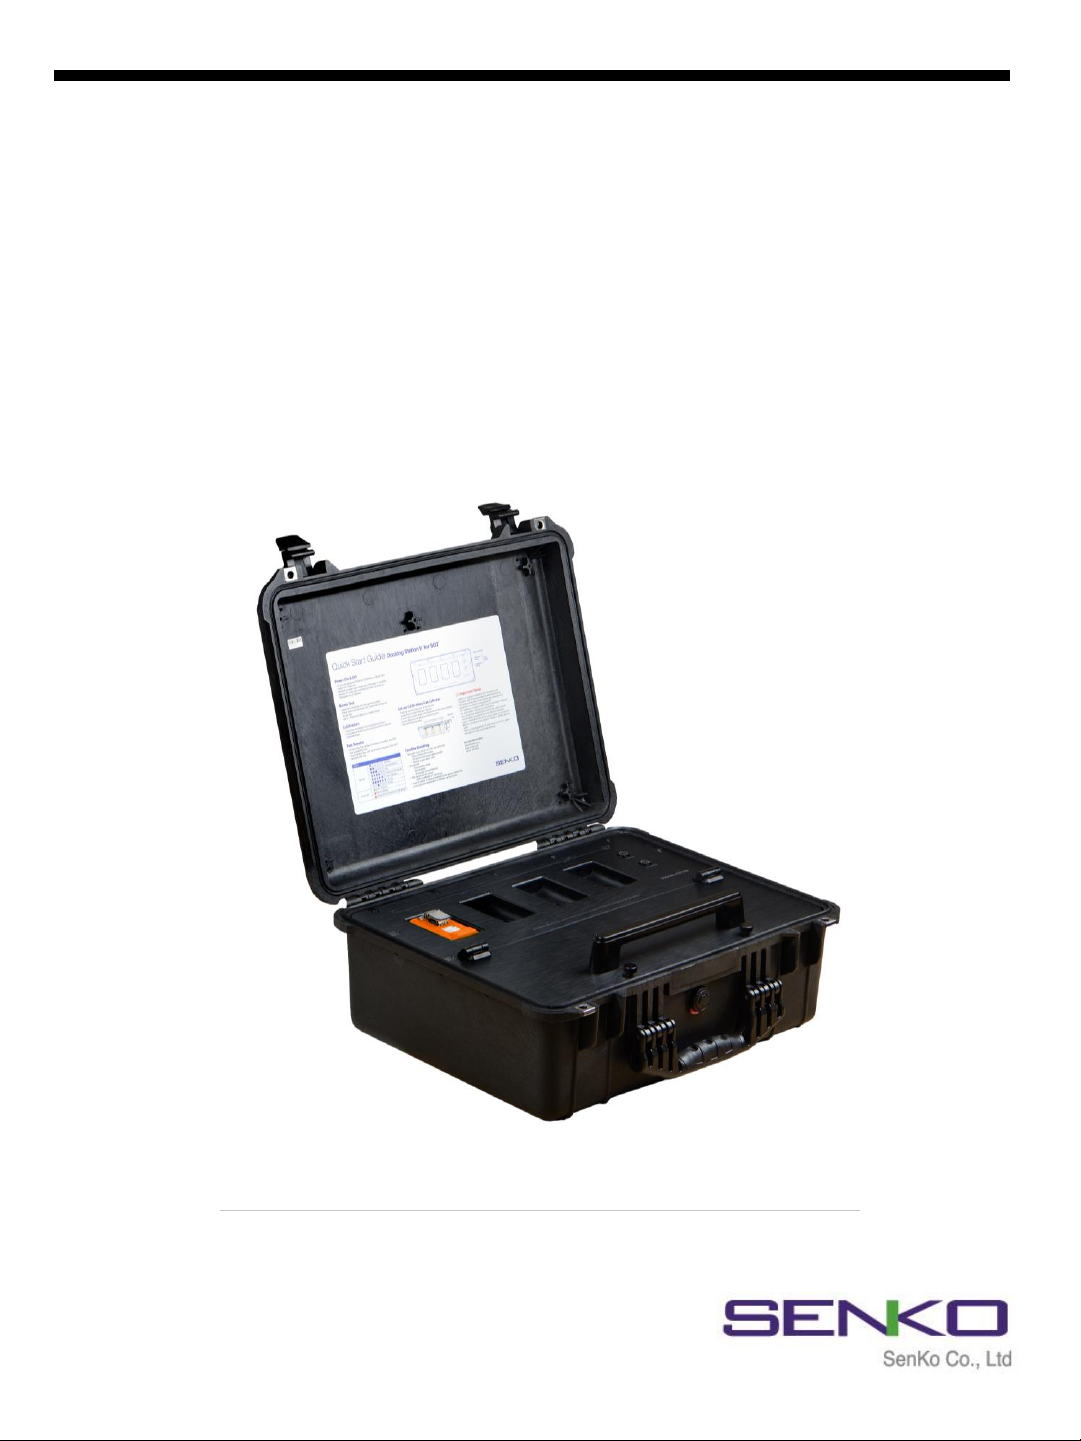
1. Overview
A Bump test and the calibration are the key features to ensure the safety of
devices and users. The SGT docking station version II provides bump testing,
event management and calibration from a simple to use multi-unit station and
gives fleet or safety managers the ability to update configurations on large fleets.
It also maintains all the important event logs that demonstrate users are working
within company requirements.
4
1.2 Instructions and Parts
1.1 Description
SGT Docking Station version II
a
c
d
efg
i
b
h
a
Bay LED
b
Bay 1
c
Handle
d
Thumbscrews
e
Power LED
f
Bump Test button
g
Calibration button
h
Bay 2, 3, 4
i
Pressure gauge
j
Cylinder 58L/116L
k
Cylinder Straps
l
Gas regulator
m
Cylinder compartment
n
Exhaust port
o
Fresh air Inlet
p
LAN port
q
Charging port
r
USB port
n
o
p
q
j
k
l
m
r
Figure 1

5
✓Zero and Span Calibration, Bump Test Function
✓Rechargeable internal battery lasts up to 1000 bump tests on a single charge
✓Indicate the current status of operation by the Power LED and Unit LED color
✓Configure settings and automatic update firmware of up to four SGT devices
✓Gas Ventilation system to remove a remained gas
✓Computer not required for normal operation
✓Save the log events after calibration and bump test
✓Enable users to adjust the setting points of Docking station and SGT via IR Link or USB
5
1.3 Key Features
1.4 Specifications
Size 52.5 x 43.7 x 21.3cm (20.66” x 17.20” x 8.40”)
Weight
(Without cylinder) 11.0kg
Temperature 41 to +104˚F (5 to +40˚C)
Warranty Full 2 years
Battery Type Rechargeable Lithium Ion
Battery Life Up to 1,000 Bump Tests
LEDs 6 Blue LEDs for each bay, 3-color LED for power,
Switch Back Light LED (Orange, Green)
Memory USB 8GB Standard
Log Capacity Approximately Up to 5 million tests (8GB, removable USB memory)
Tests Performed Bump Test and Calibration
Information
Stored
Bump/Calibration Logs, Individual Monitor Event Logs, Firmware and
Unit Configurations
Gases Available CO, H2S, O2
Compatibility Works with SGT & SGT-P (O2, CO, H2S)
Calibration Gas Compatible with 58L & 116L cylinders with C10 fitting
Interface Ethernet RJ-45(TCP/IP), 10Mb/s
Charging Adaptor DC12.0V, 3A/h
SGT Docking Station version II

6
2. Set up and Operation
2.1 Power turn on/off
The SGT Docking Station version II operates using only 2 (two) buttons for calibration and
Bump Test.
To turn on the power, follow the below:
✓Press and hold either Calibration or Bump Test button for 2 seconds.
✓The Power LED turns on to orange and blinks during the warming up and after while
turns to green when it is ready. When the unit has a low battery, the LED turns to red.
To turn off the power, follow the below:
✓Press and hold both Calibration and Bump Test buttons simultaneously for 2 seconds.
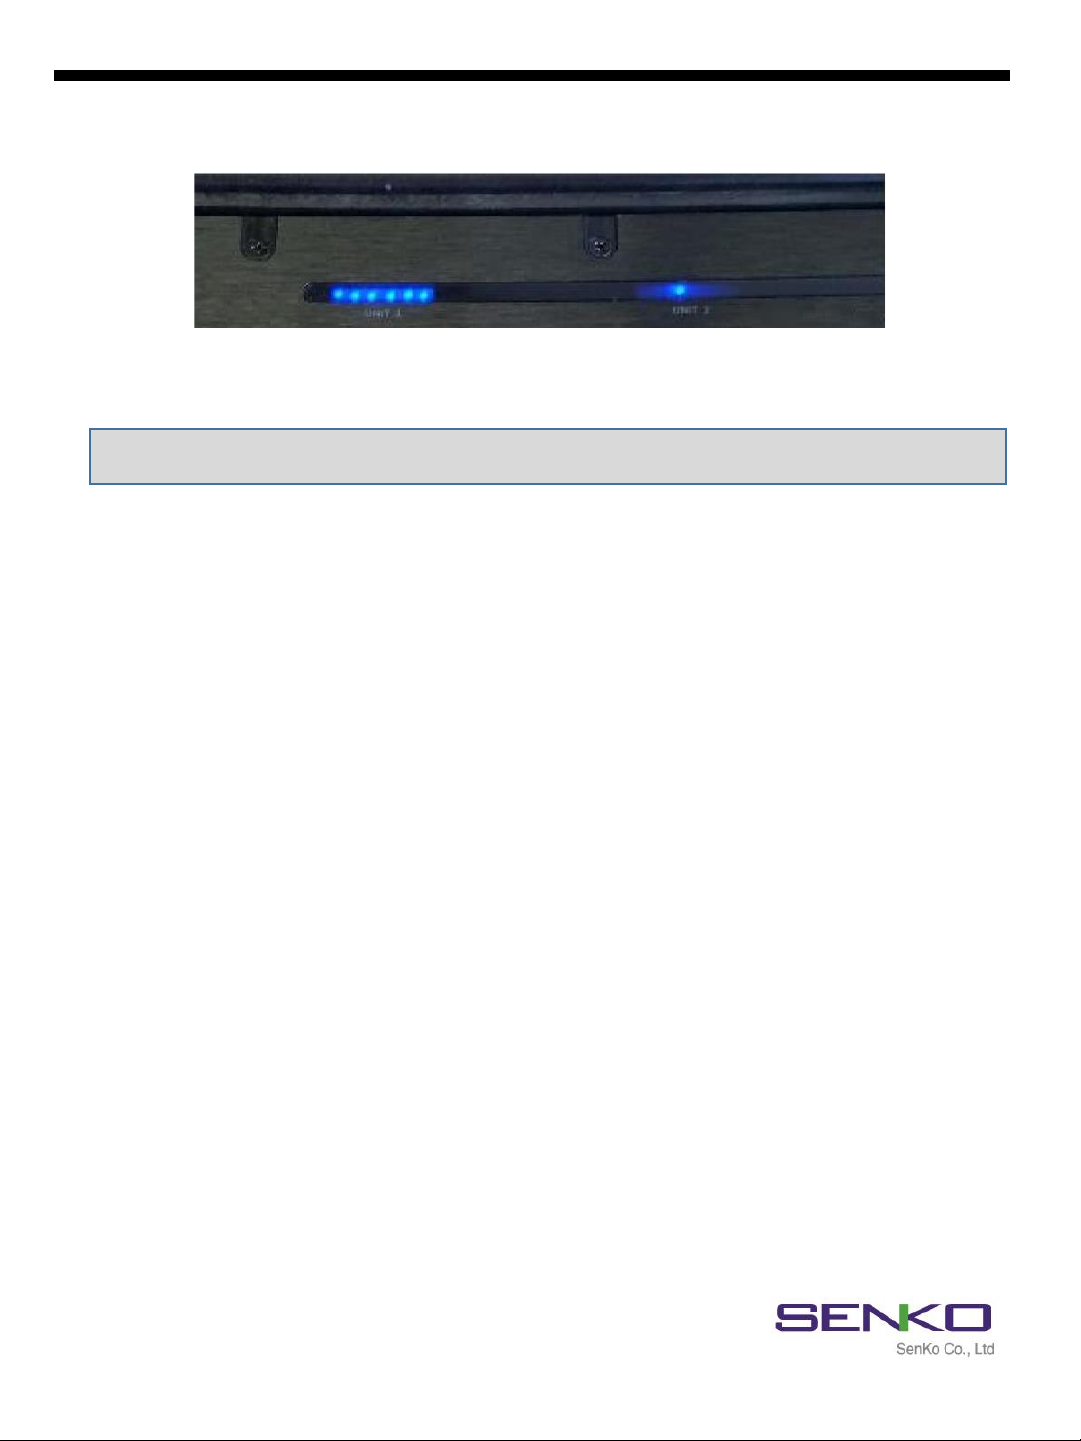
2.2 Bay LEDs and meanings
Each Bay has six blue LEDs (see Figure 2) which indicates the process status. Each of them
will turn on by order from left to right while testing. After testing is finished, make sure all six
bays are turned on otherwise, 3rd bay LED will be shown if test is failed.
2.3 Charging battery
The unit`s Power LED turns to red when the battery is very low as shown above. However, it
comes with a DC adapter with 5plugs which can be used to charge the unit using a 110V
power supply. A full charge will take approximately 3 hours and will last for approximately
1000 bump tests.
Note: Refer to Figure 1 for charging location.
Note: If unit is inactive for 300 seconds, it will automatically off (save power mode)
The button/unit only works when the power LED turns to green
SGT Docking Station version II
Figure 2

77
2.4 Exhaust Port & Fresh Air Inlet
There are two small ports on the left side of the charging port (see Figure 1). The Fresh air
inlet port will draw clean air in during an active test. The incoming air automatically counts as a
fresh air (O2, 20.9%vol).
The Exhaust port is the inverse of the Fresh air inlet port. During an active test, the used test
gas will exit the unit through the exhaust port. Optionally, tubing can be attached to the
exhaust port using the included twist connector to direct the used test gas to a suitable
location.
2.5 Installation of Gas Cylinder
Gas Cylinder which fits to Docking Station II must have the C10 fitting on it. The size of 58L
and 116L are both suitable in cylinder compartment. Before installing the cylinder for testing
SGT, ensure that Calibration concentration of gases are as same as SGT.
To install a cylinder, follow the below:
✓Remove thumbscrews and lift the handle up.
✓Install the cylinder to the gas regulator.
✓Fasten the cylinder straps and close the cylinder compartment.
✓Check the pressure gauge on the front panel.
✓Re-install thumbscrews.
✓After installing a gas cylinder, ensure USB is attached.
3. Testing
3.1 Calibration
Calibration is the comparison of measurement values delivered by a device under test with
those of a calibration standard of known accuracy. It is very important to calibrate a device
periodically for better performance of the device and sensor accuracy, especially, when it is
safety equipment.
To perform a calibration, follow the below:
✓Insert the monitor(s) into the bay facing down.
✓Slightly press down on the monitor until it locks into place.
✓Press the calibration button for 2 seconds to execute Calibration test.
✓During the 90seconds, bay LEDs begin to light as the test progress.
✓When test is finished, all (six) blue Bay LEDs illumination indicates if the SGT has passed
the test (see Figure 3).
✓Otherwise, the third blue Bay LED illumination indicates if the SGT has failed the test (see
Figure 3).
Bump test and calibration are the key features to ensure the safety of devices and users. The
SGT Docking Station version II provides bump testing, event management and calibration from
a simple to use multi-unit station.
SGT Docking Station version II
888
3.2 Bump Test
Bump test is the process which checks and verifies the performance of the monitors and
ensures that sensors are correctly responding to the target gas.
To perform a Bump Test, follow the below:
✓Insert the monitor(s) into the bay facing down.
✓Slightly press down on the monitor until it locks into place.
✓Press the Bump Test button for 2 seconds to execute Bump test.
✓During the 20~30seconds, bay LEDs begin to light as the test progress.
✓When test is finished, all (six) blue Bay LEDs illumination indicates if the SGT has passed
the test (see Figure 3).
✓Otherwise, the third blue Bay LED illumination indicates if the SGT has failed the test (see
Figure 3).
SGT has passed the
test (six LEDs)
SGT has failed the test
(only 3rd LED)
Note: Do not use the monitors that failed the calibration test.
4. Trouble Shooting
4.1 Bay Light does not turn on /test not performed
✓Clean Monitor IR window.
✓IR interference (bright lights/sunlight).
✓Monitor in gas alarm state.
4.2 All tests fail
✓Gas cylinder empty –check pressure gauge if it indicates at least 100psi/10bar.
✓Gas Expired –check gas expiration date located on the cylinder.
✓Wrong gas concentration(s) –gas cylinder and SGT concentrations not same.
✓Wrong gas type –check the gas type.
SGT Docking Station version II
Figure 3
4.3 Test results are not stored
✓USB not attached or full storage.
9
4.4 Uploaded Settings are not saved
✓“Write” button has not clicked.
✓Connection has lost.
5. SGT Docking Station II Manager Software
The purpose of SGT Docking Station II Manager Software is to customize and configure the
Station`s settings and SGT devices` internal configurations. The software can adjust and make
changes to the Docking Station and the SGT units using SENKO IR Link and/or partly USB Disk.
5.1 Software Installation
✓After downloading the file, navigate to the saved location.
✓Double click for running an installer.
✓Click “Read More” and “Run Away” if you receive a warning message.
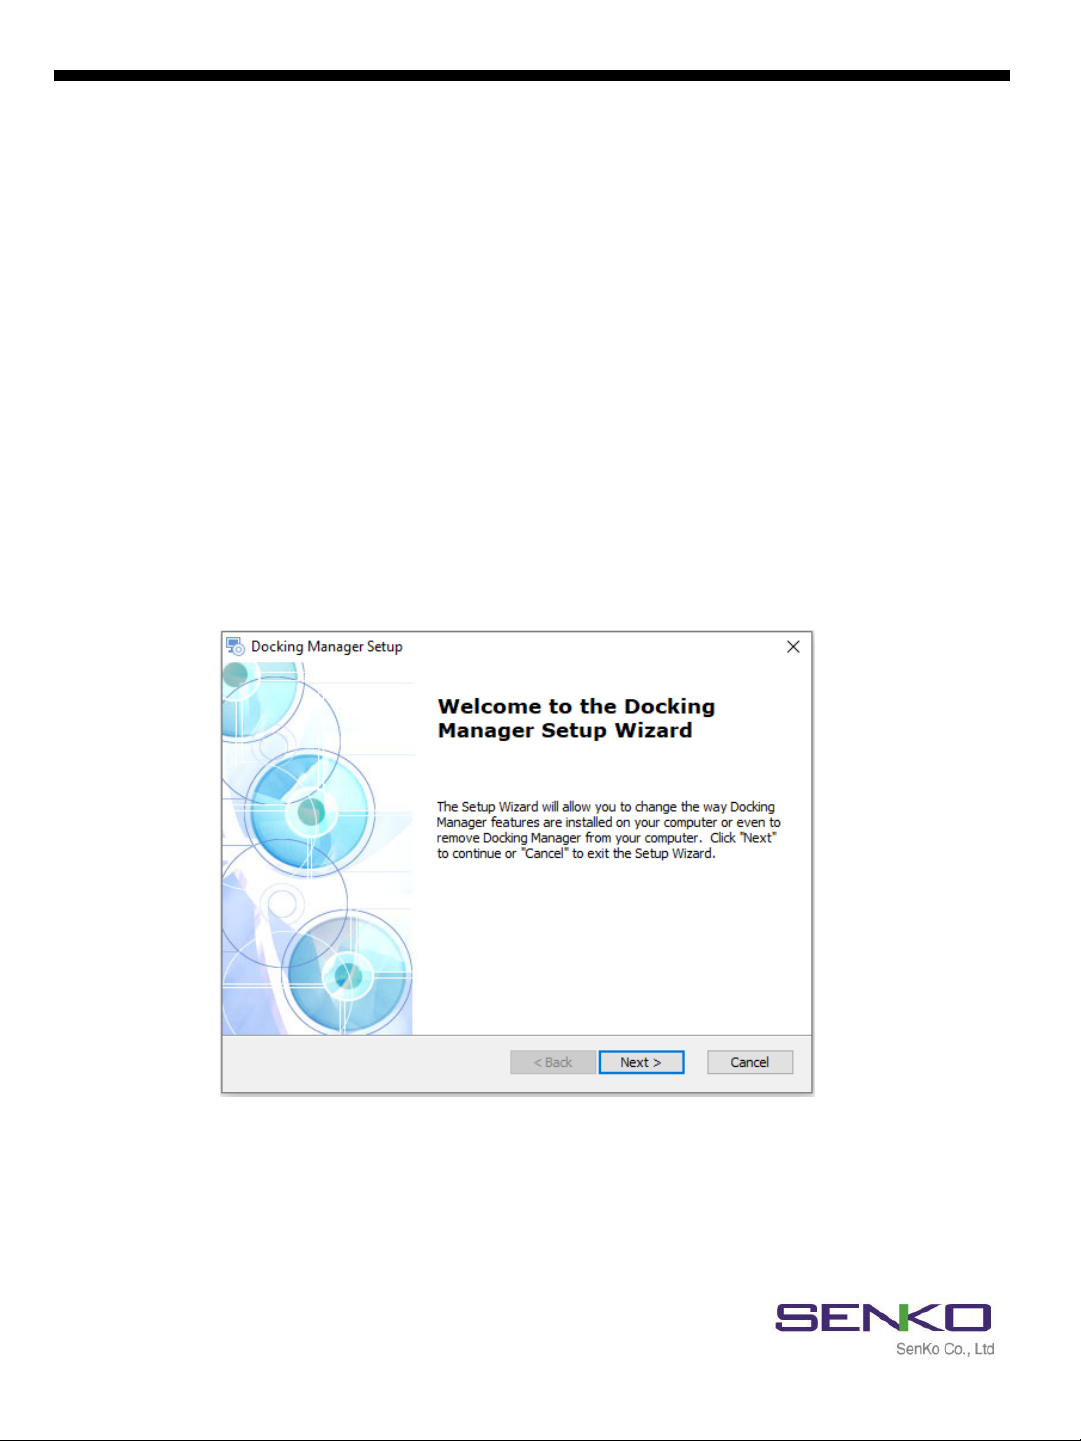
✓The Docking Manager Setup window will open. Click “Next”.
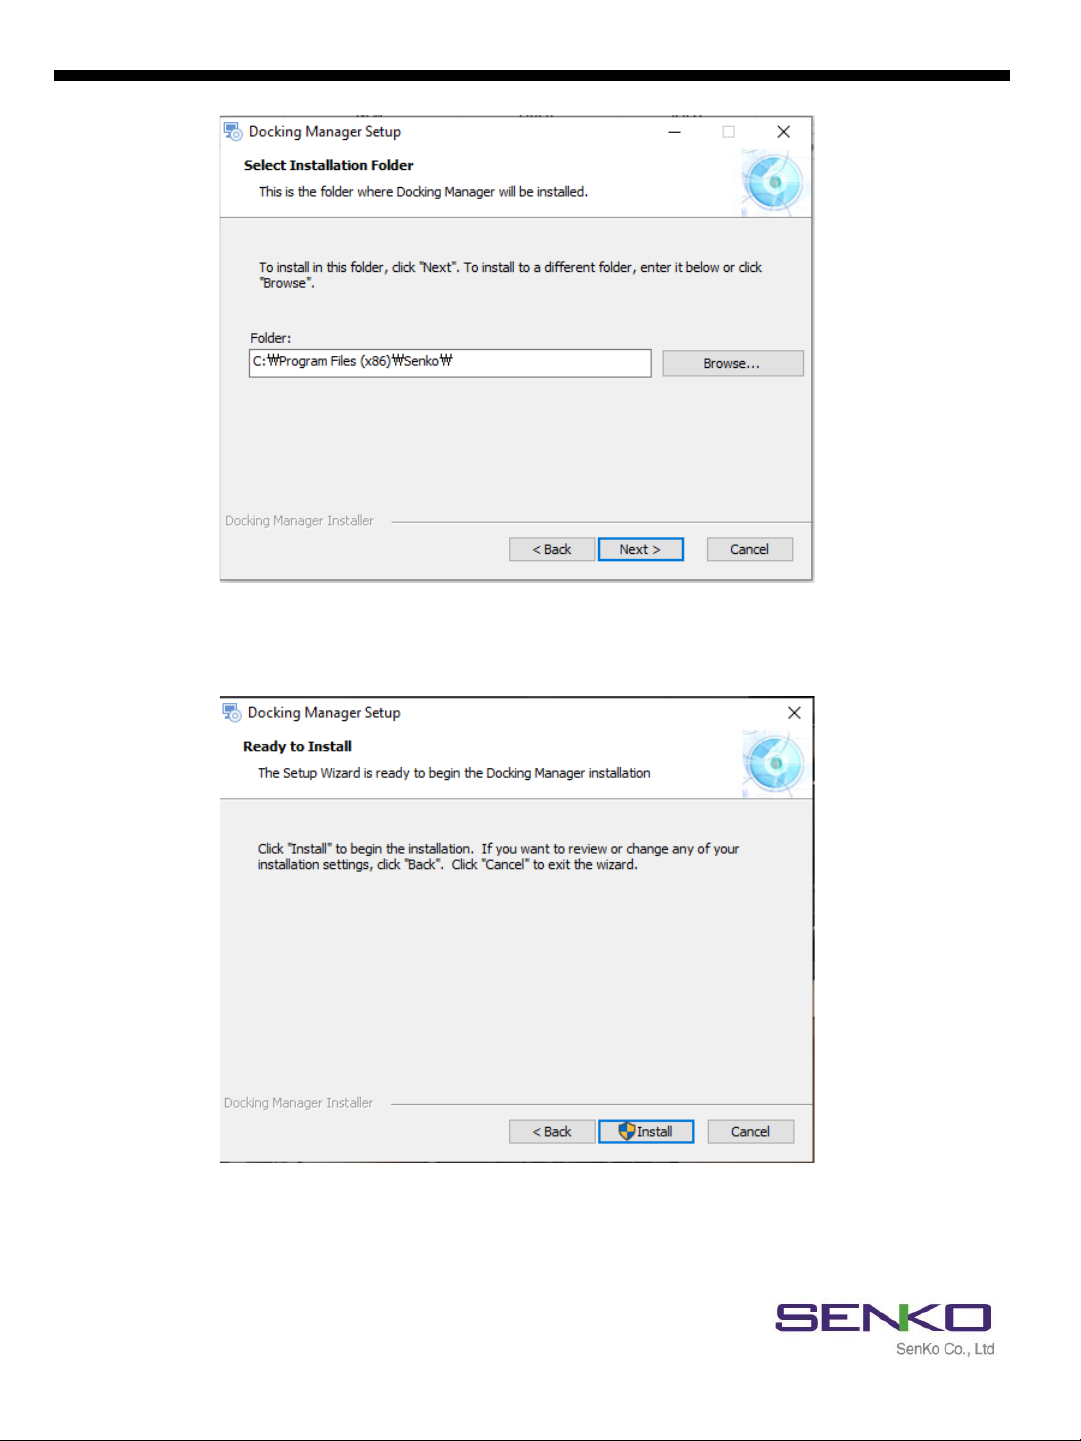
✓The “Select Installation Folder” comes up.
✓To install to a different folder, click “Browse” or enter the link.
✓To install in default folder, click “Next”
SGT Docking Station version II
10
✓The Installation will be ready to begin.
✓Click “Install”.
SGT Docking Station version II
11
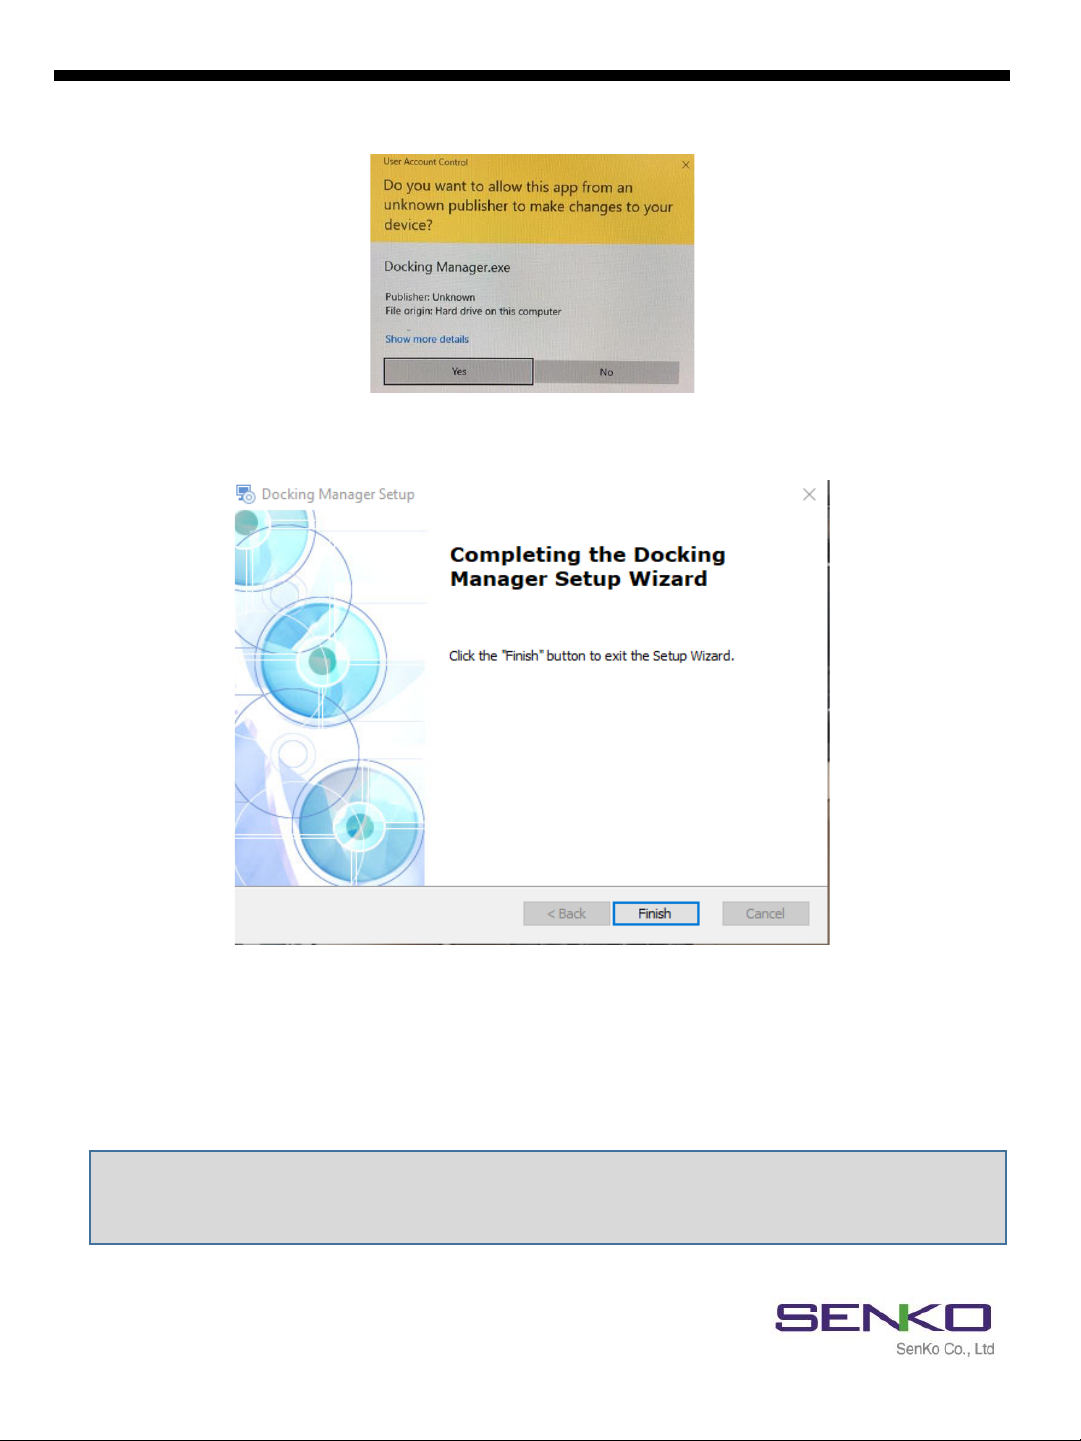
✓Click “Yes” if you get warning message.
✓The Docking Station Setup Wizard is complete.
✓Click the “Finish” button to exit the Setup Wizard.
6. Connecting to the SGT Docking Station II
Note: The IR Link connection works only when it is placed into the Bay 1.
USB drive must be installed to store the test results.
Do not open the software if IR Link is not plugged to PC.
When the Docking Manager software opened, the fields are grayed out and before it can be
used, the IR Link must be connected to the Docking Station II. There are 2 ways of connection
to the Docking Station II: IR Link and USB Disk.
SGT Docking Station version II

12
6.1 Connecting with SENKO IR Link
SENKO IR Link is a device which conveniently configures and communicates with SGT Docking
Station II using the IR communication in Bay Unit 1.
To connect the IR Link, follow the below:
✓Plug the IR link into a USB port on PC.
✓Power on (green LED) the Docking Station II.
✓Place the IR Link facing up into the Bay Unit 1 (see Figure 4).
✓Double click and open the installed software.
✓Click “OPEN” button at the top right corner of the software interface.
✓The IR Link starts to flash rapidly.
✓After few seconds, “Read complete” message will be displayed, and current settings of
Docking Station II will be showed on the interface.
Figure 4
Note: If “Send timeOut” message displays, the IR Link has failed to communicate with
Docking Station II. In this case, make sure IR Link screen is aimed at IR screen of Bay Unit 1
and check Power of Docking Station II is on.
6.2 Connecting with USB
To connect the IR Link, follow the below:
✓Open the Cylinder compartment.
✓Find the USB port (see Figure 1) and remove the USB Disk.
✓Plug the USB into to PC.
✓Double click and open the installed software.
✓Select the “USB Disk” in the upper middle-left corner.
✓Select the location of USB Disk and click “OK” button.
SGT Docking Station version II
13
7. Using Software
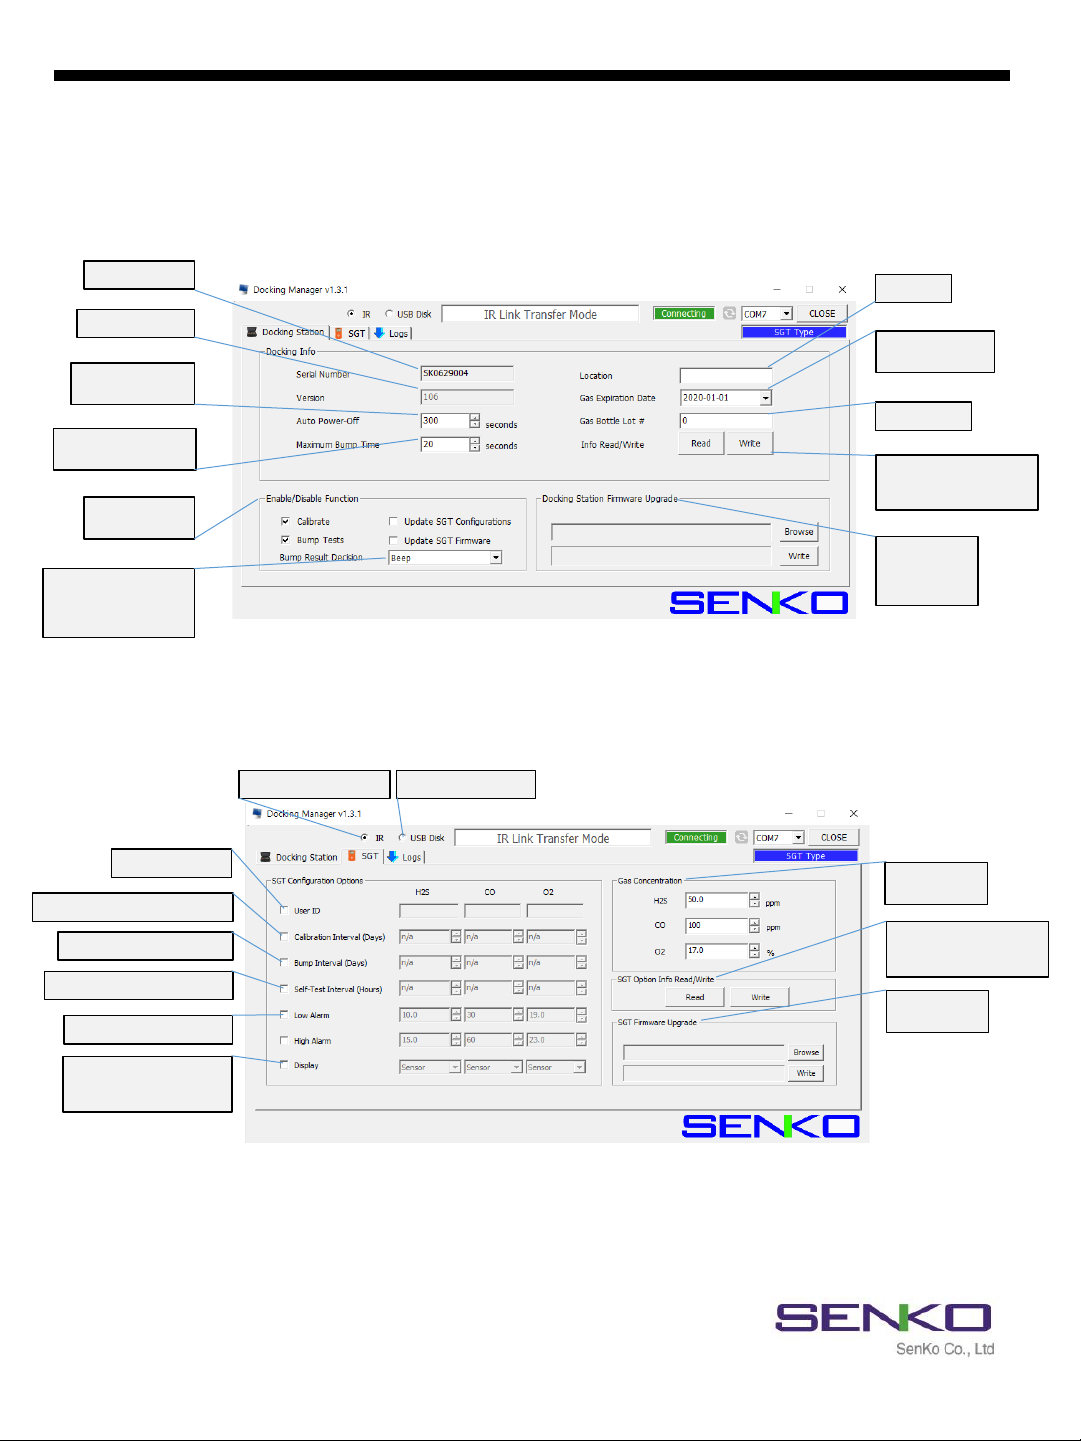
7.1 Overview of Software
Figure 6
SGT Docking Station version II
Detector User ID
Calibration interval: 0~365 days
Low / High Alarm Setting
Bump interval: 0~365 days
To connect with USBTo connect with IR Link
Cal. Gas
Concentration
Firmware
Upgrade
Self-Test interval: 0~20 hours
Display mode
-Remain life
-Measuring mode
Reading or Writing
configuration on Docking
station
Enable/Disable
Cal./Bump Test
Serial Number
Firmware Version
Maximum Bump Time
(20 ~ 120sec)
Save power Mode
(1 ~ 3600sec)
Bump result decision
- Beep
- Concentration
- Beep + Concentration
Docking
Station
firmware
upgrade
Location
Gas Expiration
date on cylinder
Cylinder No.
Reading or Writing
configuration on Docking
station
Figure 5

14
When IR Link is connected to the Docking Station II, the Figure 5 will be
displayed. But if it is connected using USB Disk, the “Logs” tab will not indicate.
7.1.1 Docking Station Tab
✓Serial Number –Serial number of Docking Station II (cannot be changed).
✓Version –The current firmware version.
✓Auto Power-Off –The time when unit automatically goes to Save Power Mode. Min/max
time can be set 1 ~ 3,600 seconds.
✓Maximum Bump Time –The maximum and minimum time spending for Bump Test
process. If unit cannot respond correctly before time expires, the process will stop and
result will be fail. Can be adjust min/max of 20 ~ 120 seconds.
✓Location –The location where test has done. It is beneficial when downloading the data
logs. Can add 12alphanumeric character.
✓Gas Expiration Date –Informs the date of expiration of gas in installed cylinder. Must be
updated after installing a new one.
✓Gas Bottle Lot # - Displays lot number of installed cylinder. Must be updated after
installing a new cylinder.
✓Info Read/Write – By pressing the “Read” it displays current setting of the Docking
Station II and will discard any unsaved changes in the Tab.
✓Calibrate –If the box is not selected, calibration process will not proceed by pressing
Calibration button. However, it will still update firmware and configuration of SGT.
✓Bump Test - If the box is not selected, Bump test process will not proceed by pressing
Bump Test button. However, it will still update firmware and configuration of SGT.
✓Bump Result Decision -The dropdown list is selectable for “Beep”, “Concentration”, or
“Beep + Concentration”. The “Beep” option will run the bump test until the alarm
condition is met and the audible alarm is detected. The “Concentration” option will run
the bump test until the test gas concentration is verified. If the units are in Stealth Mode,
the Concentration option will be required for a successful bump test. The “Beep +
Concentration” option will run the bump test until the audible alarm is detected and the
test gas concentration is verified.
✓Browse & Write – To upgrade the latest firmware of Docking Station II, click “Browse”,
navigate to the firmware location and click “Open”. Click “Write” to begin upgrading
process.
Note: Without clicking the “Write” button, configured and customized settings will not be
applied and neither be saved.
SGT Docking Station version II

15
7.1.2 SGT Tab
✓User ID - The User ID can be used to add a usage message.
✓Calibration Interval (Days) –The calibration reminder informs every fixed day (can adjust
0 (n/a) ~ 365).
✓Bump Interval (Days) –The Bump test reminder informs every fixed day (can adjust 0
(n/a) ~ 365).
✓Self-Test Interval (Days) –The Self-Test reminder informs every fixed hour (can adjust 0
(n/a) ~ 20).
✓Low Alarm & High Alarm –The 1st and 2nd alarm set points for each gas.
✓Display mode–Unit can display remain lifetime of unit or measuring gas concentration .
✓Gas Concentration –This allows a user to enter/amend correct concentration of the
installed gas cylinder on Docking Station II. It is necessary to adjust for all tests.
✓SGT Option Info Read/Write – By pressing the “Read” it displays current setting of the
SGT and will discard any unsaved changes in the Tab. By clicking the “Write”, all
configured and customized settings will be saved.
✓Browse & Write – To upgrade the latest firmware of SGT, click “Browse”, navigate to the
firmware location and click “Open”. Click “Write” to begin upgrading process.
SGT Docking Station version II

16
7.1.3 Logs Tab
All logs will be stored on the USB Disk (logs are not available if USB is not plugged) and can
be downloaded via SENKO IR Link using Docking Manager software. The log files will be
created for each device by their Serial numbers and will be in “.csv” format.
Note: USB drive must be installed to store the test results (logs).
By connecting USB Disk, “Logs” Tab is not available on software interface. But logs are still
available to download from “Events” file in USB Disk.
Click “Refresh” button to view and download the latest logs.
After clicking “Refresh” button, all logs will be available to view (see Figure 7).
To download the logs, follow the below:
✓Plug the IR Link into a USB port on PC and place into Bay Unit 1.
✓Double click and open the installed software.
✓Click “OPEN” button at the top right corner of the software interface.
✓Click “Logs” Tab and Click “Refresh” button.
✓Select needed log by indicating SGT`s serial number.
✓Click “Local Save” button and a Browse window will open.
✓Select a location to save a file.
✓Click “OK” button to begin the downloading process.
✓When downloading is finished, “Log data save success” message will come up.
Figure 7
SGT Docking Station version II

Limited Warranty
SENKO warrants this product to be free of defects in workmanship and materials-under normal use and
service for two years from the date of purchase from the manufacturer or from the product’s authorized
reseller.
The manufacturer is not liable (under this warranty) if its testing and examination disclose that the alleged
defect in the product does not exist or was caused by the purchaser’s (or any third party’s) misuse, neglect,
or improper installation, testing, or calibrations. Any unauthorized attempt to repair or modify the product, or
any other cause of damage beyond the range of the intended use, including damage by fire, lightening, water
damage or other hazard, voids liability of the manufacturer.
In the event that a product should fail to perform up to manufacturer specifications during the applicable
warranty period, please contact the product’s authorized reseller or SENKO service center at 82-31-492-0445
to repair/return information.
73, Oesammi-ro 15 beon-gil, Osan-si, Gyeonggi-do, 18111, South Korea
Tel : 82-31-492-0445 Fax : 82-31-492-0446
Email : sales@senko.co.kr Web : www.senko.co.kr
17
SGT Docking Station version II
Other manuals for SGT
1
Table of contents
Other SENKO Docking Station manuals


