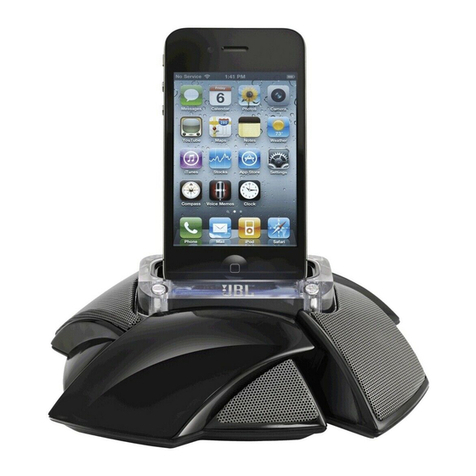
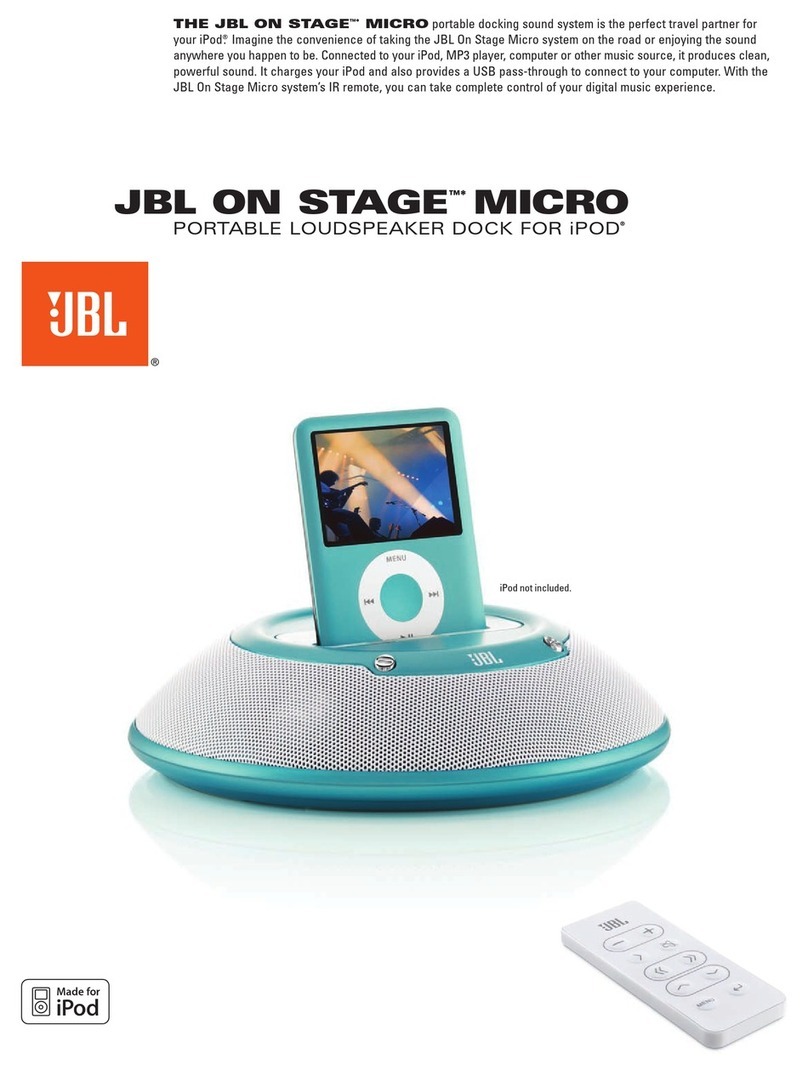
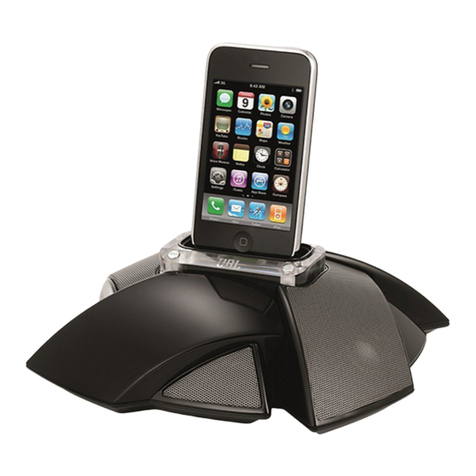
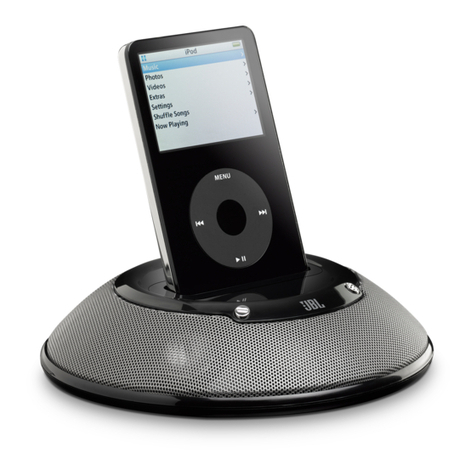
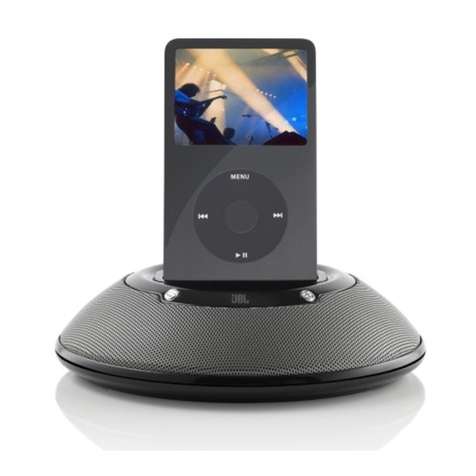
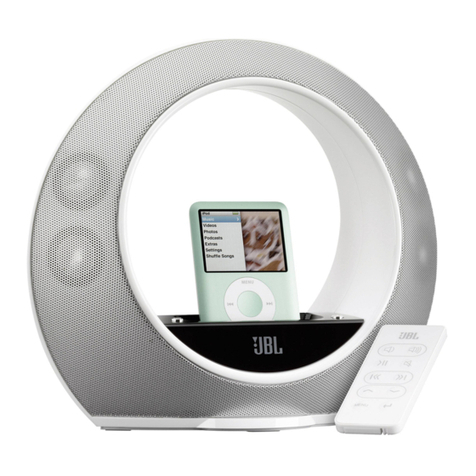
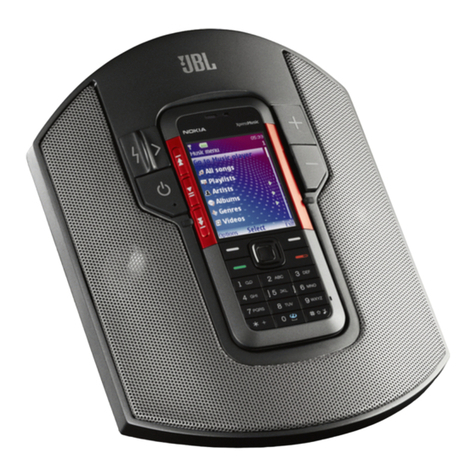
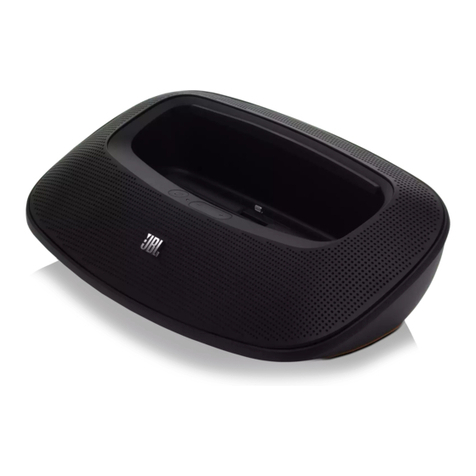
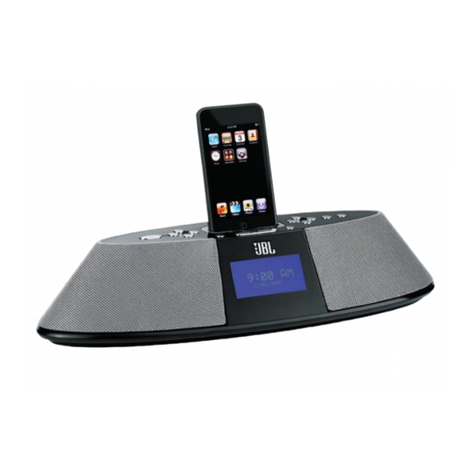
JBL ON STAGE MICRO III User manual

JBL On Stage®* MicrO iii
Speaker Dock for iPod/iPhone
iPhone/iPod not included.
Owner's Manual 3
Bedienungsanleitung 15
Manuel d'utilisatiOn 27
Manual del usuariO 39
Handleiding 51
Manuale di istruziOni 63
anVÄndarHandBOK 75
BrugsVejledning 87
BruKerVeiledning 99
KÄyttöOHjeet 111
사용 설명서
123
ユー ザ ーガ イド
135
用户手册
147
Руководство пользователя 159
instruKcja OBsługi 171
Manual de utilizaÇÃO 183
使用者手冊
195
KullaniM KilaVuzu 207
0218CSK - JBL On Stage Micro III OM Front v1.indd 1 17/06/10 16:02:16

0218CSK - JBL On Stage Micro III OM Front v1.indd 2 17/06/10 16:02:16

OWNER'S MANUAL
JBL On Stage®* MicrO iii
Speaker Dock for iPod/iPhone
iPhone/iPod not included.
0218CSK - JBL On Stage Micro III OM EN v3.indd 3 09/07/10 12:30:28

4
IMPORTANT SAFETY INSTRUCTIONS
1. Read these instructions.
2. Keep these instructions.
3. Heed all warnings.
4. Follow all instructions.
5. Do not use this apparatus near water.
6. Clean only with dry cloth.
7. Do not block any ventilation openings. Install in
accordance with the manufacturer’s instructions.
8. Do not install near any heat sources such as radiators,
heat registers, stoves, or other apparatus (including
amplifiers) that produce heat.
9. Do not defeat the safety purpose of the polarized or
grounding-type plug. Apolarized plughas twoblades
with onewider thanthe other. Agrounding-type plug
has twoblades anda thirdgrounding prong.The wide
blade or third prong is provided for your safety. If the
provided plug does not fit into your outlet, consult an
electrician for replacement of the obsolete outlet.
10. Protect the power cord from being walked on or
pinched, particularly at the plugs, convenience
receptacles and the point where they exit from the
apparatus.
11. Only use attachments/accessories specified by the
manufacturer.
12. Use only with the cart, stand, tripod,
bracket or table specified by the
manufacturer or sold with the apparatus.
When a cart is used, use caution when
moving the cart/apparatus combination
to avoid injury from tip-over.
13. Unplug this apparatus during lightning storms or
when unused for long periods of time.
14. Refer all servicing to qualified service personnel.
Servicing is required when the apparatus has been
damaged inany way, such as:when the power supply
cord or plug has become damaged, when liquid has
been spilled or objects have fallen into the apparatus,
when the apparatus has been exposed to rain or
moisture, when the apparatus does not operate
normally, or the apparatus has been dropped.
15. Do not expose this apparatus to dripping or splashing
and ensure that no objects filled with liquids, such as
vases, are placed on the apparatus.
16.To completely disconnect this apparatus from the AC
mains, disconnect the power supply cord plug from
the AC receptacle.
17. The mains plug of the power supply cord shall remain
readily operable.
18. Do not expose batteries to excessive heat such as
sunshine, fire or the like.
The lightning flash with arrowhead
symbol, within an equilateral triangle, is
intended to alert the user to the presence of
uninsulated “dangerous voltage” within the
product’s enclosure that may be of sufficient
magnitude to constitute a risk of electric
shock to persons.
The exclamation point within an equilateral
triangle is intended to alert the user to
the presence of important operating and
maintenance (servicing) instructions in the
literature accompanying the product.
WARNING:
To reduce the risk of fire or electric shock, do
not expose this apparatus to rain or moisture.
FCC REGULATIONS
FCC INFORMATION FOR USERS
This device complies with Part 15 of the FCC Rules. Operation is subject to the following
two conditions: (1) This device may not cause harmful interference; and (2) this device
must accept any interference received, including interference that may cause undesired
operation.
RADIO AND TELEVISION INTERFERENCE
This equipment has been tested and found to comply with the limits for a Class B
digital device, pursuant to Part 15 of the FCC Rules.These limits are designed to provide
reasonable protection against harmful interference in a residential installation. This
equipment generates, uses and can radiate radio frequency energy and, if not installed
and used in accordance with the instructions, may cause harmful interference to radio
communications. However, there is no guarantee that interference will not occur in a
particular installation. If this equipment does cause interference to radio or television
reception, which can be determined by turning the equipment off and then on, the
user is encouraged to try to correct the interference by one or more of the following
measures:
• Increase the separation between the equipment and receiver.
• Connect the equipment to a dierent outlet so that the equipment and receiver are on dierent
branch circuits.
• Consult the dealer or an experienced radio/TV technician for help. Changes or modications
not expressly approved by JBL could void the user’s authority to operate the equipment.
IC STATEMENT AND WARNING
This Class B digital apparatus complies with Canadian ICES-003. Cet appareil numérique
de la classe B est conforme à la norme NMB-003 du Canada.
IMPORTANT NOTE FOR ALL ELECTRONIC PRODUCTS:
Before inserting or unplugging
audio cables from the source device’s headphones or line-level output jacks, it is good
practice to turn o the device rst. This will prolong the life of your unit, help protect your
device from static electricity and prevent potential damage.
0218CSK - JBL On Stage Micro III OM EN v3.indd 4 09/07/10 12:30:28

5
www.jbl.com
ENGLISH
JBL ON STAGE
®*
MICRO III EASY SETUP GUIDE
* AC outlet adapter varies by region.
MENU
*
Carefully unpack your speaker dock and conrm that all the items shown here 1.
are included: JBL On Stage
®
* Micro III Speaker Dock, power supply, remote
control and iPod/iPhone adapter.
Rotate the battery door to the unlocked position and remove it.2.
Insert four AAA batteries in the compartment. Observe the battery polarity 3.
that is indicated inside the battery compartment.
NOTES ON BATTERY USE:
If you are using rechargeable batteries, make sure all of them are fully
•
charged before inserting them. The JBL On Stage Micro III will not charge
rechargeable batteries.
If you are using conventional batteries, make sure that all of them are fresh.
•
Do not use a combination of rechargeable and conventional batteries. Use all
•
of one type or the other.
The Status LED will illuminate
•
amber when the batteries need to be replaced.
Replace the battery door and rotate it to the locked position.4.
Do not mix battery types.
•
Do not mix charged and partially charged batteries.
•
Batteries will not recharge while in JBL On Stage Micro III.
•
CAUTION: Risk of explosion of battery if replaced with incorrect type. Dispose of
used batteries according to the instructions.
0218CSK - JBL On Stage Micro III OM EN v3.indd 5 09/07/10 12:30:31

6
Connect a USB Type Mini-B cable (not included) to the 5. JBL On Stage
Micro III’s USB port and to a USB port on the computer on which your iTunes
is located.
IMPORTANT: If you play audio through a docked iPod/iPhone
and an audio source connected to the Audio In connection at the
same time, you will hear both of their outputs mixed through the
JBL On Stage Micro III. To hear only one source you will need to
manually turn off the source you do not want to hear.
If you are going to use your 6. JBL On Stage Micro III with another audio
source, plug one end of a 3.5mm stereo cable (not included) into the Audio
In connector, and plug the other end into the audio source’s audio out or
headphone out connector.
Insert the included AC outlet adapter all the way into the power supply 7.
(if there is more than one adapter, use the correct one for your region).
Then connect the power supply into the JBL On Stage Micro III’s 6V DC In
connector and plug it into an AC wall outlet.
USB Type Mini-B
1. 2.
3.5mm
0218CSK - JBL On Stage Micro III OM EN v3.indd 6 09/07/10 12:30:33

7
www.jbl.com
ENGLISH
Place the appropriate 8. iPod/iPhone adapter into the JBL On Stage Micro III’s
iPod well and place your iPod/iPhone on the docking connector. Make sure
the iPod/iPhone is inserted all the way onto the connector.
NOTE: If applicable, use the adapter supplied with your iPod or iPhone.
Press the 9. JBL On Stage Micro III’s On/O button. The unit’s Status LED will
light white when the system is on.
Adjust the volume using the (+) and (–) buttons. Press both buttons to 10.
mute the sound; press either button to unmute the sound.
0218CSK - JBL On Stage Micro III OM EN v3.indd 7 09/07/10 12:30:35

8
REMOTE CONTROL BUTTONS
NOTE: iPod touch and iPhone menu navigation may require
you to manually put the iPod/iPhone in music mode.
Volume Down
Menu Scroll Up
Menu
Play/Pause
Previous/Rewind
(Hold for rewind)
Volume Up
Menu Scroll Down
Menu Select/Enter
Mute/Unmute
Next/Fast Forward
(Hold for fast forward)
Your JBL On Stage Micro III’s LED will display dierent colors to indicate the unit’s
status:
STATUS LED
LED Display State
White – Constant JBL On Stage Micro III is on
White – Flashing JBL On Stage Micro III is muted
Amber – Constant Low battery
Amber – Flashing JBL On Stage Micro III is muted and
low battery
No LED JBL On Stage Micro III is in Standby
or o
0218CSK - JBL On Stage Micro III OM EN v3.indd 8 09/07/10 12:30:36

9
www.jbl.com
ENGLISH
SYNCHRONIZING WITH iTunes OPERATING YOUR JBL ON STAGE MICRO III
ON BATTERY POWER
iPod/iPhone CHARGING
NOTE: Before attempting to synchronize your iPod/iPhone with iTunes, be sure
both your iPod/iPhone and iTunes are updated to the latest software version.
Before attempting to synchronize, be sure the JBL On Stage Micro III’s USB
port is connected to the computer on which your iTunes is located.
Place your 1. iPod/iPhone on the JBL On Stage Micro III’s docking connector.
Make sure the iPod/iPhone is inserted all the way onto the connector.
Use your computer’s iTunes software to synchronize the 2. iPod/iPhone with
iTunes.
When you’re nished synchronizing, eject the 3. iPod/iPhone from iTunes.
If you have inserted batteries as explained in the JBL On Stage Micro III Easy Setup
Guide – Step 3, on page 3, you can unplug the JBL On Stage Micro III’s power
adapter and the unit will operate on battery power.
While running on battery power, the JBLOn Stage Micro III will automatically enter
the Standby mode after the system detects no audio signal for 5 minutes. Upon
detecting an audio signal the system will return to normal operation and the LED
will light up.
When running on AC power, the JBL On Stage Micro III will automatically enter the
standby mode after the system detects no audio signal for 10 minutes. As above,
it will return to normal operation upon detecting an audio signal, and the LED will
light up.
Notes on battery power operation:
The
•
JBL On Stage Micro III will not charge rechargeable batteries.
The
•
JBL On Stage Micro III will not charge a docked iPod/iPhone while under
battery power unless it is also connected to a computer via a USB cable.
The JBL On Stage Micro III will charge a docked iPod/iPhone under these
conditions:
When the
•
JBL On Stage Micro III is being powered by its AC power adapter
When the
•
JBL On Stage Micro III is connected to a computer via a USB cable
The JBL On Stage Micro III will not charge a docked iPod/iPhone while under
battery power unless it is also connected to a computer via a USB cable.
0218CSK - JBL On Stage Micro III OM EN v3.indd 9 09/07/10 12:30:36

10
PROBLEM SOLUTION
No sound (white LED is not illuminated): Make sure that the power supply is properly connected to the
•
JBL On Stage Micro III and to a
working AC outlet.
If you’re using battery power, replace all four batteries with brand-new disposable or freshly
•
charged rechargeable batteries. The LED will illuminate amber if the batteries need replacing.
JBL
•
On Stage Micro III is in the energy conservation mode (no sound was detected for at least 10
minutes).
No sound (white LED is illuminated): Touch the Volume Up (+) button to increase the system volume.
•
If you’re using a docked
•
iPod/iPhone, make sure that it is properly docked in the JBL On Stage
Micro III.
If you’re using an auxiliary source, make sure that the audio cable is properly connected to the
•
JBL On Stage Micro III’s Audio In connector and to the source component’s audio output.
Make sure that the iPod or source component is not in the Pause mode, and that its volume
•
control is not turned all the way down.
Sound crackles, hisses or is distorted: Turn the iPod or source component’s volume down.
•
Make sure the iPod’s EQ setting is set to “O.”
•
Loud hum or buzzing: Make sure the audio cable is plugged all the way into the Audio Input jack.
•
Replace the audio cable.
•
Unplug the power supply and connect it to a dierent AC outlet.
•
TROUBLESHOOTING YOUR JBL ON STAGE MICRO III
0218CSK - JBL On Stage Micro III OM EN v3.indd 10 09/07/10 12:30:36

11
www.jbl.com
ENGLISH
PROBLEM SOLUTION
Maximum volume level is reduced: JBL
•
On Stage Micro III is in Battery Conservation Mode (BCM). Switch to AC power for higher
performance.
Sound comes from only one speaker: Make sure that the
•
iPod/iPhone is properly seated all the way into the docking connector.
Make sure that the audio cable is plugged all the way into the Audio In jack.
•
Make sure that the audio cable is a stereo cable.
•
0218CSK - JBL On Stage Micro III OM EN v3.indd 11 09/07/10 12:30:36

12
SPECIFICATIONS
Compatibility: Docking versions of the iPod (including iPod nano 5th generation, iPod touch 2nd generation, iPod nano 4th generation,
iPod classic, iPod touch 1st generation, iPod nano 3rd generation, iPod nano 2nd generation, iPod 5th generation, iPhone
4GB, 8GB, 16GB, iPhone 3G 8GB, 16GB, iPhone 3GS 16GB, 32GB) MP3 and CD players, desktop and laptop computers (all
platforms)
Transducers: 2 x 1" (25mm) JBL Odyssey
™
full-range
Power: 2 watts x 2
Frequency response: 110Hz – 20kHz
Signal-to-noise ratio: 63dB
Input impedance (Aux): 3k ohms
Input connections: Main connection – iPod and iPhone docking connector; Aux input connection – 3.5mm (1/8") stereo
mini jack
Battery requirement: 4 x AAA, NiMh or alkaline
Power requirement: 6V DC, 1.5A
Power consumption: 10W (maximum)
Dimensions (D x W x H): 168mm x 168mm x 54mm (6-5/8" x 6-5/8" x 2-1/4")
Weight: 0.36kg (0.8 lb)
Available nishes: Black; white
0218CSK - JBL On Stage Micro III OM EN v3.indd 12 09/07/10 12:30:36

13
www.jbl.com
ENGLISH
www.JBL.com
© 2010 Harman International Industries, Incorporated. All rights reserved.
Features, specications and appearance are subject to change without notice.
JBL is a trademark of Harman International Industries, Incorporated, registered
in the United States and/or other countries. Odyssey is a trademark of Harman
International Industries, Incorporated.
*The trademark On Stage is used with permission of OSA International, Inc.
iPhone, iPod touch, iPod classic, iPod nano, and iTunes are trademarks of Apple,
Inc., registered in the U.S. and other countries. iPod/iPhone not included.
“Made for iPod and “Made for iPhone” mean that an electronic accessory has been
designed to connect specically to iPod and iPhone, respectively, and has been
certied by the developer to meet Apple performance standards. Apple is not
responsible for the operation of this device or its compliance with safety and
regulatory standards.
Harman Consumer, Inc.
8500 Balboa Boulevard, Northridge, CA 91329 USA
0218CSK - JBL On Stage Micro III OM EN v3.indd 13 09/07/10 12:30:36

0218CSK - JBL On Stage Micro III OM EN v3.indd 14 09/07/10 12:30:36

BEDIENUNGSANLEITUNG
JBL On Stage®* MicrO iii
Lautsprecherdock für iPod und iPhone
iPod/iPhone nicht im
Lieferumfang enthalten.
0218CSK - JBL On Stage Micro III OM DE v5.indd 15 09/07/10 12:47:45

16
WICHTIGE SICHERHEITSHINWEISE
1. Bitte lesen Sie diese Bedienungsanleitung aufmerksam durch.
2. Heben Sie diese Bedienungsanleitung auf, um zu einem
späteren Zeitpunkt darauf zurückgreifen zu können.
3. Alle Warnhinweise auf dem Produkt und in der
Bedienungsanleitung müssen unbedingt beachtet werden.
4. Befolgen Sie bitte unbedingt alle Bedien- und
Gebrauchshinweise.
5. Benutzen Sie dieses Produkt nicht in der Nähe von Wasser.
6. Verwenden Sie zur Reinigung nur ein weiches Tuch.
7. Schlitze und Öffnungen im Gehäuse dienen der Entlüftung
und sorgen für zuverlässigen Betrieb. Daher dürfen sie nicht
verstellt oder abgedeckt werden. Stellen Sie dieses Produkt so
auf, wie vom Hersteller empfohlen.
8. Stellen Sie das Produkt nicht in der Nähe von Wärmequellen
wie Heizstrahler, Heizkörper, Öfen oder anderen Geräten
(einschließlich Endstufen) auf.
9. Nehmen Sie keinerlei Veränderungen am Stecker vor, die die
Wirkungsweise des verpolungssicheren Steckers bzw. des
Schuko-StromanschlussesinBezugauf derenBetriebssicherheit
beeinträchtigt. Ein verpolungssicherer Stecker hat zwei
unterschiedlich breite Kontakte. Der Schukostecker hat einen
zusätzlichen Massekontakt - dieser dient Ihrem Schutz. Sollte
das mitgelieferteKabel nichtin IhreSteckdosepassen, wenden
Sie sich bitte an Ihren Elektriker.
10. Netzleitungen sollte man immer so verlegen, dass niemand
auf sie steigt und nicht durch irgendwelche Gegenstände
eingeklemmt werden. Besonders vorsichtig sollte man mit
Netzkabeln an der Stelle, wo das Kabel aus dem Gerät kommt,
umgehen (Knick-Gefahr!).
11.Verwenden Sie ausschließlich Zubehör, das der Hersteller
empfiehlt.
12. Benutzen Sie ausschließlich fahrbare oder
sonstige Untergestelle, dreibeinige Standfüße,
Untersetzbügel oder Tische, die der Hersteller
empfiehlt oder die diesem Produkt beiliegen.
Verwenden Sie ein fahrbares Untergestellt,
müssen Sie darauf achten, dass dieses nicht umkippt und
Verletzungen verursacht.
13.Trennen Sie diese Gerät während eines Gewitters oder einer
längeren Zeitspanne, in der es nicht verwendet wird, von der
Stromversorgung.
14. Überlassen Sie bitte Reparaturen unbedingt qualifizierten
Servicetechnikern. In folgenden Fällen müssen Sie das Gerät
sofort von der Stromversorgung trennen und danach eine
autorisierte Werkstatt aufsuchen: defektes Netzkabel oder
Netzstecker, ins Gehäuse sind Gegenstände oder Flüssigkeiten
eingedrungen, das Gerät wurde Regen oderWasser ausgesetzt,
das Gerät arbeitet nicht einwandfrei oder fiel herunter.
15. Schützen Sie dieses Gerät vor Spritzwasser. Achten Sie bitte
darauf, dass keine Gefäße, die Flüssigkeiten enthalten (z.B.
Vasen), auf dem Gerät abgesetzt werden.
16. Möchten Sie dieses Gerät vollständig vom Stromnetz trennen,
müssen Sie das Netzkabel aus der Steckdose ziehen.
17. Sorgen Sie bitte dafür, dass der Stecker des Netzteils stets
betriebsbereit ist.
18. Setzen Sie Batterien keiner großen Hitze (z.B. direkte
Sonneneinstrahlung oder Feuer) aus.
Das Blitzsymbol in einem gleichschenkligen Dreieck
warnt vor nicht isolierten Komponenten mit
gefährlicher Stromspannung, die zu ernsthaften
Personenschäden führen kann.
Das Ausrufungszeichen in einem gleichschenkligen
Dreieck kennzeichnet wichtige Hinweise für die
Nutzung und Wartung Ihres Gerätes.
WARNUNG: Setzen Sie dieses Gerät keinem Regen oder
Feuchtigkeit aus, um Stromschlag und/oder Feuer zu vermeiden. HINWEIS:
NUR VON JBL GENEHMIGTE NETZTEILE VERWENDEN.
Die Verwendung von
Netzteilen Dritter kann das Gerät beschädigen und die Garantie ungültig werden lassen.
Wichtiger Hinweis für alle elektronischen Geräte:Vor dem Abziehen der Audiokabel aus
den Kopfhörer- oder Leitungspegel-Ausgangsbuchsen schaltet man am Besten erst das
Gerät aus. Um die Lebensdauer des Gerätes zu verlängern, helfen Sie bitte mit, mögliche
Schäden zu vermeiden, indem Sie das Gerät vor statischen Ladungen schützen.
0218CSK - JBL On Stage Micro III OM DE v5.indd 16 09/07/10 12:47:45

17
www.jbl.com
DEUTSCH
JBL ON STAGE
®*
MICRO III INBETRIEBNAHME
Packen Sie das Lautsprecherdock vorsichtig aus, und prüfen Sie, ob alle1.
unten abgebildeten Komponenten im Lieferumfang enthalten sind: JBL
On Stage
®
* Micro III Lautsprecherdock, Netzteil, Fernbedienung und
iPod/iPhone-Adapter.
HINWEISE RUND UM DEN EINSATZ VON BATTERIEN:
Verwenden Sie wiederaufladbare Batterien (Akkus), sollten Sie diese vorher
•
vollständig aufladen. Das JBL On Stage Micro III Lautsprecherdock kann Akkus
nicht aufladen.
Verwenden Sie konventionelle Batterien, sollten Sie ihren Ladezustand vorher
•
überprüfen.
Mischen Sie Akkus nicht mit handelsüblichen Batterien. Entscheiden Sie sich
•
für eine der beiden Sorten.
Sind die Batterien zu schwach, leuchtet die Status-LED
•
gelb.
Setzen Sie die Batteriefach-Abdeckung wieder ein und drehen Sie sie nach4.
links bis sie arretiert (die Markierung zeigt auf das geschlossene Schloss).
Drehen Sie die Batteriefach-Abdeckung bis die Markierung auf das offene2.
Schloss zeigt und entfernen Sie diese.
* Der Netzteilstecker kann von Land zu Land variieren.
MENU
*
Legen Sie vier AAA-Batterien ins Fach ein. Achten Sie bitte auf korrekte3.
Polarität.
Mischen sie keine batterien unterschiedlicher typen.
•
Mischen sie keine geladenen und teilweise geladenen batterien.
•
Batterien werden, so lange sie sich im jbl on stage micro ii befinden, nicht
•
aufgeladen.
Achtung: legen sie die falschen batterien ein, können diese explodieren.
Verbrauchte batterien müssen stets wie angegeben entsorgt werden.
0218CSK - JBL On Stage Micro III OM DE v5.indd 17 09/07/10 12:47:48

18
Verbinden Sie das5. JBL On Stage Micro III Lautsprecherdock mit Ihrem
Computer (Sie benötigen die iTunes Software).
Das hierfür nötige Mini-B-USB-Kabel gehört nicht zum Lieferumfang.
WICHTIG: Spielen sowohl das angedockte iPod/iPhone als auch
eine mit dem Audio In-Eingang verbundene externeTonquelle
gleichzeitig, gibt das JBL On Stage Micro III eine Mischung beider
Quellen wieder. Möchten Sie nur eine der beiden Quellen hören,
müssen Sie die andere manuell abschalten.
Für den Anschluss einer anderen externenTonquelle ist das6. JBL On Stage
Micro III mit einer 3,5-mm-Mini-Klinkenbuchse ausgestattet. Das dazu
passende Kabel gehört nicht zum Lieferumfang.
Stecken Sie den Adapter auf das Netzteil. Sind mehrere im Lieferumfang7.
enthalten, suchen Sie sich den passenden aus.Verbinden Sie das Netzteil mit
der Buchse 6V DC am JBL On Stage Micro III. Stecken Sie anschließend das
Netzteil in eine Strom führende Steckdose.
USB Typ Mini-B
1. 2.
3.5 mm
0218CSK - JBL On Stage Micro III OM DE v5.indd 18 09/07/10 12:47:50

19
www.jbl.com
DEUTSCH
Setzen Sie den zu Ihrem iPod/iPhone passenden Docking-Adapter ein.8.
Docken Sie Ihr iPod/iPhone an. Überprüfen Sie ob das iPod/iPhone richtig
angedockt ist.
HINWEIS: Haben Sie zu Ihrem iPod oder iPhone einen Adapter von Apple
bekommen, sollten Sie diesen nutzen.
Drücken Sie auf die On/Off-Taste auf der Rückseite des9. JBL On Stage Micro III.
Sobald das System betriebsbereit ist, leuchtet die Status-LED weiß auf.
Stellen Sie die Lautstärke mit den Tasten (+) und (–) ein. Drücken Sie auf10.
beideTasten gleichzeitig, um denTonausgang stumm zu schalten. Betätigen
Sie eine der beidenTasten, um denTonausgang wieder freizugeben.
0218CSK - JBL On Stage Micro III OM DE v5.indd 19 09/07/10 12:47:53

20
FERNBEDIENUNG
HINWEIS: Sie müssen Ihr iPod/iPhone unter Umständen manuell in den
Musik-Modus schalten, um das Gerät über das berührungssensitive Display im
Navigationsmodus steuern zu können.
Lautstärke senken
Navigation nach oben
Menü
Spielen/Pause
Titelsprung/Suchlauf
rückwärts (Taste gedrückt
halten für Suchlauf)
Lautstärke erhöhen
Navigation nach unten
Menüeintrag auswählen/
Bestätigen
Stummschaltung ein/aus
Titelsprung/Suchlauf
vorwärts (Taste gedrückt
halten für Suchlauf)
Ihr JBL On Stage Micro III zeigt den aktuellen Betriebszustand mithilfe seiner
Status-LED in unterschiedlichen Farben an:
STATUSLED
Bedeutung der LED-
Anzeige Betriebszustand
Weiß – konstant JBL On Stage Micro III ist aktiviert
Weiß – blinkt Stummschaltung aktiviert
Gelb – konstant Schwache Batterie
Gelb – blinkt Stummschaltung aktiviert und
schwache Batterie
LED leuchtet nicht JBL On Stage Micro III im Standby-
Modus oder ausgeschaltet
0218CSK - JBL On Stage Micro III OM DE v5.indd 20 09/07/10 12:47:53
Other manuals for ON STAGE MICRO III
1
Table of contents
Languages:
Other JBL Docking Station manuals

JBL
JBL ON STAGE 400P User manual

JBL
JBL ON TIME MICRO User manual

JBL
JBL On Time User manual

JBL
JBL On Time User manual

JBL
JBL JBL On Stage Micro User manual

JBL
JBL On Call 5310 User manual

JBL
JBL OnBeat Rumble User manual

JBL
JBL ON STAGE 200iD User manual

JBL
JBL ON STAGE 200iD User manual

JBL
JBL ONBEAT AWAKE User manual

JBL
JBL ON STAGE III User manual

JBL
JBL OnBeat air User manual

JBL
JBL On Call 5310 User manual

JBL
JBL JBL On Stage Micro User manual

JBL
JBL on stage II User manual

JBL
JBL ON TIME 400lHD User manual

JBL
JBL ON TIME MICRO User manual

JBL
JBL JBL On Stage Micro User manual

JBL
JBL OnBeat RIZE User manual

JBL
JBL radial micro User manual