7
English
How To Use
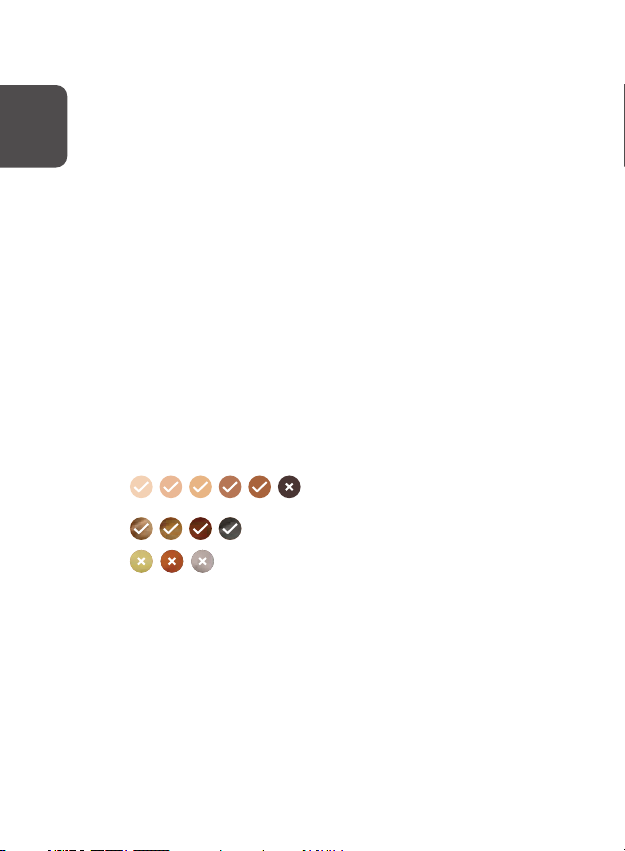
The device is suitable for use
on: legs, arms, underarms,
bikini line, back, shoulders,
chest, stomach, and permitted
facial areas (above upper lip,
cheek, jaw, chin and neck).
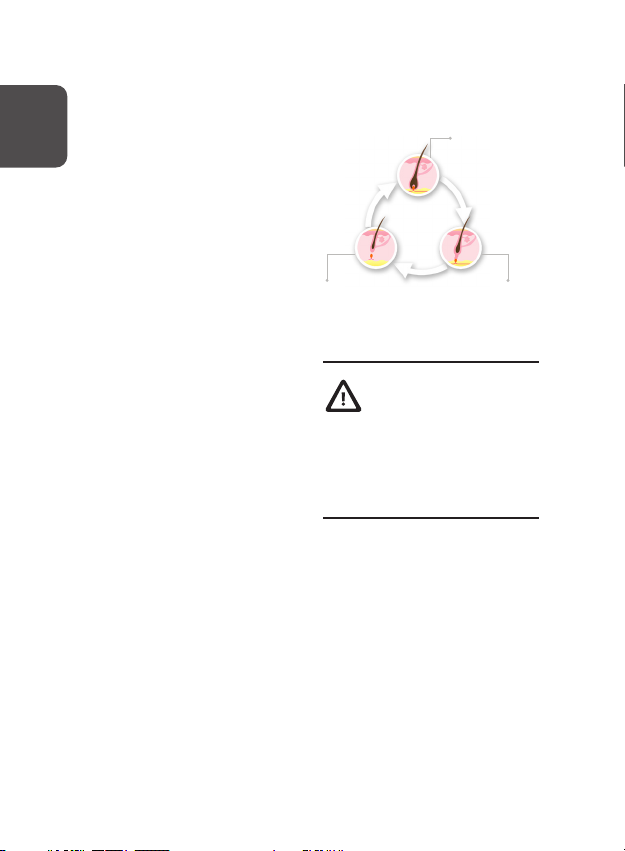
What to expect
During your treatment, it
is normal to experience:
• A flash of light with each
press on the trigger
button – the emitted light
will not harm your eyes.
• A pop noise with
each flash of light.
• A mild, stinging sensation.
Preliminary Test
Before your first treatment
on each new body area, we
recommend you test your skin
in that area to determine your
skin's reaction to treatment
with the device and help
you set the optimal energy
level for each treatment
area. Dierent body areas
may have dierent sensitivity
and may therefore require
dierent energy levels. Perform
a preliminary test on a hidden
patch of skin for the area you
intend to treat 24 hours prior
to the first full treatment.
Note: Do not treat full areas
with energy levels that you
have not tested before!
1. Prepare your skin as
described below in
"Prepare your skin" section.
2. Select the lowest energy
level and deliver a flash.
3. You can increase the
energy level as long as
it feels comfortable. You
may continue to do this up
to the maximum energy
level unless you begin to
experience discomfort.
Each energy level should be
tested on a new patch of
skin (do not overlap flashes).