Septree ST-01 User manual
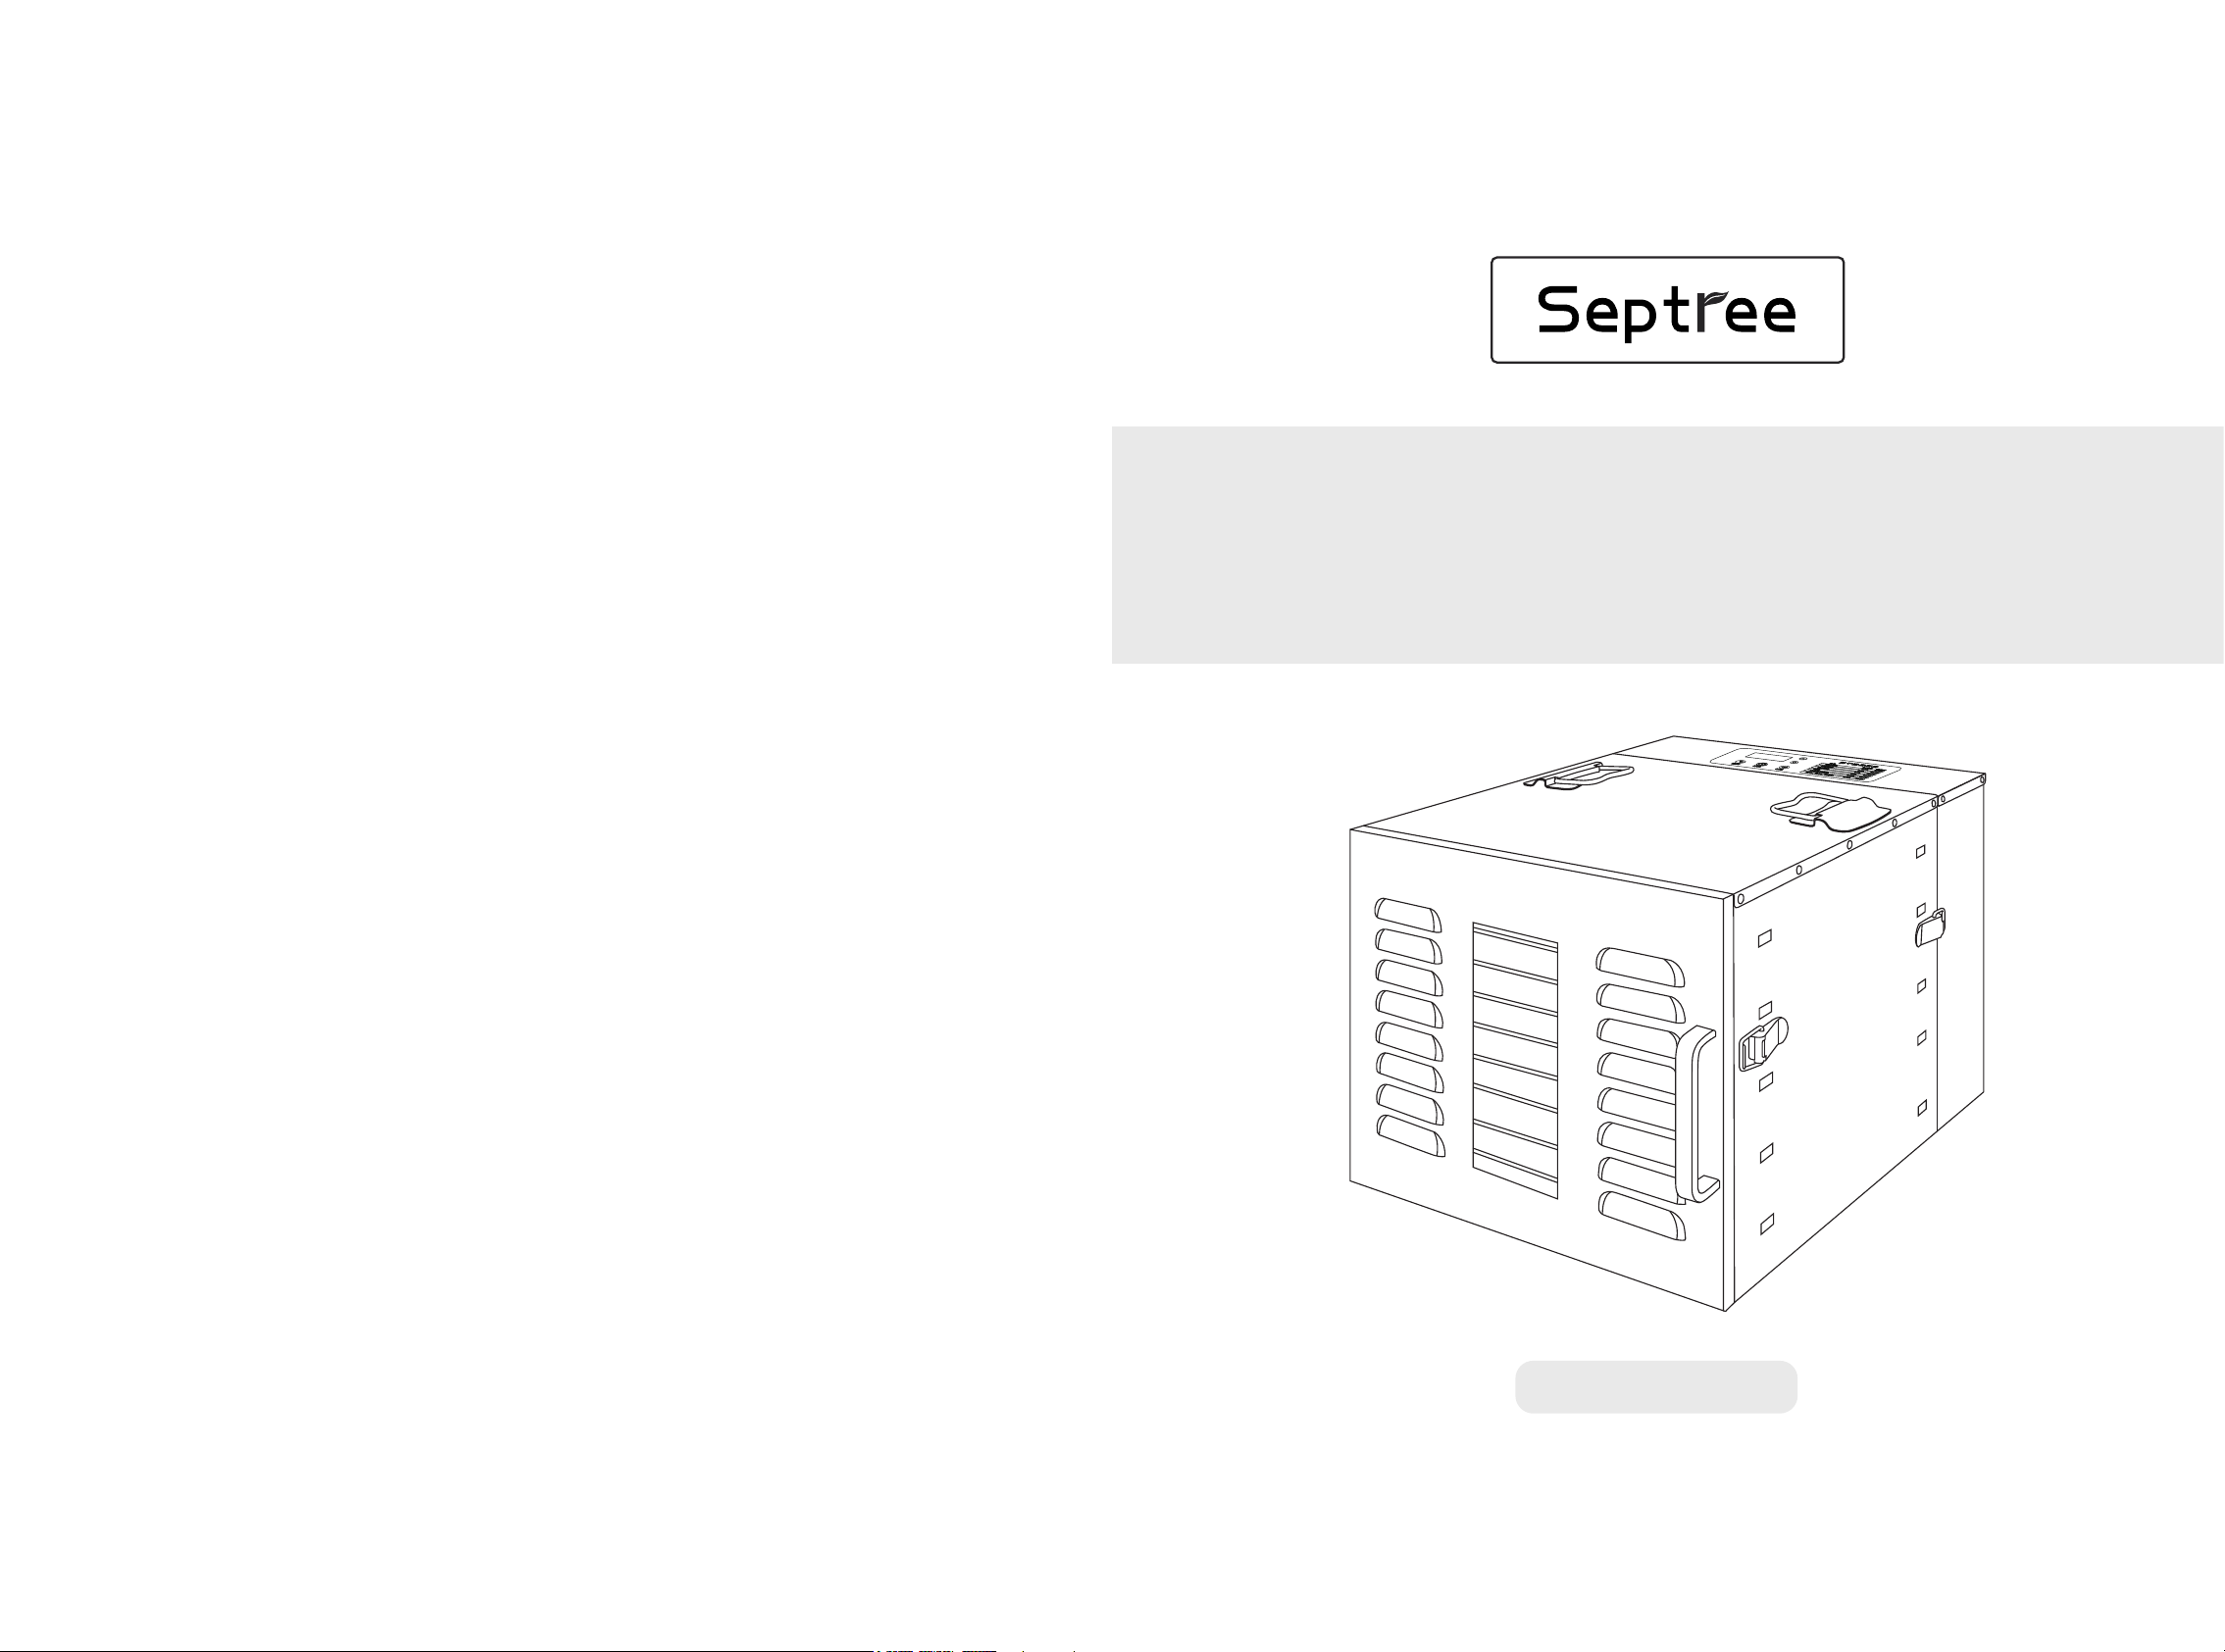
FOOD DEHYDRATOR
User Manual
Model: ST-01
Thank you for choosing Septree food dehydrator!
Please read this manual carefully before use.

WHAT’S IN THE BOX IMPORTANT SAFEGUARDS
Septree Food Dehydrator × 1
Stainless Steel Trays × 10
Non Stick Silicone Dehydrator Sheets × 2
Silicone Gloves × 2
Drip Tray × 1
Storage Bottles × 2
User Manual × 1
Recipe Book × 1
SPECIFICATIONS
Power Supply AC 120V, 60Hz
Rated Power 1000W
Temperature Range 70°F–190°F
Timer 0-24 Hours
Dimension 16.5*21.5*15.0 inches
Product Weight 33.06 pounds
Trays 10
Please read this instruction carefully before use.
Safety Instruction
Read all instructions.
Do not touch hot surfaces.
Do not immerse cord, plug, or base in water or other liquid.
Close supervision is necessary when any appliance is used
by or near children. Children should be supervised to
ensure that they do not play with the appliance.
Unplug when not in use or before cleaning. Cool the parts
before putting them on or taking them off.
Do not use dehydrator if it is damaged, not working or if
the cord or plug is damaged. Contact our customer support
email: [email protected].
Using third-party parts or accessories may cause injuries.
Do not use outdoors. Household use only.
Do not place near the hot gas stove or electric stove and
other environments where the temperature is too high.
Do not use the dehydrator for more than 48 hours at a
time. After 48 hours, unplug and allow to cool for 2 hours
before using again.
Do not hang cords (or any extension cords) over the edge
of a table,counter or touch a hot surface.
The dehydrator should only be used with 120V, 60Hz elec-
trical systems. Do not use with 220V outlet.
Only use the dehydrator as directed in this manual.
1
2
3
4
5
6
7
8
9
10
11
13
12
PLUG INSTRUCTIONS
This equipment must be grounded to protect the
operator from electric shock.
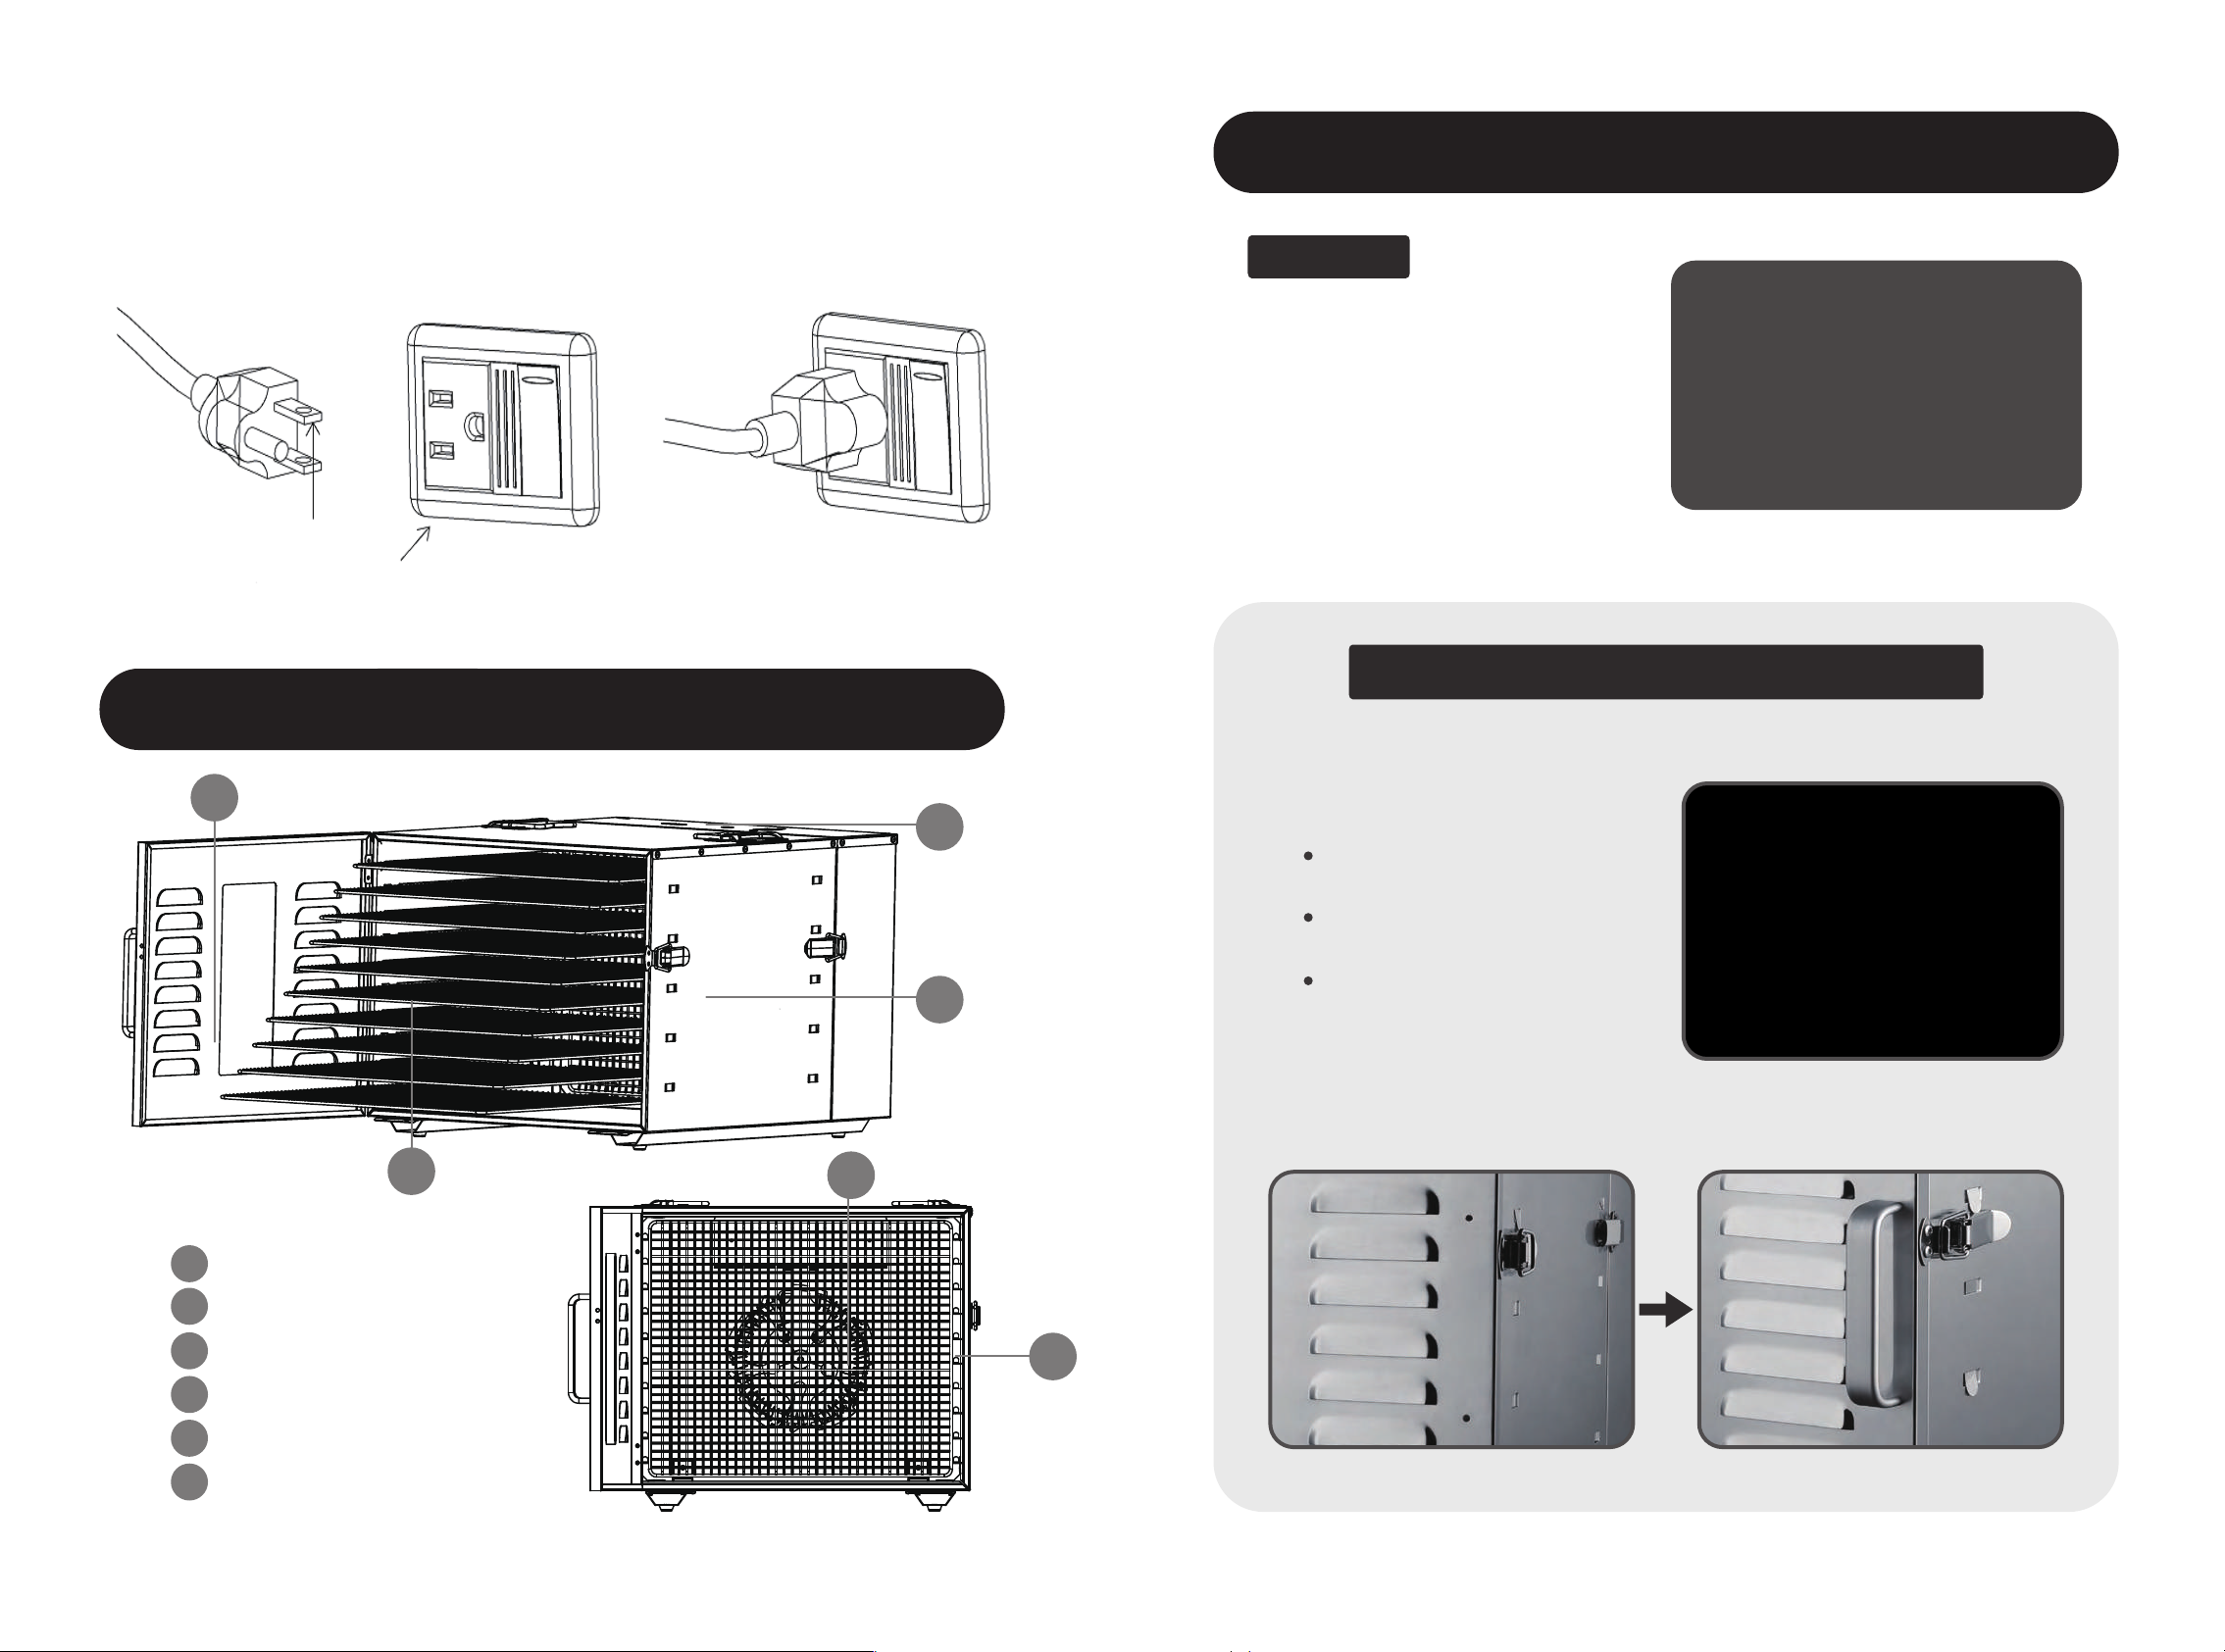
FOOD DEHYDRATING AT A GLANCE
FigureA FigureB FigureC
GND
Circuit Grounding
Conductor
This food dehydrator is equipped with a plug as shown in Figure A,
which should be used with the 120V three-hole receptacle in Figure
B. The plug must be properly inserted into the receptacle as shown
in Figure C.
When the front door is closed,
please lock the hasp tightly. On
the contrary, when opening the
door, you can gently pull the
buckle outward to open it.
OPERATING INSTRUCTIONS
Hasp
F
A
E
D
CB
A
B
C
D
E
F
Housing
Control Panel
Door
Trays
Fan
Heat pipes
Door handle installation guidelines
1. Check the items of the installation kit as follows:
2. Align the door handle to the front window position,
use tools and screws to fix the handle to install:
Door handle *1
Installation screws *2
Installation tool *1

BEFORE USE
CONTROL PANEL Soak trays in hot water for easy removal of food residue.
Clean the trays with a soft brush.
Note:
Do not put the main unit into water or other liquids!
Cleaning:
Wipe all parts of the equipment before use.
Clean the stainless steel tray, drip tray, non stick silicone
sheets and storage bottles with a lightly dampened cloth.
Use detergent as needed. Always rinse with clean water.
Unplug the dehydrator and clean it after it cools.
If you used a recipe that left traces of liquid or other residue,
wipe the tray with a paper towel before cleaning.
Note:
The interior of a food dehydrator can reach up to 190°F,
so take care to avoid burns when opening the unit.
Note:
Don't put the main engine into water or other liquids!
Dry all parts before storing or using the dehydrator.
1
2
GUIDANCE
HOW TO USE
Note:
Use the dehydrator in a warm, dry room. The dehydra-
tion time may vary due to the humidity in the air and the
moisture in the food.
1
2
3
4
5
Remove all packaging from your dehydrator and its acces-
sories. Make sure all package list is included (see page 2).
Wipe and clean all parts of the equipment.
Place the dehydrator base on a solid and level surface.
Keep at least 6 inches from the wall. Plug in. Stack the
drying trays to the dehydrators.
Run the dehydrator for 30 minutes at any temperature
without adding any food. Make sure that the room has
sufficient ventilation, in case the dehydrator produces any
smoke or smells. This is normal.
Note: You only need to do this the first time you use the
dehydrator.
Rinse the trays in water. Dry all parts.
Press to start or stop the dehydrator.
Press to set the temperature, press to raise the
temperature, press to lower the temperature.
Press to set the time, and then press to raise the
timer, press to lower the timer.
Every time you make a change of the timer or temperature, the
dehydrator will beep 1 time.

Cut the food into slices, place food on trays and put the
trays to the dehydrator. The thinner slices, the shorter
drying timer. If less food, put them on the middle of dehy-
drator is suggested.
Plug in. The dehydrator will beep, and the display will show
the temperature and timer. Press , set temperature and
timer by control panel.
Press to set temperature. The temperature will blink
on the display. Press to change the tempera-
ture(70°F-190°F), and finally press to confirm.
Note: Temperature changes in 5°F increments. Press and
hold to change the temperature rapidly.
Press to set timer. The timer will blink on the display.
to change the timer (0:00–24:00), and finally press
to confirm.
Note: Time changes in 30 minute increments. Press and
hold to change the timer rapidly.
With the sound, the dehydrator will start heating. Tempera-
ture and timer will display until finished.
Note: If you press again to stop dehydration, the timer
countdown will reset and the dehydrator will go into standby
mode.
Optionally, you can change the timer and temperature at
any time by pressing TEMP or Timer button.
When the timer finished and heat will turn off. The fan of
dehydrator will continue running for 30-40 seconds before
stopping.
Note: The dehydrator will always remember your previous
temperature and timer settings.
Use the heat-resistant glove, or oven mitt to handle the
trays.
Fruits and vegetables dried in your food dehydrator will look
different from those sold in stores. This is because homemade
dried foods do not use preservatives, artificial coloring, or
artificial additives.
Check out the Recipe Book for many more tips on dehydrating
foods.
TIPS
TROUBLE SHOOTING
Problem Possible Solution
The dehydrator does
not work
Foods are dried
unevenly
Food go moldy
Unplug the dehydrator and plug it
in again.
The dehydrator may be damaged
or malfunctioning. Contact our
customer support email:
Cut foods evenly to ensure that
they all finish drying at the same
timer.
Follow the recipes and tips in the
Recipe Book.
Check the moisture and tempera-
ture before storing. Use airtight
storage container. Refer to the
drying guide when storing food in
a cool place below 70°F (21°C).
1
2
3
4
5
6
7
8

If the product fails, please reach out to us via email.
This product comes with a 36-month warranty.
The warranty begins on the date of purchase, according to
your purchase receipt.
The following situations are not covered by warranty:
1
2
3
4
Damage caused by improper use, storage, or
attempts at maintenance.
The product indicated on the purchase receipt
does not match the product for which warranty
service is being requested.
Damage caused by accidents or natural disasters.
This device complies with Part 15 of the FCC Rules. Operation
is subject to the following two conditions: (1) this device may not
cause harmful interference, and (2) this device must accept any
interference received, including interference that may cause
undesired operation.
FCC STATEMENT
WARRANTY INFORMATION
We hope you never have the need, but if you
do, our service is friendly and hassle-free.
Table of contents
Other Septree Kitchen Appliance manuals


