manuals.online logo
Brands
  1. Home
  2. •
  3. Brands
  4. •
  5. Sepura
  6. •
  7. Water Filtration System
  8. •
  9. Sepura Sep 1800 ST User manual

Sepura Sep 1800 ST User manual

SEP 1800 ST
www.sepura-technologies.com
inst ll tion m nu l
1
Before St rting Assembly, ple se
check contents re s follows:
•2White Felt Filter with black tube
•2Silexa Filters
•1Connecting Yoke (Large blue figure 8)
•1est Bottle
•4Metal Retaining Springs (400mm)
•2900 S owers
•2Lids (only one drilled)
Service interval kit com rising;
• moulded plastic mount + screw
• printed card
• self-adhesive imestrip.
Fitting kit containing;
•2Straight adaptor 15mm x 1/2” BSP
•2Blanking Plugs - large
•4Elbow 15mm
•1Assembled Porting Block
•6Porting Block Small Blanking Plugs
•4All- hread Screws (M5 x 87mm)
•8Sleeve Nut Ends (M5 x 9 x 20mm)
•3Stem Adaptors
•2Reducing Bush
•1-Piece
•2Grab aps
•2Black ube 180mm x 15mm Dia.
•2Blue ube 225mm x 15mm Dia.
Insert the boss on the reverse of
the mount (c) into the pre-drilled
hole in the separator lid.
Peel backing from timestrip (a)
and attach to the plastic card (b)
within the dotted lines.
Flex the card, passing the ends
through the slots on the top
surface of the mount.
To ac iva e, press firmly on
the timestrip label at the
point indicated.
After a few minutes a red line
will appear, to indicate ‘time in
service’ up to 12 months
A replacement card and
timestrip will be supplied with
each service kit.
i
ii
iii
General Installation notes
•Please ensure a steady
fall in the pipe run from
the outlet point to the
foul drain.
•Never discharge
condensate to a storm
drain or to surface water;
always connect to a foul
drain or sewer.
•Remember that it’s the
user’s responsibility to
check with the local
authority as to the
permissible discharges
in their area.
Tes ing Quali y
Replace filters before outlet
cloudiness exceeds the ppm
limit for your region.
est outlet quality weekly
using kit provided.
Further information is available on our website below.
(c)
(b)
(a)
Service Indicator -
assembly and attachment
SEP 1800 ST
www.sepura-technologies.com
t: +44 (0)1543 379212
e: s les@sepur -technologies.com
23 4
11 12
13
Slide the connecting ‘yolk’ over both units.
Assemble the
connecting pipes as
shown below and fit
onto the two units
making sure the
tubes are fully
inserted into the
push fittings.
Assemble nd tt ch the service life indic tor
to the lid of the unit using the pre-drilled hole.
See overleaf for more de ail.
Com leted SEP 1800 unit
Fit the inlet block between the sep r tor towers using
the All-Thre d & Nut Ends. Addition l port blocks re
v il ble from SEPURA™s n option.
Tighten ll screws from the other side.
Insert the l rge bl nking plug into the rem ining
unused port block loc ted on the opposite
side of e ch unit.
Lower the filter b g 1 into the sep r tor body,
settling it down gently, nd ensuring it is in
cont ct with the side w ll.
Inst ll the securing spring clips t 90 degrees
directly in cont ct with the filter b gs to
prevent flo t tion.
Insert the rem ining filter
(the one in the needle-felt b g)
with the connecting tube uppermost.
Screw the inlet connector (Reducing Bush)
into pl ce tightly.
Connect the filter tube to
the inlet block using the fittings supplied.
Att ch the Gr b T p to the test point.
Fill uni wi h wa er and check for leaks.
x2
x2
x2
x2
x2
x2
x2
567
89 10

Other Sepura Water Filtration System manuals

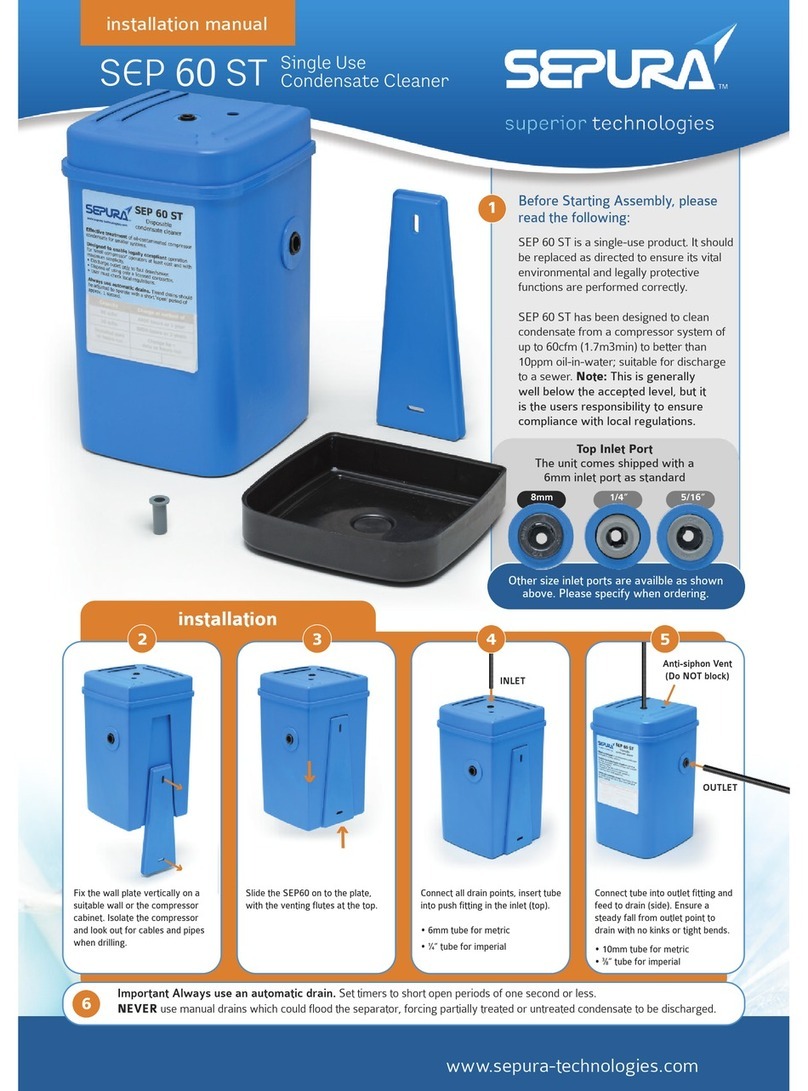
Sepura SEP 120 D User manual

Sepura

Sepura SEP 120 D User manual

Sepura SEP 120 ST User manual

Sepura

Sepura SEP 120 ST User manual

Sepura SEP 3500 ST User manual

Sepura

Sepura SEP 3500 ST User manual

Sepura SEP 360 D User manual

Sepura

Sepura SEP 360 D User manual

Sepura SEP 60 ST User manual

Sepura

Sepura SEP 60 ST User manual

Popular Water Filtration System manuals by other brands

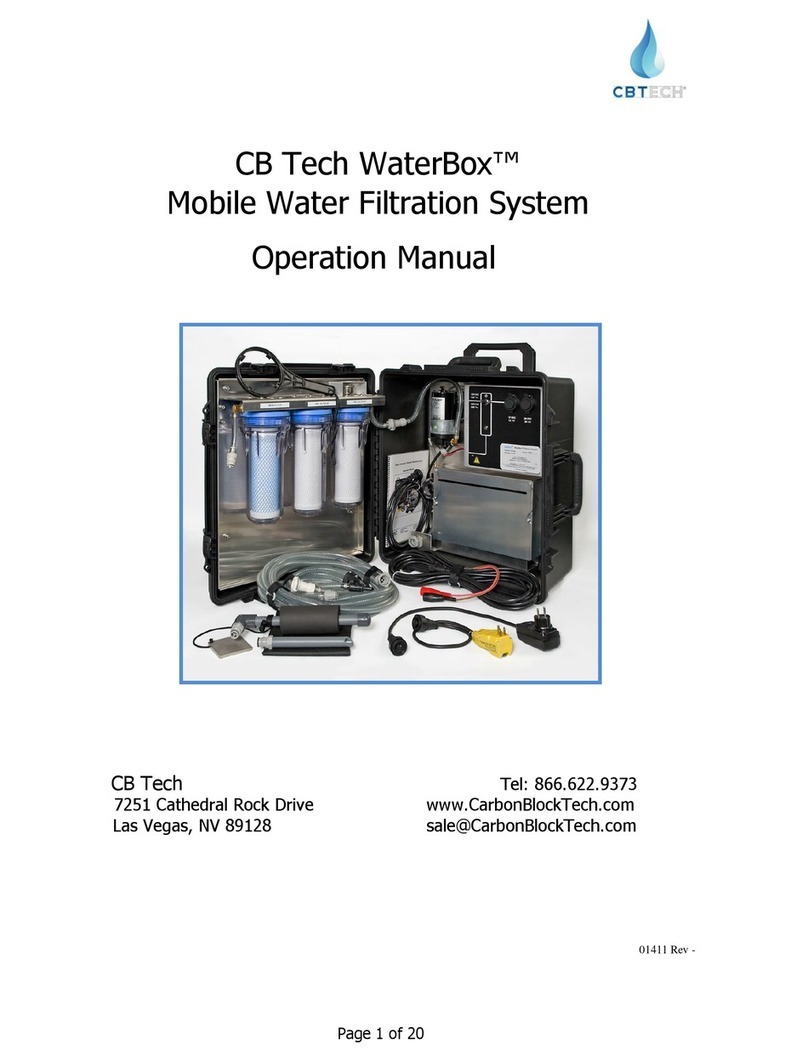
CB Tech WaterBox Operation manual

CB Tech

CB Tech WaterBox Operation manual

Ispring WCFM500K Installation instructions & operating manual

Ispring

Ispring WCFM500K Installation instructions & operating manual

Beko OEWAMAT 6 Instructions for installation and operation

Beko

Beko OEWAMAT 6 Instructions for installation and operation

Levoit True HEPA Vital 100-RF instructions

Levoit

Levoit True HEPA Vital 100-RF instructions

Prozone Water Products CSS5 series Installation guide and operation manual

Prozone Water Products

Prozone Water Products CSS5 series Installation guide and operation manual

Geekpure RO-TW Installation and maintenance manual

Geekpure

Geekpure RO-TW Installation and maintenance manual

PUR2o Alkaline Plus Installation instructions manual

PUR2o

PUR2o Alkaline Plus Installation instructions manual

AquaCo SYS-925-2 Installation

AquaCo

AquaCo SYS-925-2 Installation

Watts SENTINEL LEAK DEFENSE LDS-3-075 Installation, operation and maintenance manual

Watts

Watts SENTINEL LEAK DEFENSE LDS-3-075 Installation, operation and maintenance manual

Environmental Water Systems EWS-1054 Care and use manual

Environmental Water Systems

Environmental Water Systems EWS-1054 Care and use manual

KoiPro Combi Drum 30000 user manual

KoiPro

KoiPro Combi Drum 30000 user manual

Durr Dental CA 4 Installation and operating instructions

Durr Dental

Durr Dental CA 4 Installation and operating instructions

WaterBackpack PAUL manual

WaterBackpack

WaterBackpack PAUL manual

Brita Carafe Instructions for use

Brita

Brita Carafe Instructions for use

STA-RITE HRPB20 owner's manual

STA-RITE

STA-RITE HRPB20 owner's manual

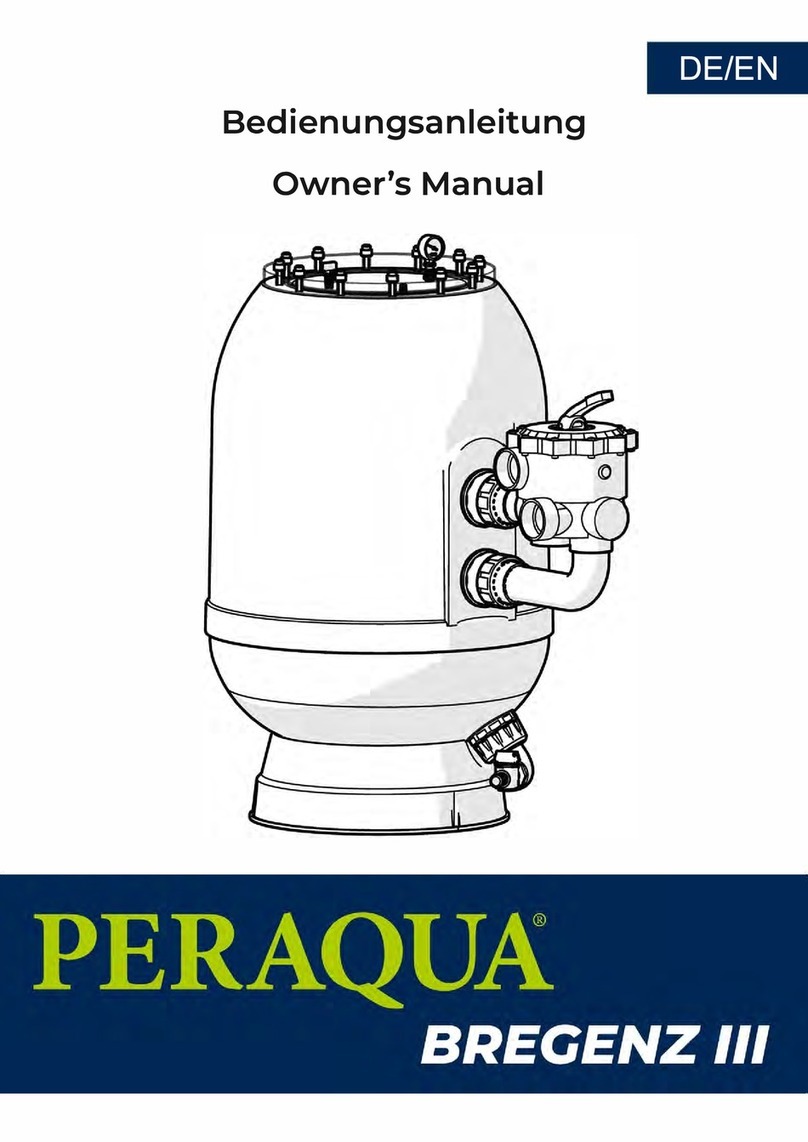
Peraqua BREGENZ III owner's manual

Peraqua

Peraqua BREGENZ III owner's manual

Pentair Fleck 5800 LXT Installer manual

Pentair

Pentair Fleck 5800 LXT Installer manual

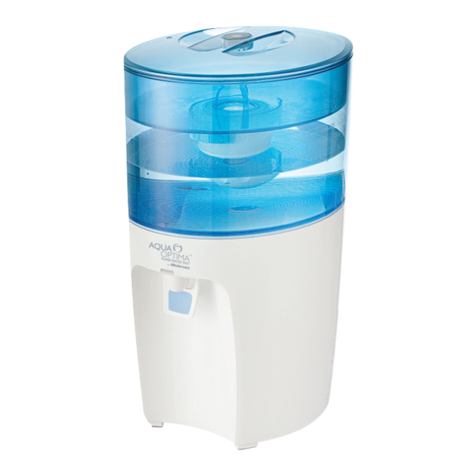
Aqua Optima AWD001 instructions

Aqua Optima

Aqua Optima AWD001 instructions

manuals.online logo
manuals.online logoBrands
  • About & Mission
  • Contact us
  • Privacy Policy
  • Terms and Conditions

Copyright 2025 Manuals.Online. All Rights Reserved.