RoHS
1. Please ensure that your KVM Switch, monitor, and computers are powered off.
2. Connect keyboard to USB port (2)
3. Connect mouse to USB port (3)
4. Connect DVI-I port to PC DVI (4)
5. Connect Speakers to Speaker jack (5)
6. Connect Microphone to Microphone jack (6)
7. Power on the Monitor.
8. Power on the KVM Switch by plugging in the External Power Adapter.
9. Connect each KVM Switch PC port to the Computers.
10. Power on the Computers.
11. Connect each of your USB devices to the USB Hub ports; you can now begin to use the KVM Switch.
INSTALLATION
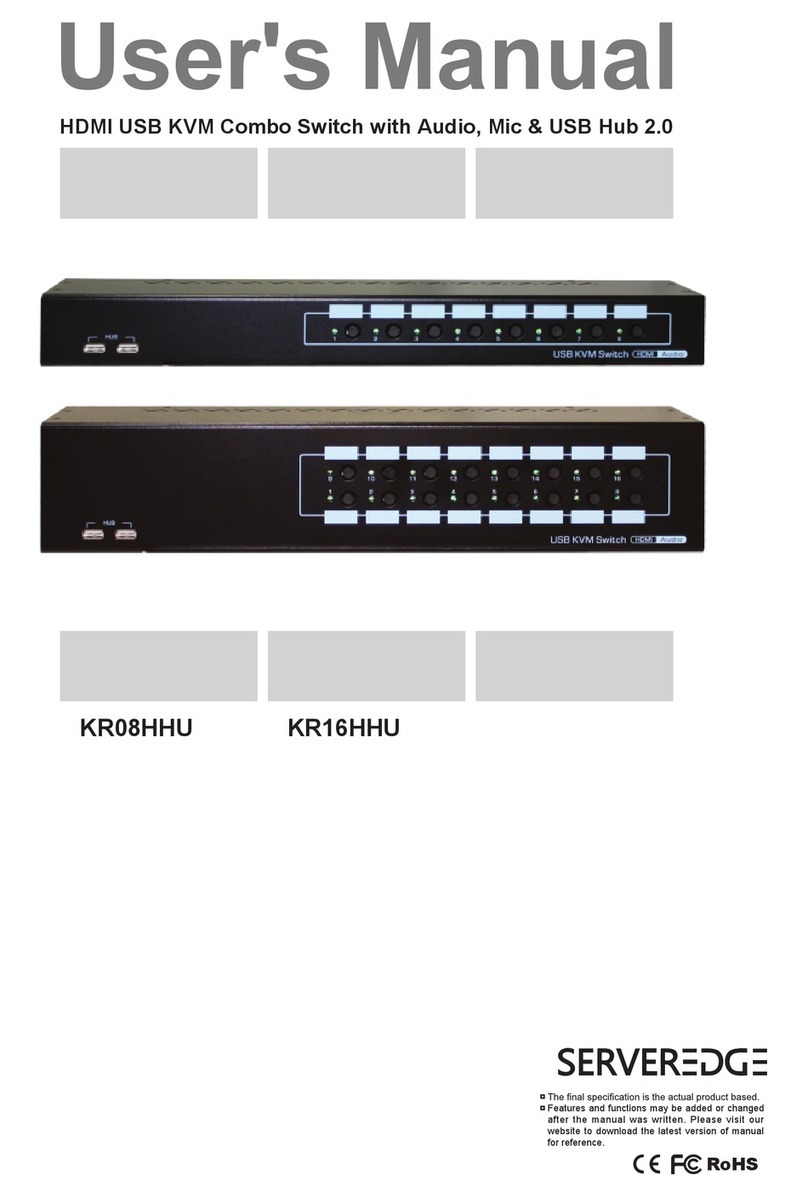
There are two methods to control your KVM Switch for PC/Hub port / Audio & Microphone ports selection:
Front-panel push buttons and Keyboard Hotkeys.
1. Front-panel push buttons
The Front-panel push buttons allows you to directly control the KVM Switching operations. Simply push
desired button to switch rapidly to the respective PC port. For more information about the push button
operation, please refer to the “Quick Reference Sheet”
2. Keyboard Hotkeys
For Keyboard Hotkeys, please refer to the “Quick Reference Sheet”.
OPERATION
FCC Statement: This equipment has been tested and found to comply with the regulations for a class B digital
device, pursuant to Part 15 of the FCC Rules. These limits are designed to prove reasonable protection against
harmful interference when the equipment is operated in a commercial environment. This equipment generates,
uses, and can radiate radio frequency energy and, if not installed and used in accordance with this Quick Installa-
tion Guide, may cause harmful interference to radio communications. Operation of this equipment in a residential
area is likely to cause harmful interference in which case, the user will be required to correct the interference at
his/her own expense.
CE Statement: This is a Class B product in a domestic environment, this product may cause radio interference, in
which case the user may be required to take adequate measures.
FCC / CE STATEMENTS
www.serveredge.com.au | 5|
