SESCOM SES‐FA16UB Page 6
SES-FA16UB Set Up Instructions
1. Secure the units in a safe locaon, where they will not be subject to im‐
pact and where there is room around the unit so nothing will interfere
with the fiber opc cabling causing it to bend sharply in a ght radius in
any way that can severely affect the signal transfer.
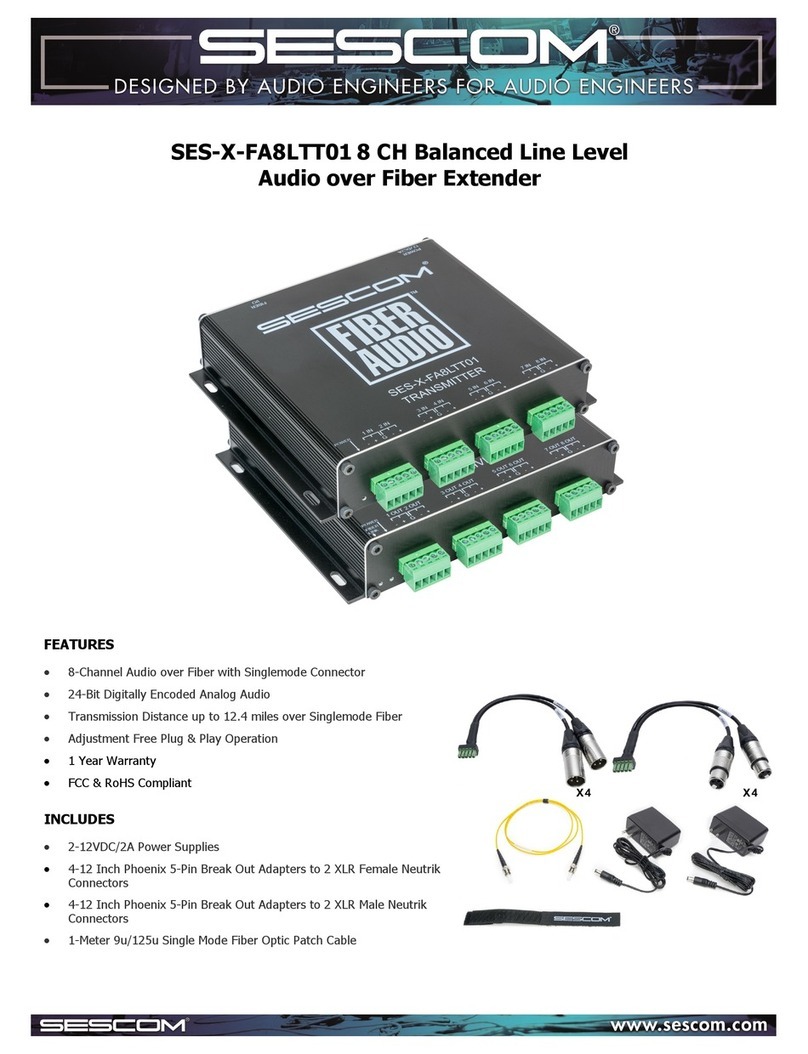
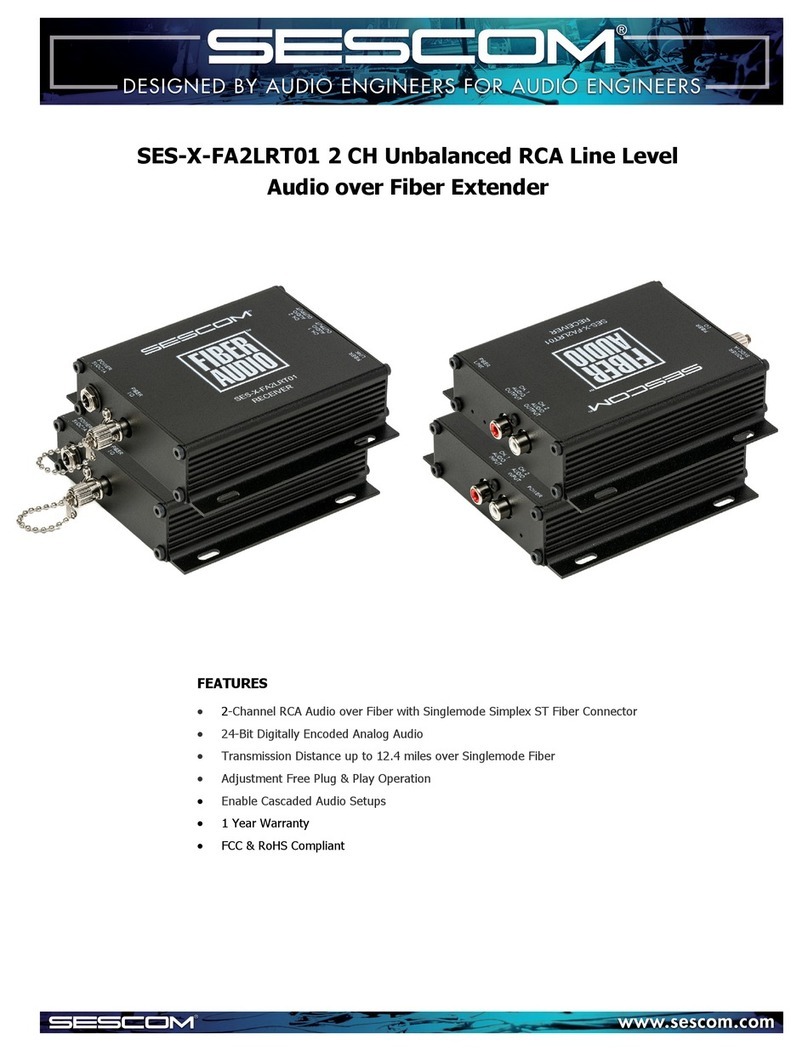
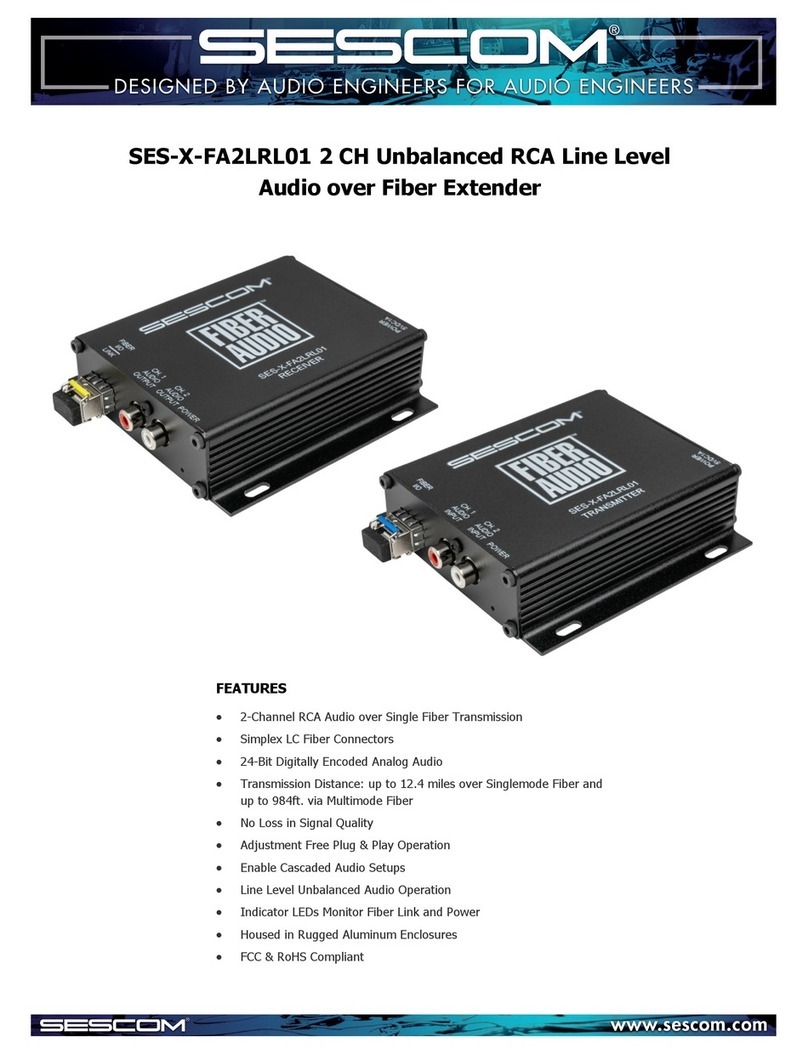
2. Carefully connect your source(s) to the transmier input(s) and the re‐
ceiver unit output(s) to your receiving device input(s) using the RCA con‐
nectors on the transmier and on the receiver unit,
3. Please note that all audio on the transmier (Tx) and receiver (Rx) must
be line level.
4. CLEAN* the ST fiber opcal cable contacts that will be used for con‐
necng the Tx and Rx units and aach the fiber cable to the
ST connecons and secure, as you would secure a bayonet BNC. While
pressing lightly in on the connector, twist it in a clockwise direcon about
1/8 to 1/4 of a turn and then release. The connector should stay inserted
and have backwards spring pressure holding the bayonet in place.
5. Connect the included power supplies to the transmier & receiver units,
and plug them both into an AC power source (100v‐240v AC 50/60Hz).
* CLEAN: All fiber opcal cable contacts (the end that is inserted and makes
contact to enable lightwave transmission through the fiber)
require cleaning each me before inserng into a device’s outputs or inputs.
Failure to clean the contacts can damage the unit’s opcs over me and also
render the cable and the device permanently useless.
Use cleaning kits designed specifically for fiber opcs. Other cleaners may add
contaminants not seen by the naked eye which could damage cables and/or
equipment.
