manuals.online logo
Brands
  1. Home
  2. •
  3. Brands
  4. •
  5. SEVERIN
  6. •
  7. Oven
  8. •
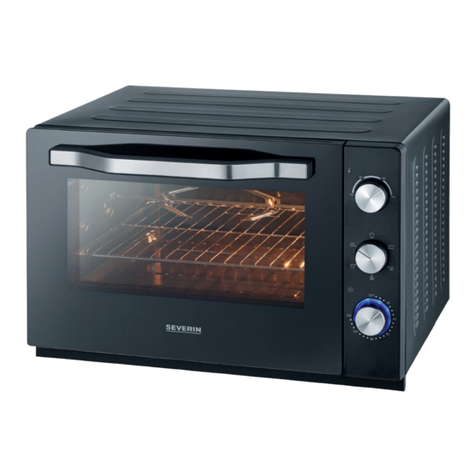
  9. SEVERIN TO 2013 User manual

SEVERIN TO 2013 User manual

3
1
2
3
4
7
8
9
12
11
10
9
5
6
Dear Customer,
Before using the appliance, the user should
read the following instructions carefully.
Connection to the mains supply
The appliance should only be connected to
an earthed socket installed in accordance
with the regulations. Make sure that the
supply voltage corresponds with the voltage
marked on the rating label of the appliance.
This product complies with all binding CE
labelling directives.
Familiarisation
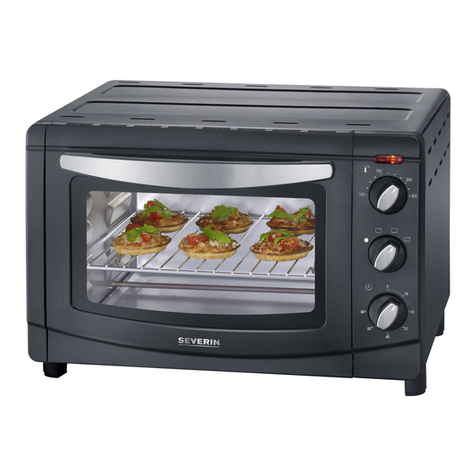
1. Rating label (at the rear)
2. Main unit
3. Temperature control
4. Power cord with plug
5. Timer
6. Indicator lamp
7. Baking tray
8. Handle
9. Hinged bottom tray
10. Rack
11. Glass door
12. Door handle
Important safety instructions
●Before the appliance is used, the main
body as well as any attachments fitted
should be checked thoroughly for any
defects. If the appliance, for instance, has
been dropped onto a hard surface, it
must no longer be used: even invisible
damage may have adverse effects on its
operational safety.
●Do not position or operate the appliance
close to or underneath any wall-
cupboards or hanging objects such as
curtains or any other inflammable
materials.
●During operation, the appliance must be
placed on a heat-resistant surface,
impervious to splashes and stains. Do not
position the appliance on or near hot
surfaces, open flames or inflammable
vapours.
●Sufficient ventilation must be ensured at
all times. Do not place any objects on the
unit, and make sure that the following
minimum distances from any wall or
other object are maintained:
Side: 10 cm
Rear: 10 cm
Top: 30 cm
●Do not operate the appliance outdoors.
●The feet on the base of the unit must not
be removed.
●Do not allow the power cord to touch
hot surfaces.
●Do not let the power cord hang free.
●Always switch the appliance off and
remove the plug from the wall socket:
-after use,
-in case of malfunction,
-before cleaning.
●When removing the plug from the wall
socket, never pull on the power cord;
always grip the plug itself.
●Overheated oil or fat tends to ignite.
Therefore do not overfill the baking tray.
●This appliance operates at very high
temperatures.
Warning: the door as well as
the accessible surfaces of the
appliance become hot during
operation. Burns can occur from
touching these hot parts.
●Do not touch the accessible heating
elements.
●Do not leave the appliance unattended
while in use.
●The appliance is not intended to be
operated by means of an external timer
or separate remote-control system
●This appliance is not intended for use by
any persons (including children) with
reduced physical, sensory or mental
capabilities, or lacking experience and
knowledge, unless they have been given
supervision or instruction concerning the
use of the appliance by a person
7
Toasting oven

responsible for their safety.
●Children should be supervised to ensure
that they do not play with the appliance.
●No responsibility will be accepted if
damage results from improper use, or if
these instructions are not complied with.
●This appliance is intended for domestic
use only and not for commercial
applications.
●In order to comply with safety
regulations and to avoid hazards, repairs
of electrical appliances must be carried
out by qualified personnel, including the
replacement of the power cord. If repairs
are needed, please send the appliance to
one of our customer service departments.
The address can be found in the
appendix to this manual.
Before using for the first time
-
Clean the appliance (see General care
and cleaning) and completely remove
any packing materials.
-
Packaging materials are not children’s
toys (Caution: danger of suffocation).
-
Before using the appliance for the first
time, let it heat up for 10 minutes (see
Operation). When the appliance is
switched on for the first time, a slight
smell may be emitted. This is normal and
will only last for a very short time. Ensure
sufficient ventilation.
Temperature control
Turn the temperature control to the desired
setting.
The heating elements will only switch on
after the timer is activated.
Timer
By using the timer, the cooking time can be
selected (max. 60 minutes).
To set a time of less than 5 minutes, turn the
timer to a somewhat higher setting first and
then slowly turn it back to the desired time
setting.
The indicator lamp is on while the appliance
is switched on via the timer.
After the pre-programmed time has elapsed,
an acoustic signal indicates that the heating
elements are switched off. The indicator
lamp goes out.
Handle
The handle is used to remove the baking
tray and the rack. Please note that the
handle holds the tray by the upper and lower
grips, while the rack is supported by the two
lower hooks and the lower grip, when it is
removed (see diagram).
Operation
-
Fit the rack.
-
Pre-heat the oven compartment for
several minutes with the door closed,
using the temperature control to set the
required temperature, and the timer to
set the desired pre-heating time.
-
Place the food to be cooked onto the
rack. When cooking food containing fat
or moisture, use the tray to stop any drips
into the interior of the appliance.
-
Always place the tray on the rack and
then slide it into one of the guide rails.
-
Close the glass door and use the timer to
choose the desired cooking time.
-
After the pre-programmed cooking time
has elapsed, the timer will automatically
switch off the heating elements. To
switch off the appliance earlier, set the
timer to the ‘0’ position .
-
When opening the hot glass door after
operation, always use the handle. To
remove the baking tray or the rack,
always use the handle provided. Always
place the tray and rack on a heat-
resistant surface.
-
After use, set the temperature control to
the ‘●’ position and remove the plug
from the wall socket.
General care and cleaning
●Before cleaning the appliance, ensure it is
disconnected from the power supply and
has cooled down completely.
●To avoid the risk of electric shock, do not
8
clean the appliance with water and do
not immerse it in water.
●Do not use abrasives or harsh cleaning
solutions.
-
The exterior of the appliance may be
wiped with a slightly damp, lint-free
cloth.
-
To release the hinged bottom tray, place
the unit on its back and push the knob-
like protrusion on the tray.
-
The baking tray, rack and bottom tray
may be cleaned with a mild household
detergent.
-
Do not put in a dish-washer.
Disposal Do not dispose of old or defective
appliances in domestic garbage;
this should only be done through
public collection points.
Guarantee
This product is guaranteed against defects in
materials and workmanship for a period of
two years from the date of purchase. Under
this guarantee the manufacturer undertakes
to repair or replace any parts found to be
defective, providing the product is returned
to one of our authorised service centres. This
guarantee is only valid if the appliance has
been used in accordance with the
instructions, and provided that it has not
been modified, repaired or interfered with
by any unauthorised person, or damaged
through misuse.
This guarantee naturally does not cover
wear and tear, nor breakables such as glass
and ceramic items, bulbs etc. If the product
fails to operate and needs to be returned,
pack it carefully, enclosing your name and
address and the reason for return. If within
the guarantee period, please also provide the
guarantee card and proof of purchase.
9

Other SEVERIN Oven manuals

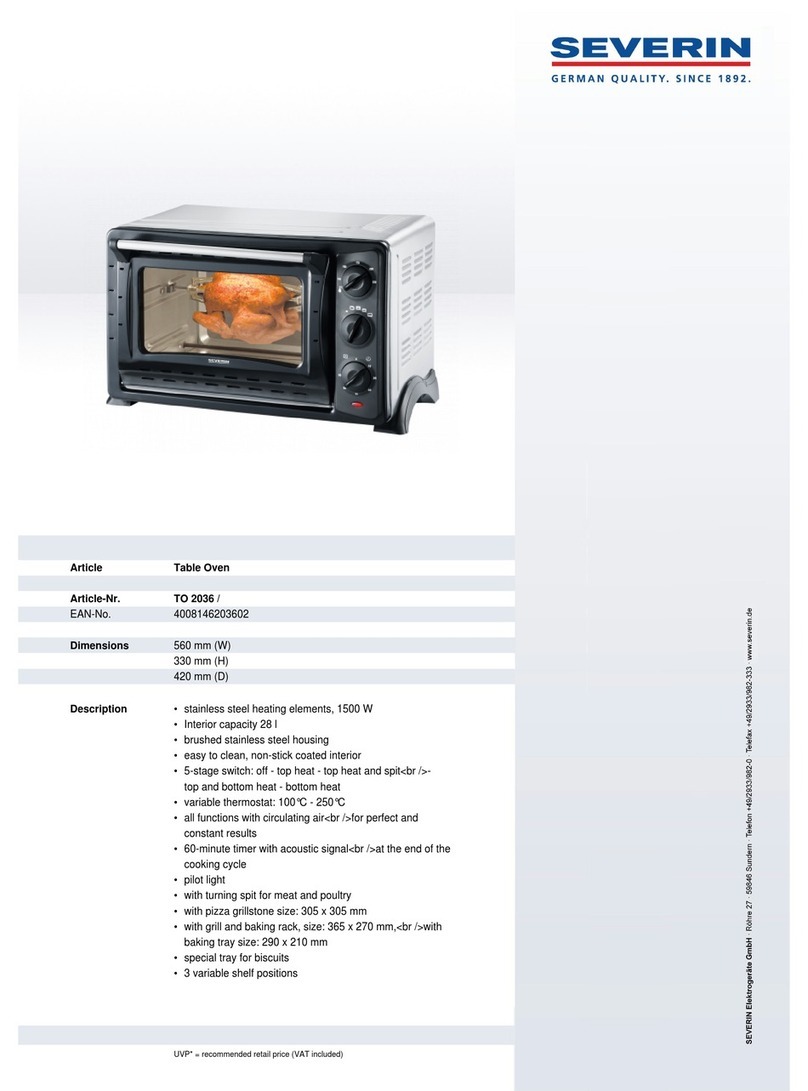
SEVERIN TOASTOFEN MIT UMLUFT TO 2036 User manual

SEVERIN

SEVERIN TOASTOFEN MIT UMLUFT TO 2036 User manual

SEVERIN TABLE OVEN - DATASHEET 2 User guide

SEVERIN

SEVERIN TABLE OVEN - DATASHEET 2 User guide

SEVERIN TO 2069 User manual

SEVERIN

SEVERIN TO 2069 User manual

SEVERIN TOASTOFEN MIT UMLUFT TO 2033 User manual

SEVERIN

SEVERIN TOASTOFEN MIT UMLUFT TO 2033 User manual

SEVERIN GOURMET-BACK TO 2020 User manual

SEVERIN

SEVERIN GOURMET-BACK TO 2020 User manual

SEVERIN TO 2068 User manual

SEVERIN

SEVERIN TO 2068 User manual

SEVERIN TO 2038 User manual

SEVERIN

SEVERIN TO 2038 User manual

SEVERIN TO 2045 User manual

SEVERIN

SEVERIN TO 2045 User manual

SEVERIN TOASTOFEN MIT UMLUFT TO 2035 User manual

SEVERIN

SEVERIN TOASTOFEN MIT UMLUFT TO 2035 User manual

SEVERIN TO-9260 User manual

SEVERIN

SEVERIN TO-9260 User manual

SEVERIN TO 2067 User manual

SEVERIN

SEVERIN TO 2067 User manual

SEVERIN TO 2024 User manual

SEVERIN

SEVERIN TO 2024 User manual

SEVERIN TO 2016 User guide

SEVERIN

SEVERIN TO 2016 User guide

SEVERIN TOASTOFEN TO 2034 User guide

SEVERIN

SEVERIN TOASTOFEN TO 2034 User guide

SEVERIN TO 2018 User guide

SEVERIN

SEVERIN TO 2018 User guide

SEVERIN TO 2028 User manual

SEVERIN

SEVERIN TO 2028 User manual

SEVERIN TOASTOFEN MIT UMLUFT TO 2036 User manual

SEVERIN

SEVERIN TOASTOFEN MIT UMLUFT TO 2036 User manual

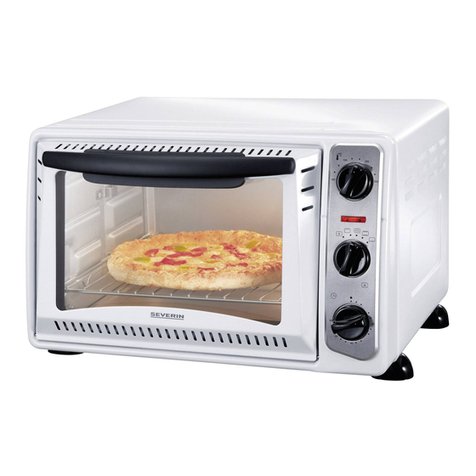
SEVERIN TISCH-BACKOFEN MIT HEIßLUFTFUNKTION TO... User manual

SEVERIN

SEVERIN TISCH-BACKOFEN MIT HEIßLUFTFUNKTION TO... User manual

SEVERIN 8235.0000 User manual

SEVERIN

SEVERIN 8235.0000 User manual

SEVERIN TO 2013 User guide

SEVERIN

SEVERIN TO 2013 User guide

SEVERIN TOASTOFEN MIT KOCHPLATTEN KH 2043 User guide

SEVERIN

SEVERIN TOASTOFEN MIT KOCHPLATTEN KH 2043 User guide

SEVERIN TO 2071 User manual

SEVERIN

SEVERIN TO 2071 User manual

SEVERIN TO 2054 User manual

SEVERIN

SEVERIN TO 2054 User manual

SEVERIN TO 2022 User manual

SEVERIN

SEVERIN TO 2022 User manual

Popular Oven manuals by other brands

Electrolux EOB3660 User information

Electrolux

Electrolux EOB3660 User information

Nerf J1GCC0A.0B User manual and installation instructions

Nerf

Nerf J1GCC0A.0B User manual and installation instructions

elvita CUI4703S quick start guide

elvita

elvita CUI4703S quick start guide

Zanussi 944064892 user manual

Zanussi

Zanussi 944064892 user manual

Zanussi ZOB65301 user manual

Zanussi

Zanussi ZOB65301 user manual

Wolf WGCO100S Use & care guide

Wolf

Wolf WGCO100S Use & care guide

Kalorik MAXX AFO 52295 SS manual

Kalorik

Kalorik MAXX AFO 52295 SS manual

AEG BSK882320M installation guide

AEG

AEG BSK882320M installation guide

Electrolux EBSL60CN user manual

Electrolux

Electrolux EBSL60CN user manual

TurboChef ENCORE manual

TurboChef

TurboChef ENCORE manual

Electrolux Built-In Dishwasher Ower's manual

Electrolux

Electrolux Built-In Dishwasher Ower's manual

Philco POB 16 XP user manual

Philco

Philco POB 16 XP user manual

Beko OIG 22101 user manual

Beko

Beko OIG 22101 user manual

Cosmo C106SIX-PT User's manual & installation instructions

Cosmo

Cosmo C106SIX-PT User's manual & installation instructions

NEFF B1422B0GB How to connect

NEFF

NEFF B1422B0GB How to connect

Tulikivi TLU 2450 Construction drawings

Tulikivi

Tulikivi TLU 2450 Construction drawings

Fisher & Paykel PROFESSIONAL OM76NPX1 installation guide

Fisher & Paykel

Fisher & Paykel PROFESSIONAL OM76NPX1 installation guide

Kuppersberg SR 605 Technical Passport

Kuppersberg

Kuppersberg SR 605 Technical Passport

manuals.online logo
manuals.online logoBrands
  • About & Mission
  • Contact us
  • Privacy Policy
  • Terms and Conditions

Copyright 2025 Manuals.Online. All Rights Reserved.